Do you ever feel like you know exactly what you want, but you just can’t find it anywhere? If so then you’re in the right place, and I’m sure we’ll be friends. My love of DIY, at it’s most basic, is the fact that I can create something more perfect than I can ever buy and that’s pretty cool! So, scroll through to find any projects that might interest you. In case you want a little help, I’ve also listed my very favorites right below. And don’t forget – I love hearing from you. So, if there’s a topic you’d like me to cover or you have questions about any of my posts let me know! allie (at) thewhiteapartment (dot) net.
7 Things you Need to Know About Your Claw Foot Tub Shower
How to Install a How to Install a Bathroom Exhaust Fan
Weather stripping for Doors: DIY in 5 Easy Steps
Kitchen Remodel Progress
You probably don’t think you need a laser level. That’s what I thought too. Boy was I wrong! I, now, consider it one my most useful tools. And the best news of all, they are not that expensive.
Happy Saturday! This weekend is a pretty chill one around here, which I’m really looking forward to. We’re planning on doing a TRX class together this morning, some small things around the house, and hopefully a hike. Today I’m sharing all about re-planting our front bed. When we moved in the bed was pretty sad. Actually, upon first glance you couldn’t tell quite how bad it was. (click to see the before and afters!)
Happy (long) weekend, friends! I’m so excited for this 3-day weekend - it’s just what I needed. And to be honest, I’m excited to mark the transition to fall. Labor Day always feels like the unofficial end to Summer, but I’m okay with it. I’m ready for cooler temps and this may be controversial, but longer nights too.
A couple weeks ago we posted about the design process for our new deck and today we’re talking about how we built it! Xan wrote this overview of the process, but because there’s so much to include it’s more an overview of the process and some tips and tricks we learned along the way. If you have specific questions feel free to include them in the comments. We should, of course, note that it’s important to talk to an expert in your area about your particular situation as it may be different from ours.
Happy Saturday! We skipped our Fourth of July post - we were busy getting ready for and hosting a party and spending time with friends and family. It was basically an extra long weekend and it was just what I needed. It included parties with friends, celebrations of babies, movie dates, and long naps. Perfection!
We’re currently knee deep in the kitchen renovation and things are really starting to come together. We’re working on a lot of the little finishing touches, and we’ve had some issues with the tile that we’re trying to solve now. So, I’m not really sure when we’ll be totally finished. The latest project we worked on was our under cabinet lighting (for the upper cabinets). For some reason we both thought this was going to be a piece of cake. The instructions and all of the parts seemed very simple, but we still encountered some issues that could have been easily avoided knowing what we do now that they’ve all been installed. So, below are my tips for installing Ikea under cabinet lighting.
Well, it’s been a while since I was last here with a kitchen update. And let me tell you, we’ve made so much progress!
The kitchen remodel is officially underway! We’ve made a timeline and a preliminary budget and I have some progress to share with you also.
Hi friends, happy Monday! I’ve been clearing out the room the new kitchen will be in to prepare for the upcoming renovation. The room has basically served as a huge closet for the last year. Anything we couldn’t find a place for when we moved in was dropped there. And was never moved 🙈
Happy Thursday, friends! Today I’m sharing a little update I made to our house – changing some outlets and switches. You may remember a couple months ago that I posted a how to for changing outlet and switch receptacles when I replaced the ones in our guest bedroom. This time I updated the light switch and outlet in our current kitchen.
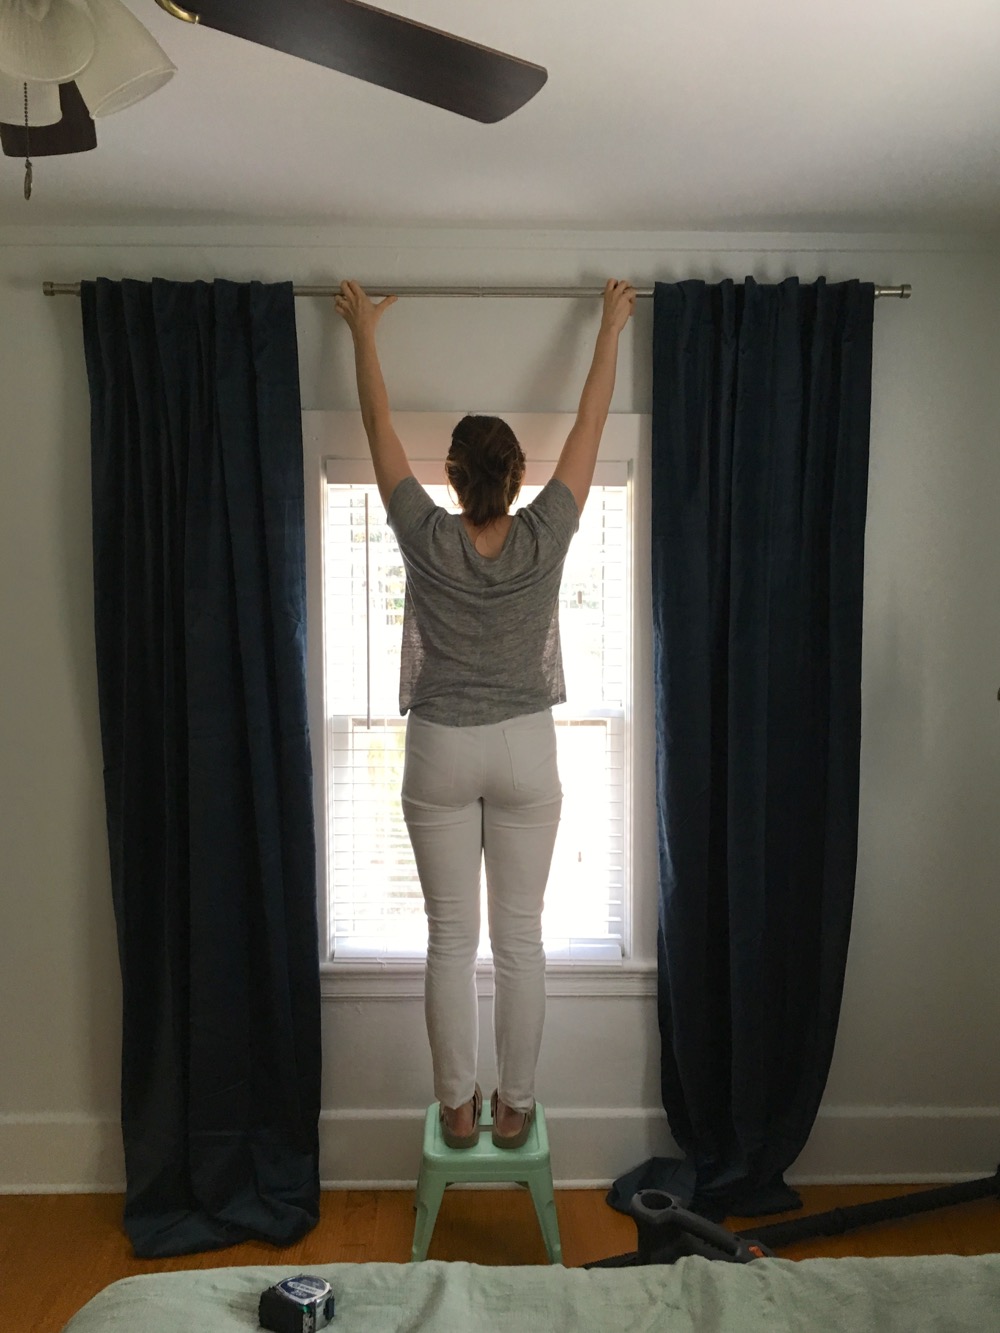
Hi, Happy Thursday! Is your New Year off to a good start?Remember a couple weeks ago when I shared our new bedroom curtains? And I promised to share a tutorial about how hanging curtains on plaster walls? Well, here it is.
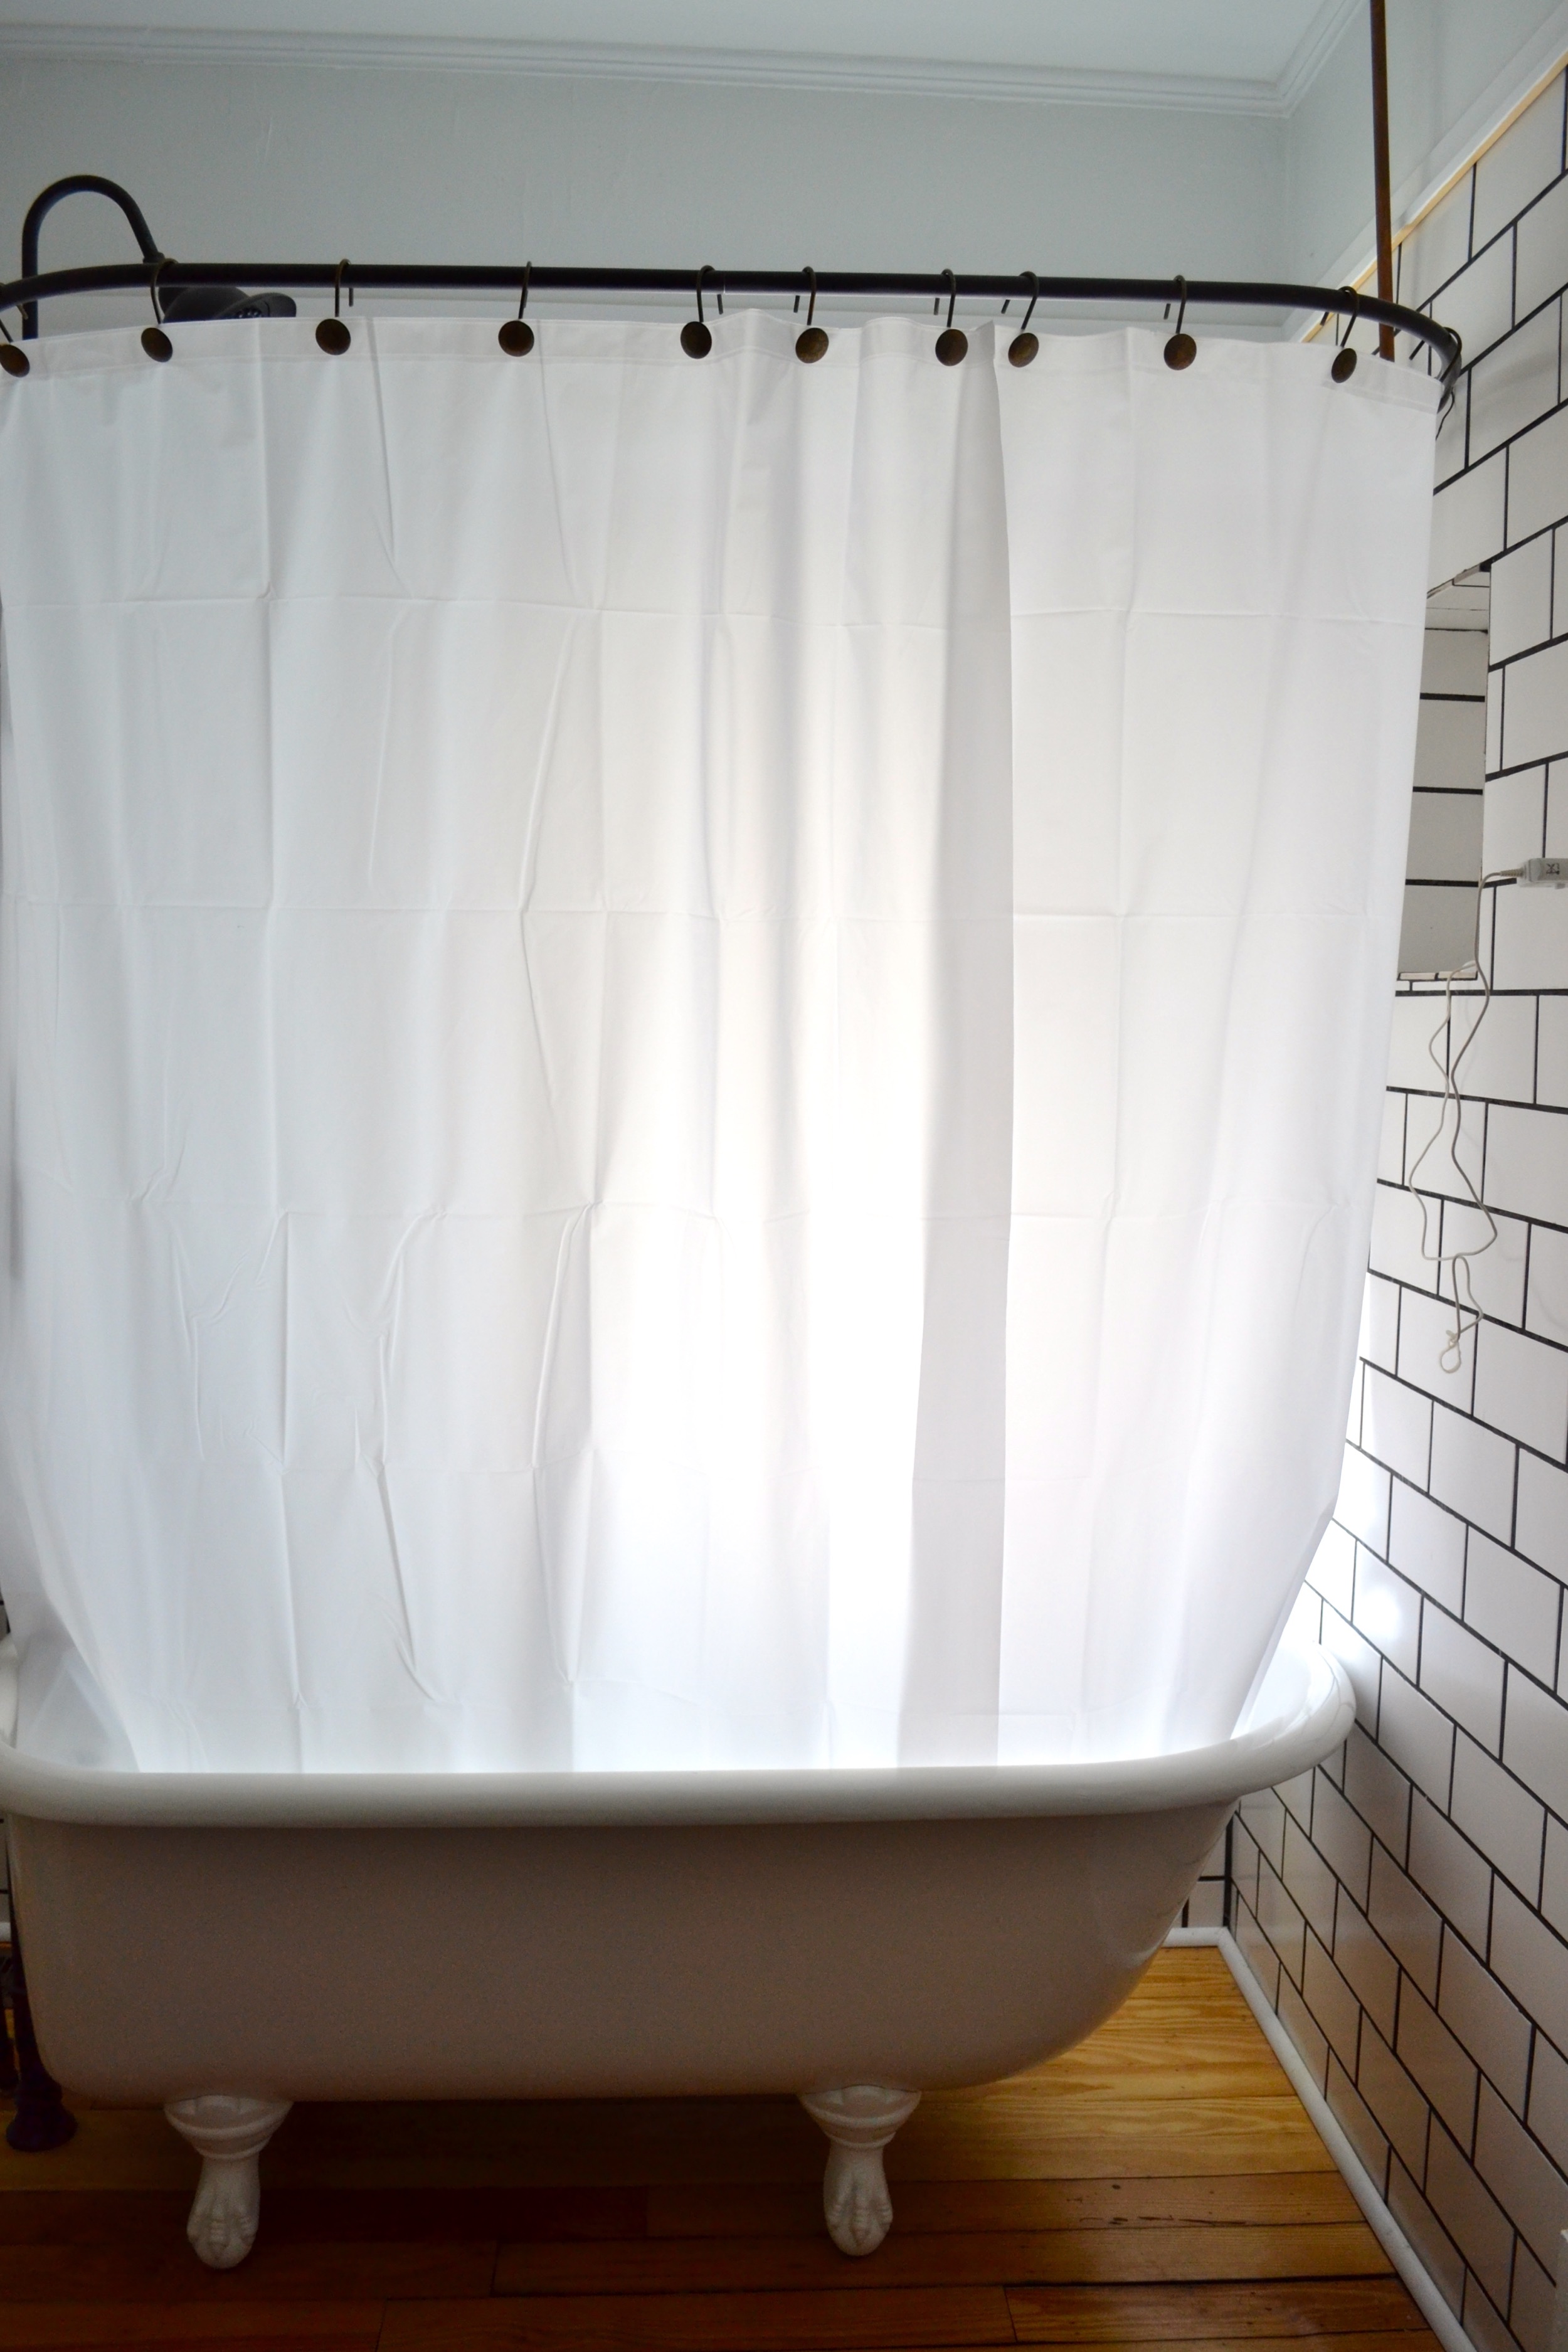
Hi there! Today I’m sharing an update on our clawfoot tub shower curtain liner idea. If you’ve been following along for a while now you know that we have a clawfoot tub as our primary shower. So, I’ve written several posts chronicling how we’re making that work. One of the first ones I did was about our shower curtain liner.
Today I’m sharing how to easily switch out that old outlet or light switch. You know the one I’m talking about. It looks old and yellowed when in fact it’s just “almond.” A color that really shouldn’t be in existence any more. Or maybe it has paint on it because it wasn’t protected during the last redesign, or perhaps it’s chipped, or the plate doesn’t even really fit and it wiggles threatening to fall off with each plug and unplug. Whatever the reason – just replace it. I’m telling you, you won’t believe the difference it makes. And it feels that much better knowing you did it yourself. So, I’m sharing the how-to instructions and of course if you’re still not comfortable your local handyman should be able to do it in snap.
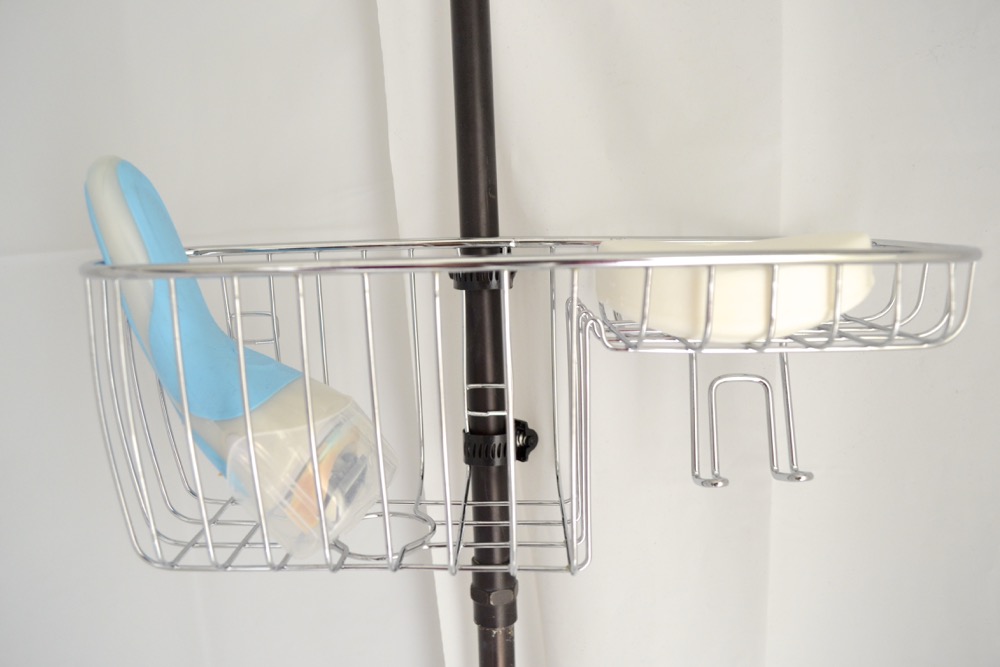
Hi friends, today I’m sharing another DIY for your clawfoot tub. Did you know that my posts about our clawfoot tub are some of my most popular? I think everyone who has to use them for showering is just as confused about where to start as I was! So if you’re one of those people, this one’s for you! And you’re going to love it because it’s so simple - I’m not exaggerating at all when I say that. (Plus, you might want to check out this one, this one, and this one.)
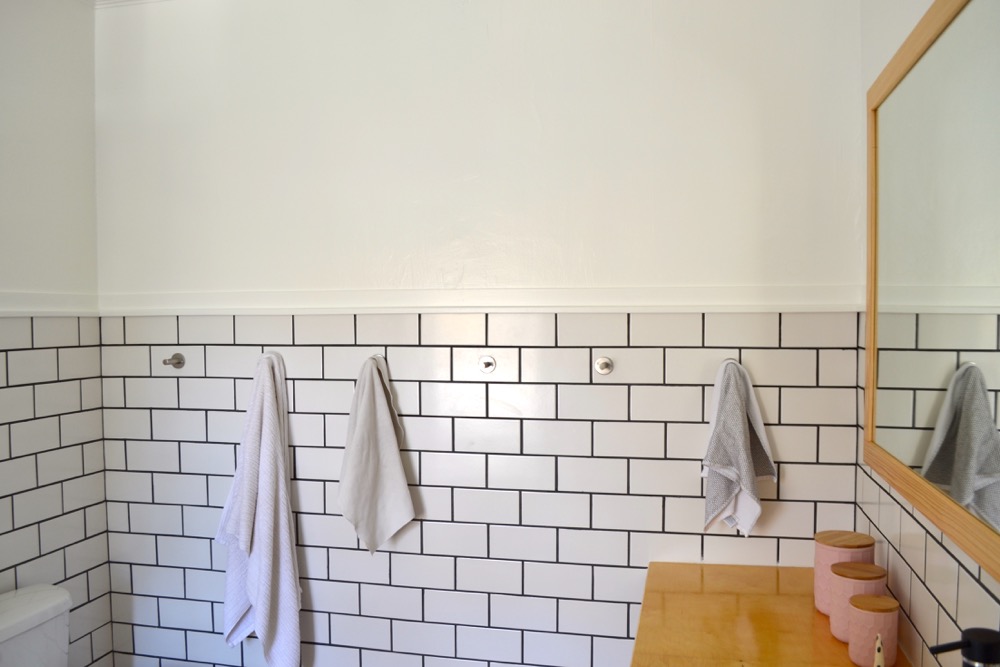
Happy Monday, Friends! Today I have another update on our upstairs bathroom. It’s getting so close to being finished I can’t even wait!So, there was a little drama with these hooks before they even arrived. You see I accidentally ordered them to my old address. IN SAN FRANCISCO. After lots of phone calls and emails to friends in the city, a message to our old landlord, and an awesome customer service experience our old order was cancelled and refunded and we reordered the hooks to the correct address. Moral of the story? Anthropologie stores a default address for your online orders. Be sure that it’s the right one (it doesn’t matter if you’ve ordered things to your new address before, you know, say, the night before 🙈).
Happy Monday, friends! How was your weekend? Mine was great, we got lots of stuff done around the house, and didn’t have too many plans, which I always enjoy.One thing we did a lot of was talking about and planning the new kitchen. If you’re interested in what’s been happening up until now you can find that post here. This weekend we used the Virtual Reality equipment at Xan’s office to walk through each of our 3 schemes. It sounds kind of weird and techy, but it actually helped so much. We both went in thinking we liked one scheme in particular and were pretty sure that was it, and ended up leaving feeling the complete opposite.
Happy Friday, everyone! Today I’m sharing a project that you might want to add to your weekend to do list. And that’s how to fix an outlet that’s been recessed in tile. It’s an easy project that makes a big impact – the best kind if you ask me!
Happy Friday, friends! I’m excited because I’m sharing a project today that’s been on my list of to-dos pretty much since the day we moved in. And that’s a window covering for the front door.
If you’ve been following along with on my Stories then you know that a couple weeks ago Xan and I built a new desk for me. Yippppe it’s so awesome to have it finished, and as I promised I have all the details for you on how to build it. I’m still collecting all the accessories for it and will do a full reveal (hopefully) later this month.
You may remember this post and this post from a while ago where I talked about master planning for your house. I went over what my definition of it is, how we did it, why I felt like it was so valuable, and what we decided on. Well, I thought I’d share a little update about where things are. Recently we finished up the last of our “catch-up” projects. That’s what I’m calling all the stuff that came up in the inspection or is more behind the scenes work. We bought and installed blinds, had gutters installed, updated a lot of the old electricity (see ya, wouldn’t wanna be, knob-and-tube), had a minor roof leak repaired, added an exhaust fan and extra outlet to the upstairs bathroom, had the attic insulation updated, and had both the attic and crawl space spot sealed. It has been a lot of work, but it’s all the kind of stuff that you really can’t see. Even the blinds, for example, technically you can see them but it’s something that you don’t notice at all.
Hi friends, happy Friday! A few weeks ago we tackled this project and its already made such an improvement for us. So, today I’m sharing all the details about how to install a bathroom exhaust fan.Because our house is so old it doesn’t have a lot of the features you typically think of these days. Plumbing and electricity didn’t even exist back then and what we know about how buildings work has evolved so much. So, as you can imagine exhaust fans were definitely not a thing at that time and unlike plumbing and electricity they’re usually much lower on the priority list. But, they’re so important in keeping moisture under control that we were really eager to add one. Especially because we have hardwood in the bathroom.
Last month I showed you guys my foyer make over and you may remember the wooden bowl that I found at Target. I guess it’s more of a tray, really. Either way, I got it to catch our keys and sunglasses and other little things that need to be corralled by the door.
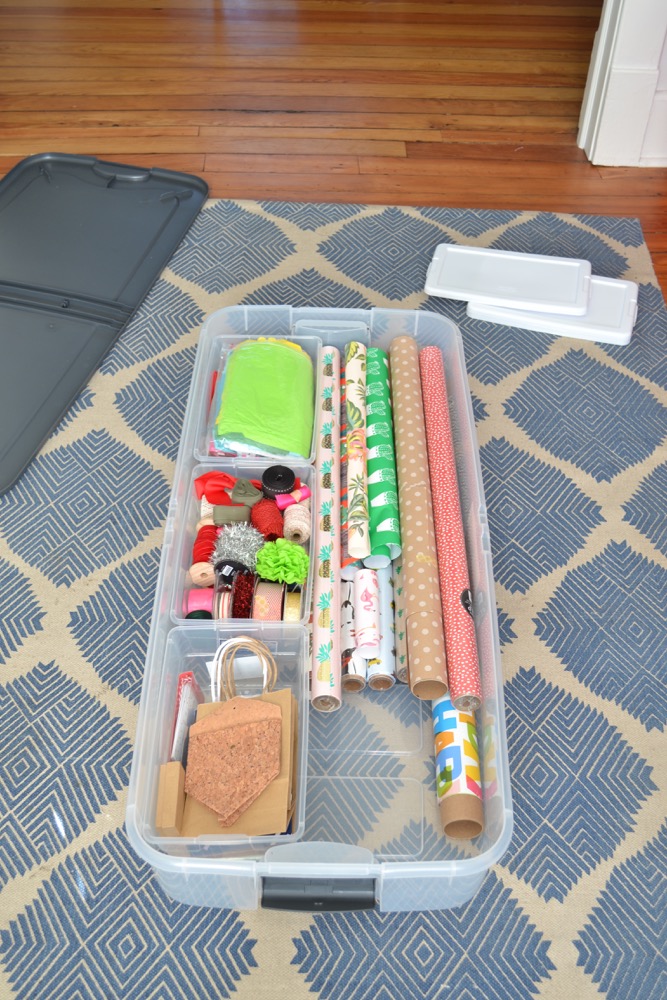
There’s pretty much nothing I love more than a beautifully wrapped gift. It might even be my love language. Ha, but really, I think there’s something so special about a gift that was lovingly crafted. I mean, not only did you get them something special but then you took the time and attention to make it extra beautiful. And nobody is ever sad about receiving a pretty package!
We’re slowly inching closer to a finished upstairs bathroom. Even though we didn’t do any major renovations in there it’s still taking a while and the latest step in getting there was a fresh coat of paint. You may be thinking to yourself, “Allie, the bathroom doesn’t look like it needs to be painted?”
I was sitting down to write a post updating you guys on what the next steps in our house are and how the Master Plan is guiding that. Well, that’s when I realized, I only told you about master planning in general, but not what our plans that came out of it are. So, I decided to put the other post on hold and write this one giving you all the details first. It just makes sense!
Hi guys! I’m sorry for the late post today, but you may have seen on Instagram that I broke my toe hiking right before 4th of July. My goal this week was to recover our dining room chairs so in between resting and at a very slow pace that’s what I’ve been doing, and I still have more to go.
You might remember from a few posts back that I’ve been rearranging the furniture in our house. For me this is the final step before the fun stuff like hanging art, designing and just generally adding character and I’ve been pretty much dying to get to that since the day we set foot in this house.
As I’ve mentioned before, this house is 107 years old. It was built in 1910 and has so much charm from that era: the built-ins, the eight-inch baseboards, the heart pine floors and the nine foot ceilings all make my design-heart race. But, along with the amazing details that come to mind when we think of an old house are some other things that are not quite as exciting.








Hi there, friends! I hope you had a really lovely Thanksgiving - we spent time with Xan’s family and ate lots of delicious food. Now we’re scouring the internet for some Black Friday/Cyber Monday deals for a couple things we need.