

Happy Saturday! This weekend is a pretty chill one around here, which I’m really looking forward to. We’re planning on doing a TRX class together this morning, some small things around the house, and hopefully a hike.
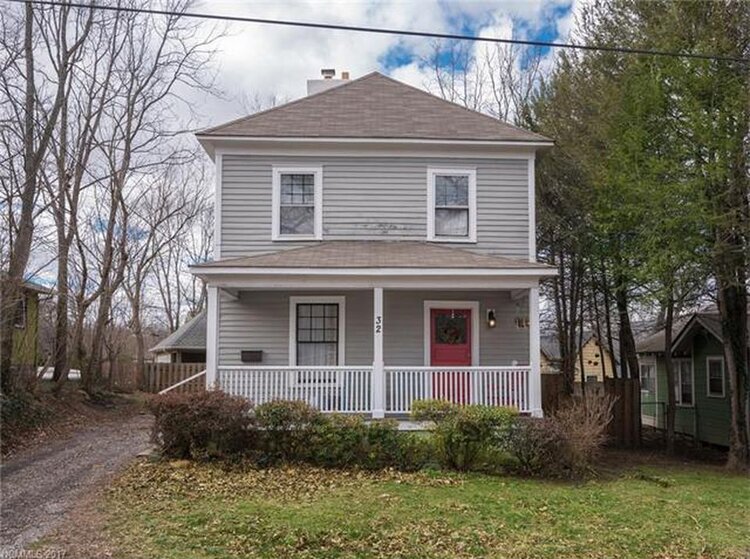
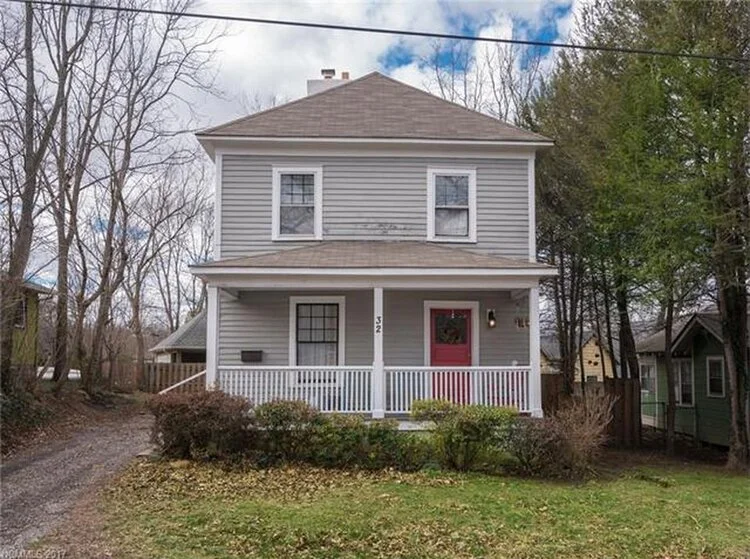
Today I’m sharing all about re-planting our front bed. When we moved in the bed was pretty sad. Actually, upon first glance you couldn’t tell quite how bad it was. But, nearly every plant was different, most of which we couldn’t identify and thus didn’t know how to care for properly. Some produced flowers, some didn’t - if they did flower it was often at different times. They were different sizes making the bed look very uneven with some ugly gaps between some plants. There wasn’t a clear end to the bed, the previous owners had lined it pretty loosely with some rocks and called it a day. The foundation looked bad and I don’t think there was ever any mulch in the bed. So, once you took a second look it was clear that things could be better. Which is why I’d wanted to re-plant from pretty much day 1. However, it definitely took a back seat to some other things. And while the timing isn’t as limited as planting grass, there are still windows to work in.
The befores (first is from the winter when we bought the house and second is what the bed looked like in the spring):

Now, here were my criteria for what I wanted from the plants we chose to landscape the front yard:
Something green year round - I wanted the bed to look good even in the cold winter months. So, beautiful things like hydrangeas, peonies, and even gardenias (in our zone) were out because they would transform into bare little sticks for half the year.
Something that flowers - this wasn’t a must but it was on the wish list.
Something low maintenance - in my household I’m notoriously bad at keeping plants alive and tbh it’s not something I’m very good at or care much about at this point. So, I certainly didn’t want something with strict water, fertilizing, or pruning schedules.
Something hardy - see above. I wanted something that would have a solid chance of surviving and that I wouldn’t have to replant again in a year.
Based on all of these criteria we decided on a dwarf laurel that is very strong and does well in our colder winter climate. It stands up very well to bugs and can survive in the full morning sun our front yard gets. It will have dark green leaves year round and even flowers in the spring and summer!
Here’s what we did to get the bed into beautiful shape. It’s such an easy project!
Pulled up all the old plants and removed the rocks from the bed. We tried to pull up as much of the roots as possible.
Created a 3-foot bed which was smaller than what was previously there.
Marked it off with some string and tilled the whole thing. We checked one out from our local tool library but you could also probably rent one from Lowes or Home Depot.
Mixed some organic matter inton the bed (manure and peat moss).
Put in a divider between the bed and the grass.
Measured the width of the bed and marked where our plants would go. Because these will grow to about three feet wide we planted them every three feet.
Dug holes about twice the width and as deep as the root ball of the plant, added a little fertilizer and covered them back up. When we covered we mounded the dirt into a “dog bowl” shape at the root so the water would catch there.
Covered the bed with garden cloth to help control the weeds.
Covered the entire bed with mulch. We went with a large pine bark because there weren’t many options at the time we picked it up. But I actually really like it.
Around step 5 we also cleaned off the foundation by pressure washing and scrubbing it and then painted it.
I’m obsessed with the transformation! At least once a day I just stand and look at our plants. So far they’re doing great. We watered them twice a day for the first 3 weeks and haven’t watered them since. The rain we get seems to be enough to keep them happy. They’re still quite small but are slowly growing.
While we didn’t intend on it, we ended up getting our plants from a local nursery. We weren’t going to because the price was twice as much as Lowes, but after waiting a couple months for our Lowes to get them in stock I just couldn’t wait anymore. And luckily when we went to the local nursery the price was lower than in the winter when we were researching. Which makes sense I guess, but I didn’t even think it check again. Plus we got great information about how to plant them, some fertilizer and A LIFETIME GUARANTEE! All-in-all I really recommend working with your local nursery, they typically know so much more than the staff at big box stores.
All-in-all this was an extremely easy and low-budget weekend project. The plants are low-maintenance and we’ll enjoy them for years to come.
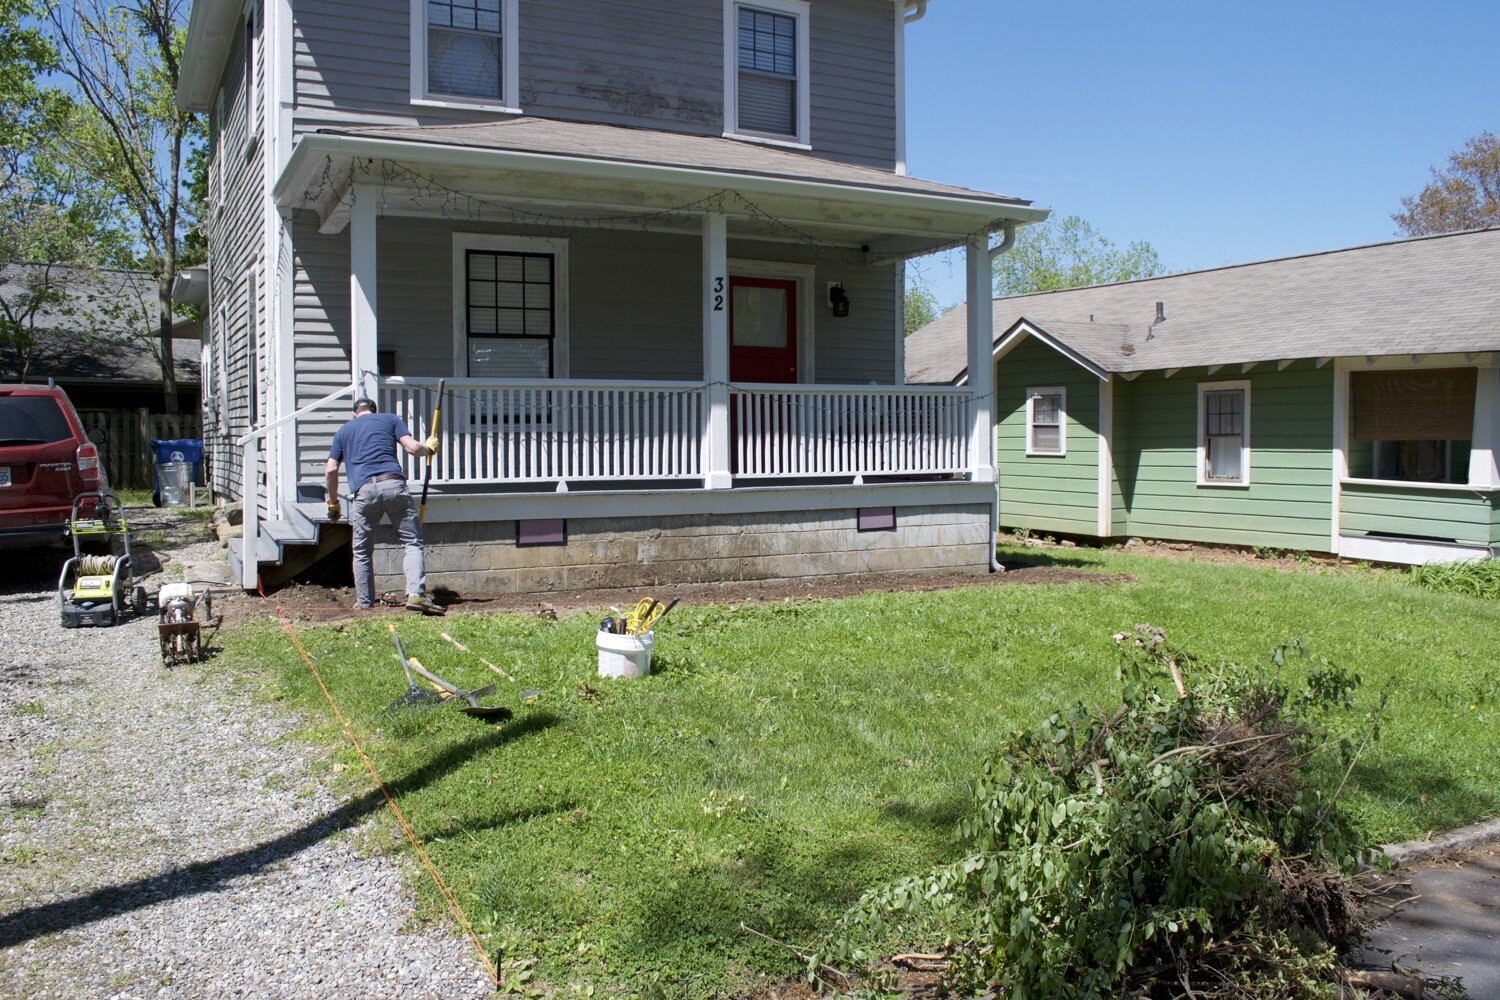
All the original plants pulled up (many were salvaged and given new homes)
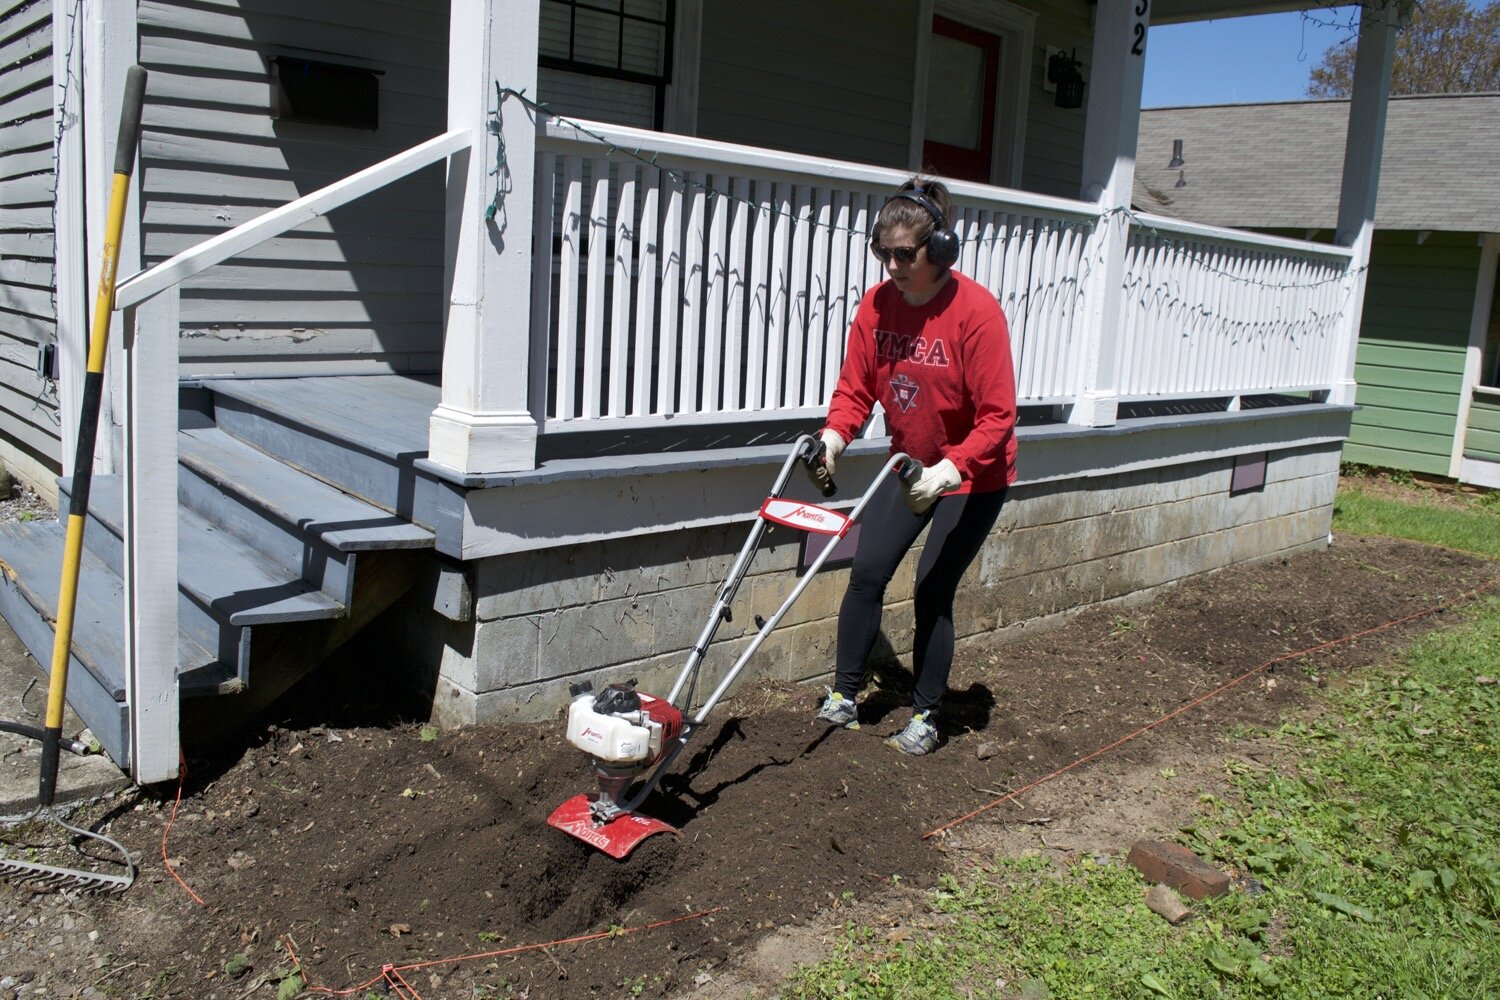
Tilling the bed.
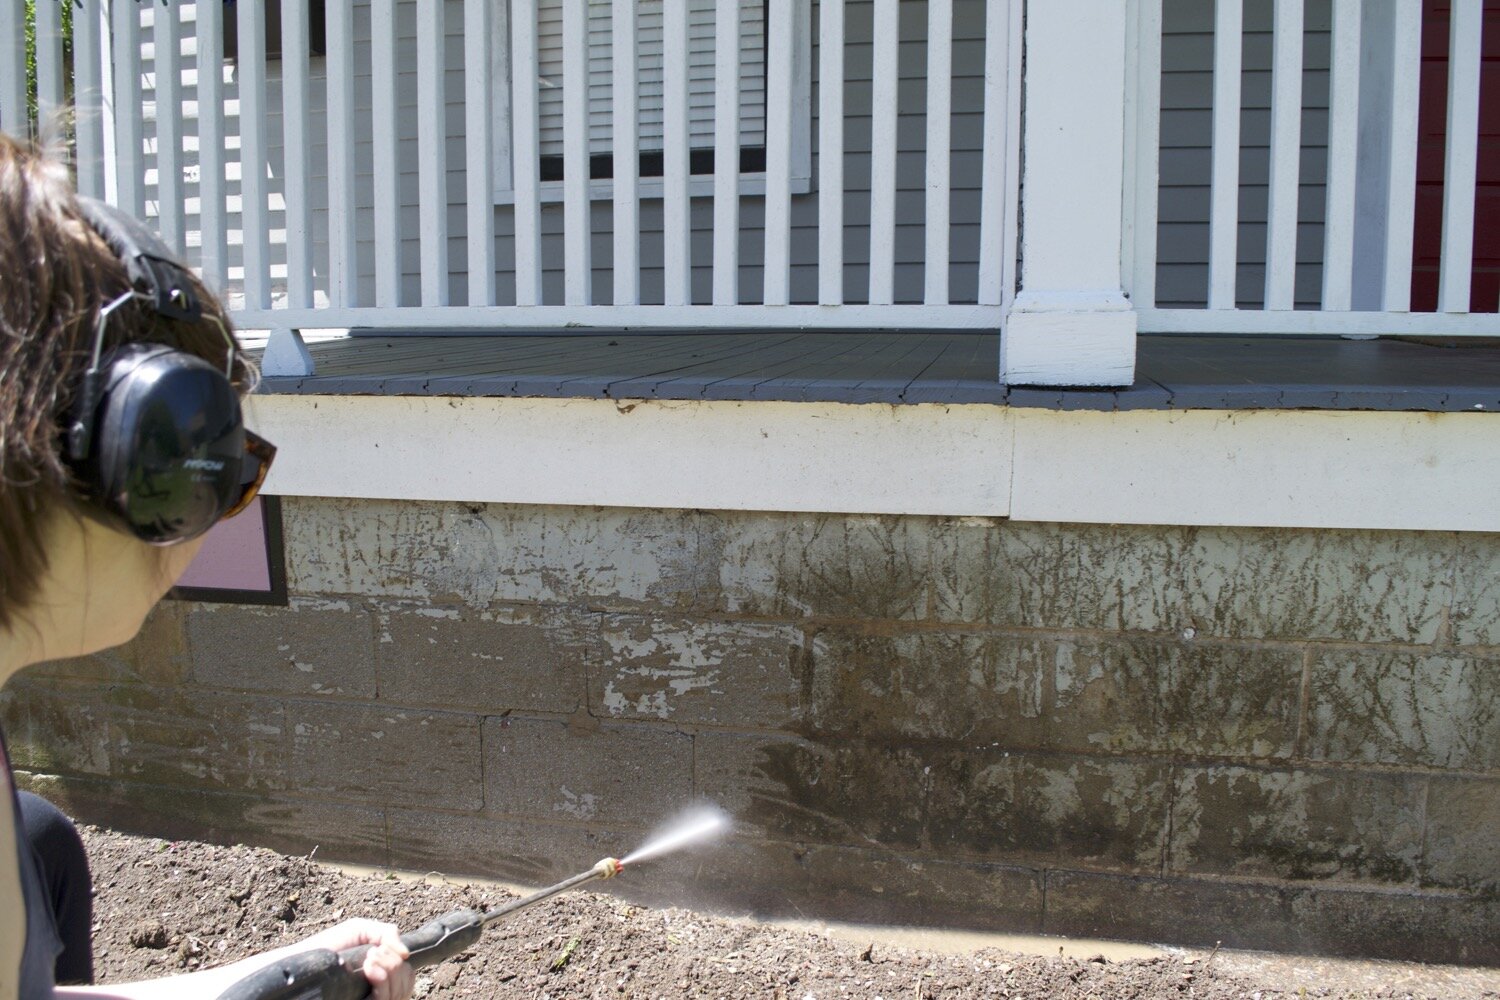
Pressure washing the foundation to prep for painting.
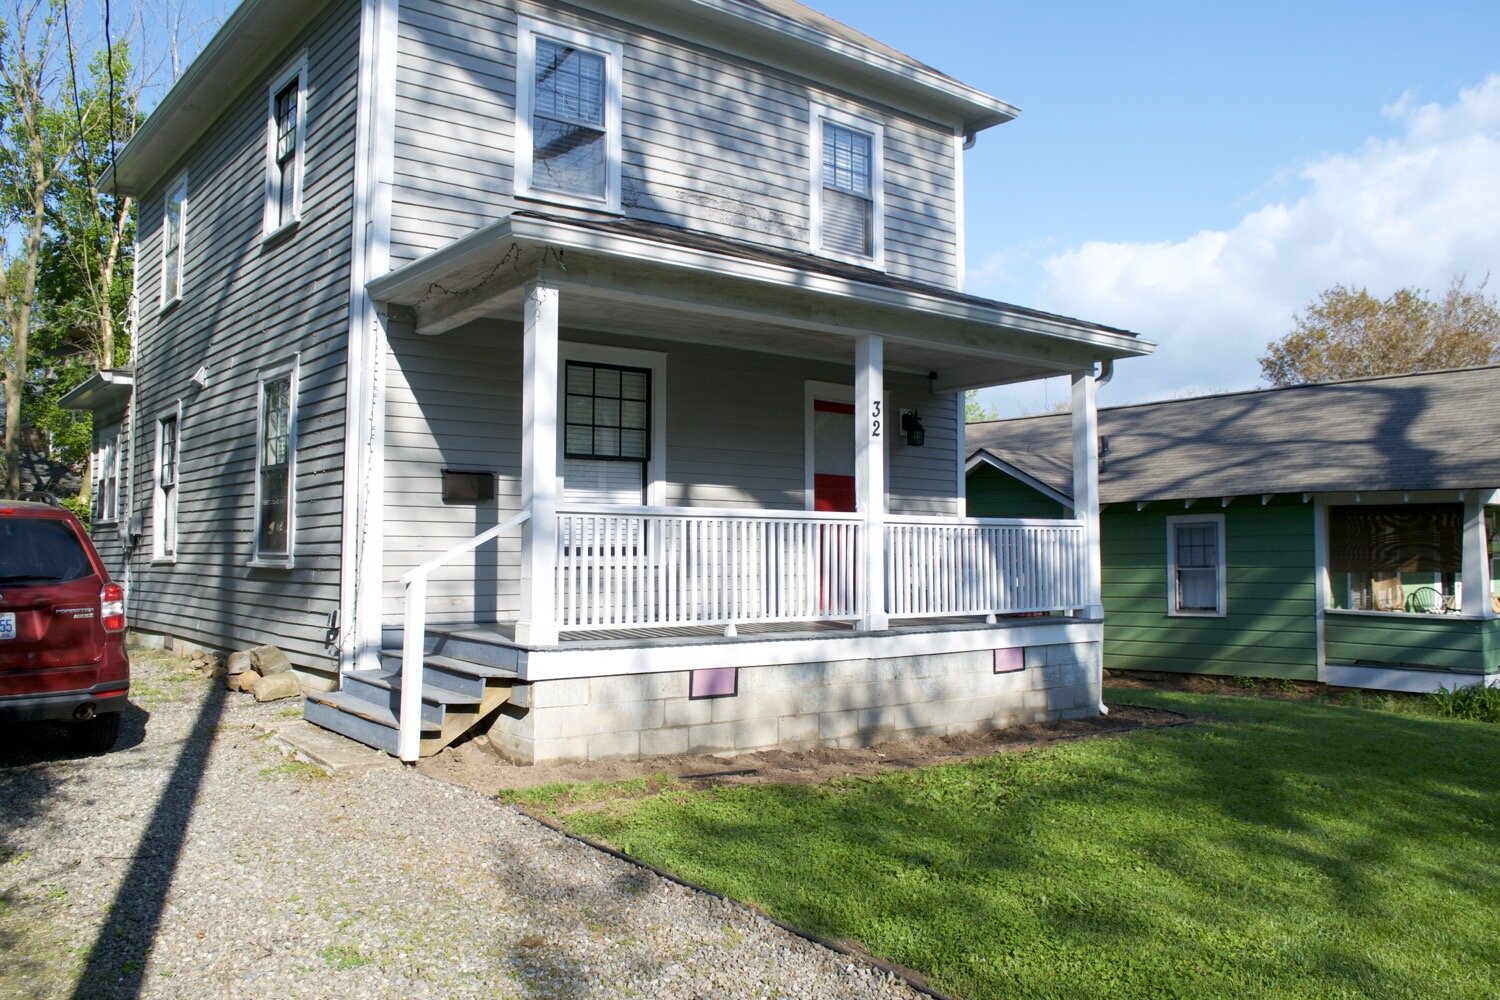
Ready to be painted.
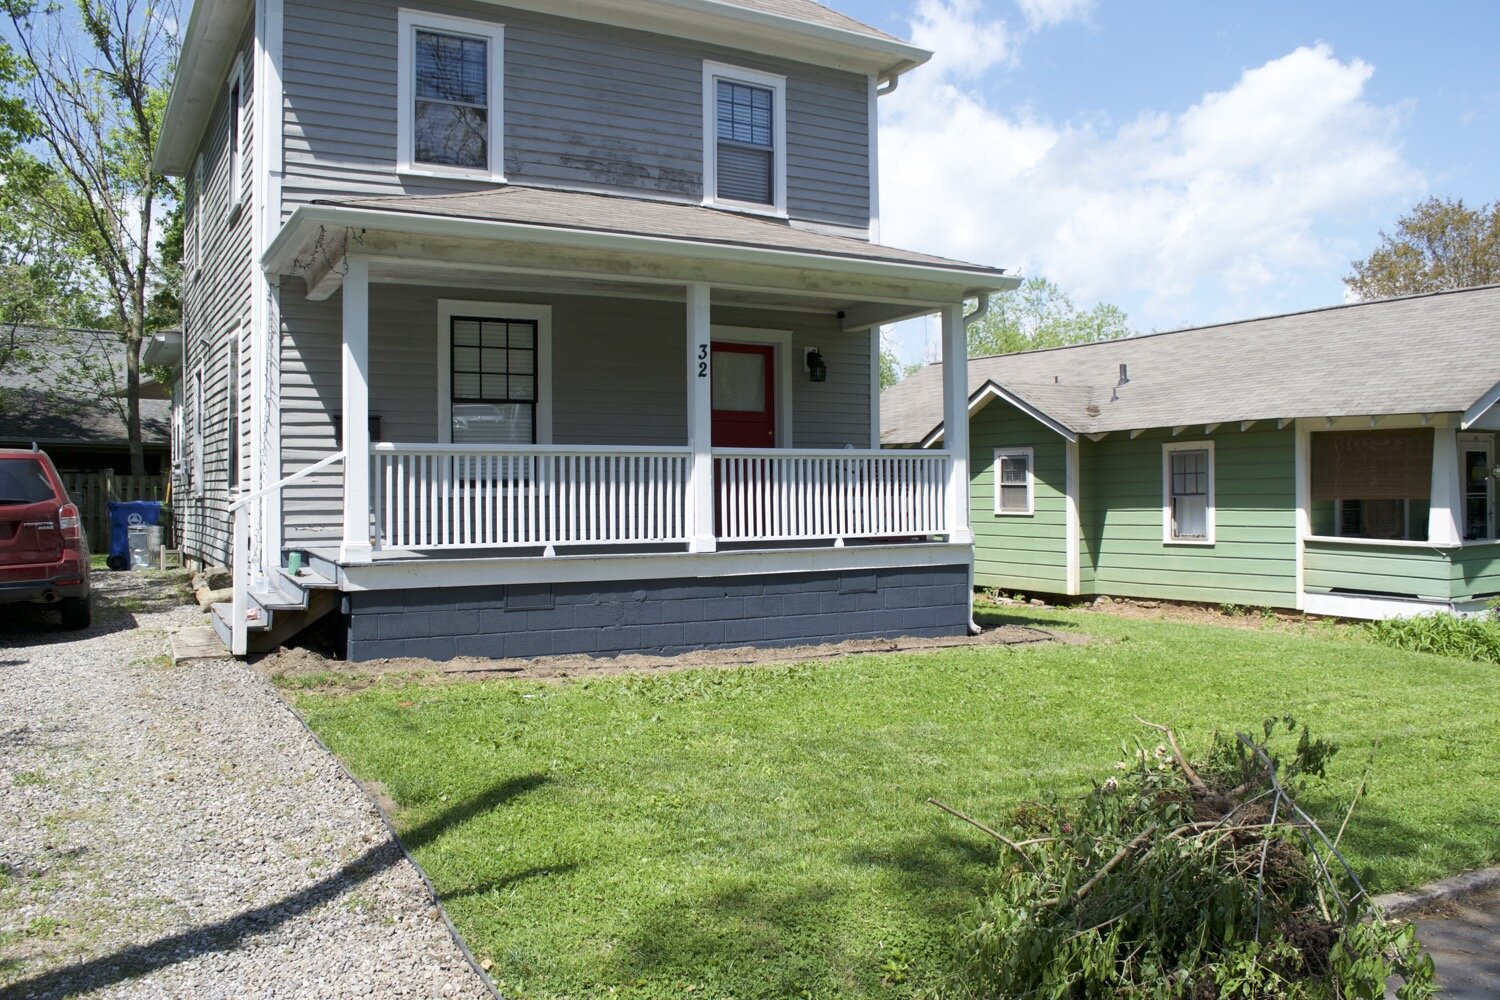
Painted!

Digging for the garden dividers.
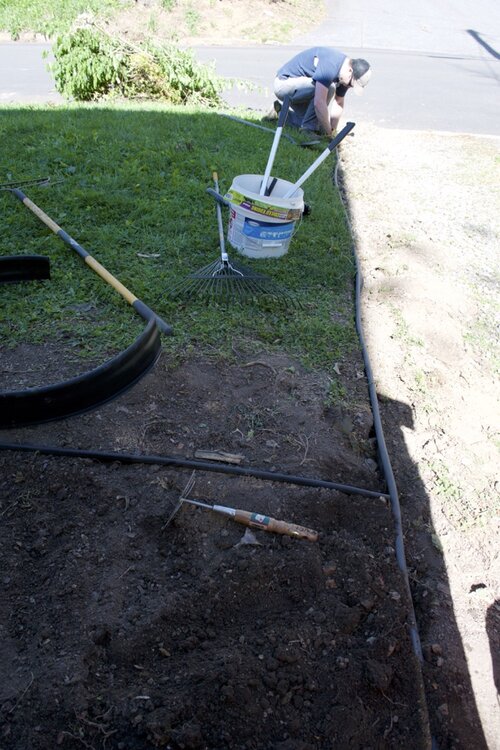
Dividers are in!
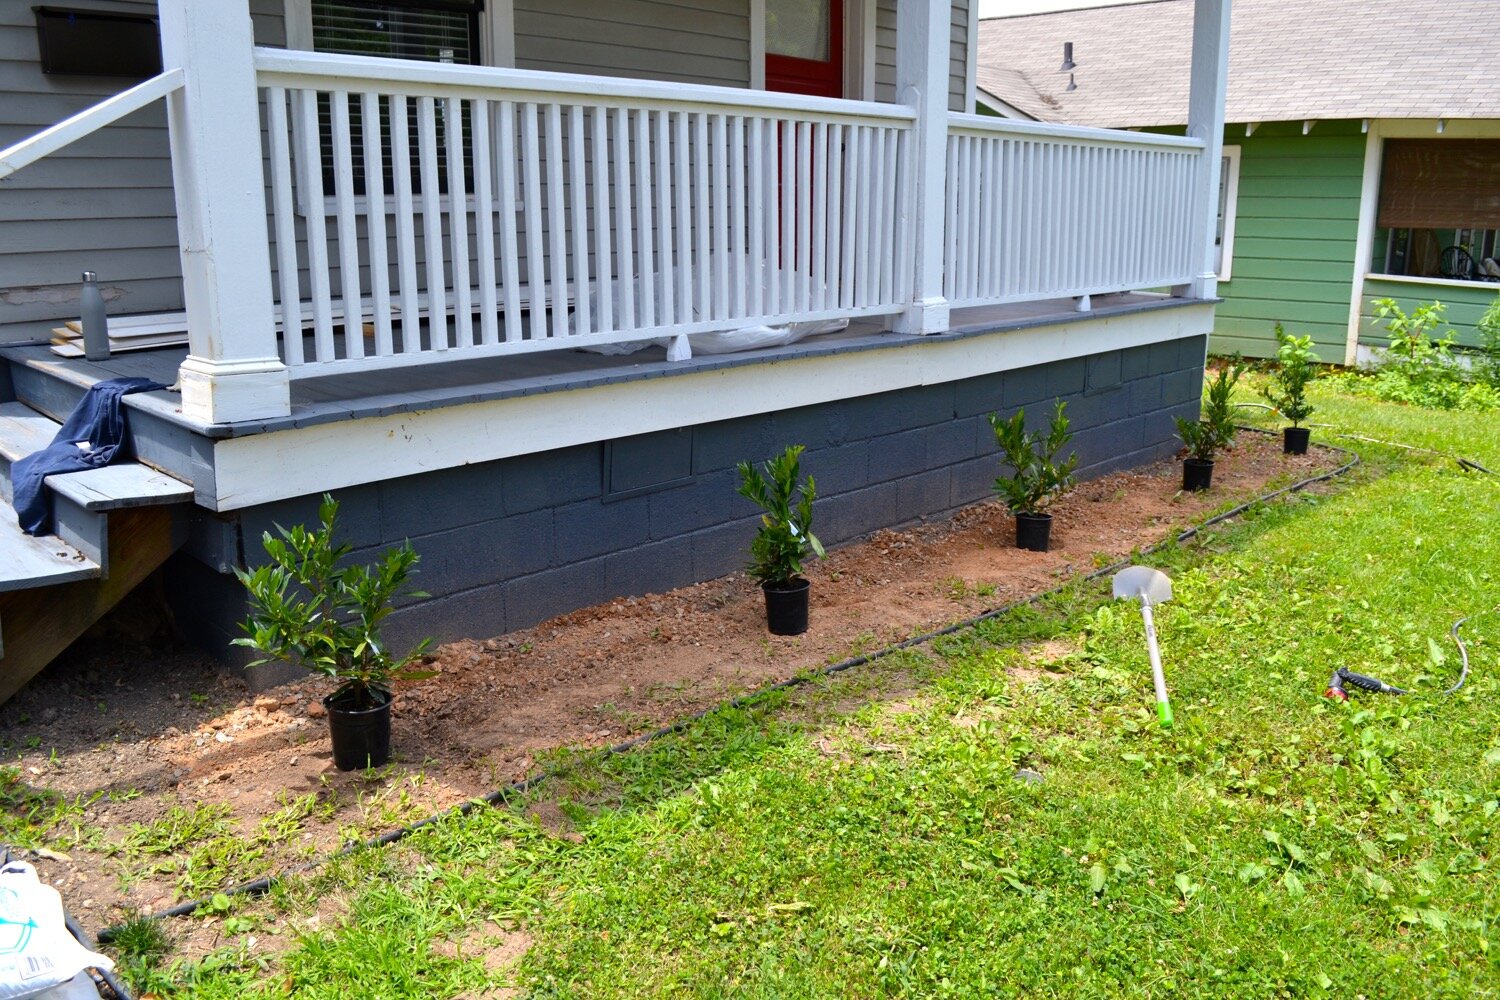
Determining plant spacing.

Making a “dog bowl” out of the dirt so the water collects at the root.
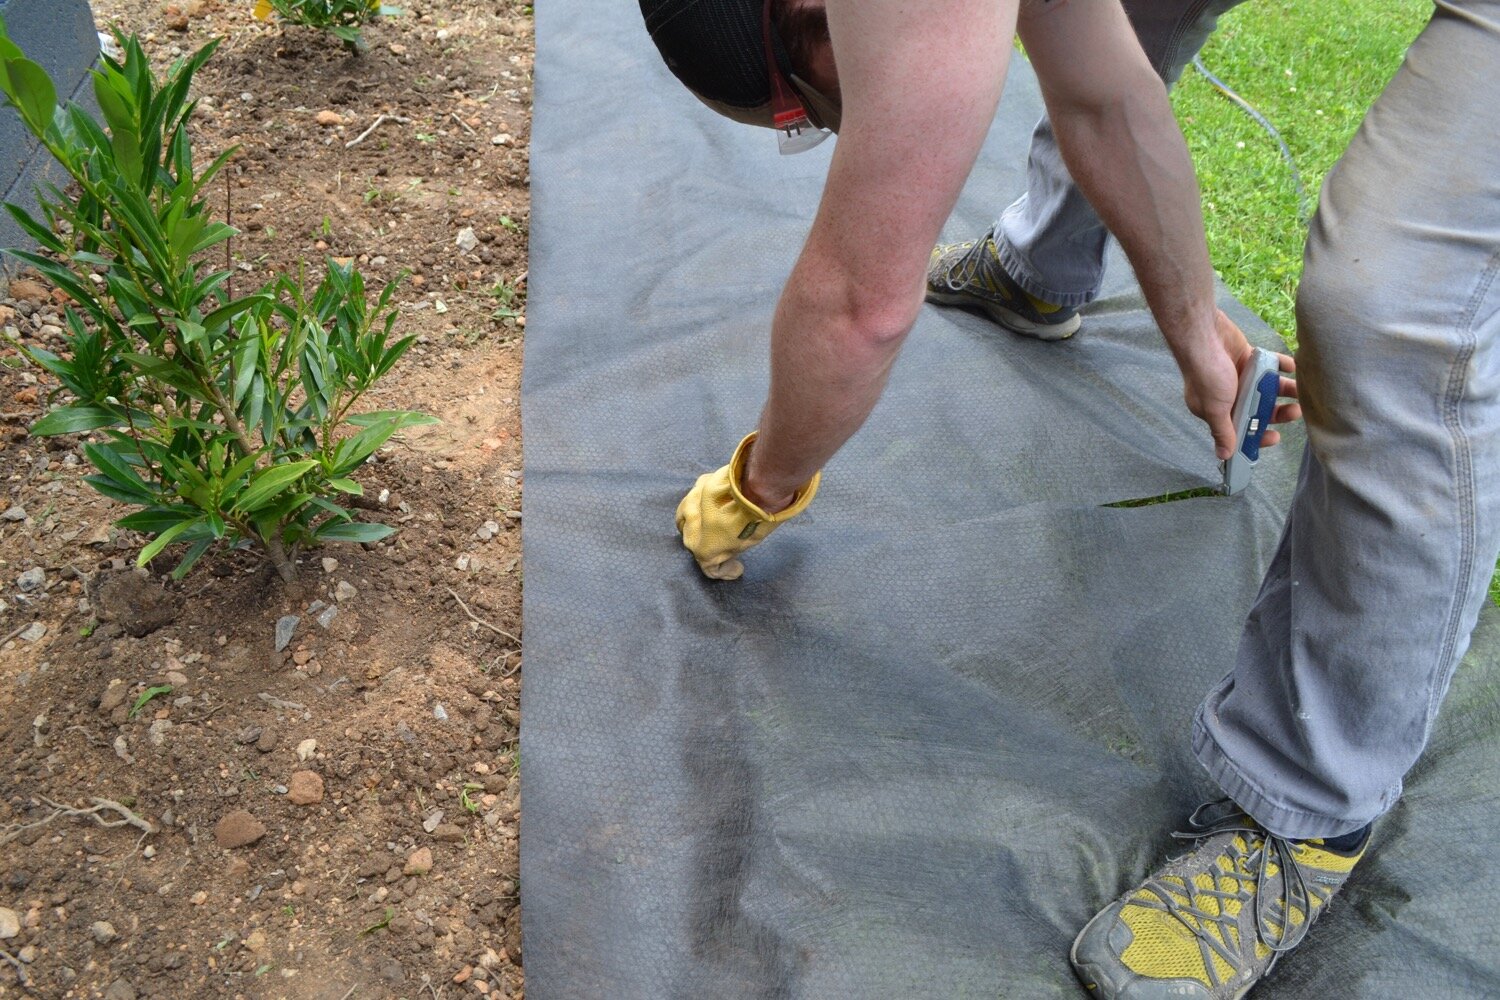
Getting the landscape cloth ready by cutting a + where each plant was with a utility knife. We then lifted it up and slipped it over the plants.

The landscape cloth was secured with metal stakes at various points to keep it in place.

We used 8 bags of large pine bark mulch and created a thick layer on top of the landscape cloth.
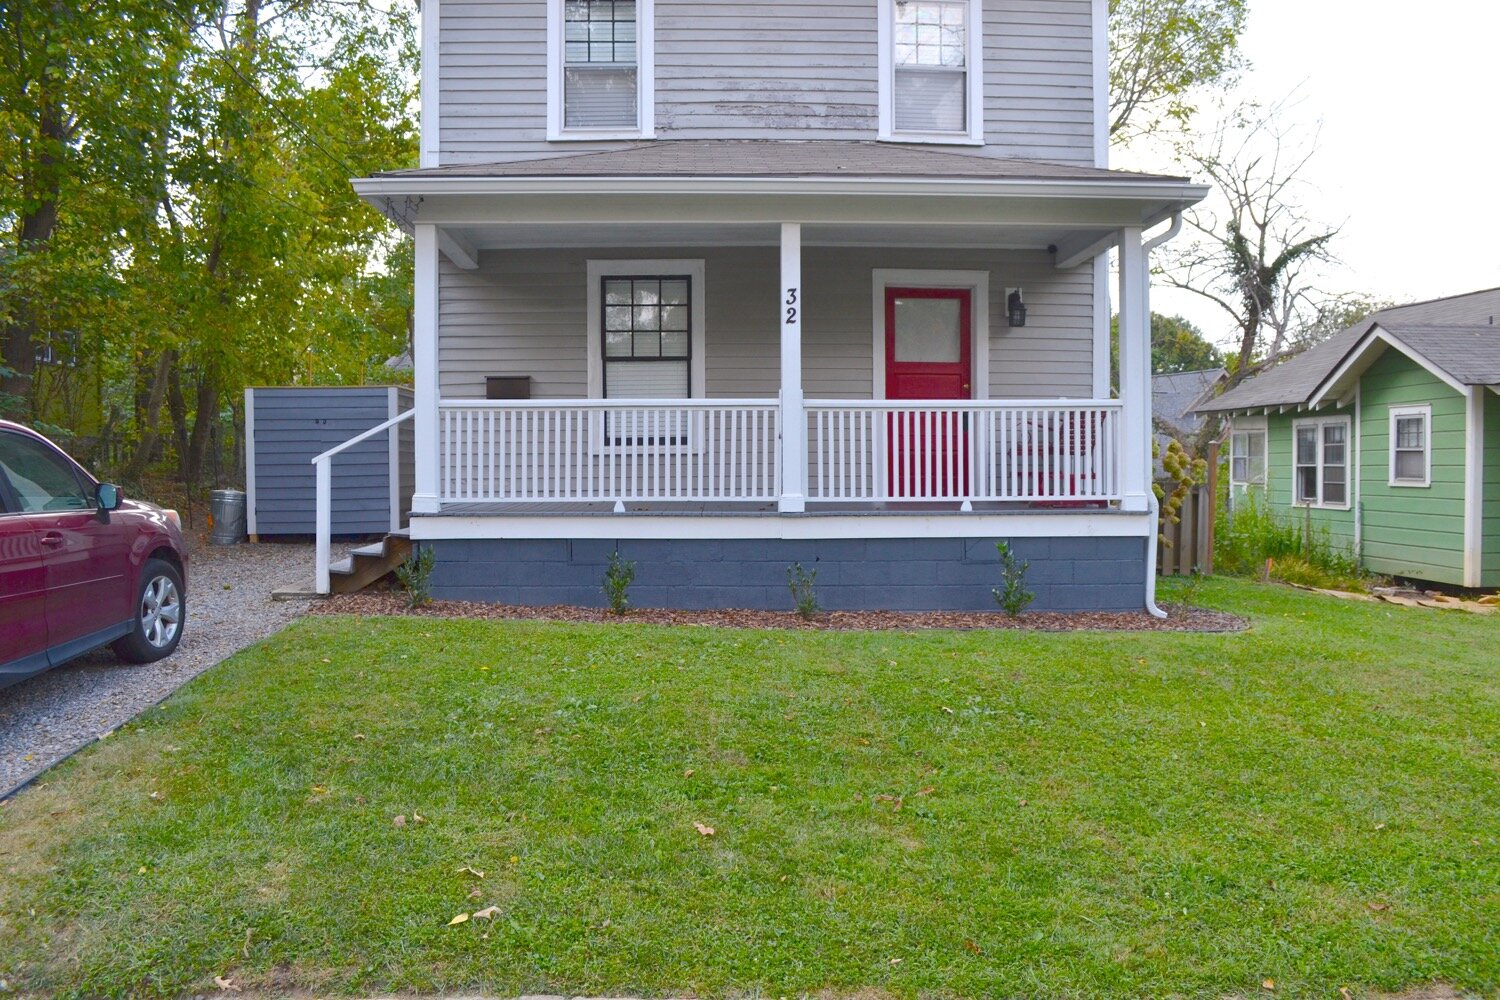
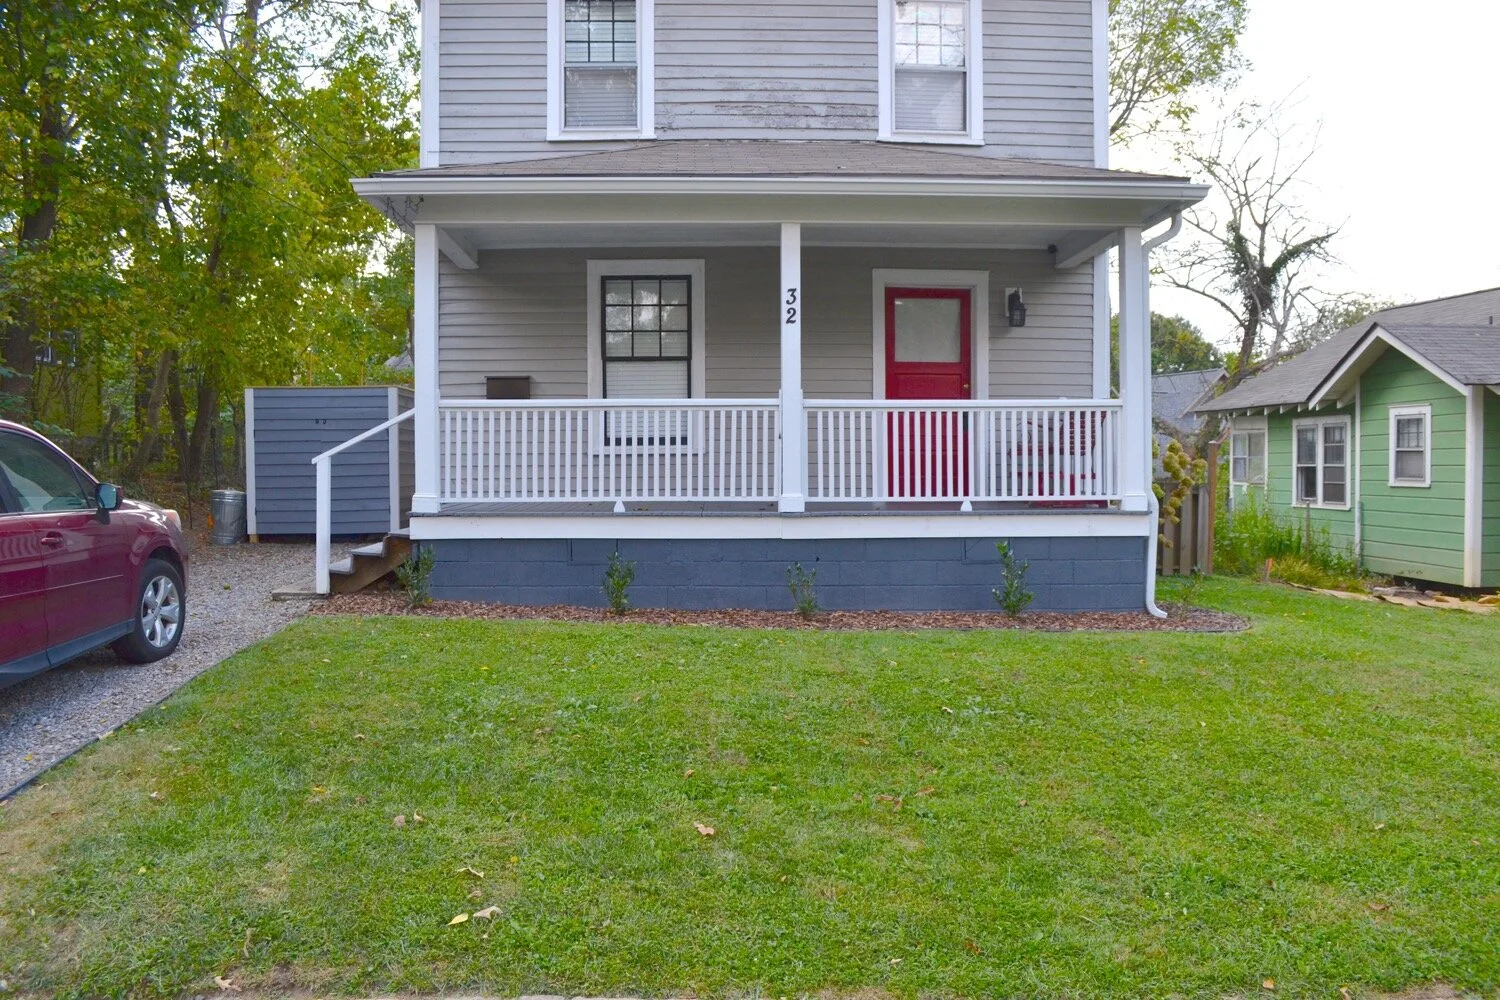
All finished!
Here’s a side-by-side of the before and after:






Happy Saturday! This weekend is a pretty chill one around here, which I’m really looking forward to. We’re planning on doing a TRX class together this morning, some small things around the house, and hopefully a hike. Today I’m sharing all about re-planting our front bed. When we moved in the bed was pretty sad. Actually, upon first glance you couldn’t tell quite how bad it was. (click to see the before and afters!)