Hi, Happy Thursday! Is your New Year off to a good start?
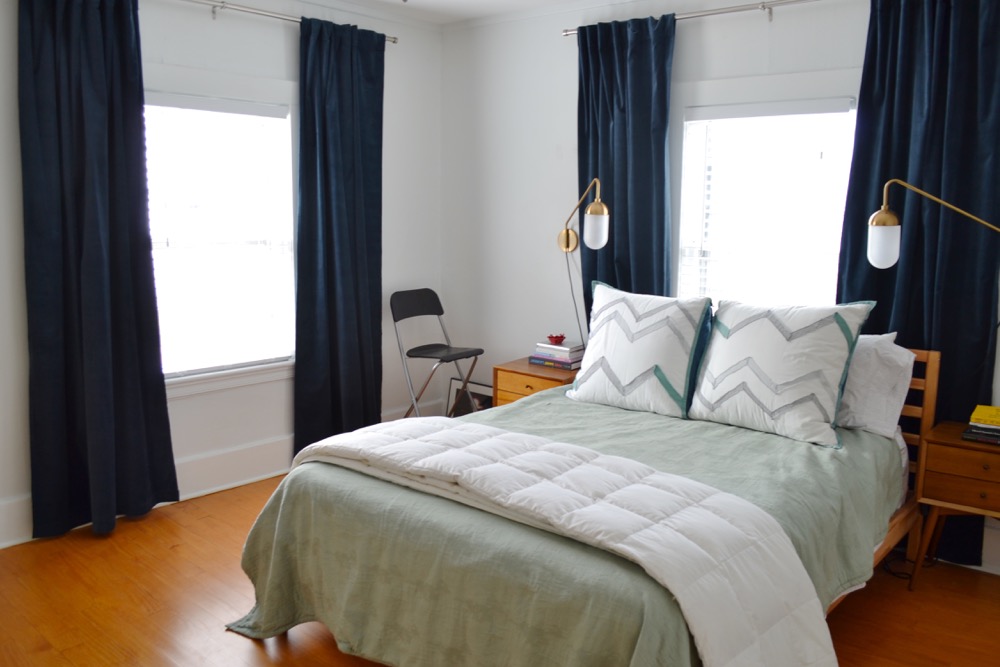
Remember a couple weeks ago when I shared our new bedroom curtains? And I promised to share a tutorial about how hanging curtains on plaster walls? Well, here it is. If you’re also living in an old house with plaster walls that are a little tricky to work with then have no fear, you’re in the right place! And, this tutorial is actually applicable even if you don’t have plaster walls, just be sure you’re drilling into a stud and you can use regular screws.
Sources: Curtains // Curtain Rods
How-to Hang Curtains on Plaster Walls
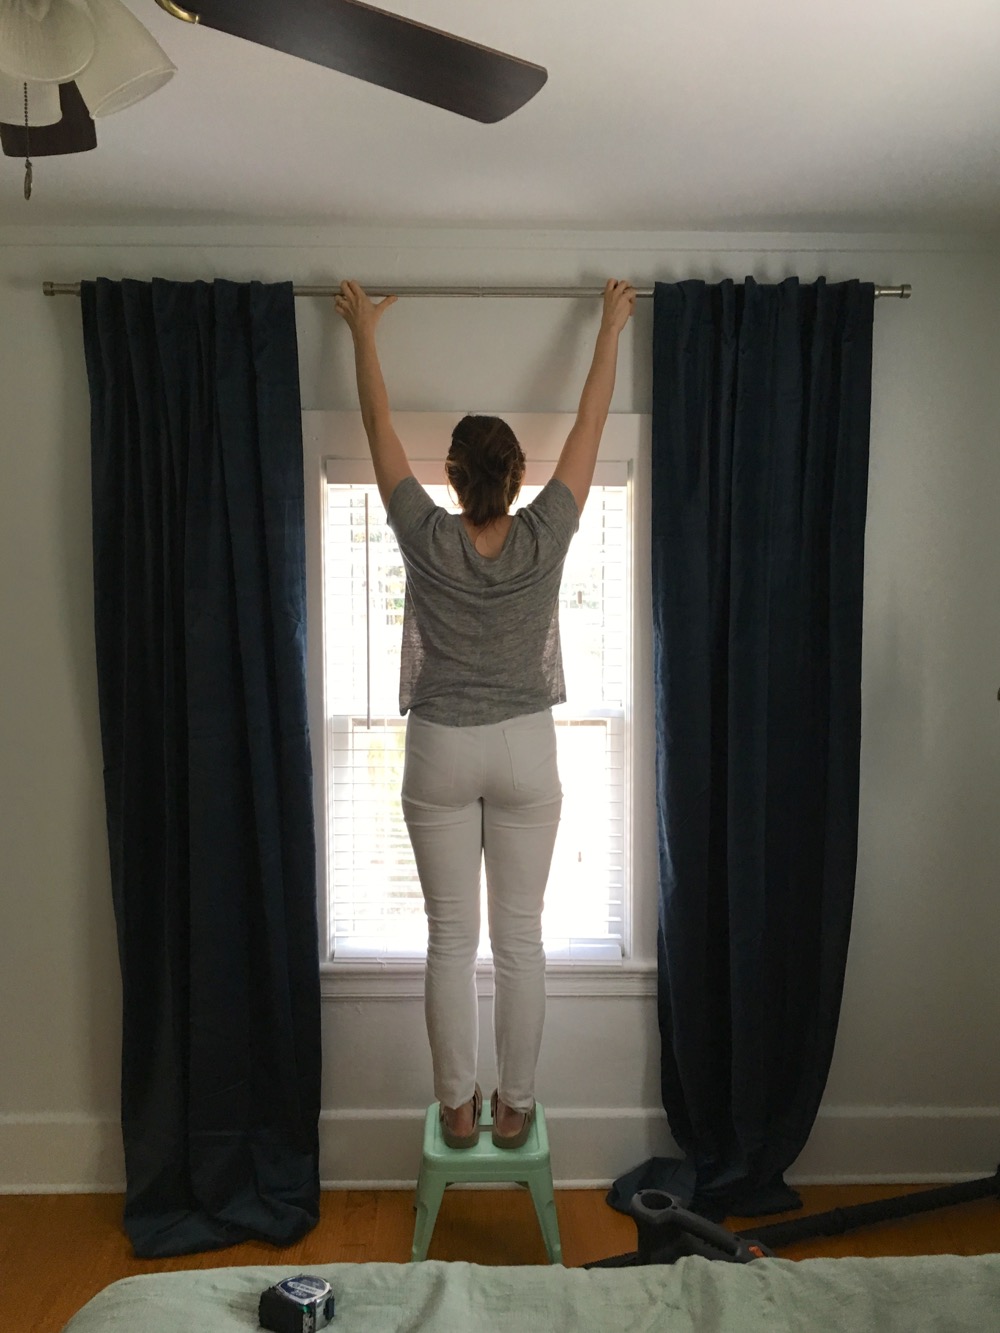
1. Decide on curtain placement. You want to hang them as high above your window frame as you can. As long as they’re at least a few inches below the ceiling you’re good to go. The higher you hang them the more visual space you create. The other tip is to hang them wide. You want the outer edge of the curtain to be about 10-12 inches from the outside edge of the window frame. This tricks your eye into thinking the window is bigger than it is. Just be sure that there’s enough fabric that your curtains hang naturally when closed, rather than looking like they’ve been pulled tight.
2. After you’ve decided where the curtains should go, you can determine where the brackets should be placed. Once you do, hold them up to the wall and mark the holes with a pencil. Xan uses a torpedo level to make sure the brackets are plumb (straight up and down). Use the appropriate anchors to mount the brackets.
Note about plaster walls vs. drywall: We have plaster walls, which can be tricky. While drywall can be difficult to fasten to unless you are drilling into a stud, plaster walls are even more difficult for a couple reasons. For starters, stud finders are not usually effective on them. Plaster is applied in layers to horizontal strips of wood called lath, which is nailed across the studs. A stud finder won’t be accurate because it detects all the strips of lath and not just the stud. We have found that a strong magnet on a string (dental floss, actually) is helpful for detecting the nail heads used to nail the lath to the studs, which tells you where the studs are. Often in older houses with plaster walls the studs are not on regular dimensions as they are in more modern homes. So you cannot measure 16” or 24” from the first stud you find. Secondly, plaster is more brittle than drywall, and it will crack very easily. Furthermore, you cannot nail into it, the nail will hit the lath pushing it back and releasing the bond it has with the plaster (a recipe for more cracks!). Even for hanging pictures we drill a tiny hole for the nail and it works great. Some people put a piece of blue painters tape over where they are drill to prevent cracks which is a good precautionary measure.
3. For these brackets Xan used 1/8th x 2 toggle bolts. He likes these for plaster because once the toggle gets behind the lath, its far more secure than a single screw. They are especially useful for anything heavy. But, we use them for almost everything we hang. He used a toggle bolt in the top hole of each of the brackets. First drill a ¼” hole and insert toggle bolt with the wings depressed so once it’s through the opening, it expands and is secure. Be sure you insert the bolt through the bracket before placing it in the wall. Once a toggle bolt goes in it’s extremely difficult to get out.
4. For the second hole, Xan used a triple grip expanding wall anchor because two toggle bolts would have been overkill. This was more to stabilize the bracket than hold it up. The toggle bolt does that.
Do you have plaster walls? If so, what tips or tricks do you use when working with them
Don't forget to pin this and save it for the next time your hanging something on your plaster walls!
*This post contains affiliate links.


