
Happy Friday, everyone! Today I’m sharing a project that you might want to add to your weekend to do list. And that’s how to fix an outlet that’s been recessed in tile. It’s an easy project that makes a big impact – the best kind if you ask me!
Fixing an Outlet: the Background
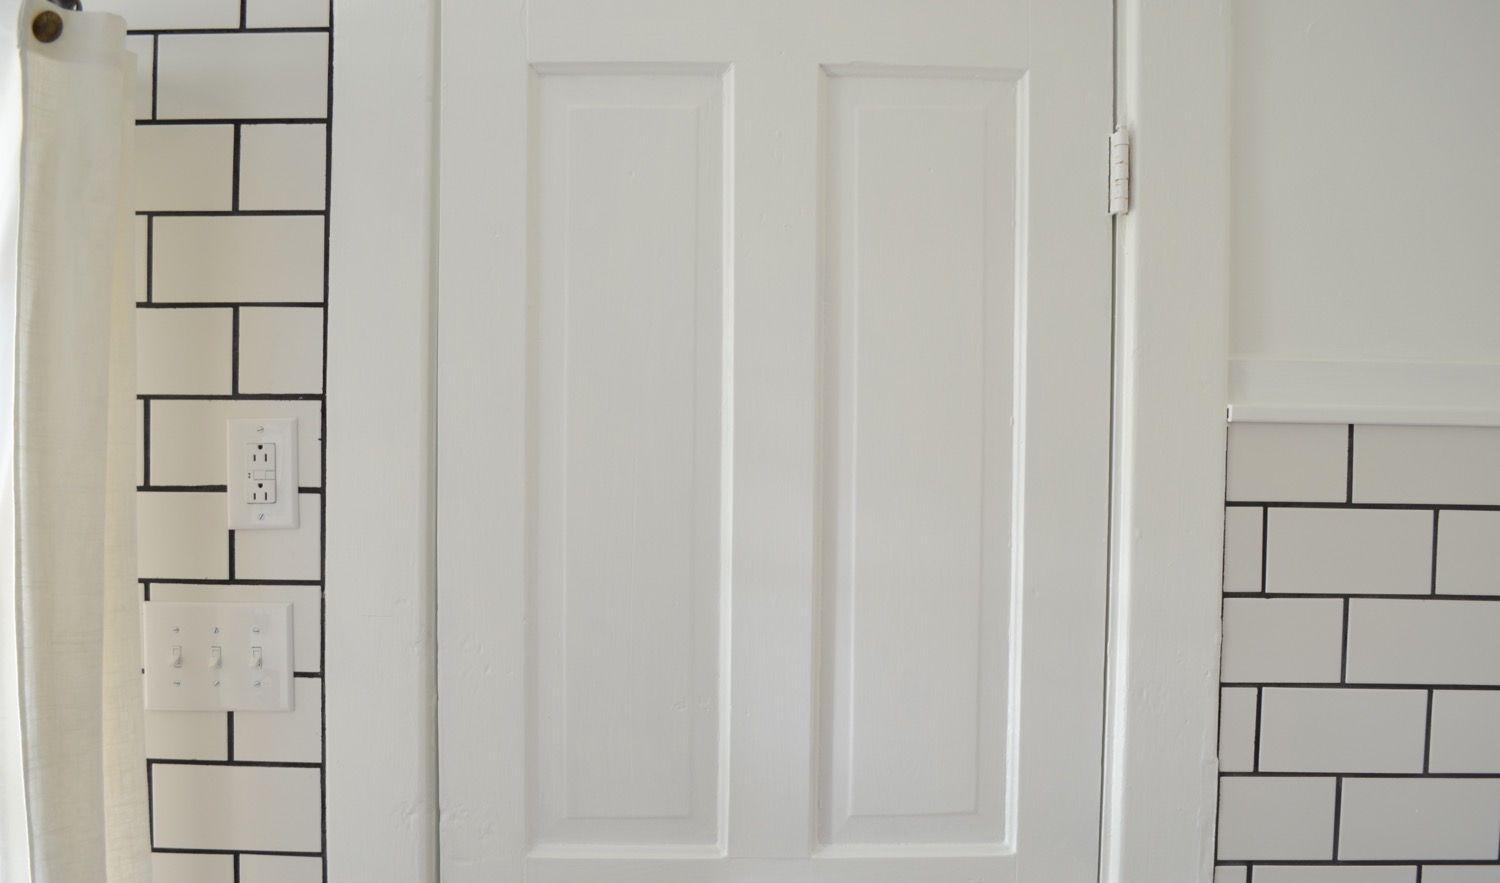
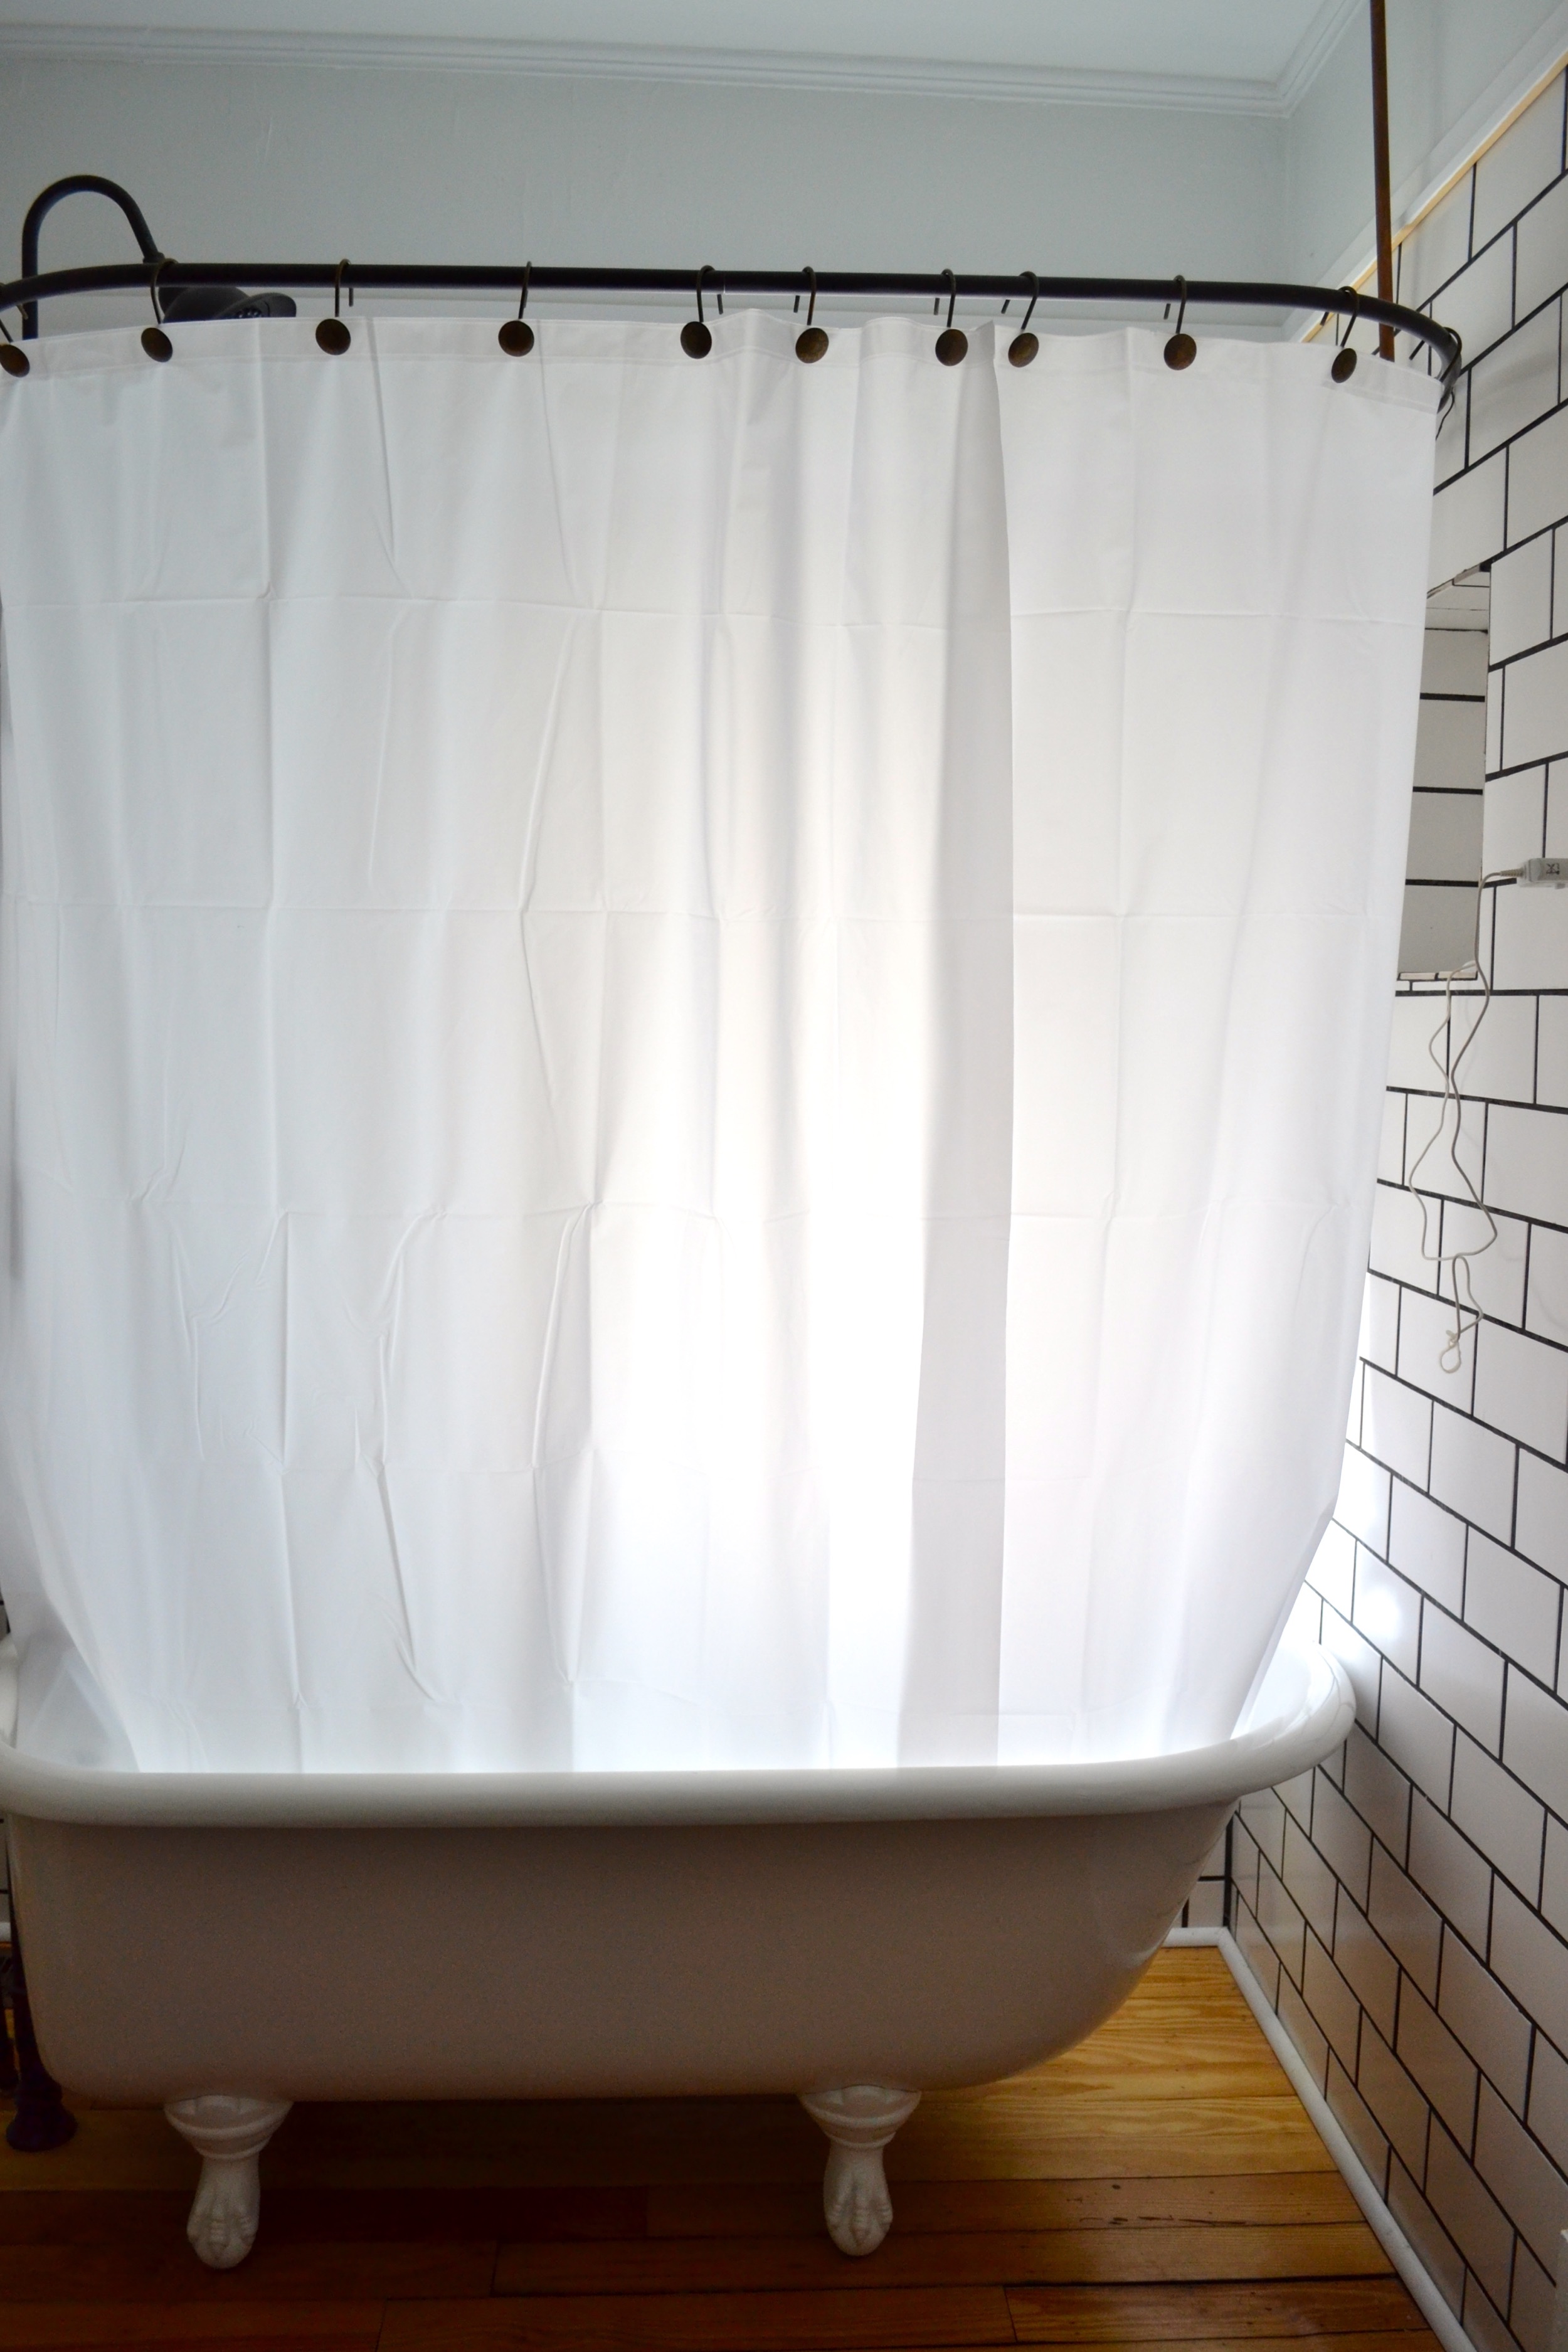
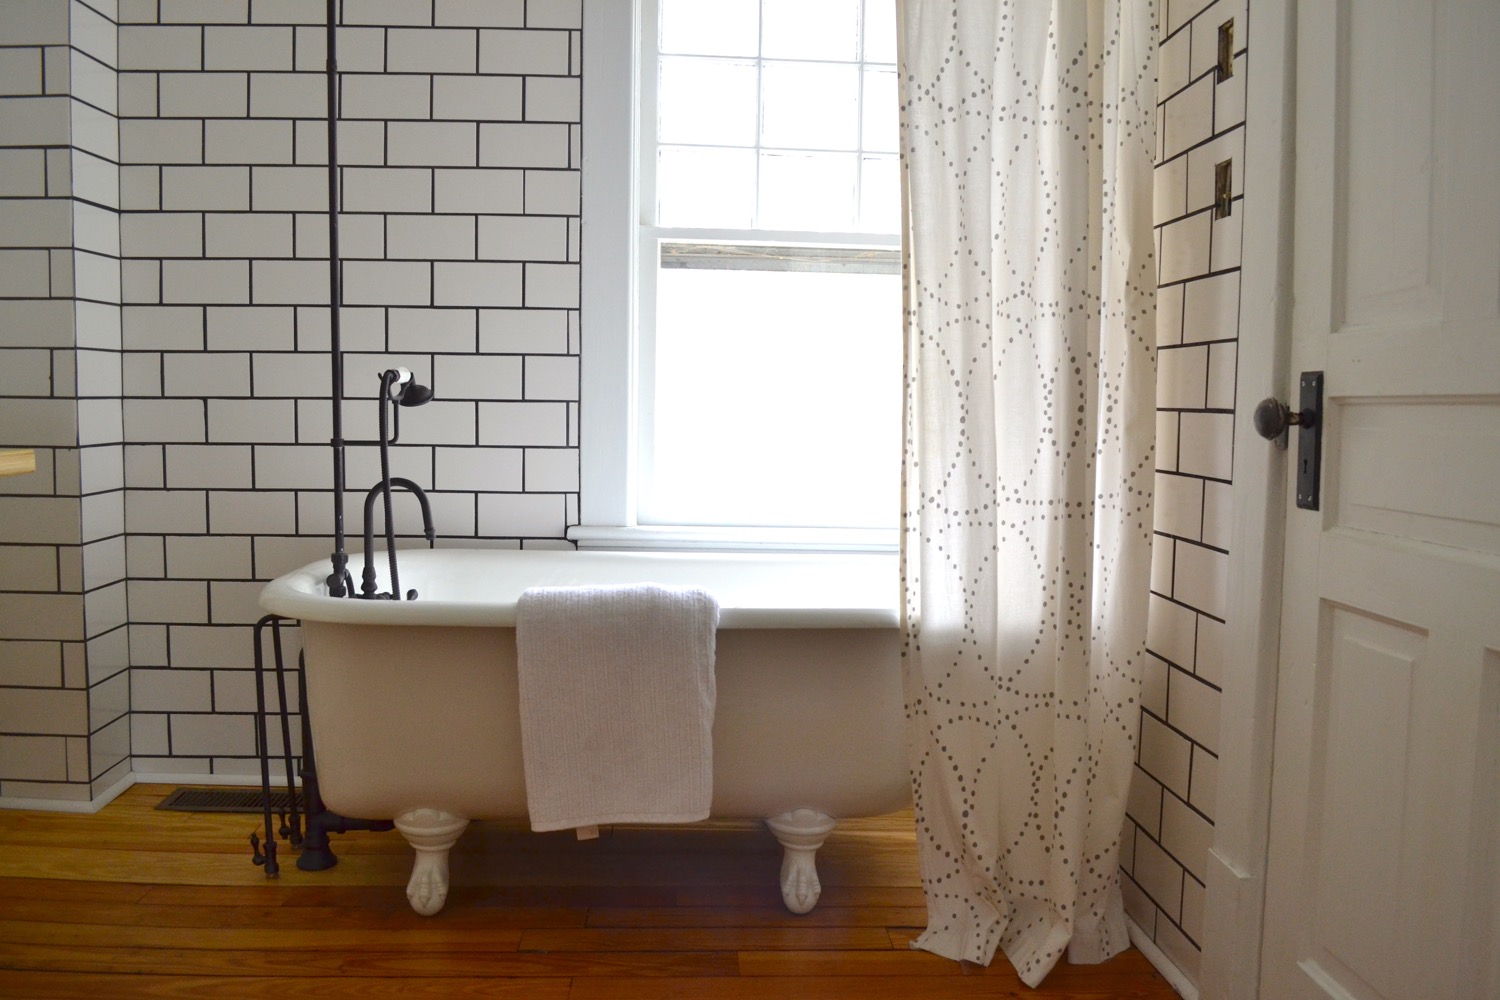
When we moved in the outlet and switch plate in our upstairs bathroom were completely open. When the room had been tiled they did not account for the fact that you have to be able to pull them out and allow for room to mount them against the new wall depth. This meant that not only were the outlet and switch plates set inside the tile but their wires were also exposed. That’s never a good thing, and especially not when they’re right next to a water source.

Fixing an Outlet: The Solution
To fix this, Xan cut out the tile and was able to pull the outlet out using an extender box. In the end was a pretty simple fix and the only “special” tool it required was an a diamond cutting wheel for your angle grinder. Xan wrote out the directions for you this time, check them out below!
How to Install an Outlet Extender
1. Turn off the electricity to the outlet by flipping the breaker for the circuit you are working on. Do a double check to make sure it is off.
2. Remove outlet cover plate.
3. Using a rule or straightedge, mark the cut lines in the tile, so you know where to cut.
4. Cut out the tile using the diamond cutting wheel on the angle grinder. The corners will overlap slightly due to the radius of the wheel.
5. Using a chisel, knock out the tile and backer board which is blocking the electrical box.
6. Remove the outlet from the box and slip the box extender over the outlet.
7. Insert the box extender into the electrical box/hole in the wall, until the flanges touch the outside of the tile and the box cannot go any further.
8. Mount the outlet back into the box using the longer screws provided with the extender box.
9. Attach cover plate and then turn the circuit back on.
10. Get a beer, it might have only been a five-minute job but you spent at least 15 minutes telling your wife about it and building it up to something along the lines of open heart surgery or disarming a nuclear bomb. (EMOJI)