

So you might remember this post from a couple months ago where I talked about our attic insulation process. Well today I’ve got an update on the whole thing!As I said, the project really had multiple parts to it and was a combination of DIY and hire out.
Attic Insulation DIY Phase
It required re-wiring and adding some stuff to the bathroom. Xan started with the re-wiring. He had to get rid of any knob-and-tube wiring that was in the attic because it’s a fire hazard when combined with insulation. Literally no one will even install insulation if there’s knob-and-tube present. This part was a pretty big deal because it’s unpredictable and so easy to mess up and then not be able to figure out what went wrong. But, Xan’s very handy. Honestly, it’s beyond handy – he’s spent a little time working construction and is really good at that kind of stuff and felt confident he could do it. Plus, he recruited his Dad to help who’s not trained, but has wired a couple houses. Just none with knob-and-tube. So, together they spent an entire weekend working on it. And they killed it! They got all the old stuff out and we still had electricity afterward! I’m not planning on doing a post about the process because it’s fairly complicated and I’m guessing it’s something that not many people will try on their own. But, if you ARE thinking of doing it yourself and have questions just email me and we’ll try and answer them.

This is a tiny bit of the old knob-and-tube in the attic. You can't tell from the photo but the pieces are actually ceramic.
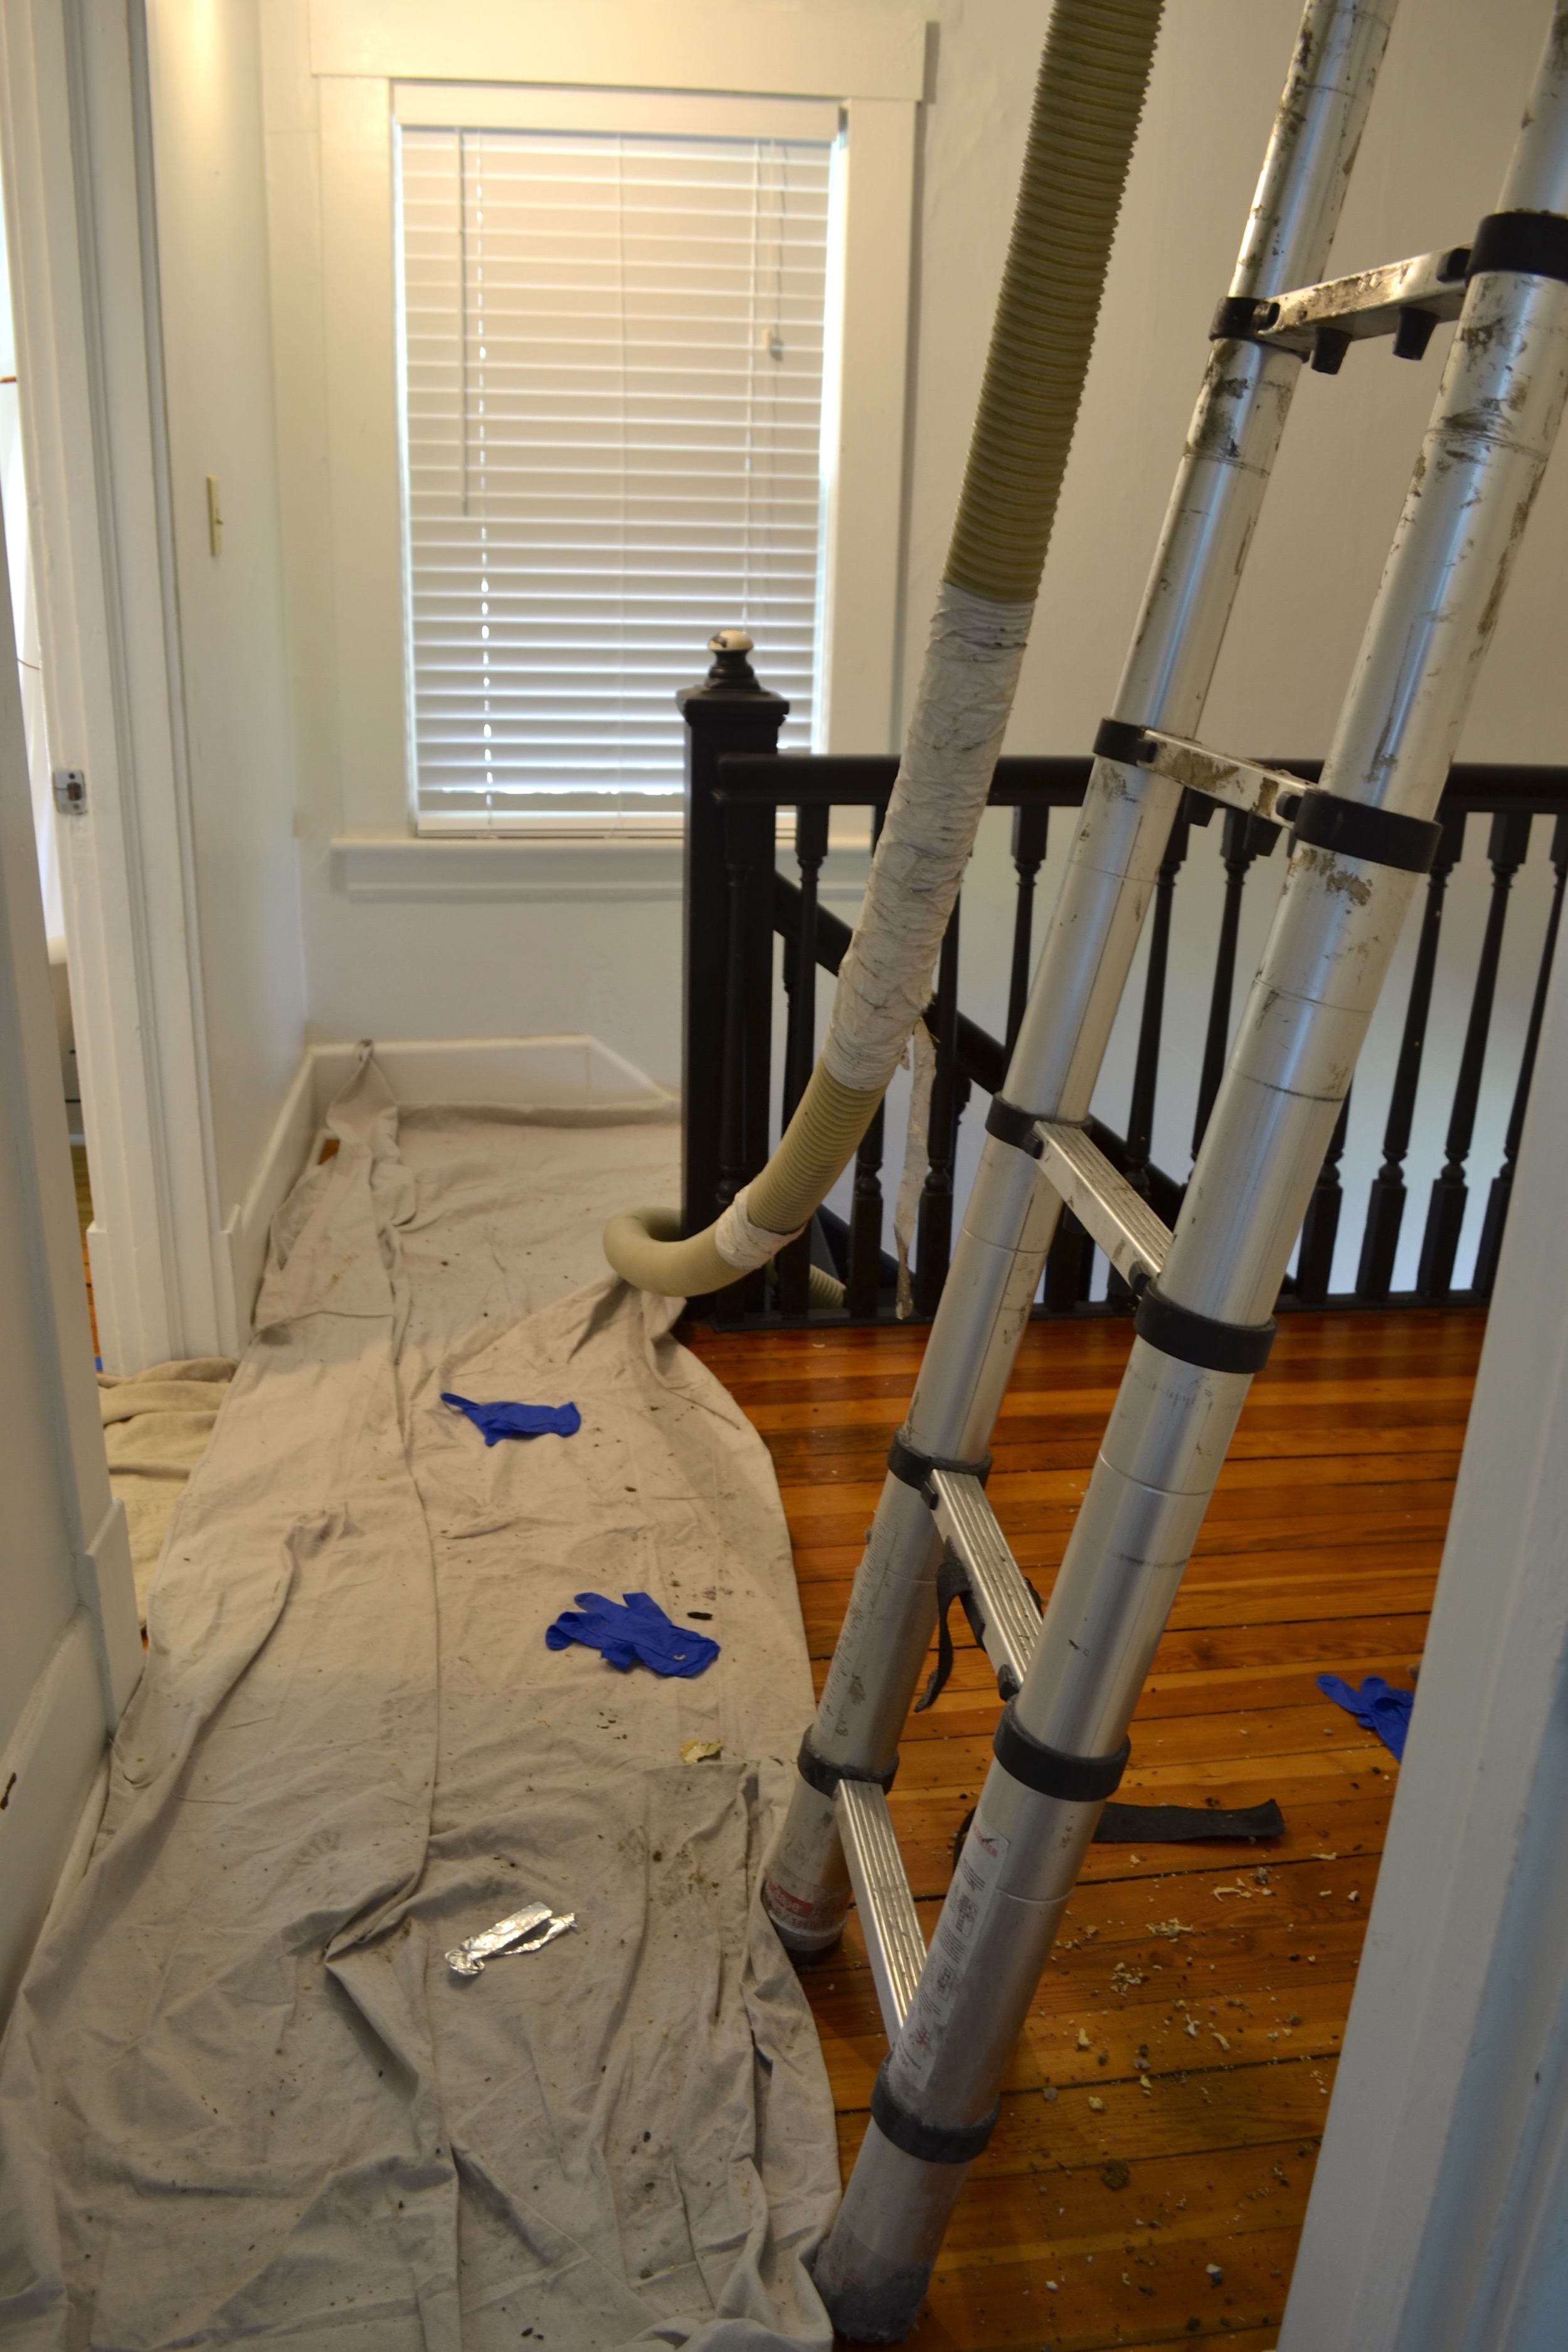
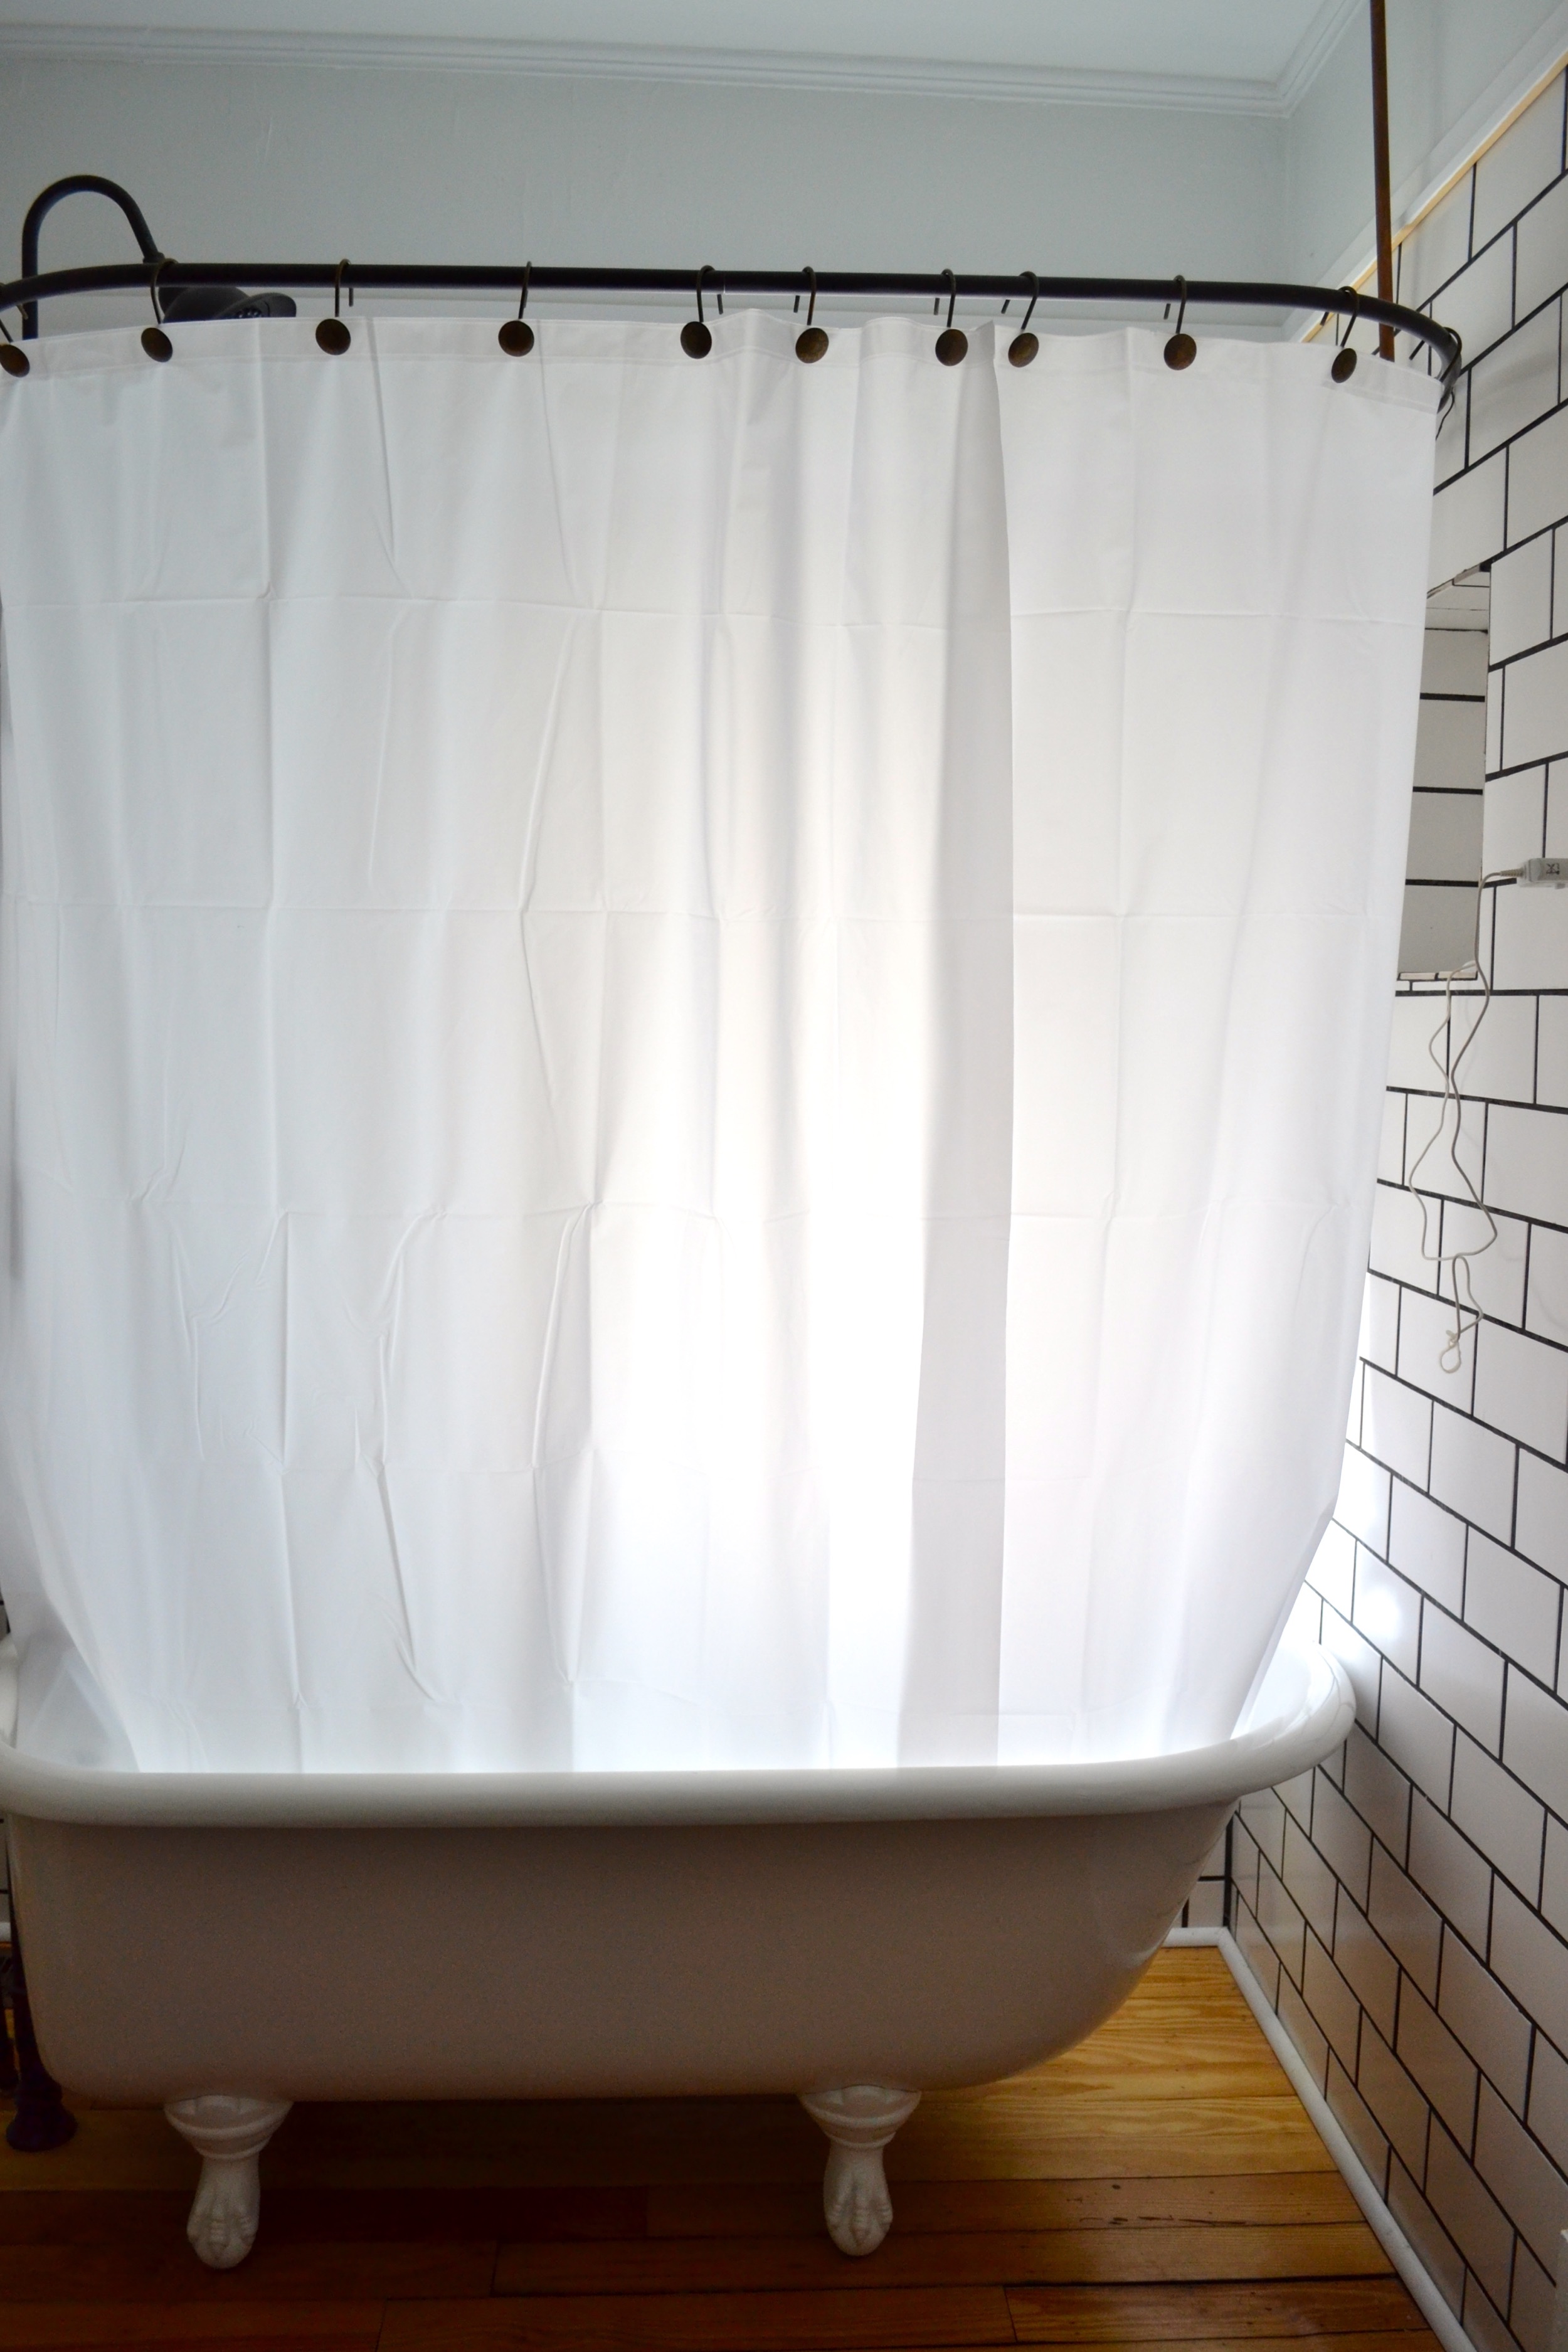
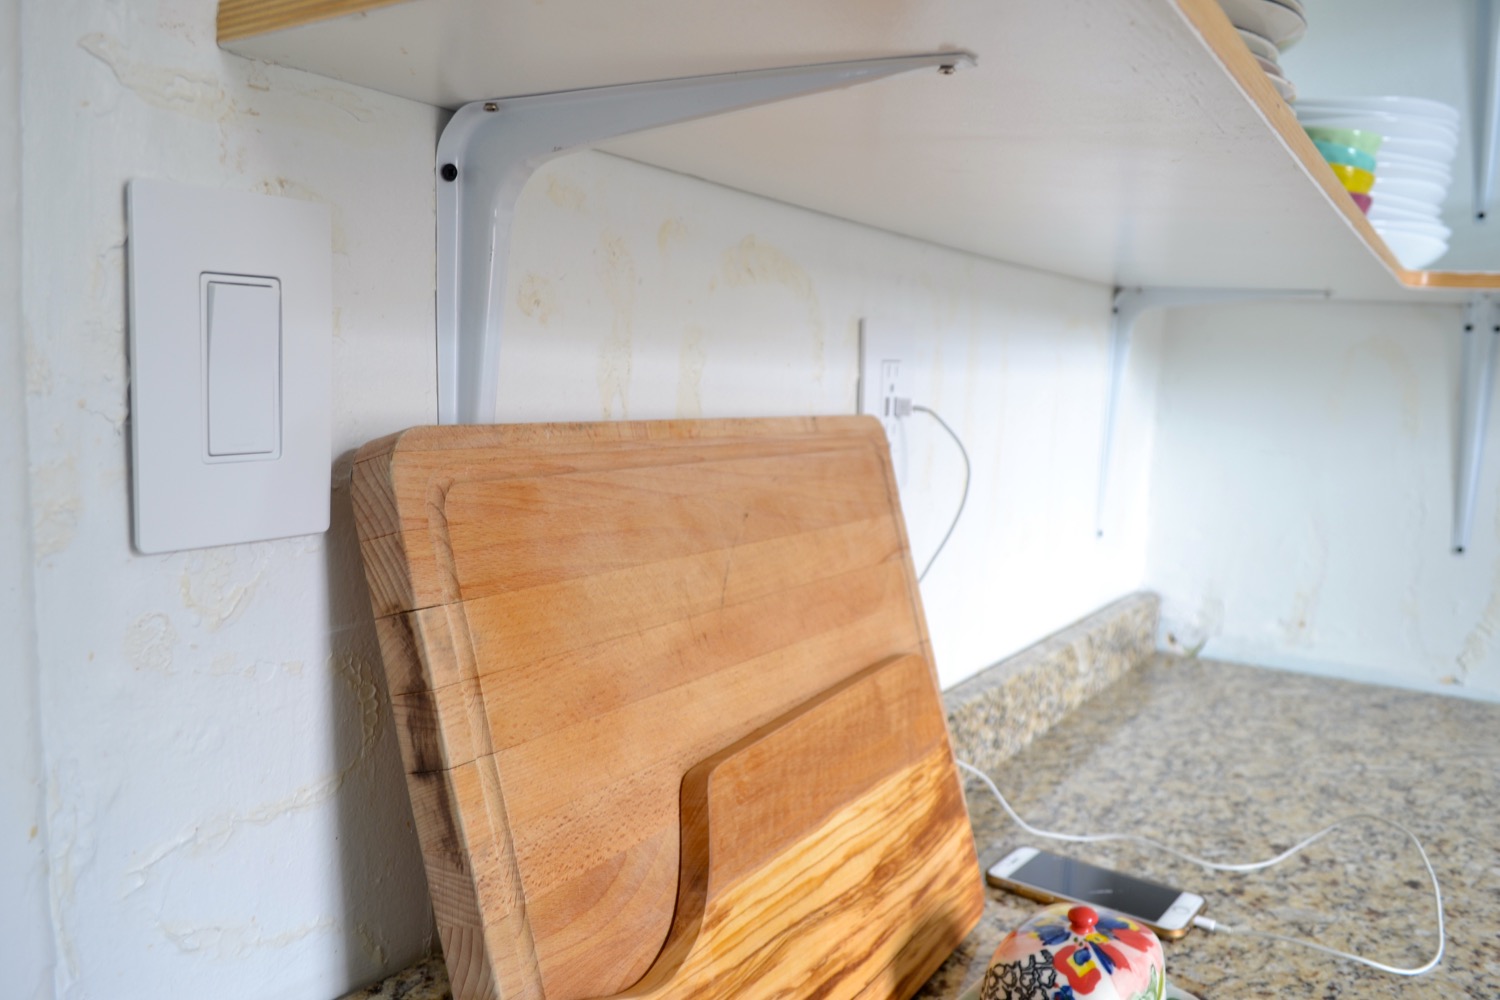
After we celebrated the awesome job they did on the wiring the next step was to add the outlet and the exhaust fan to the upstairs bath. These had to be done before insulating because we went with blown in cellulose (14 inches of it!) and it would have been really hard/impossible to get up there afterward. Those both turned out to be relatively easy jobs but make a huge difference, especially the exhaust fan. I am planning on doing a post about the exhaust fan and possibly the outlet so I’ll share more details then. Update: I did do a post on installing a bathroom exhaust fan - find it here!

Attic Insulation Installation
The last step was having the contractor come out and actually put in the insulation. First of all, I want to say, we were totally obsessed with these guys. From start to finish they did an awesome job. If you’re local and you need any work like this done let me know so I can give you their information. They started by sealing all the holes in the attic with the foam that comes in a can. They spent almost an entire day doing that. They got every last nook and cranny for air to escape through. Then, they went in the crawl space and did some similar stuff. They sealed all the ducts to keep air from leaking out of them. They also found one duct that was completely broken in half – so our air conditioning was just getting pumped into the crawl space 🤦🏼♀️. Sealing up everything took by far the most time. Once all of that was done they blew in the insulation. We went with R-50 for a little extra impact. Typically R-38 is what’s recommended, but it wasn’t that much more to upgrade and we felt like with such an old, leaky house it was worth it. The last thing they did was seal all of the vents downstairs, the return and the attic hatch.
We’ve been living with the attic insulation for about two weeks now and have already seen a huge improvement. Like I mentioned in my previous post, we used to have a variance of up to 10 degrees between the upstairs and downstairs. Meaning downstairs would have to be absolutely freezing for the upstairs to be comfortable for sleeping. Wanna know what it is now?? Guess! Okay, I’ll tell you. It’s 3 degrees MAX! Often times it’s the SAME!!! Can you tell I’m excited? It’s just been so nice to live at a comfortable temperature all the time. It’s made a serious improvement to our quality of life. Before this we would set the thermostat super low really early in the day, because if we didn’t the upstairs would never cool down enough for sleeping. So, anytime we’d have someone over after 4:00 we either had to make them uncomfortably cold or we would just accept the fact that we would be really hot when sleeping that night. And it’s just generally no fun being that uncomfortable in your own house basically all the time.

Attic Insulation Cost Breakdown
Now, I’m going to get down to the nitty gritty. How much it cost. I know it’s a little unconventional to share this, but I feel like it’s helpful to compare and contrast costs. And often these aren’t the kind of projects you’ve done before and having some idea beforehand can be nice. The total for all the work was $2,271. But, our electrical company, Duke Energy offers incentives for making your house more energy efficient so we’ll be getting $421 back from them. So, really the total is $1,850. We had four contractors come out and aside from the spray foam guys these were the most expensive. The other two probably would have been fine, but this company really focused on the looking at the problem holistically. That’s why they did all the sealing throughout the rest of the house, not just the attic. They did a full-blown energy audit when they came out to give us a quote as well a being very honest about what work we would actually see a return on. They pretty much blew all the other guys out of the water and it was an easy choice for us to go with them even though it was a little more expensive. Another benefit is that this type of energy saving work can actually contribute to re-sale value, especially for us because our city is very energy conscious. The last place we’re hoping to see a big impact is our energy bill. Last month it was $133, we’re excited to see if it comes down at all over the next month or two.
Also, I thought I'd share why we decided against DIY attic insulation. Ultimately it came down to the fact that the company we went with could do it significantly better. This is a very old, leaky house that has a lot of problems with air sealing and we felt that for all the time and money we would have had to invest we weren't sure we'd see nearly as much of a return. Plus, working in our attic is really very miserable. It's regularly over 130 degrees up there and honestly just isn't as safe for us who don't really know what we're doing. And I have to say I don't regret hiring it out one bit!
Overall I’m really happy with the work we had done, who we used for it, and the results we’ve seen. If you have any questions about the process please just email me or leave a comment below – I basically feel like insulation pro at this point 😉





Hi there, friends! I hope you had a really lovely Thanksgiving - we spent time with Xan’s family and ate lots of delicious food. Now we’re scouring the internet for some Black Friday/Cyber Monday deals for a couple things we need.