
A DIY Foyer Table: The Background
You might remember from a few posts back that I’ve been rearranging the furniture in our house. For me this is the final step before the fun stuff like hanging art, designing and just generally adding character and I’ve been pretty much dying to get to that since the day we set foot in this house. Now, I can happily say we’ve FINALLY decided on arrangements for each room! I feel pretty good about all of them except the living room. It’s not that I hate it, I’m just not totally sold on it. But I think it will the best option for now. While we were testing out this arrangement our TV stand (which is actually this insanely cheap desk from IKEA) was just sitting off to the side being used for nothing because the TV was on the mantle. Well, one of the projects that’s been hanging out in the back of my mind is our foyer. We desperately need something better up there and one day I looked at the TV stand and wondered if it might work. I was almost certain that it was too wide, but I decided to measure anyway. And what do you know? It fit PERFECTLY! I couldn’t believe it and was SO excited. Initially I’d imagined a small chest of drawers going there that I picked up from my parents house, unfortunately it was just too deep and chunky to work. The space is pretty small and so I love that the TV stand is narrower, more open and overall more petite. The thing is that I didn’t love the way it looked originally. I actually never liked the color of it all that much, but when we were living in San Francisco I had no workspace/studio so I couldn’t make any changes, even something simple like spray painting. Wellllll, now that I have some outdoor space that’s not a problem. So, I decided to give it a little makeover. I’m not finished, but thought I’d share what I’ve done so far and will share final shots once it’s complete.
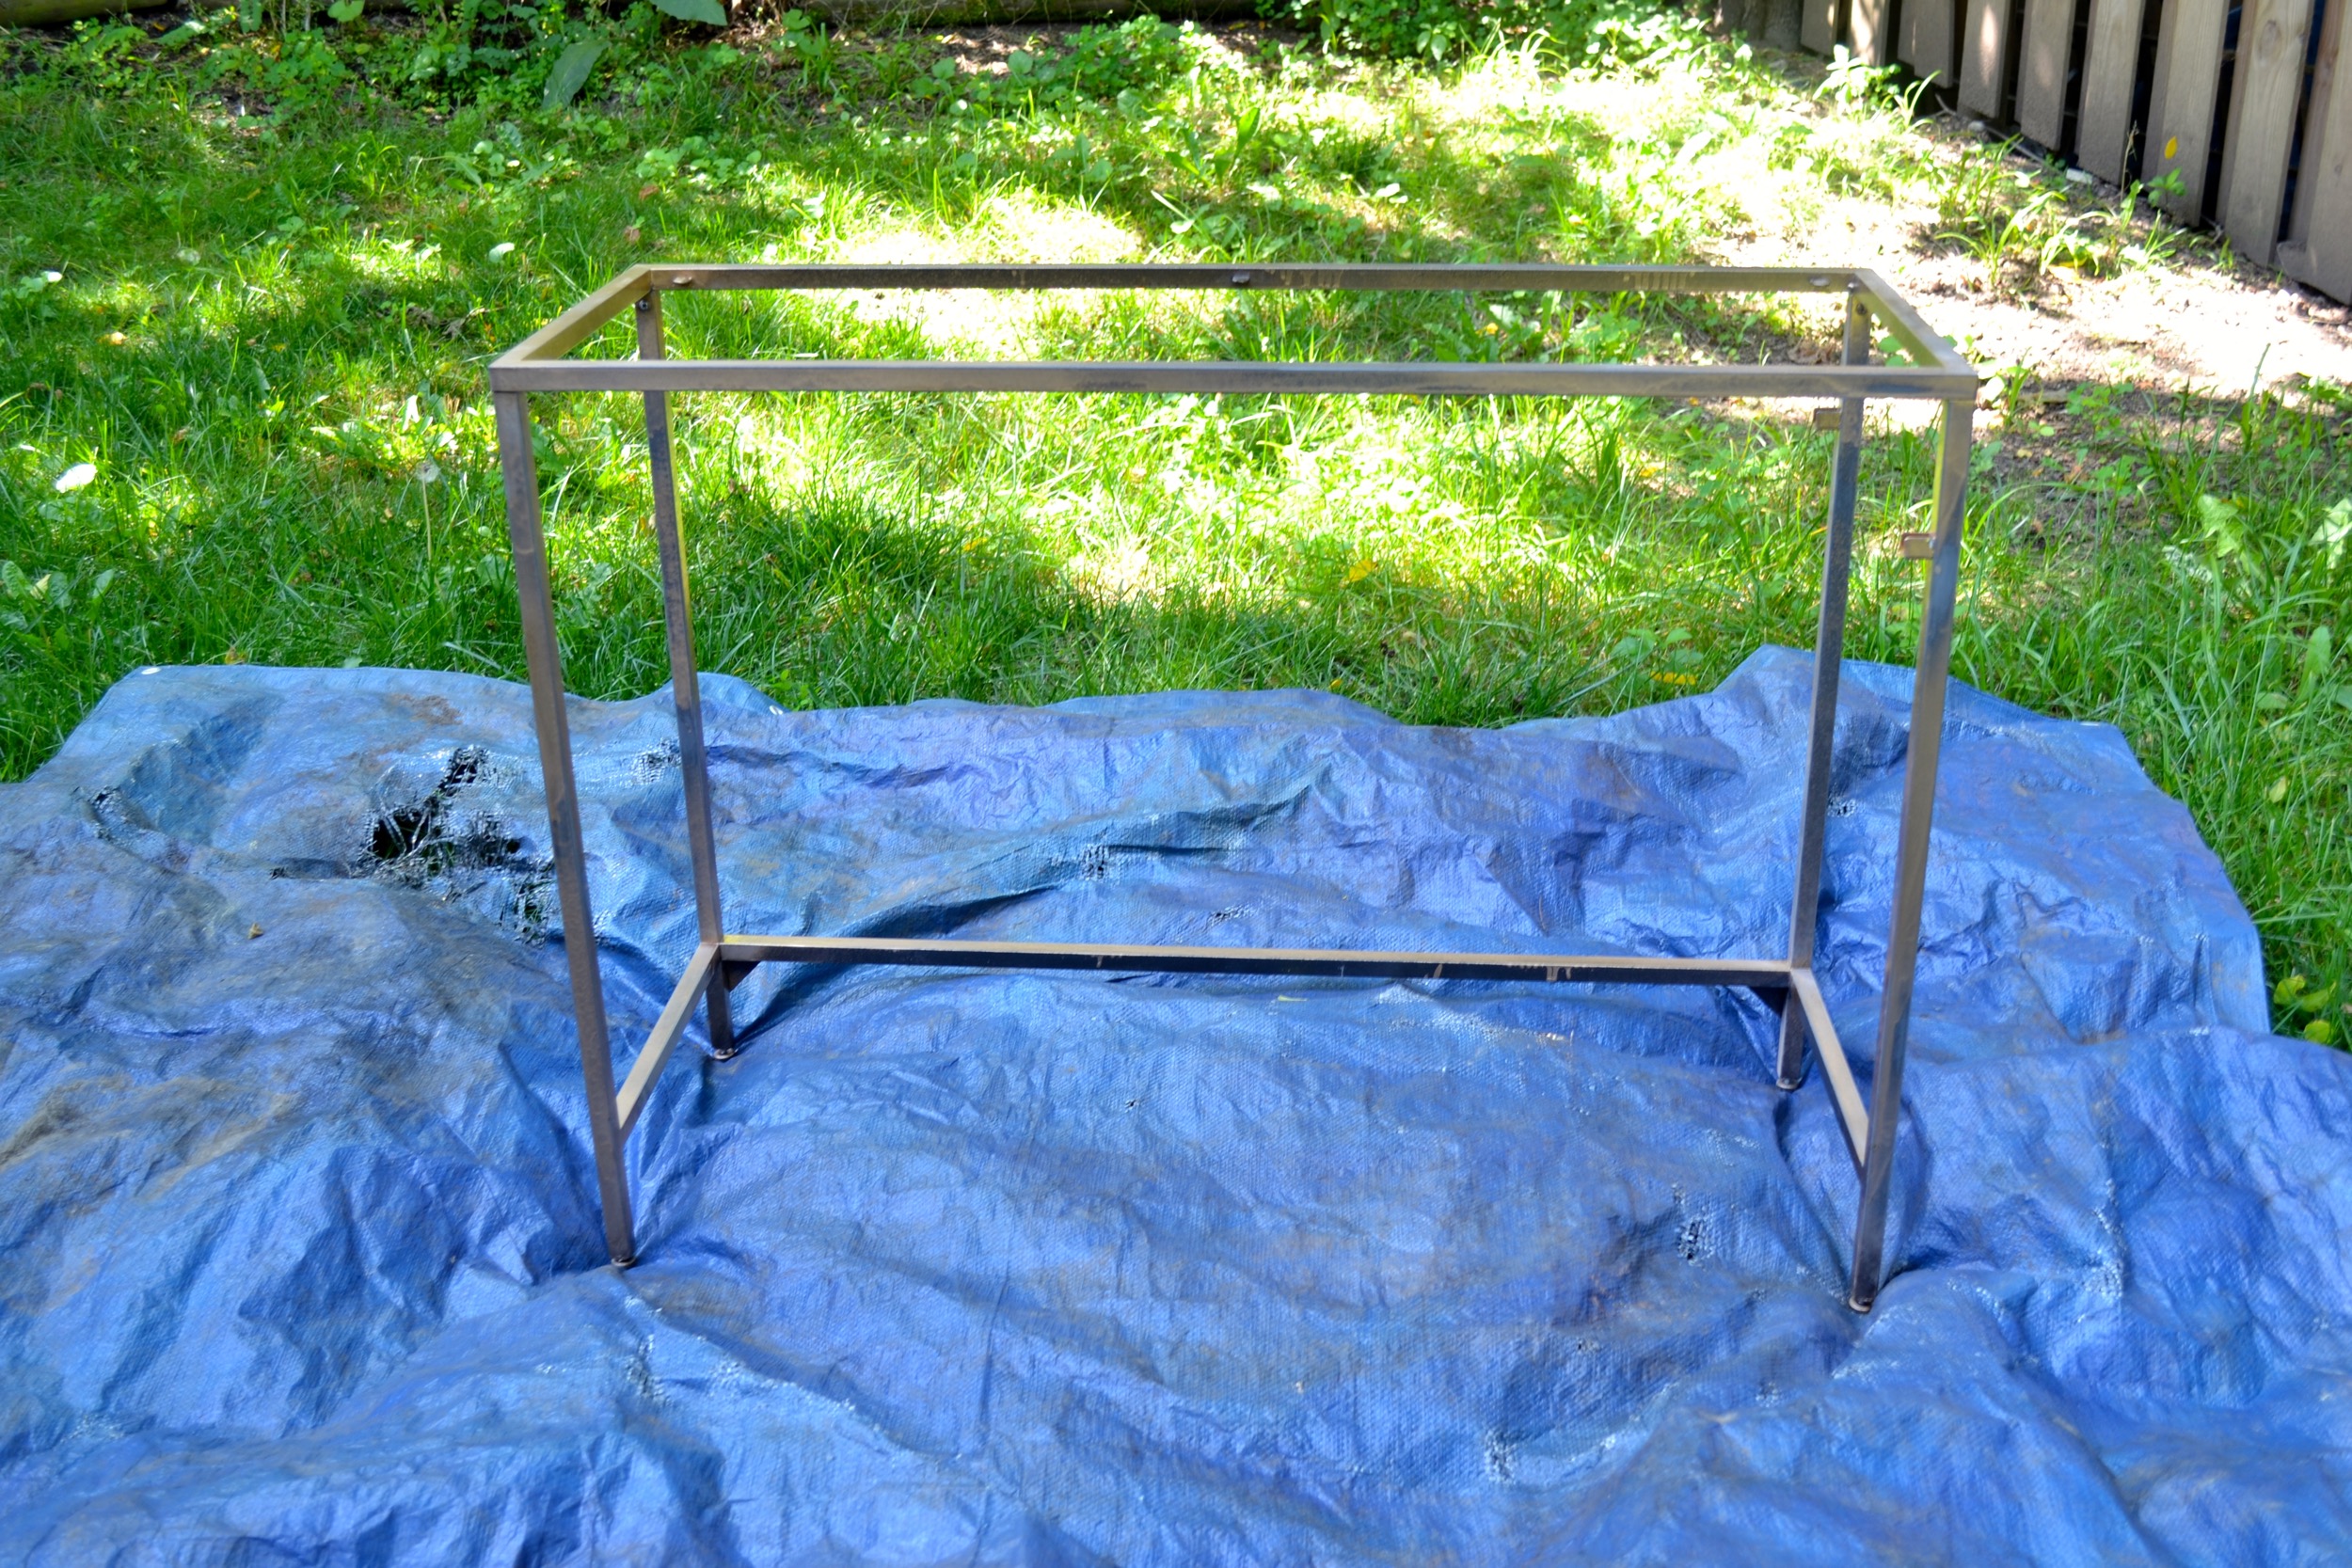

Ikea Hack: Turning Your Ikea VITTSJÖ Desk into a Foyer Table
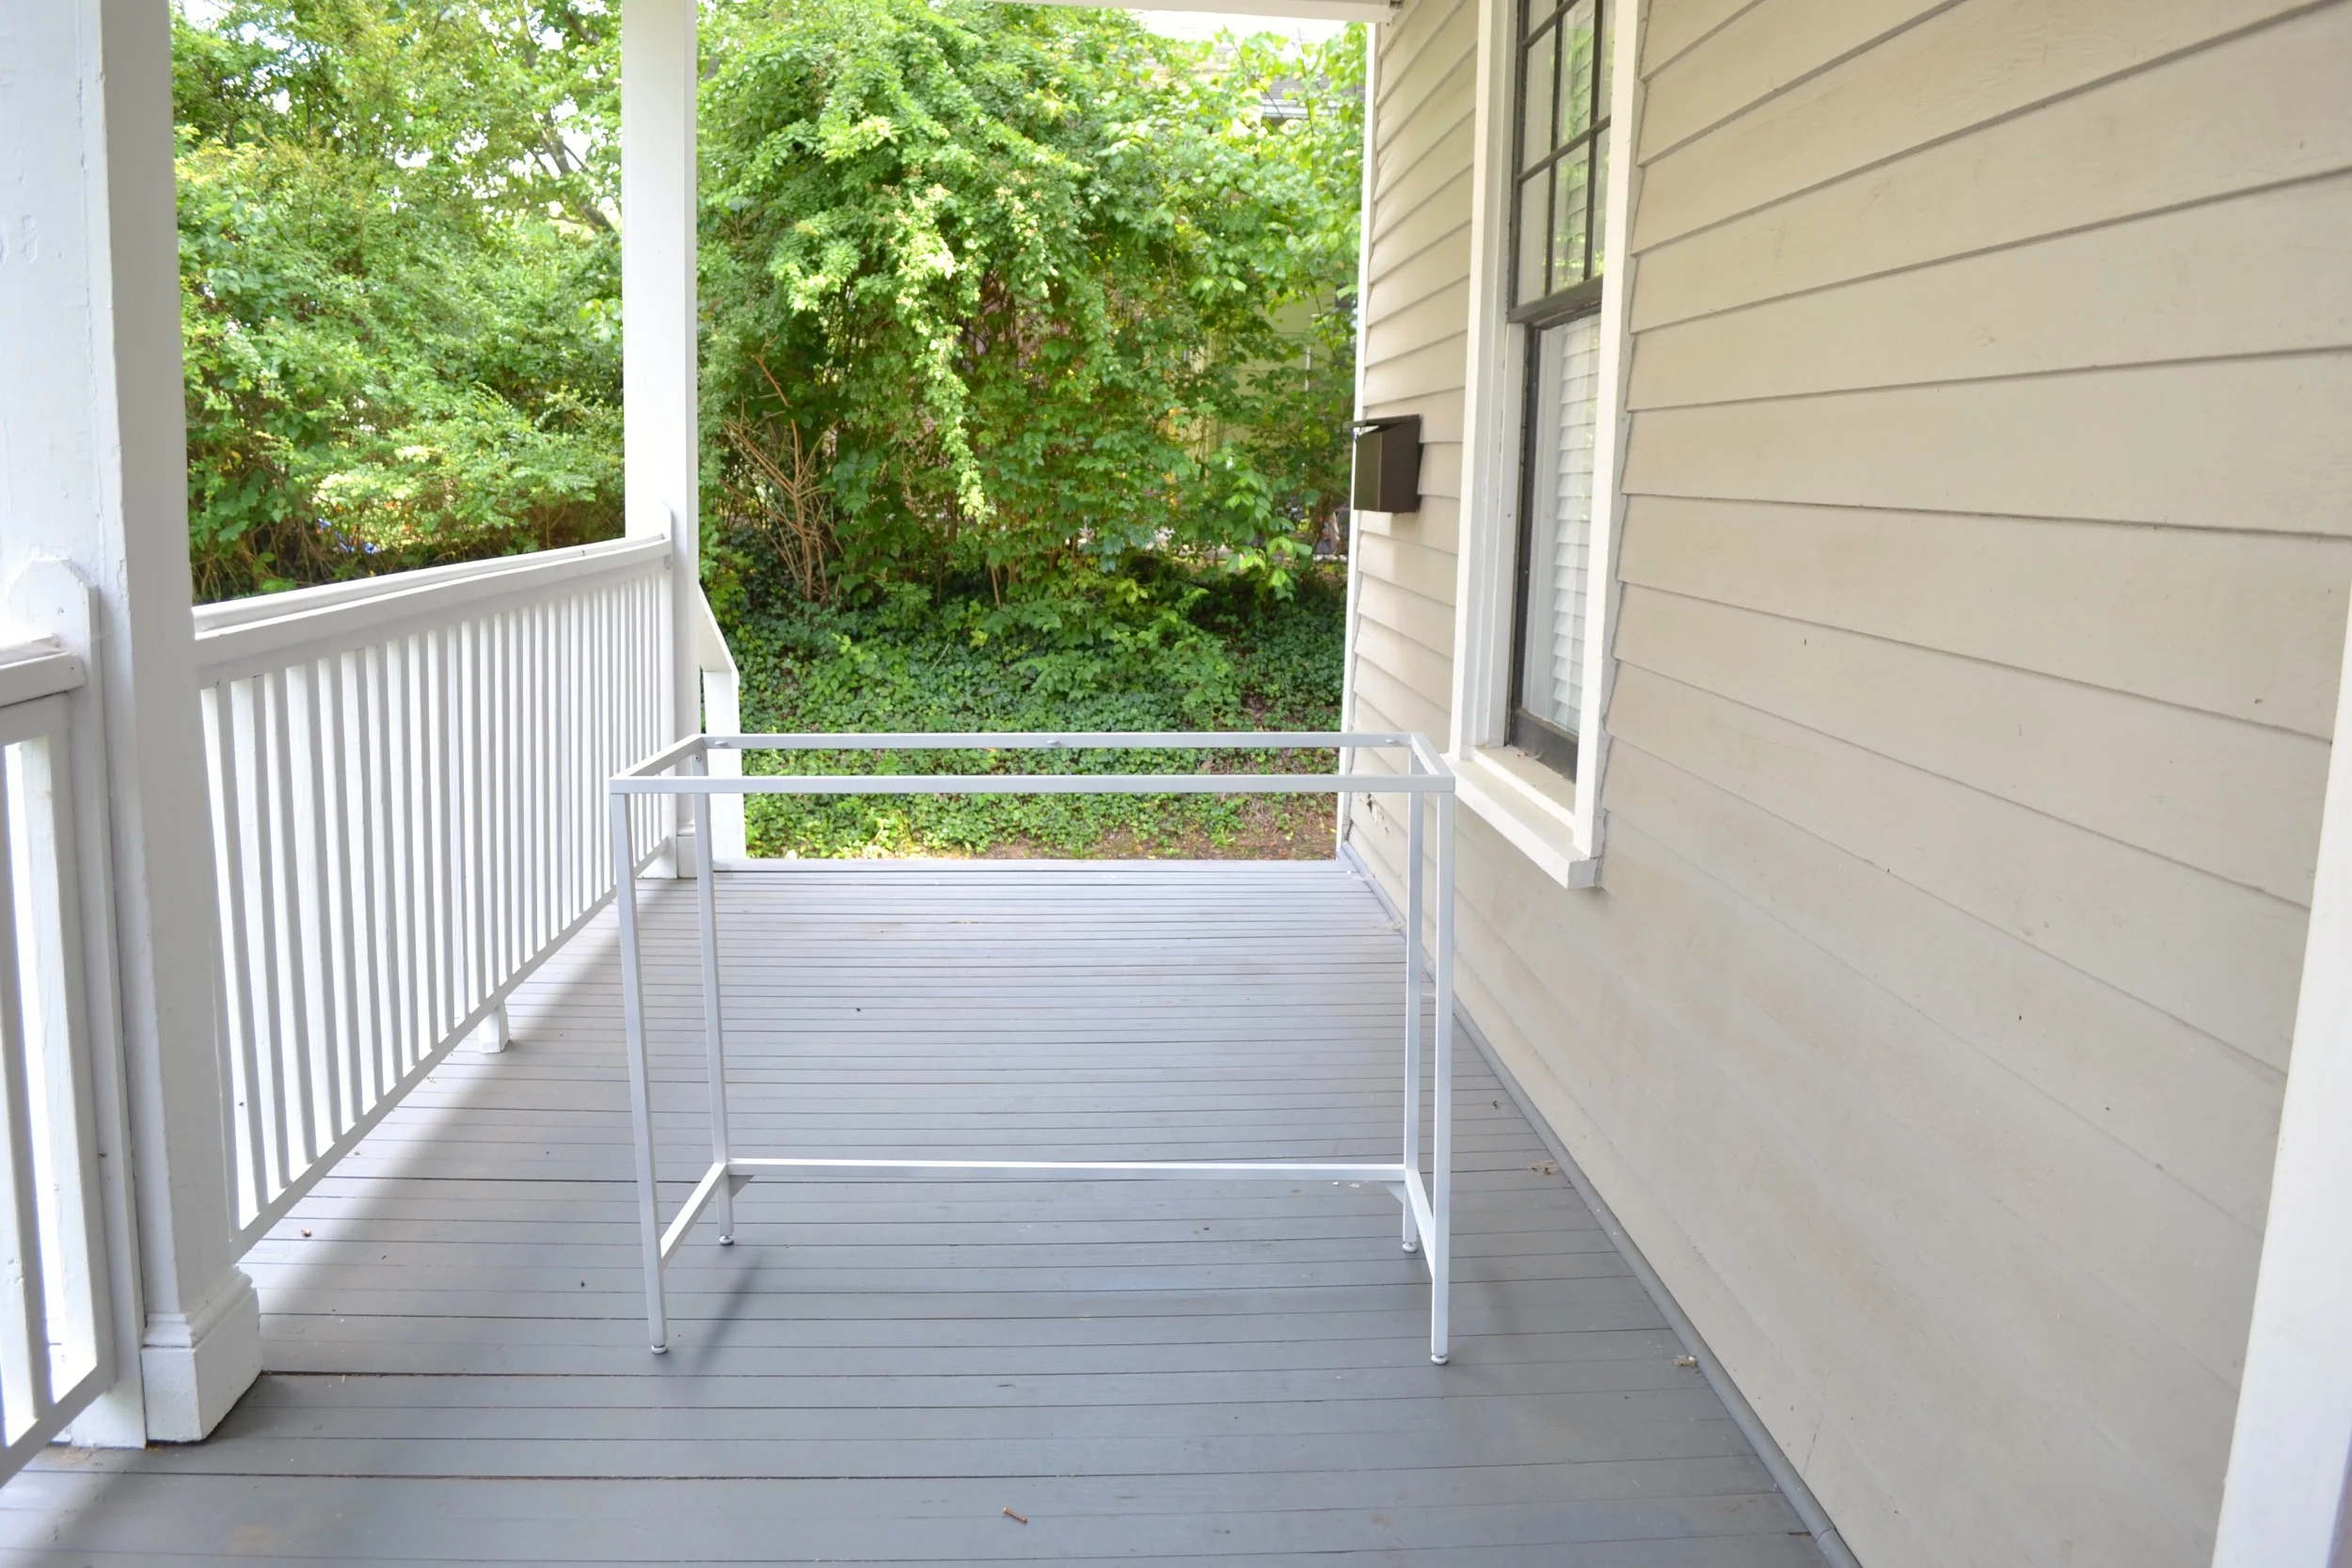
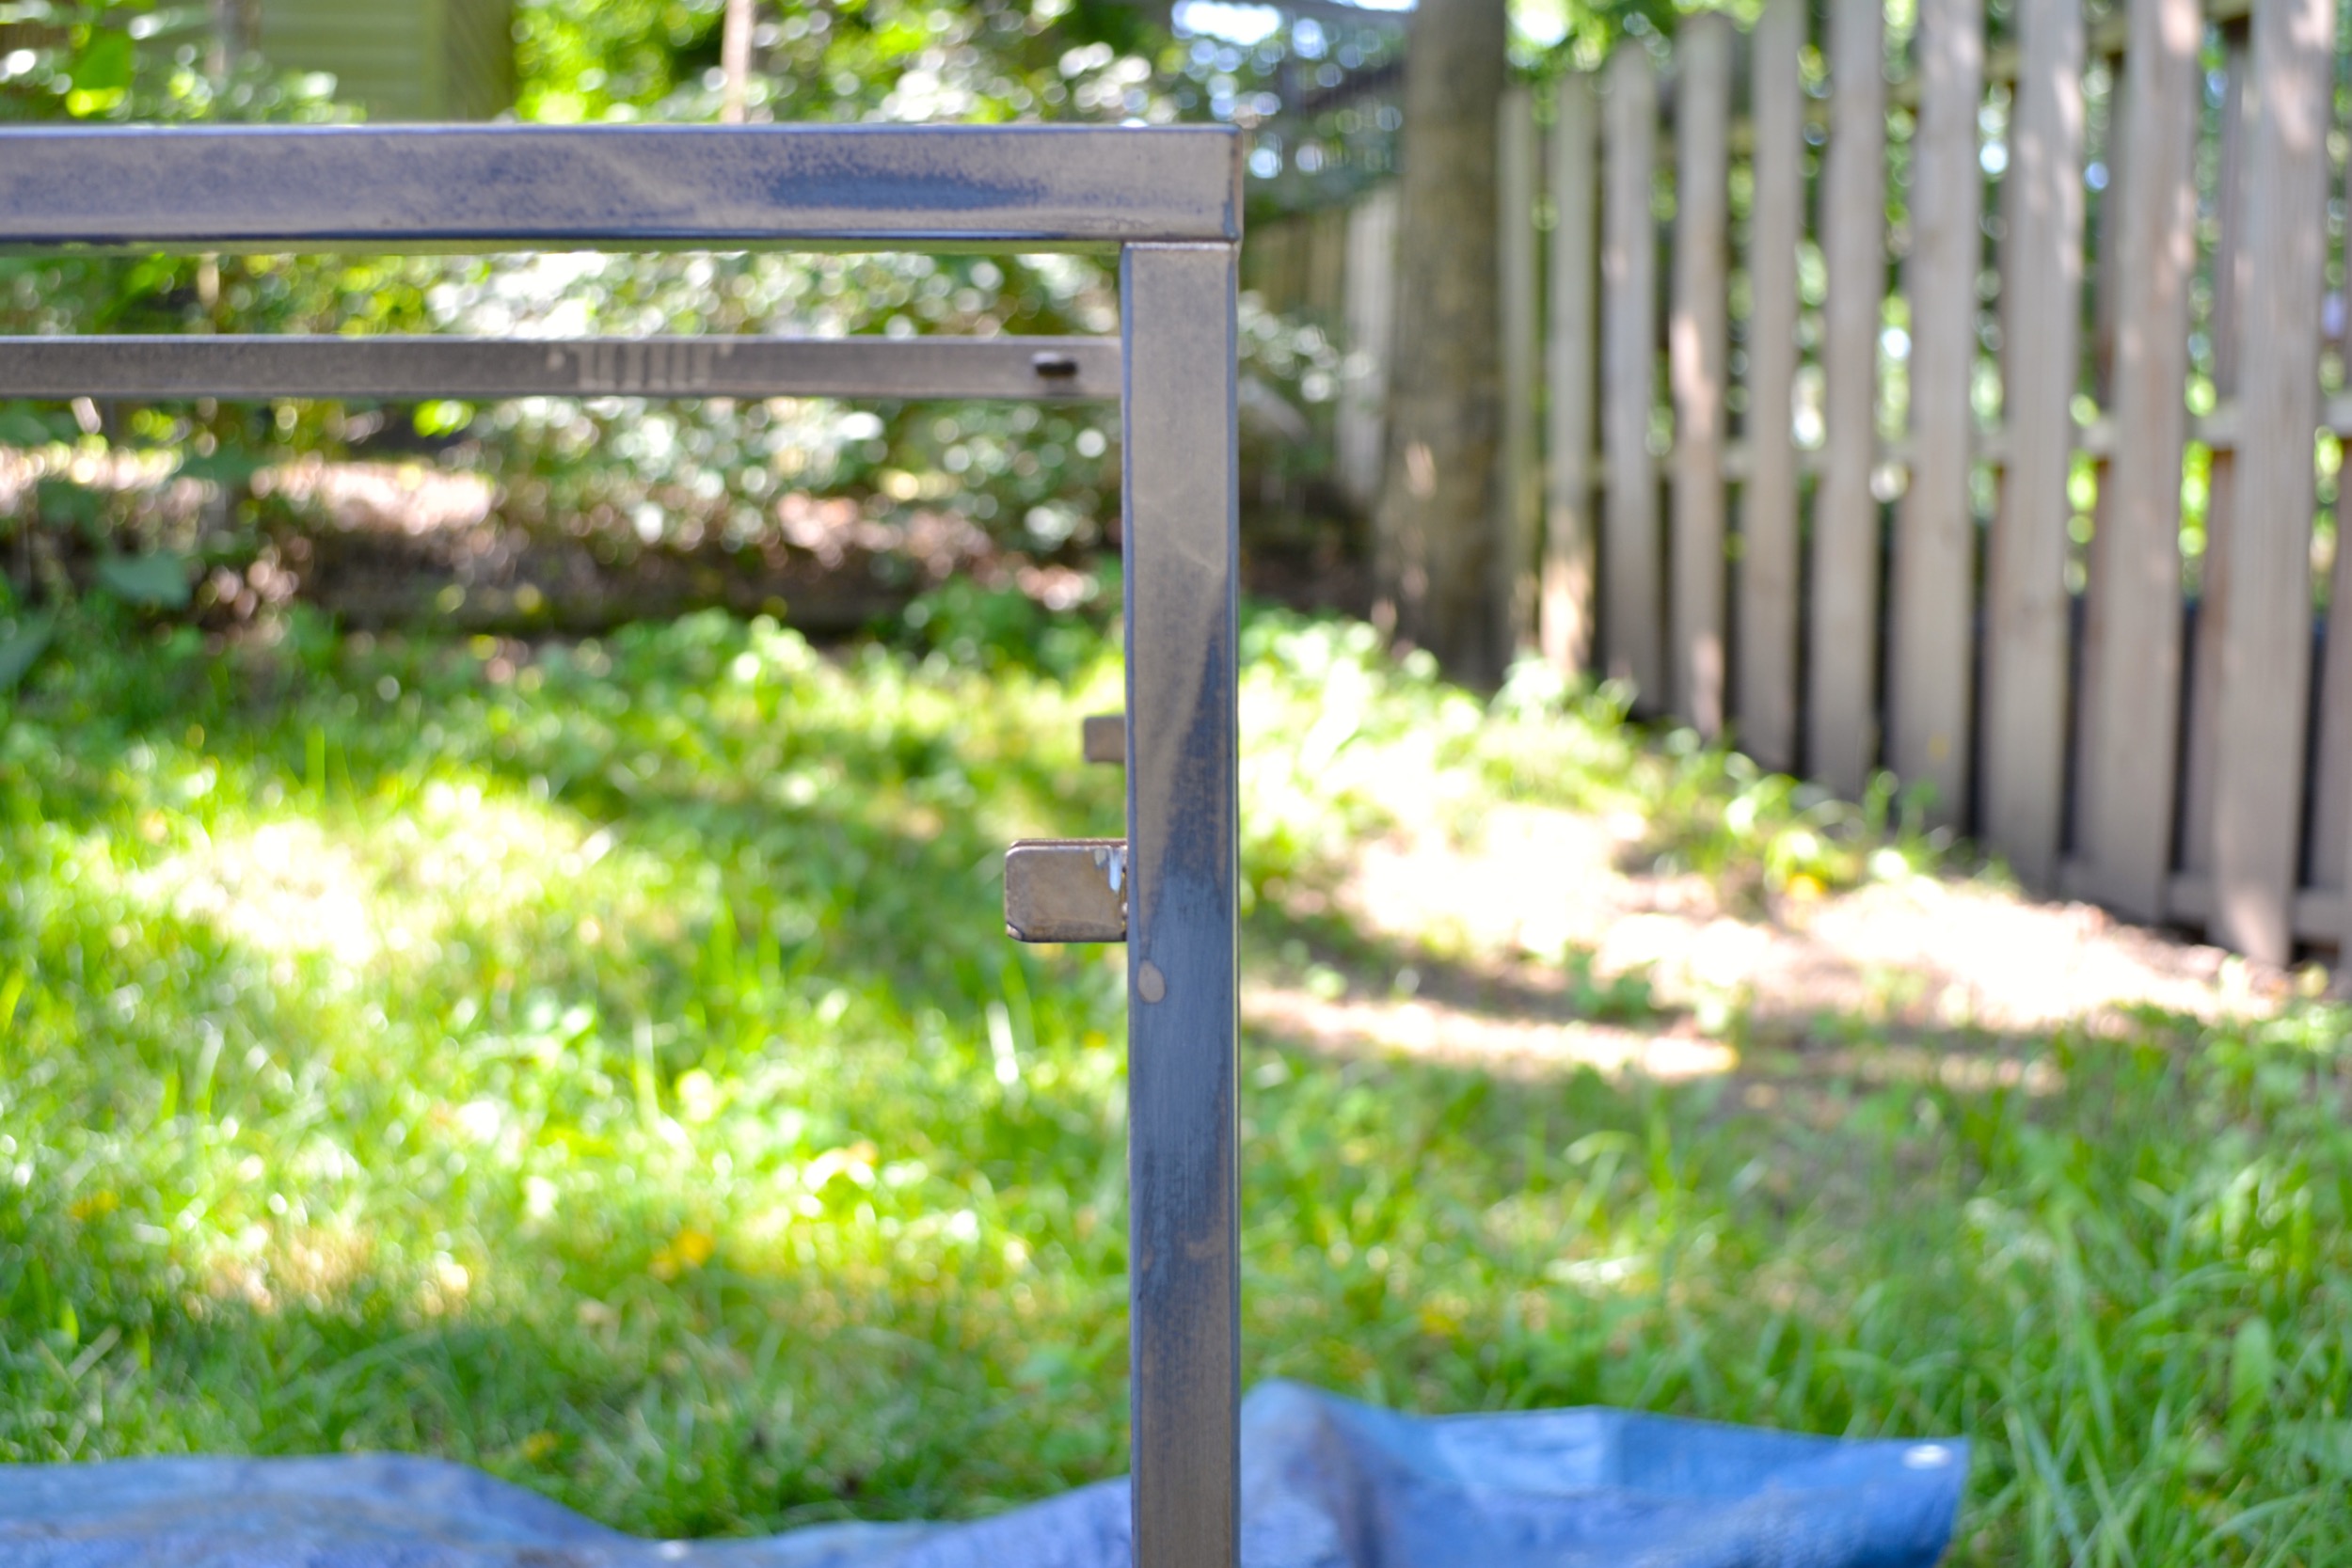
Looking at it I thought it would make a great console table. I could put a little lamp on it, a dish for our keys and other odds and ends, and maybe even a photo or piece of art. My vision included spray painting it, removing the bottom shelf and changing the top a bit. To start I was way too excited to wait so I just immediately took it outside and took my can of gold spray paint to it. That wasn’t the best idea because it was about to rain and was pretty windy outside so I had to spray a lot and get really close, which created a lot of drips. The blessing in disguise there was that I didn’t like my gold color and I found that the paint didn’t stick very well to the metal. So, I decided to go back and do it properly. This included:
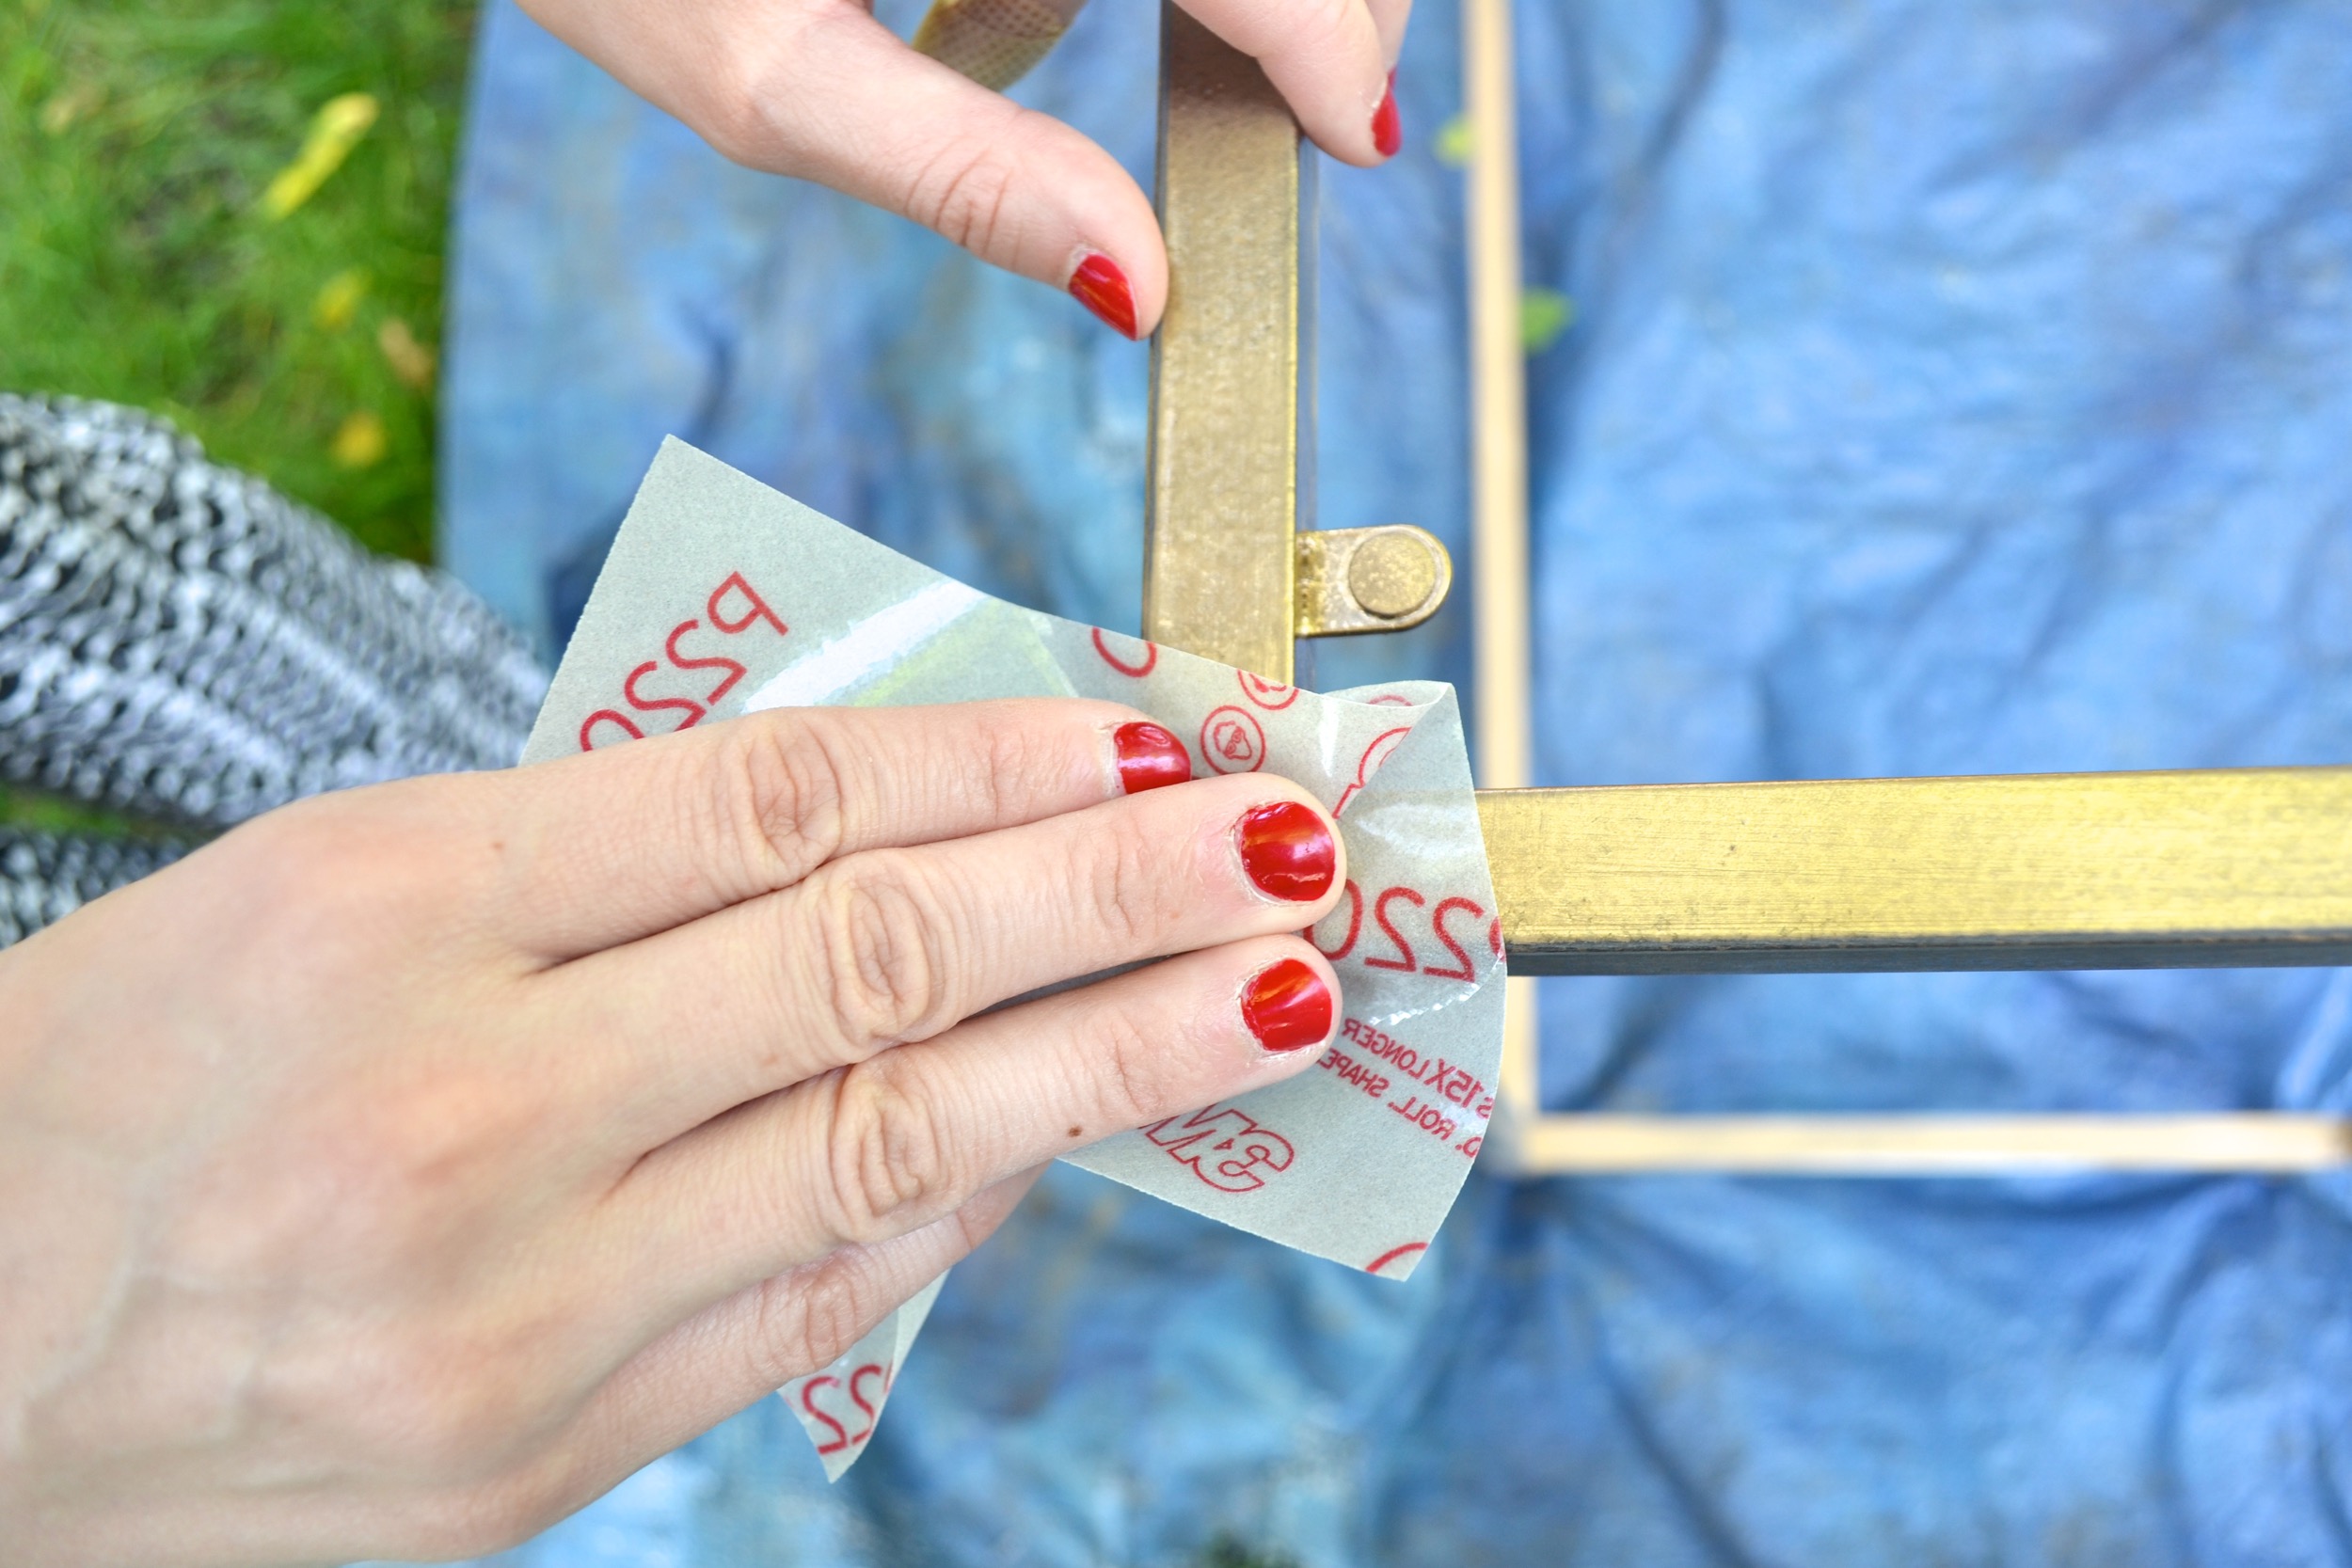
1. Sanding the whole thing to give the metal some texture for the future spray paint to stick to and sanding down any drips that accumulated.
2. Wiping the whole thing down to get all the dust off.
3. Washing it with soap and water and then drying it really well.
4. Spraying on a coat of this metal primer. I’ve read a lot of good things about it, and I think it’s going to be perfect. It went on about a thousand times better than the first coat of gold.
I’m giving the primer a whole day to dry because it’s been really humid here and I want to make sure it’s fully cured.
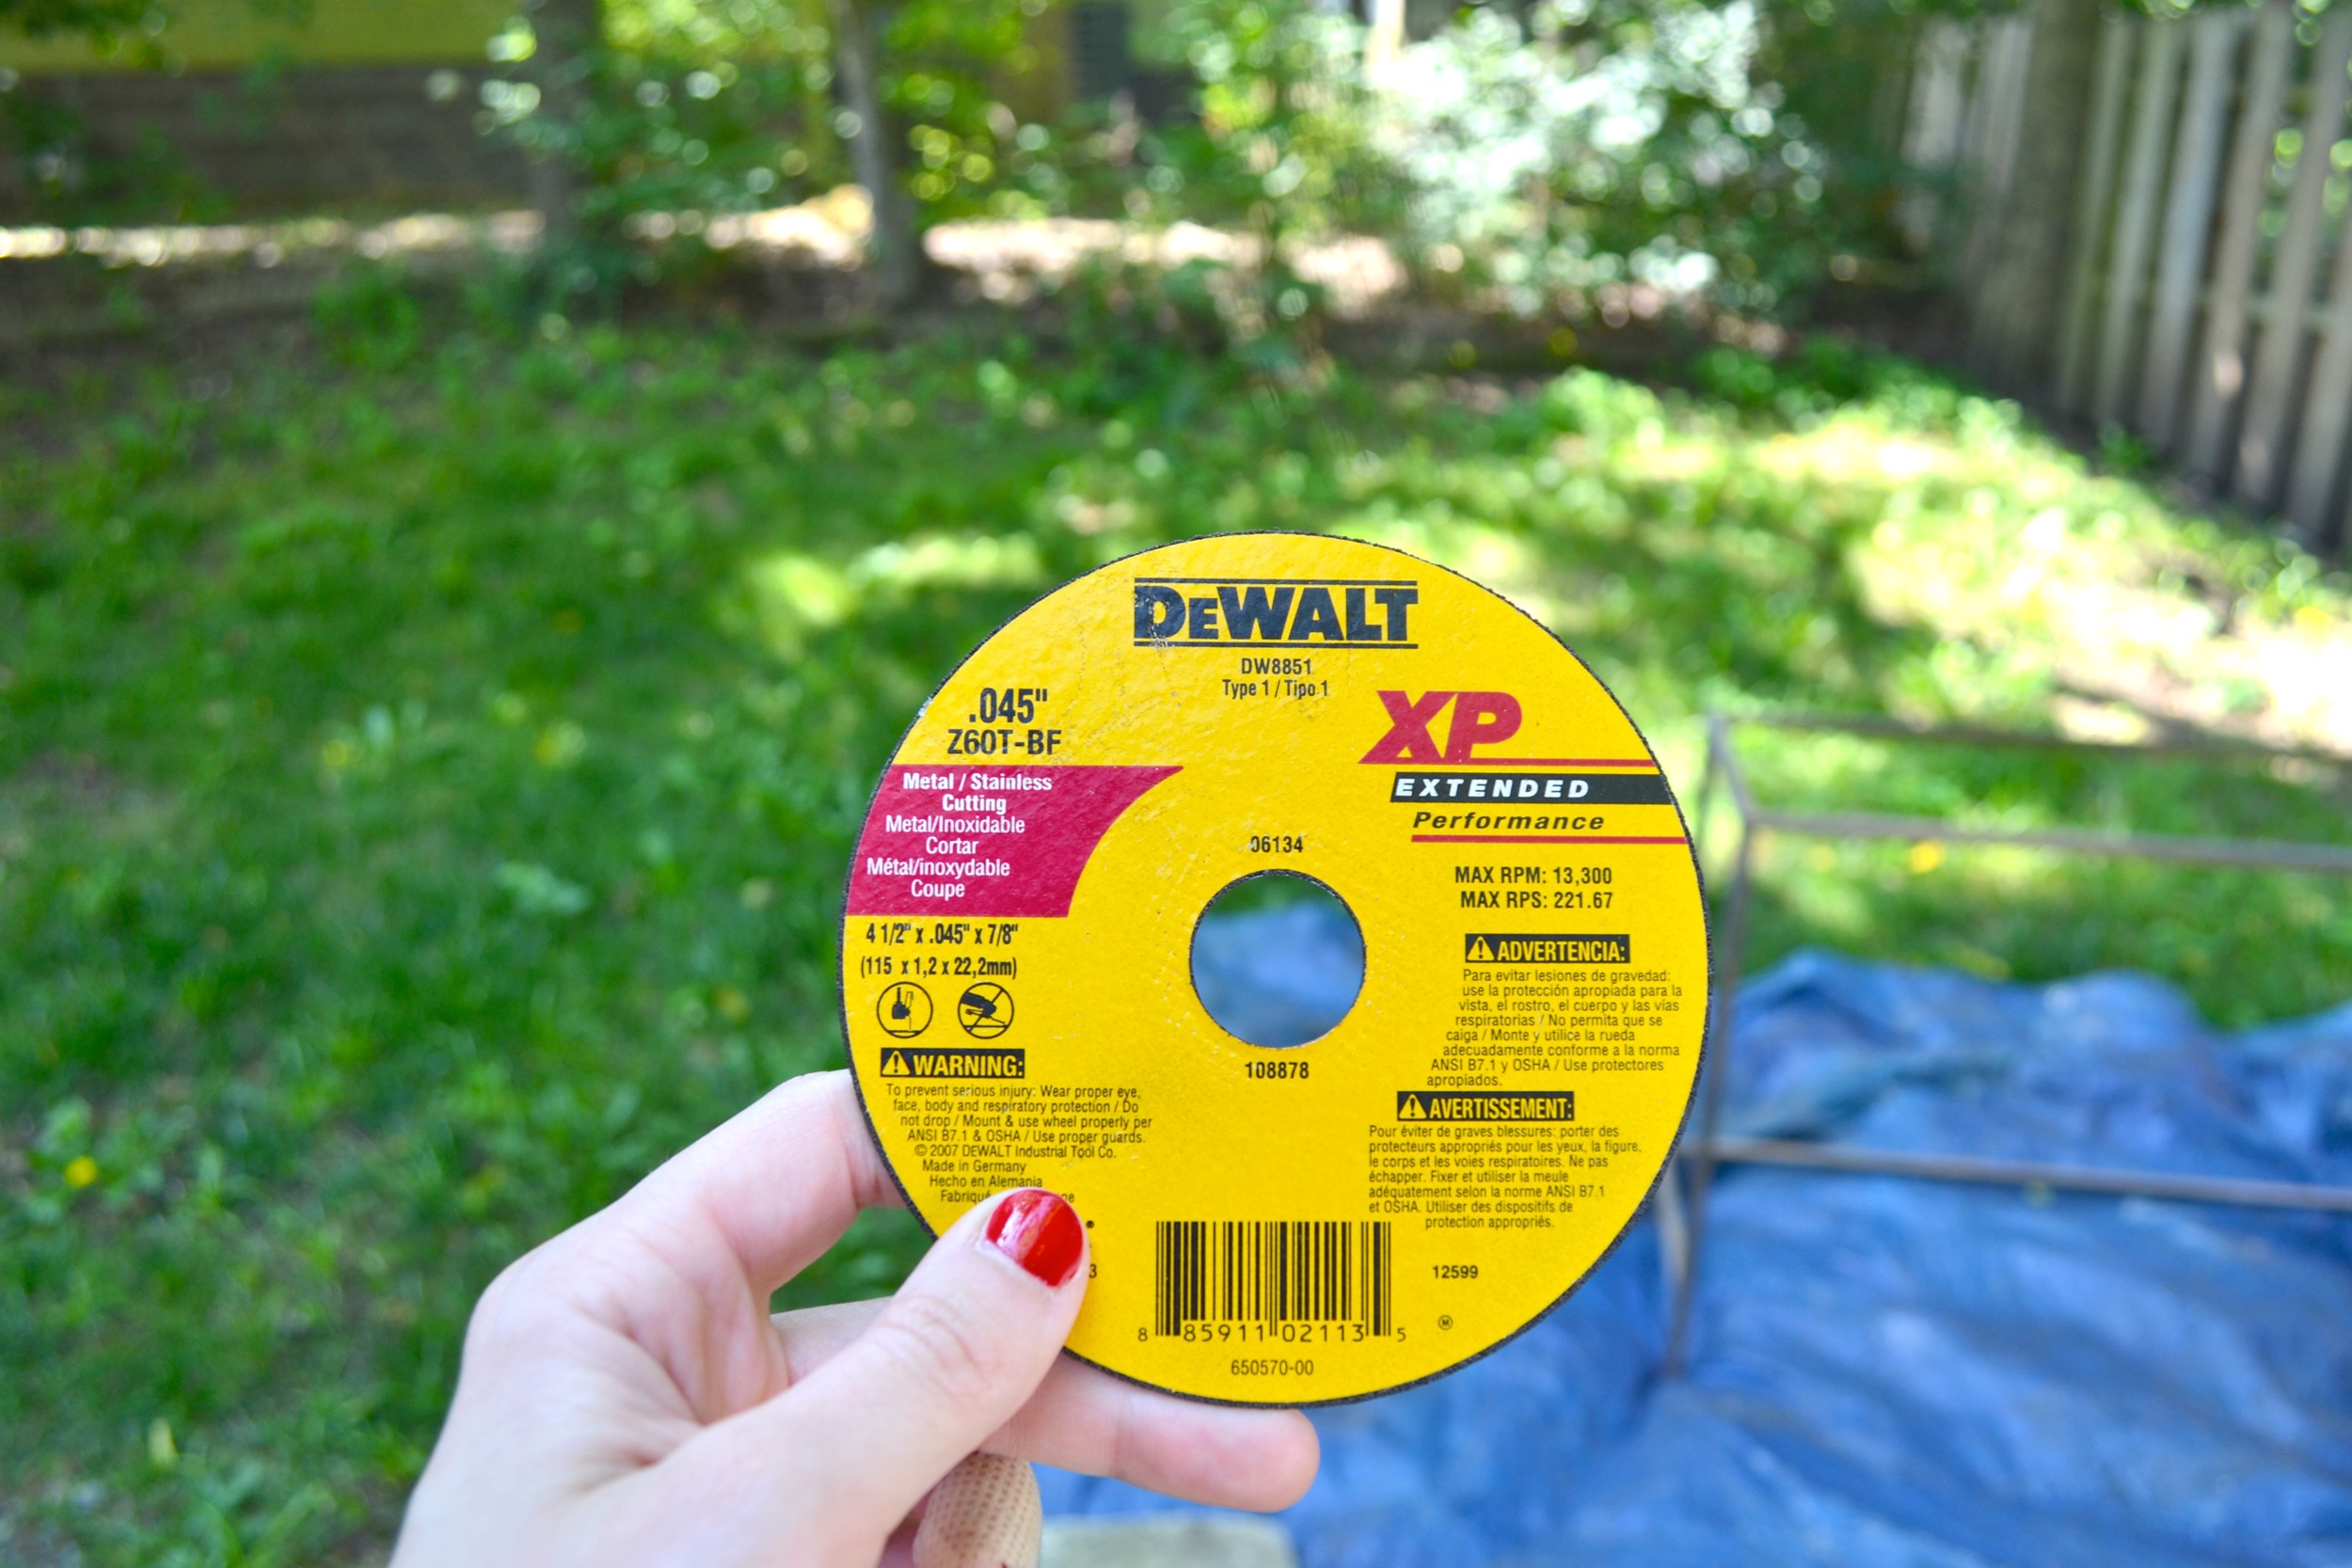


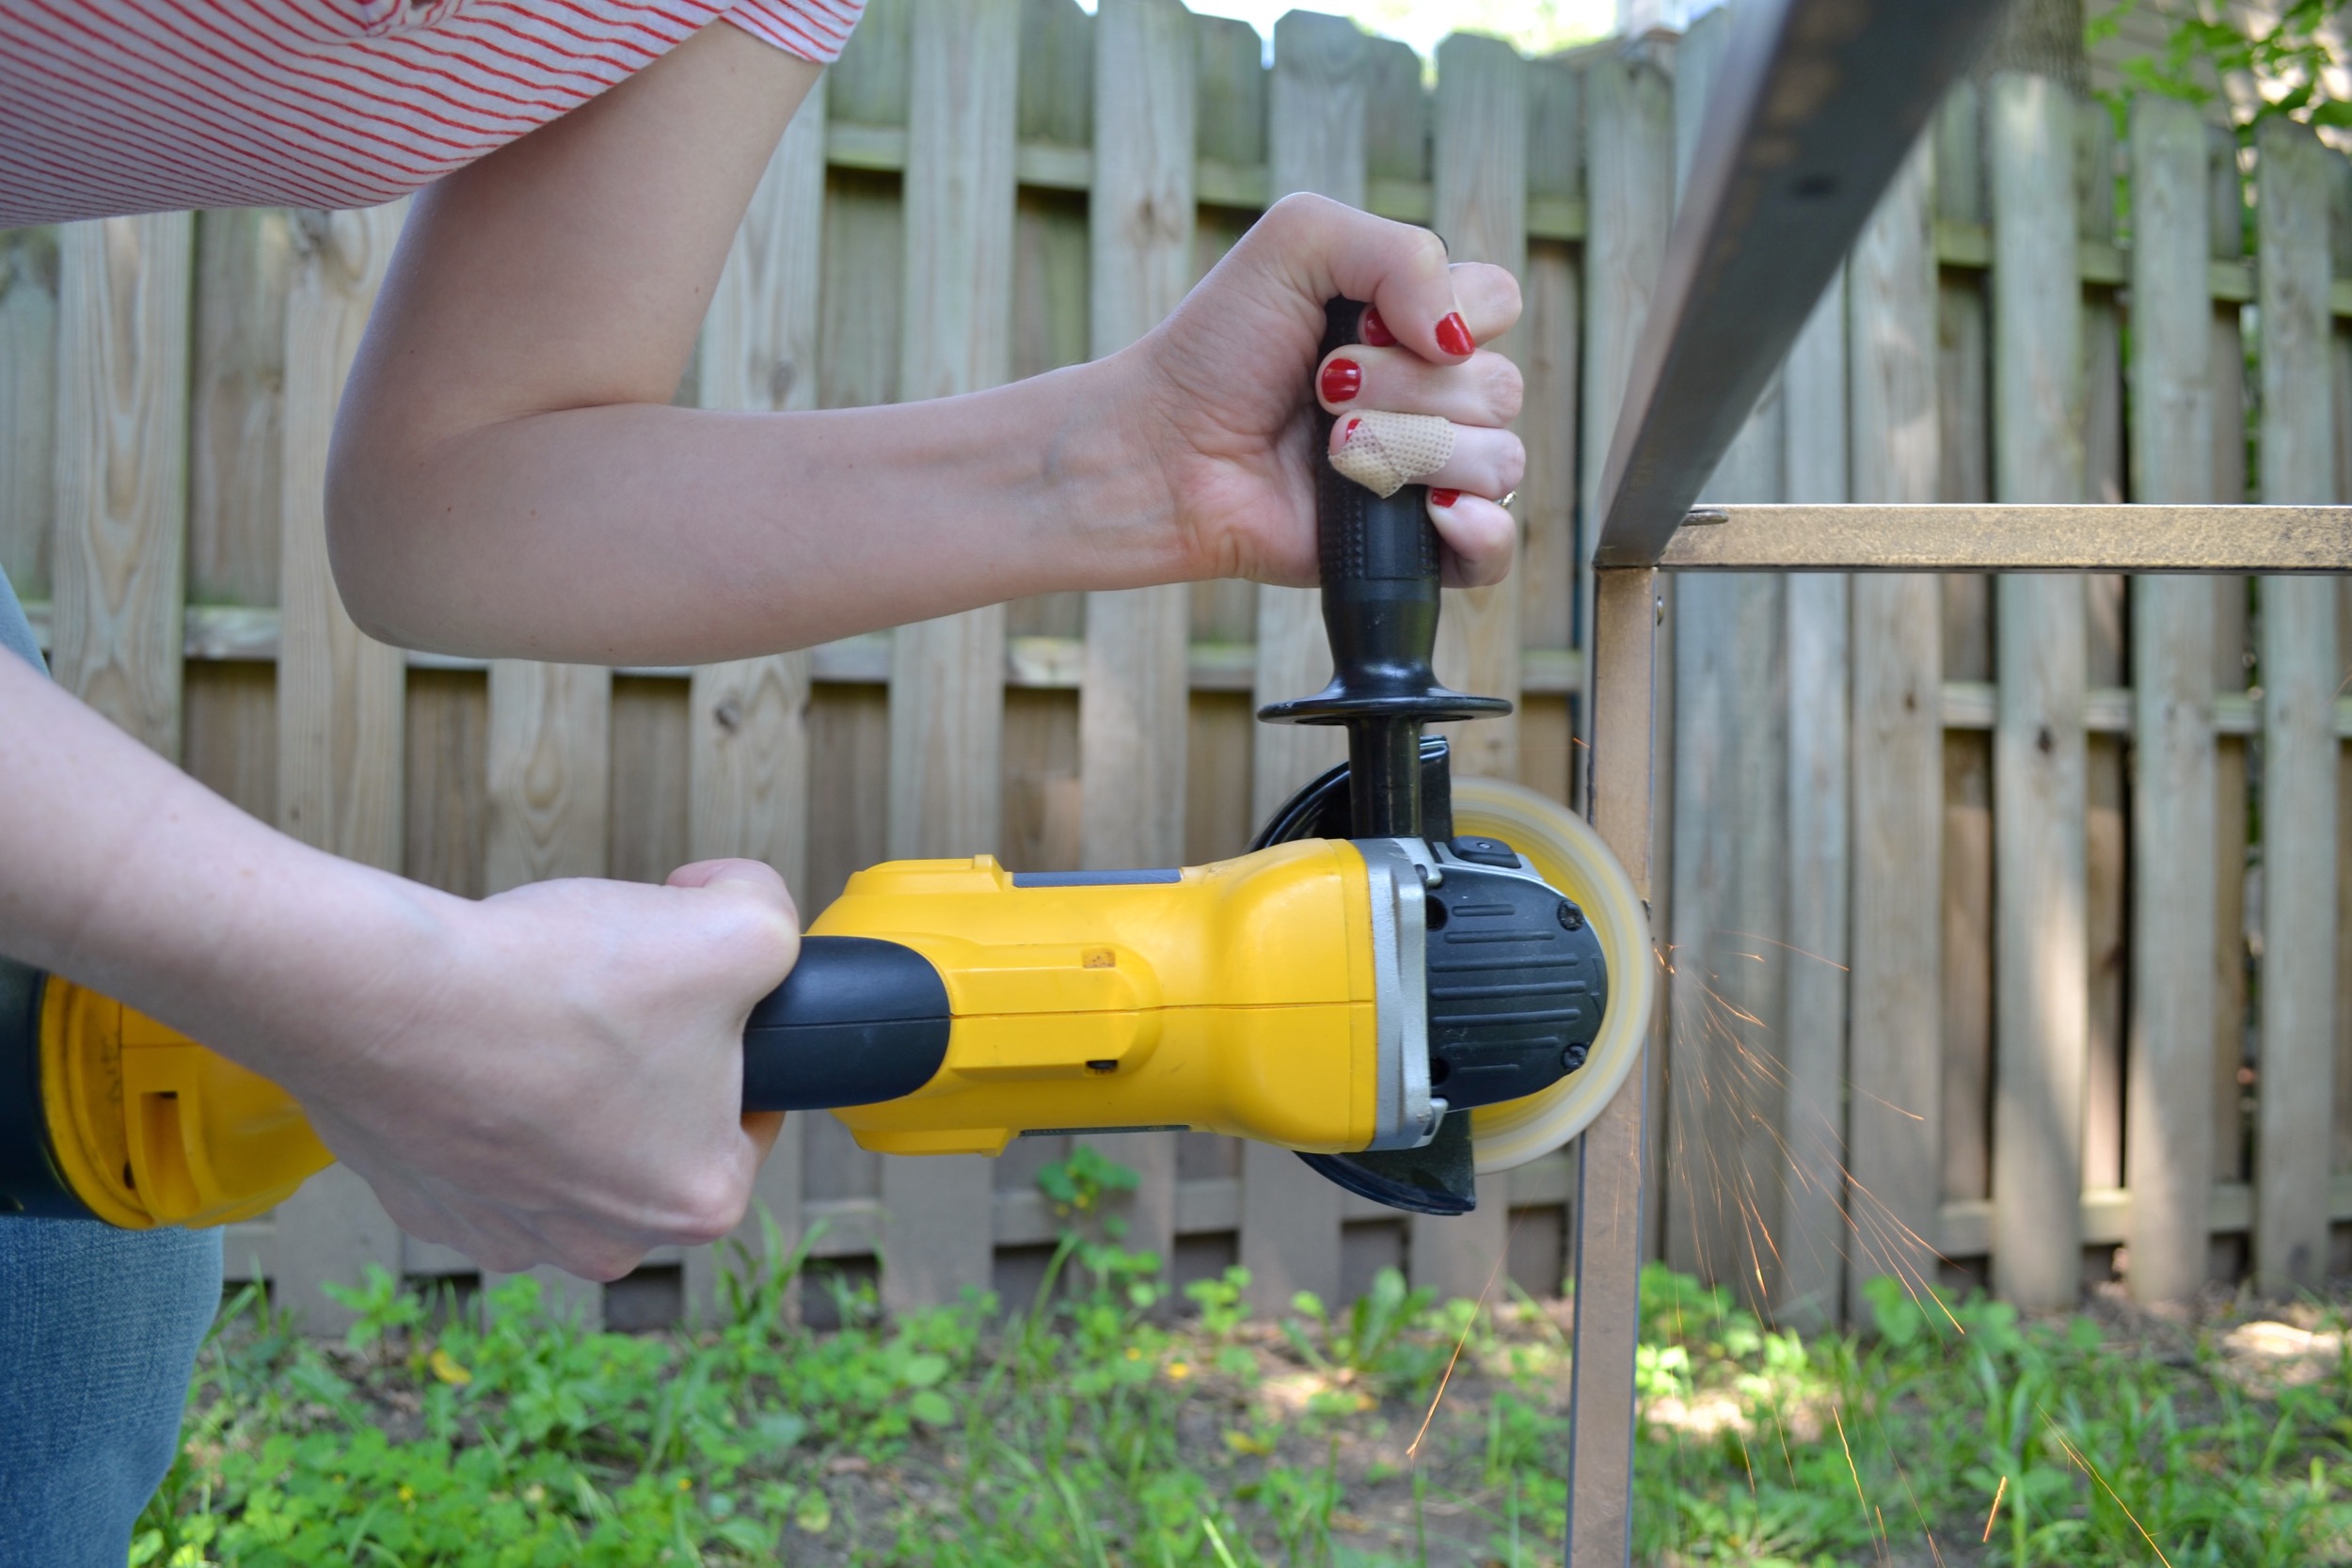

Now, I’ll move on to getting the shelf off. Most of it just unscrewed and came right off. But there were these two little pieces that helped stabilize that were permanent. But, all we had to do was use an angle grinder with a cut-off wheel and we were pretty easily able to get them both off. It’s not perfect, but the areas are so small that I think they won’t be very noticeable. I’d never used an angle grinder before so Xan taught me how. It was relatively easy, and definitely something you can do if you want to. Just be sure to wear safety goggles, closed toe shoes and put your hair up. It created a ton of sparks so you want to be very careful. But, as long as you keep a good grip on it you’ll be just fine. The biggest tip that helped me was to turn the tool on and start it spinning before you start cutting. Rather than finding the spot you want to cut, resting it there and then turning it on.
At this point I still need to spray paint and change up the top. I’m most likely going paint it gold, but am also considering a bright pop of color. I love anything gold, but I try and be careful about using too much so I’m not limited in other areas. I guess that’s the beauty of working with such an inexpensive piece – if I want to change it again soon I can so I’m not too locked in. For the top I have an idea and just need to order the supplies, but am not sure if it’s going to look good, so I’ll wait and share it when I’ve finished. Cross your fingers I’ll be able to post the finished product next week!
Update: Here's the finished Foyer!