
As I’ve mentioned before, this house is 107 years old. It was built in 1910 and has so much charm from that era: the built-ins, the eight-inch baseboards, the heart pine floors and the nine foot ceilings all make my design-heart race. But, along with the amazing details that come to mind when we think of an old house are some other things that are not quite as exciting. For example, at that time indoor plumbing and electricity weren’t actually a thing and then there’s what I’m talking about today, which is the way they insulated a house (or more appropriately, didn’t).
Once the weather started to warm up here we immediately noticed a problem. There’s a huge difference between the temperature upstairs and the temperature downstairs. I’m talking up to 10 degrees. Usually during the summer in the South you would set your thermostat to 70, 72, maybe even 74 degrees. It gets so hot out that if it’s cooler than that you would be paying an arm and a leg for AC. But, if we set it to 72, because the thermostat is downstairs, then upstairs where the bedrooms are it’s going to be over 80. Which for me is so not okay. We’re all different, so maybe for some of you 80 is an okay sleeping temperature, but for me it just isn’t. So, we’ve been running the air like crazy people, which not only has the annoying result of increasing the bill and feeling wasteful but also means that the downstairs of our house is frigid. Seriously. We’re bundled up in sweat pants, wool socks and sitting under blankets. It’s ridiculous. But, if we don’t run the air starting in the afternoon/evening the upstairs gets too hot and the AC can’t catch up by bedtime. So, if you came by on any given night you’d think we were about to take a trip to the Arctic.
Knowing we can’t keep things going like this we had a few contractors come out and give us their opinions. Four to be exact. And they all said the same thing: it’s the insulation. We even had someone do an energy audit. I’ll spare you most of the boring details, but will share the most interesting things we learned. Apparently, the attic is getting SUUUUUPER hot, like 130 degrees hot. And it was only warm outside the day they did it, not even hot. And because the insulation is old, not as effective and not to the standards that would be used today it’s just not able to keep all that warm air out of what’s right below it, which are the bedrooms. On the same day, the temperature of the ceiling in our bedroom was anywhere between 90 and 104 degrees. No wonder the AC can’t keep up! There’s basically a heater on our ceiling.
I’m sure you can guess by now that we’re having the insulation replaced. We’re going with traditional insulation and not spray foam and we made that decision for a number of reasons. 1. Spray foam isn’t great for older houses or any other situation where ventilation might not be as good. If moisture is created under the insulation it can’t dry out and can cause a lot of problems. 2. Spray foam is still pretty new and the problems with it are just now starting to surface (we don’t really want to be a guinea pig). 3. I have some big concerns about what chemicals are in the spray foam and how they can adversely affect your health. 4. It’s really expensive. It was almost 4 times as much as the quotes for traditional insulation. All those factors made it a totally easy choice.
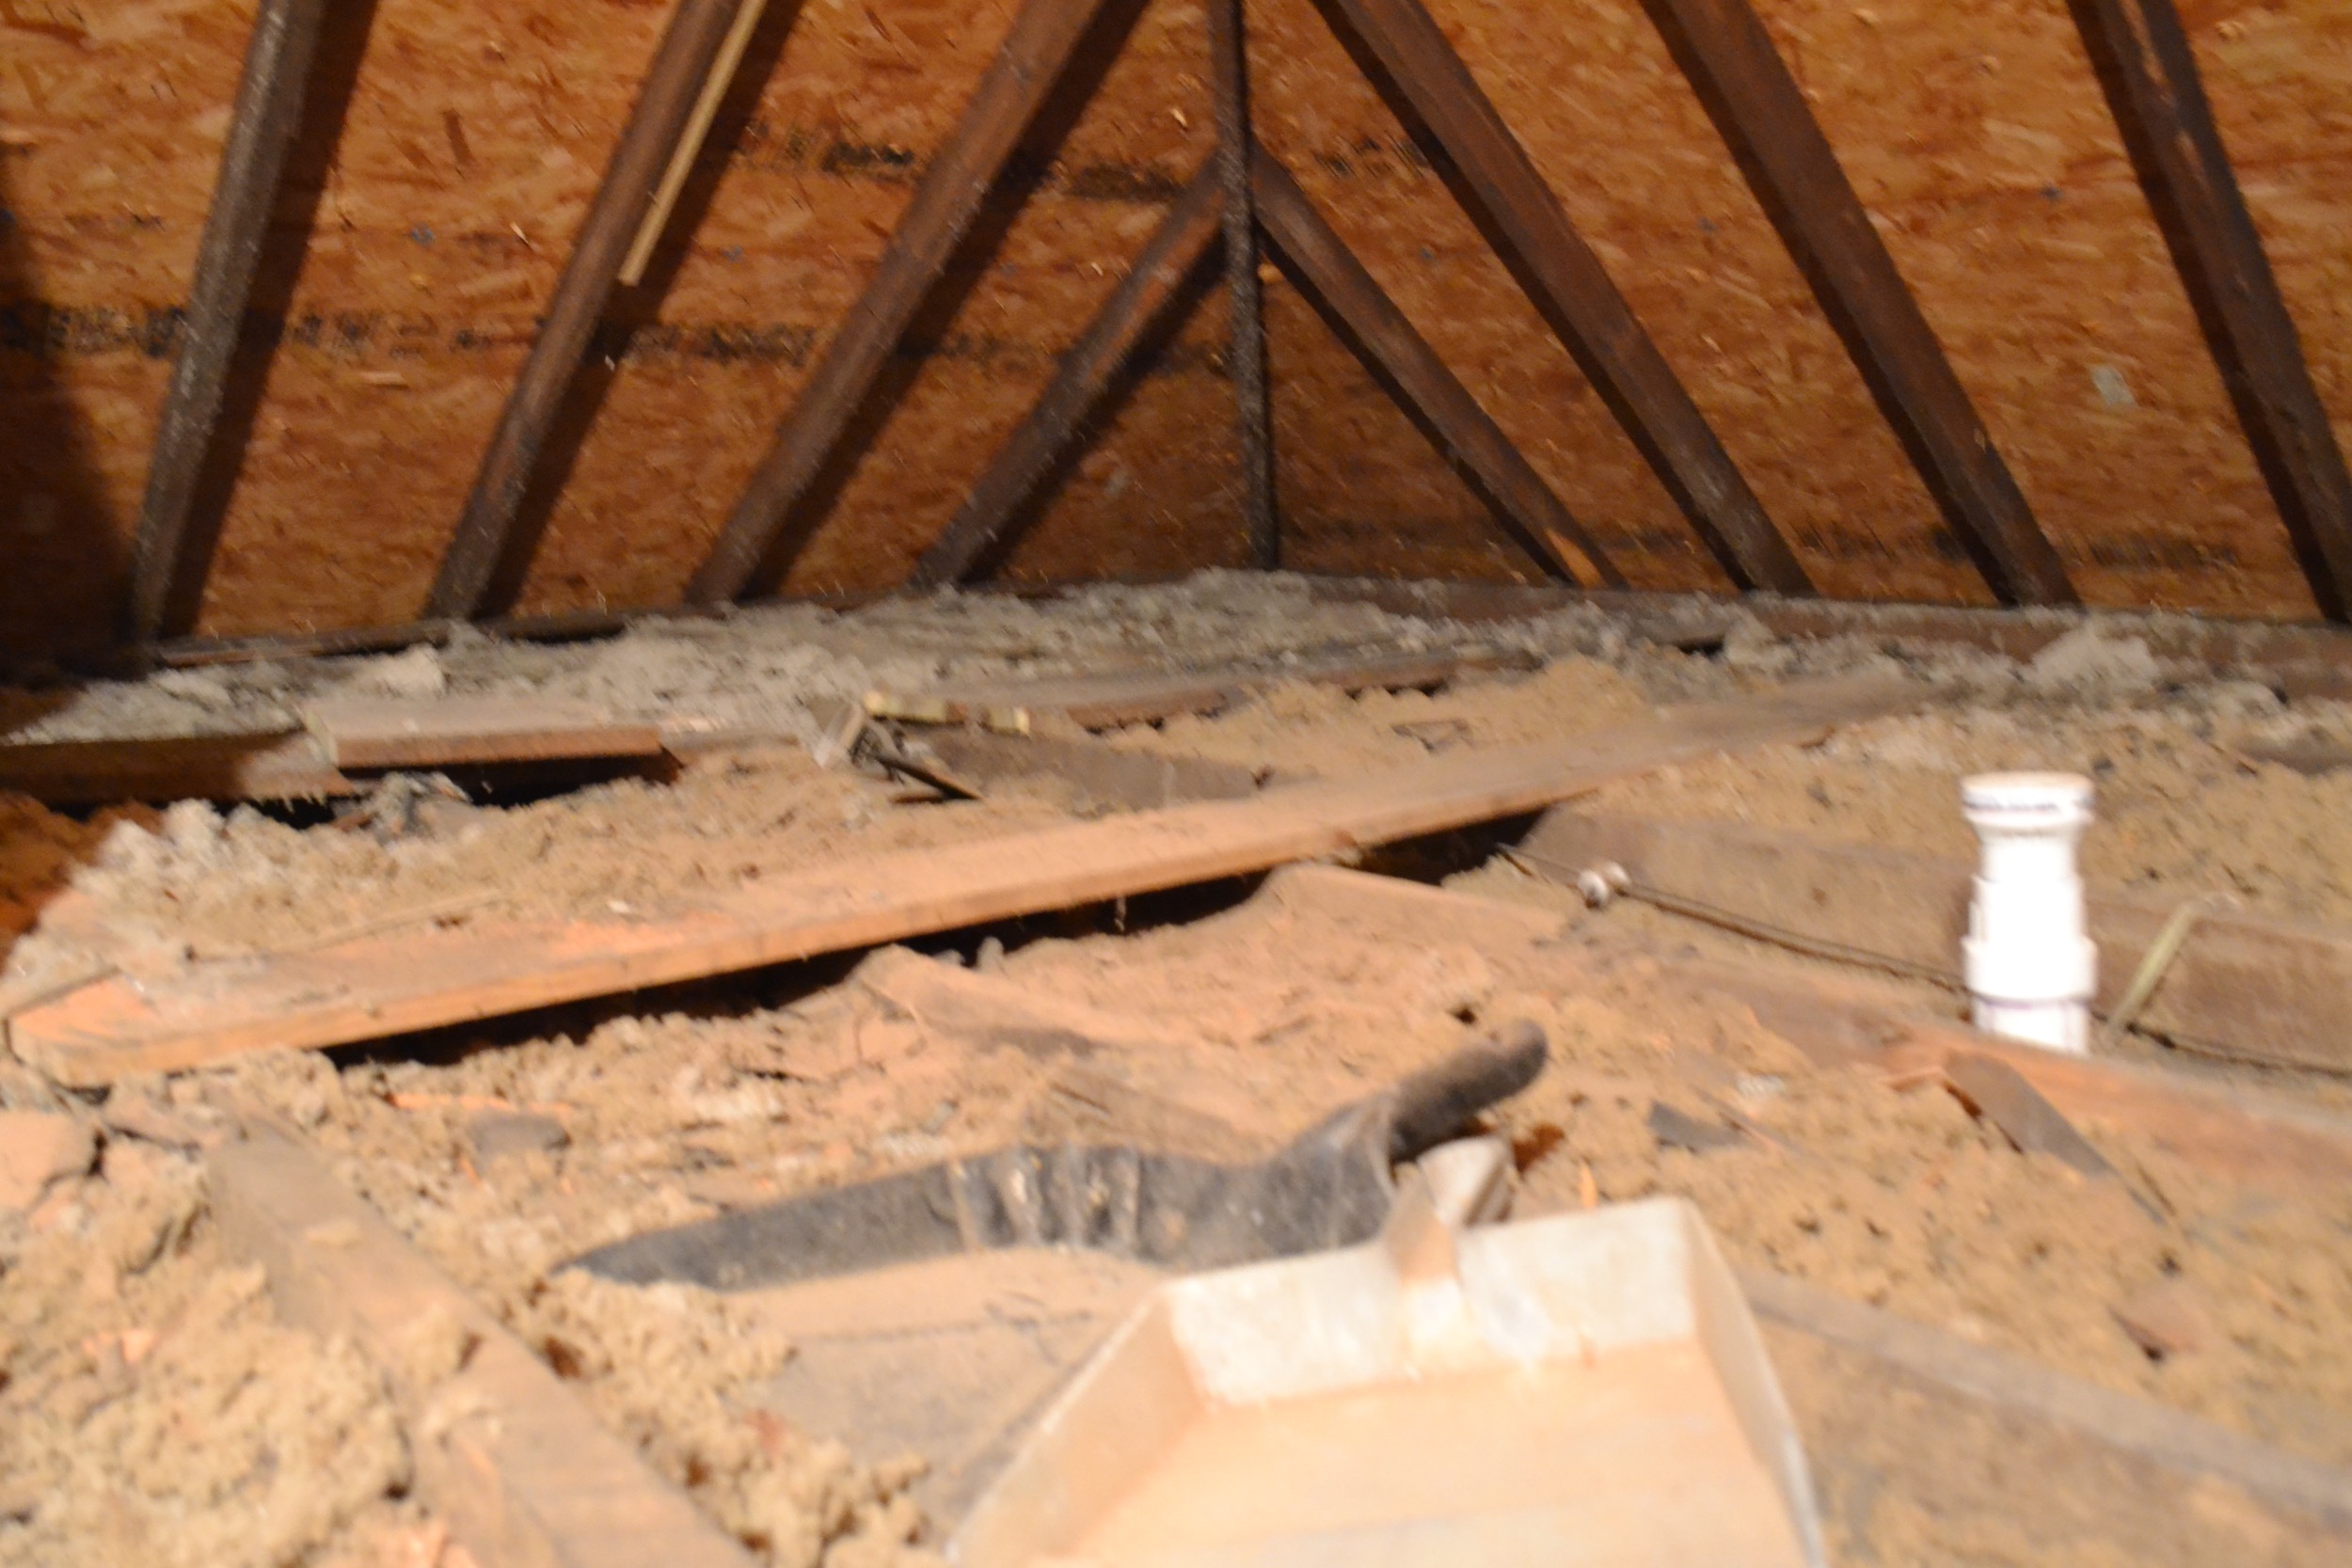
Now before you think to yourself, “great, problem solved!” just slow right down. Another thing about old houses is that there’s just always so much more than meets the eye. For starters when the roof was replaced (don’t know when, we’re guessing 5ish years ago) all the scraps and debris from the project were just left in the attic. So the whole thing was covered in scraps of wood, nails and extra roofing materials. In order to even get to the insulation up there all that has to be removed first. We could pay someone to do it, but it’s not very hard it’s just really really not fun. So we decided to do it ourselves. And by “we” in this situation I mean Xan. He’s really taking all the work on this one, which is amazing because it’s disgusting. There’s also a fair bit of knob and tube wiring up there (which had one contractor lovingly refer to our attic as “a powder keg”). Nobody will put insulation in with knob and tube wiring because it’s a huge fire hazard. It was used in the late 1800s and the very early 1900s so it’s in old houses. And, I don’t know the ins and outs of why it’s so dangerous, but from what we understand it is. So, we’re going to be tackling the rewiring ourselves. This is one of those borderline things that we should probably be paying someone else to do, but Xan feels pretty confident that he can do so we’re giving it a whirl. Sooooo, I’ll keep you updated on how that one goes. And, again I’ll clarify by “we” I mean Xan with the help of his Dad. The last thing that doesn’t need to be done, but kind of does because of the timing is adding an exhaust fan to the upstairs bathroom (the kind of thing that didn’t exist in 1910…) and adding another outlet in the same bathroom. Right now there’s only one outlet in this large bathroom and it’s by the door so it’s far away and there’s no surface to put anything on (you know, like a curling iron).
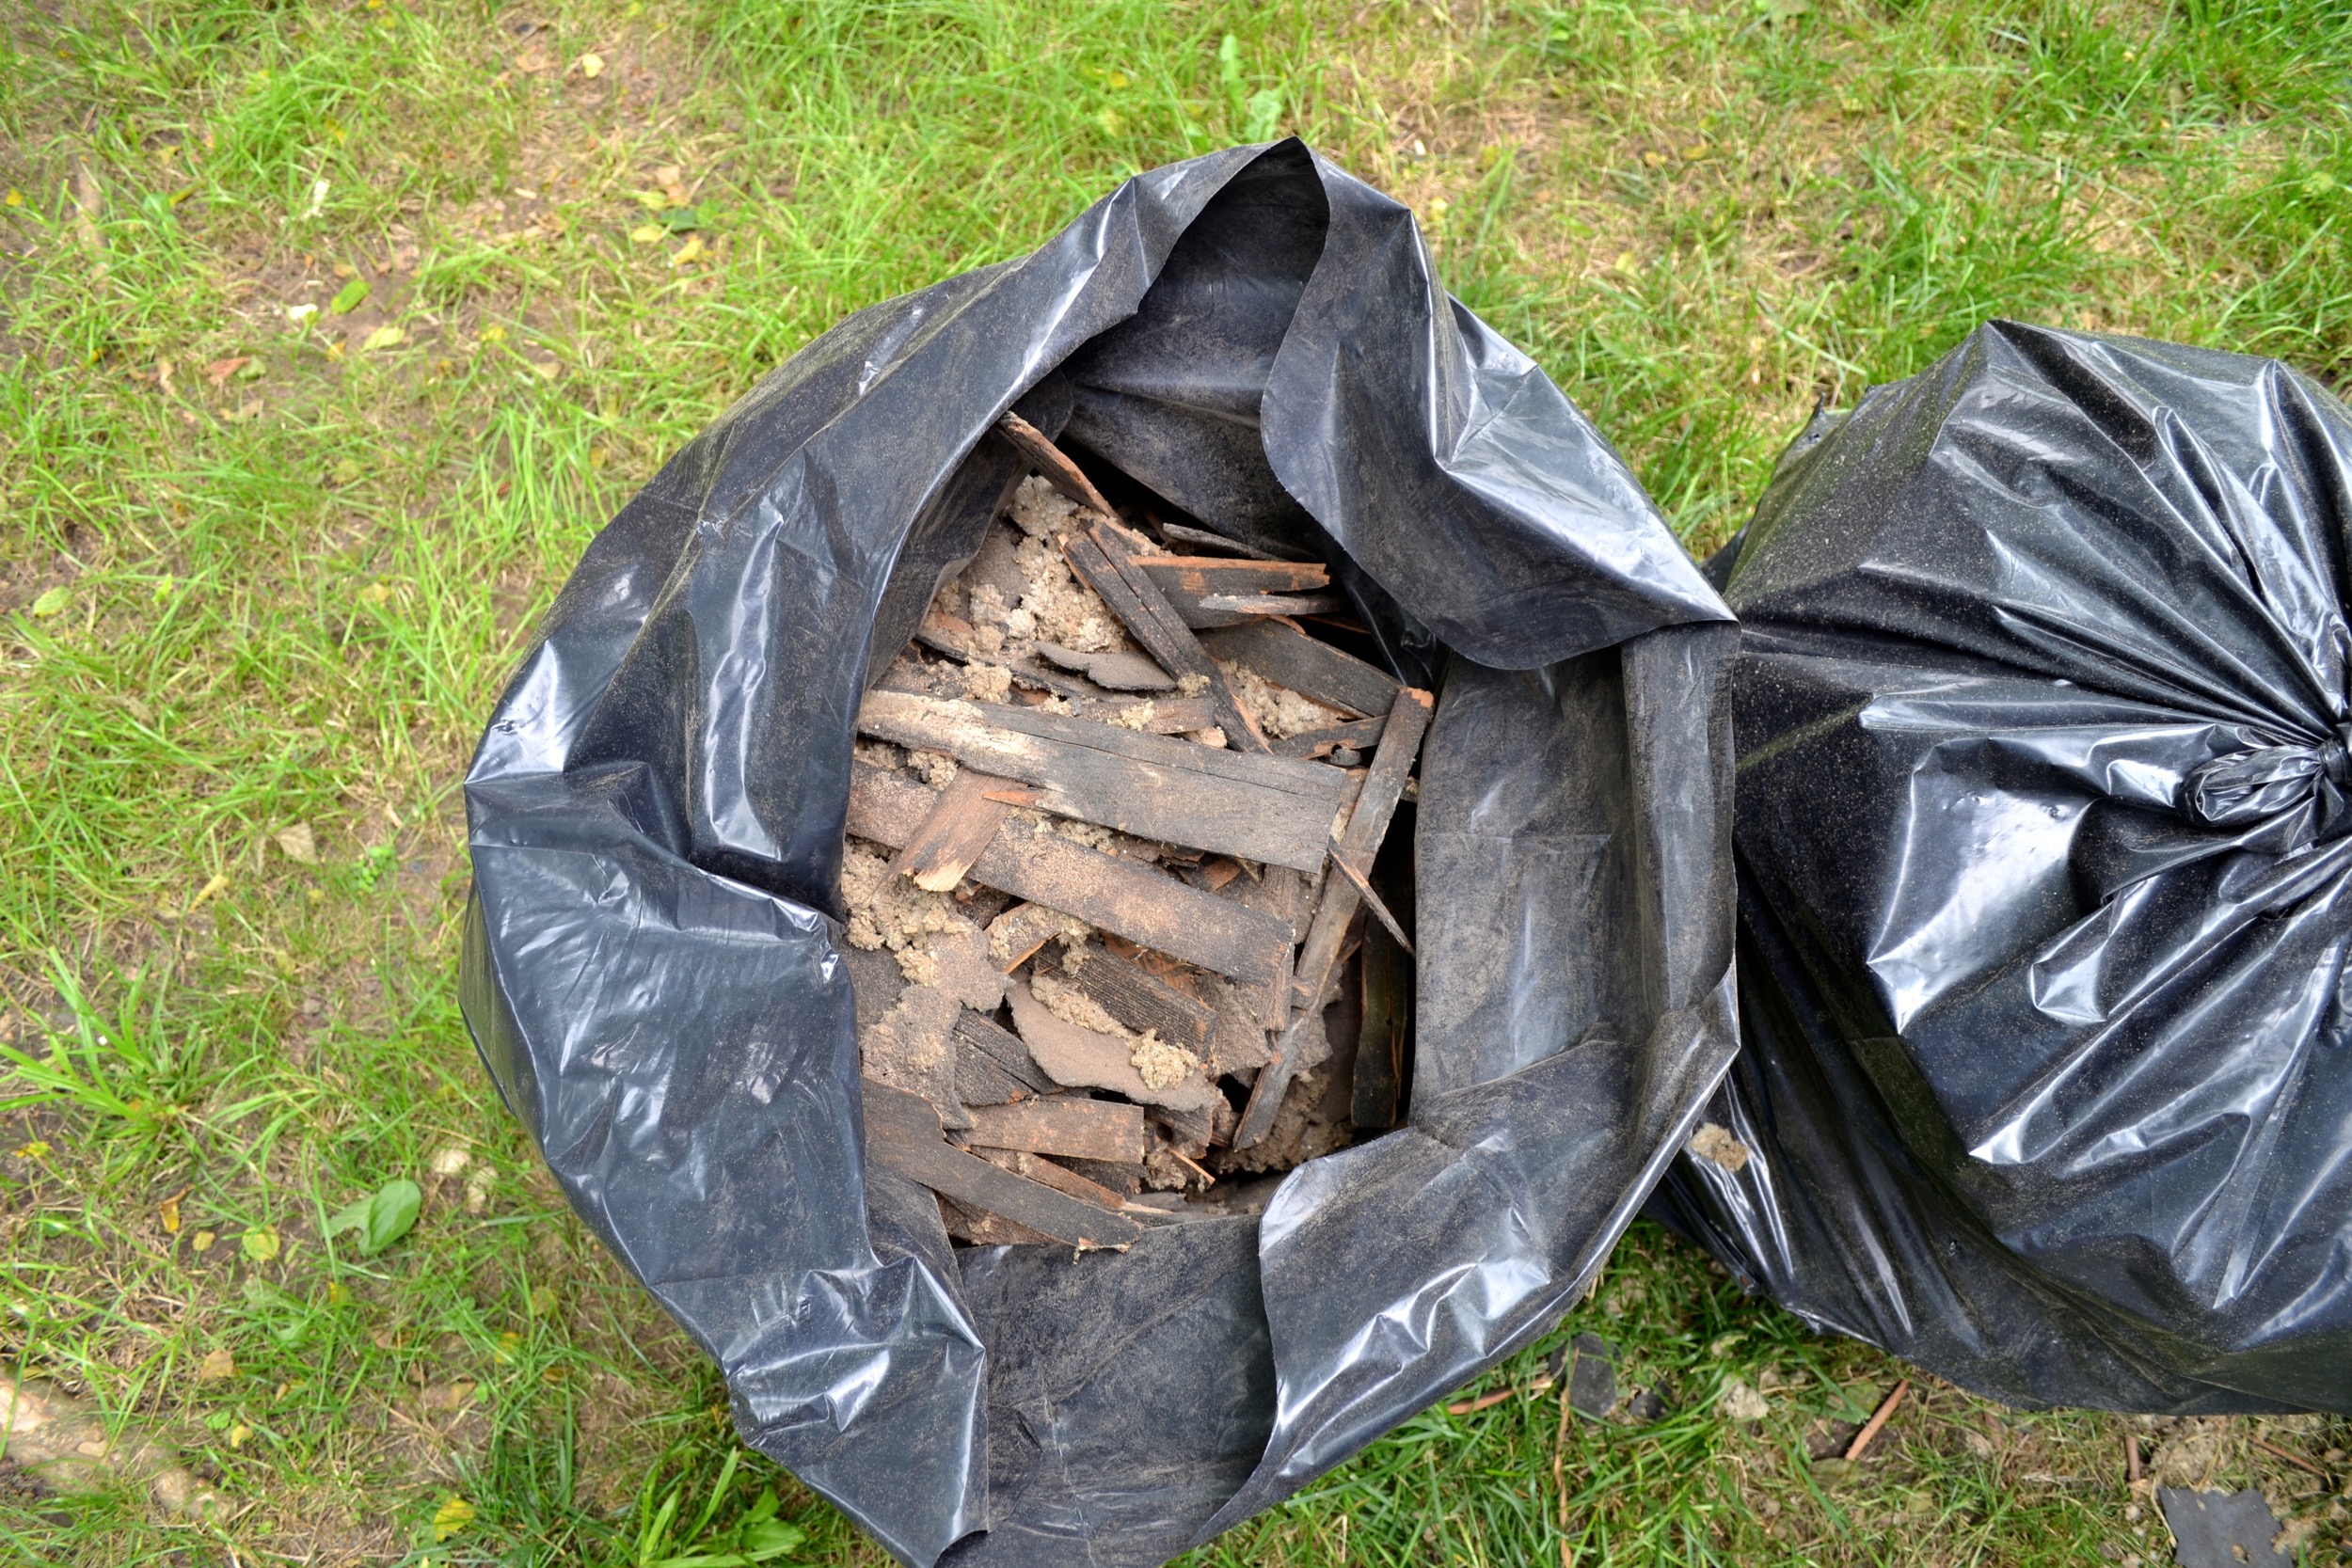
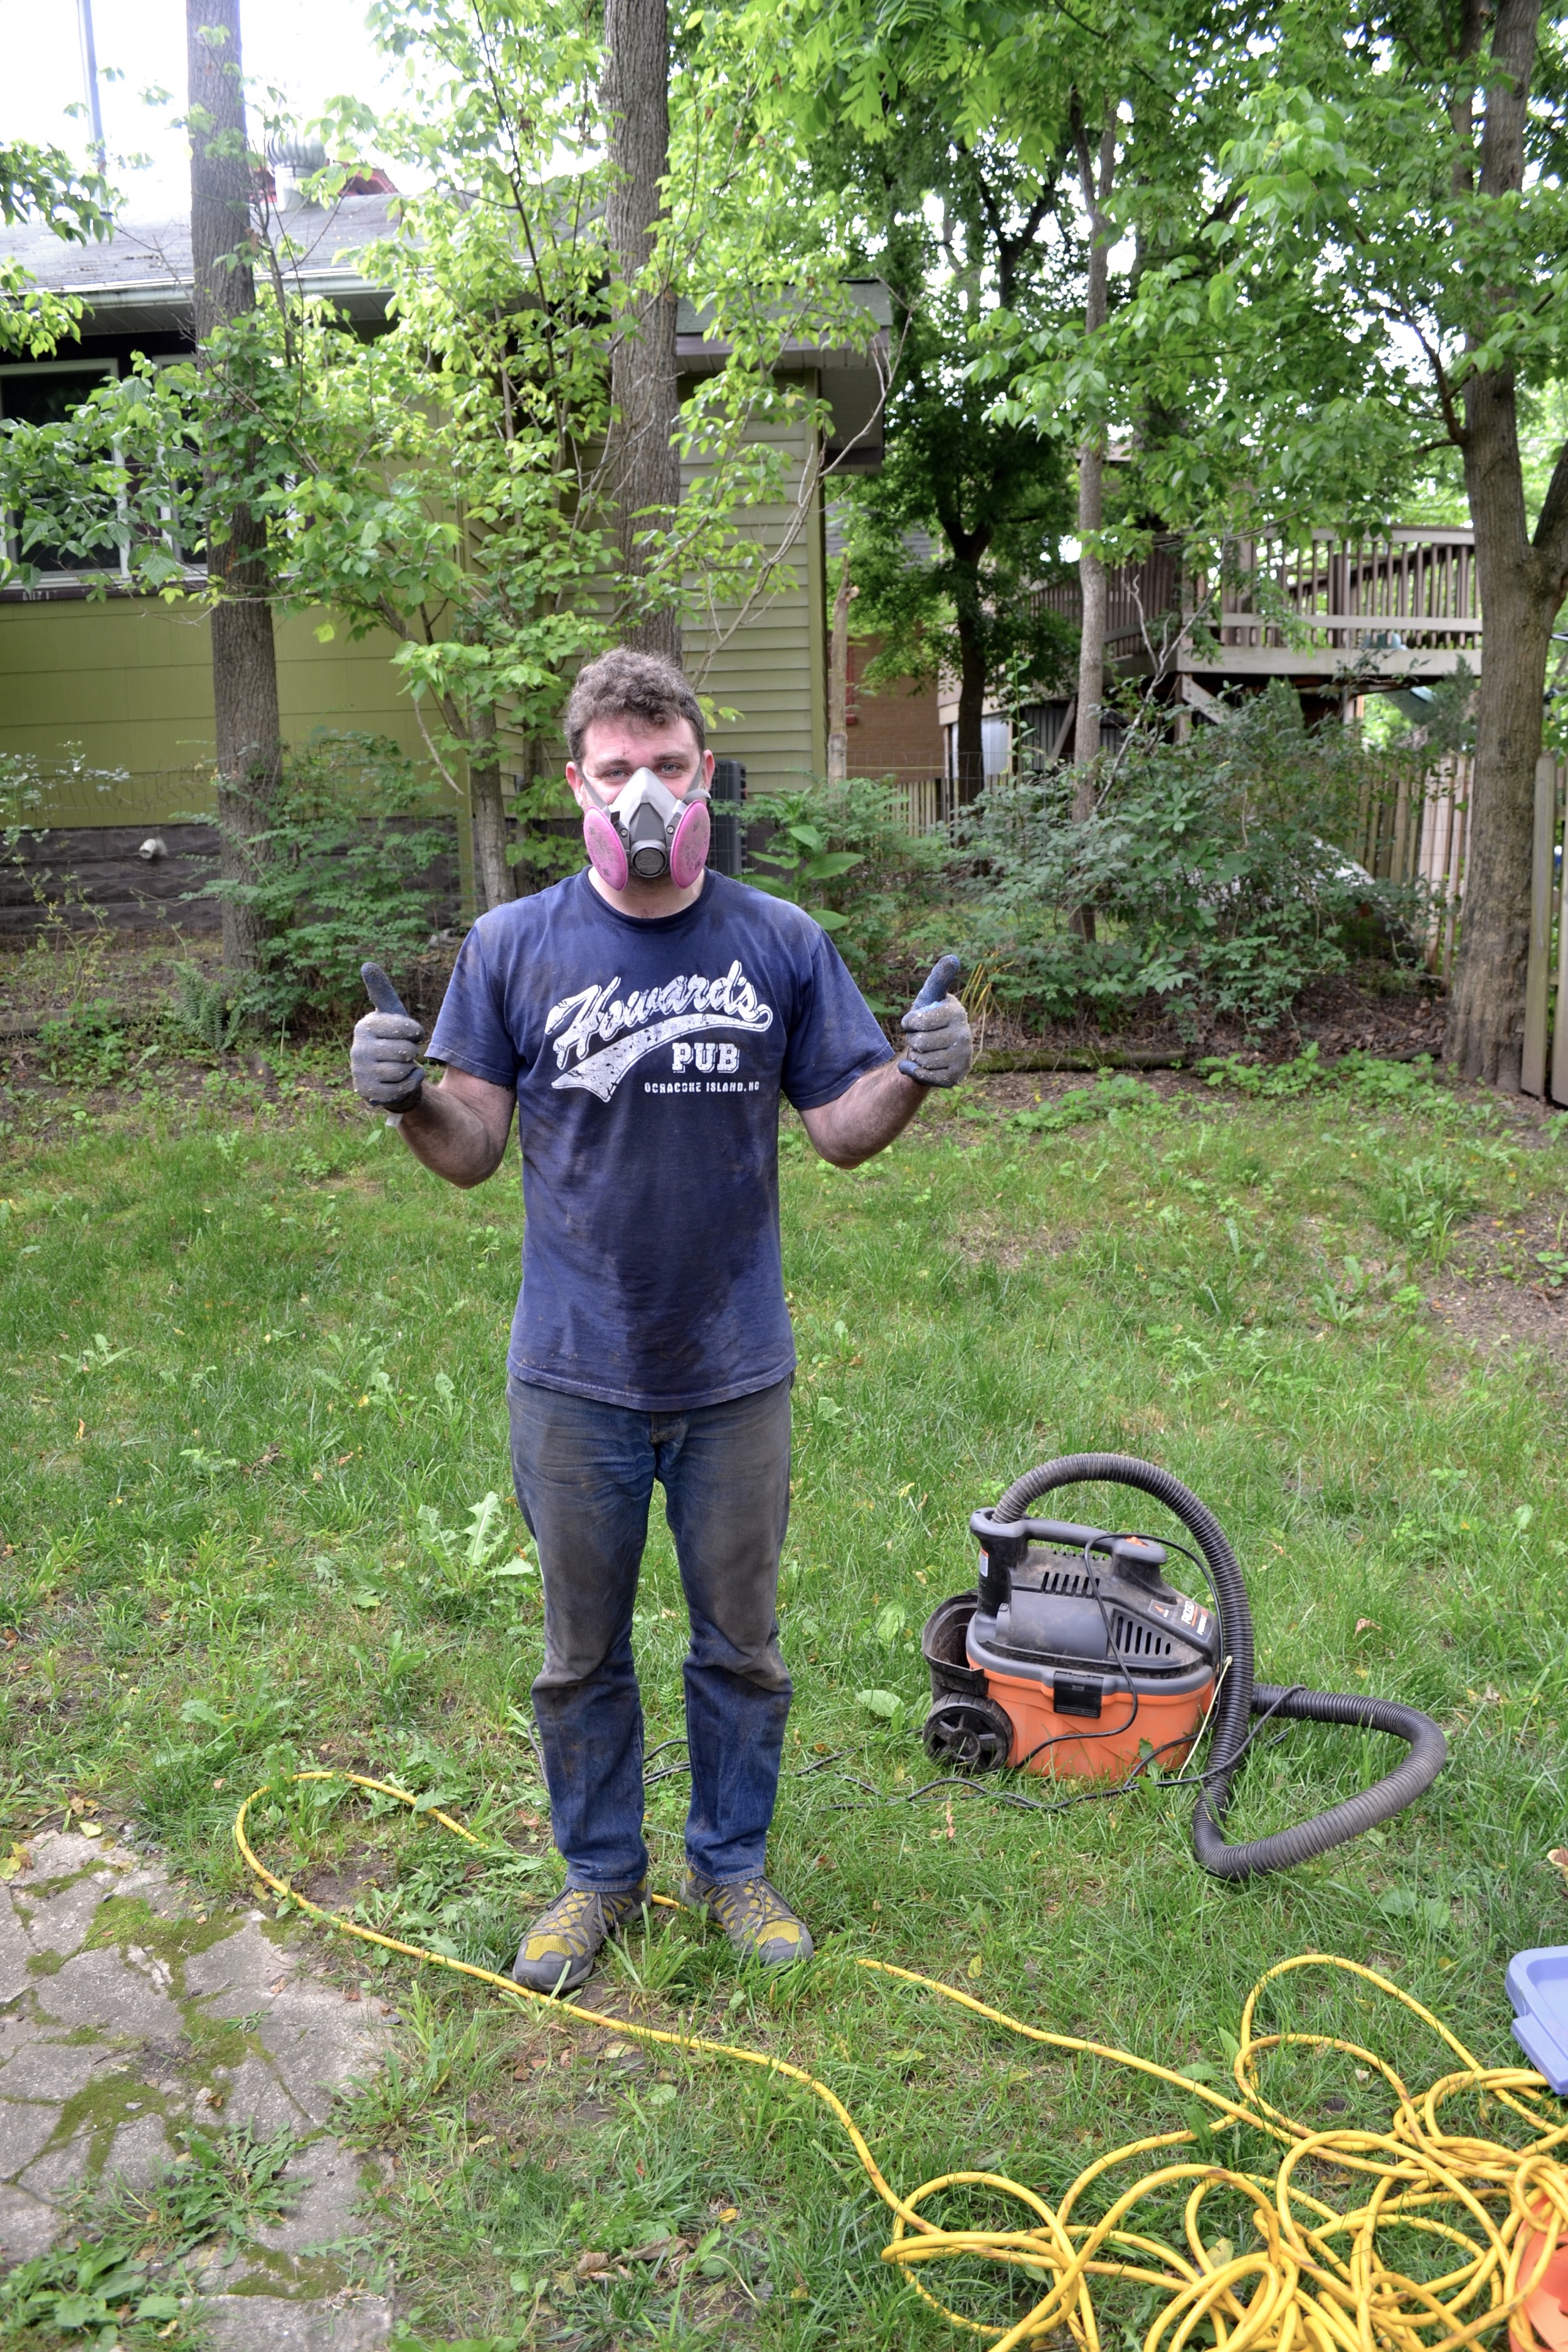
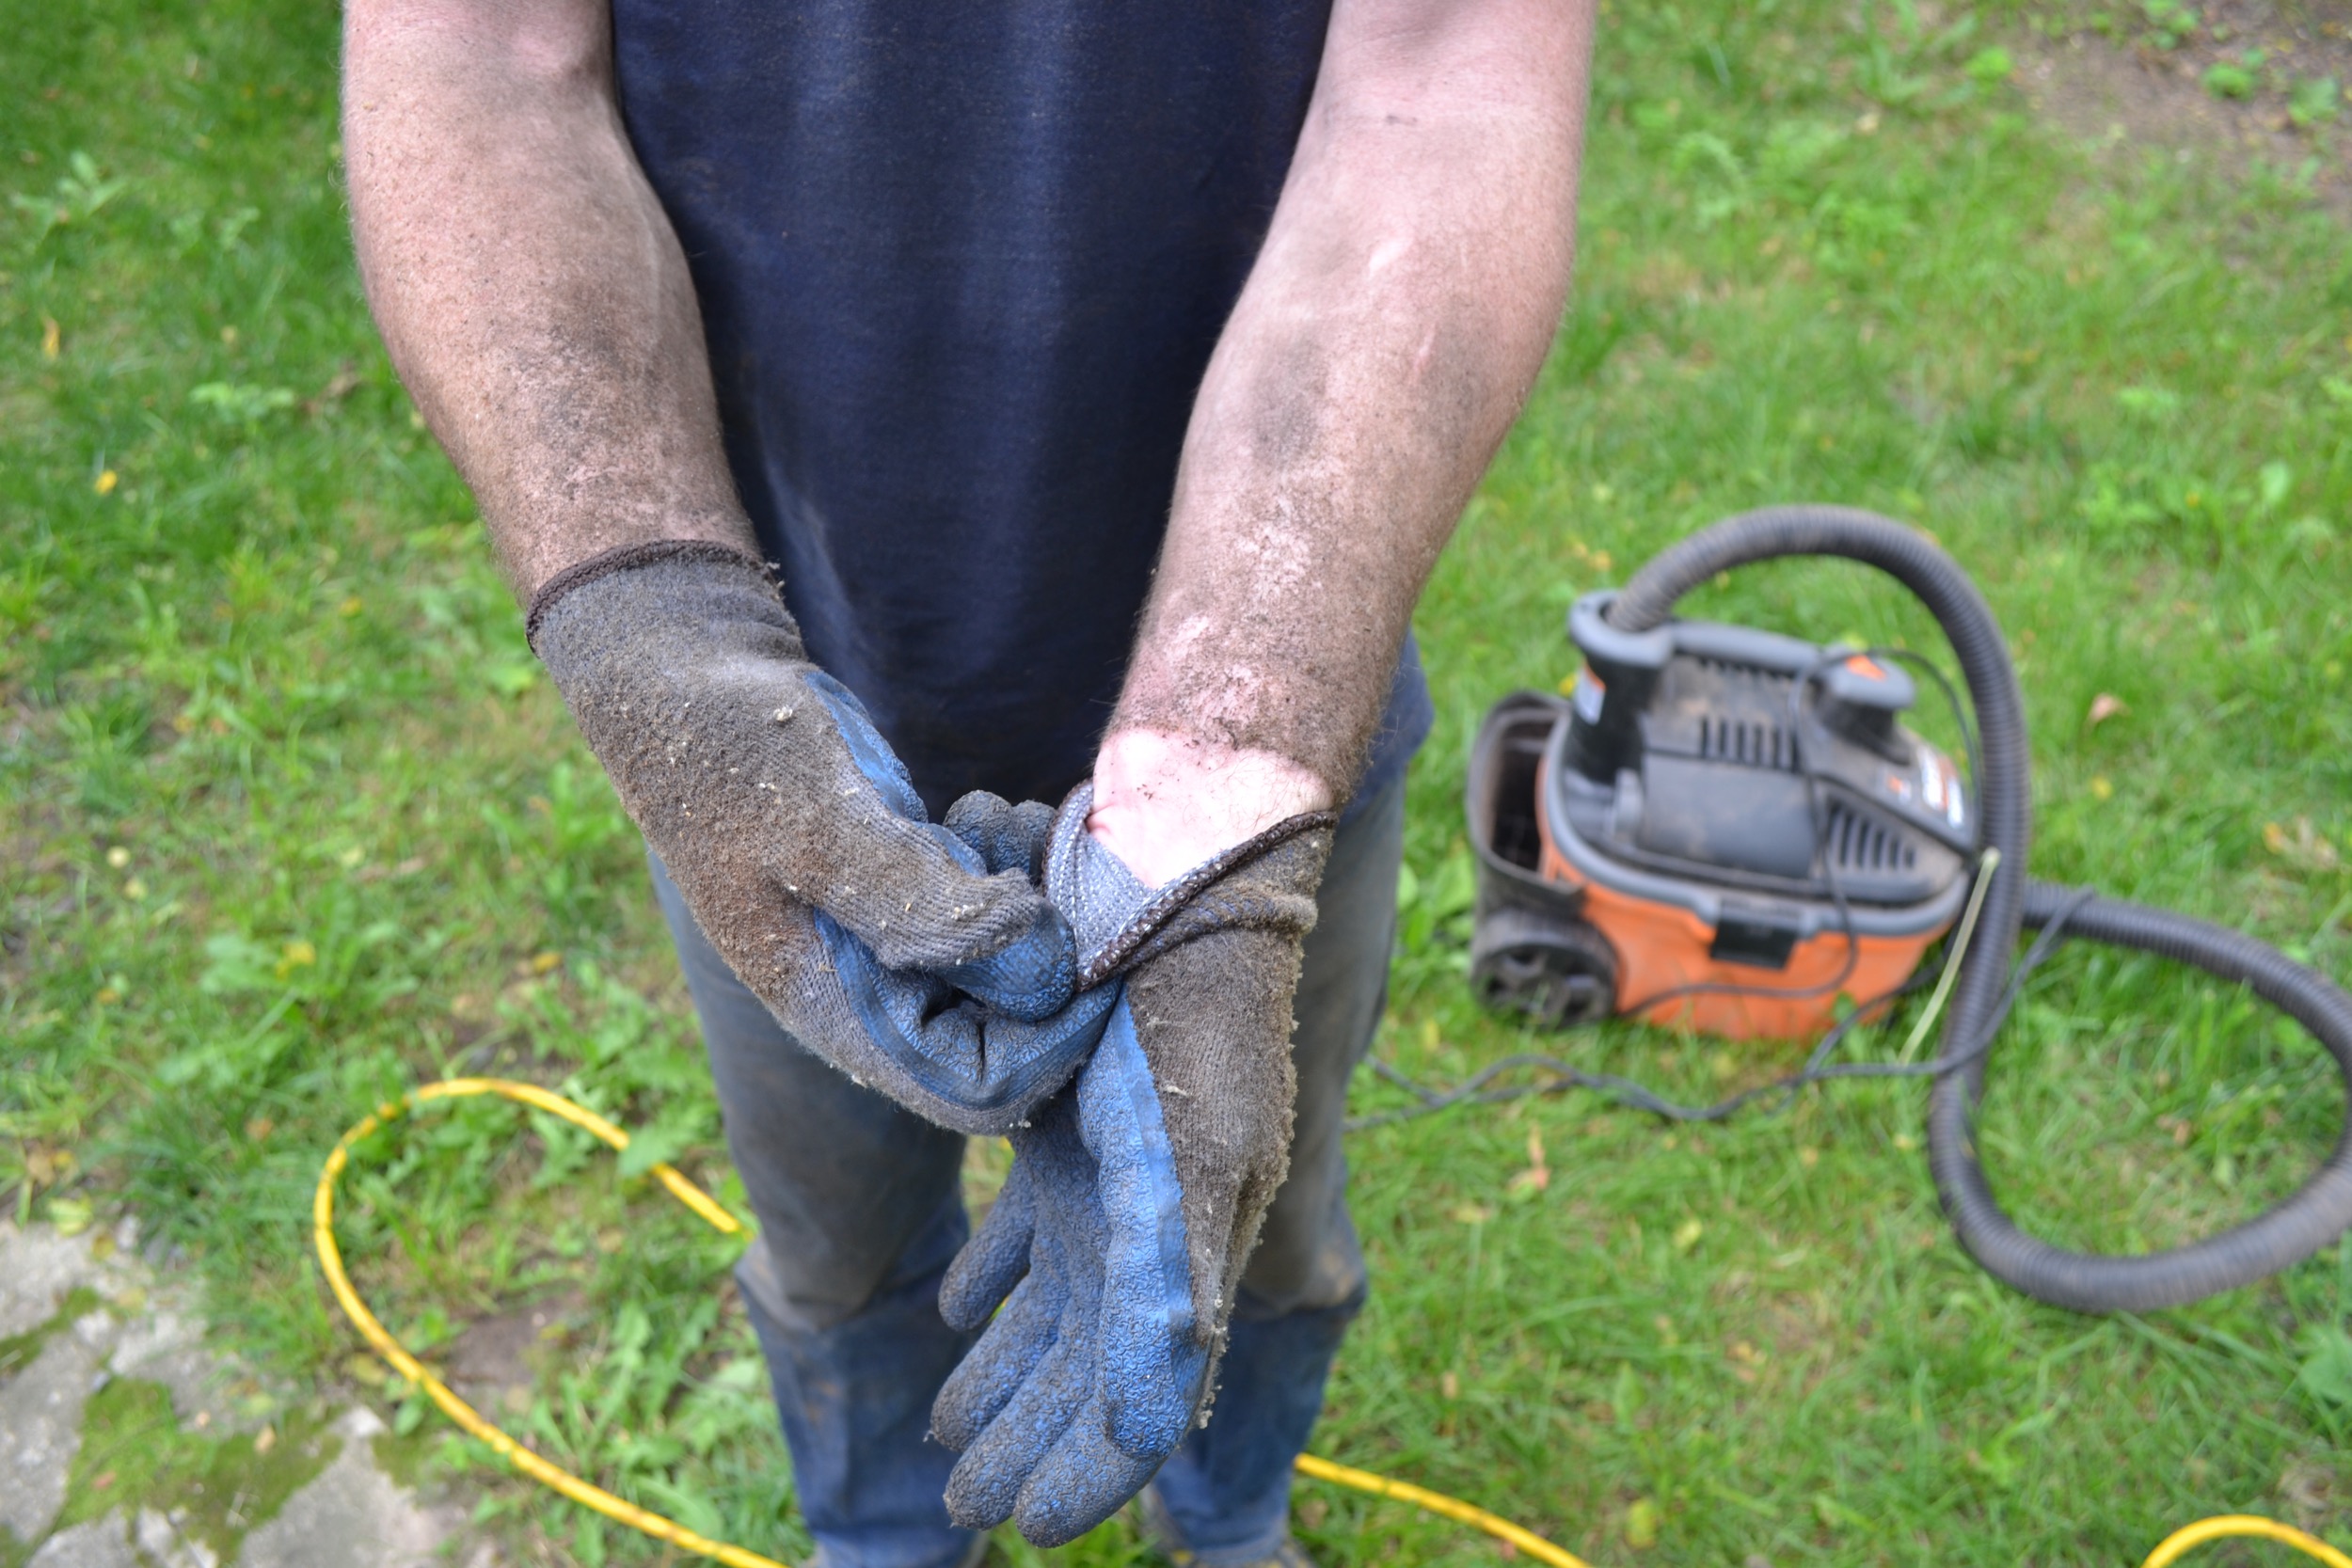
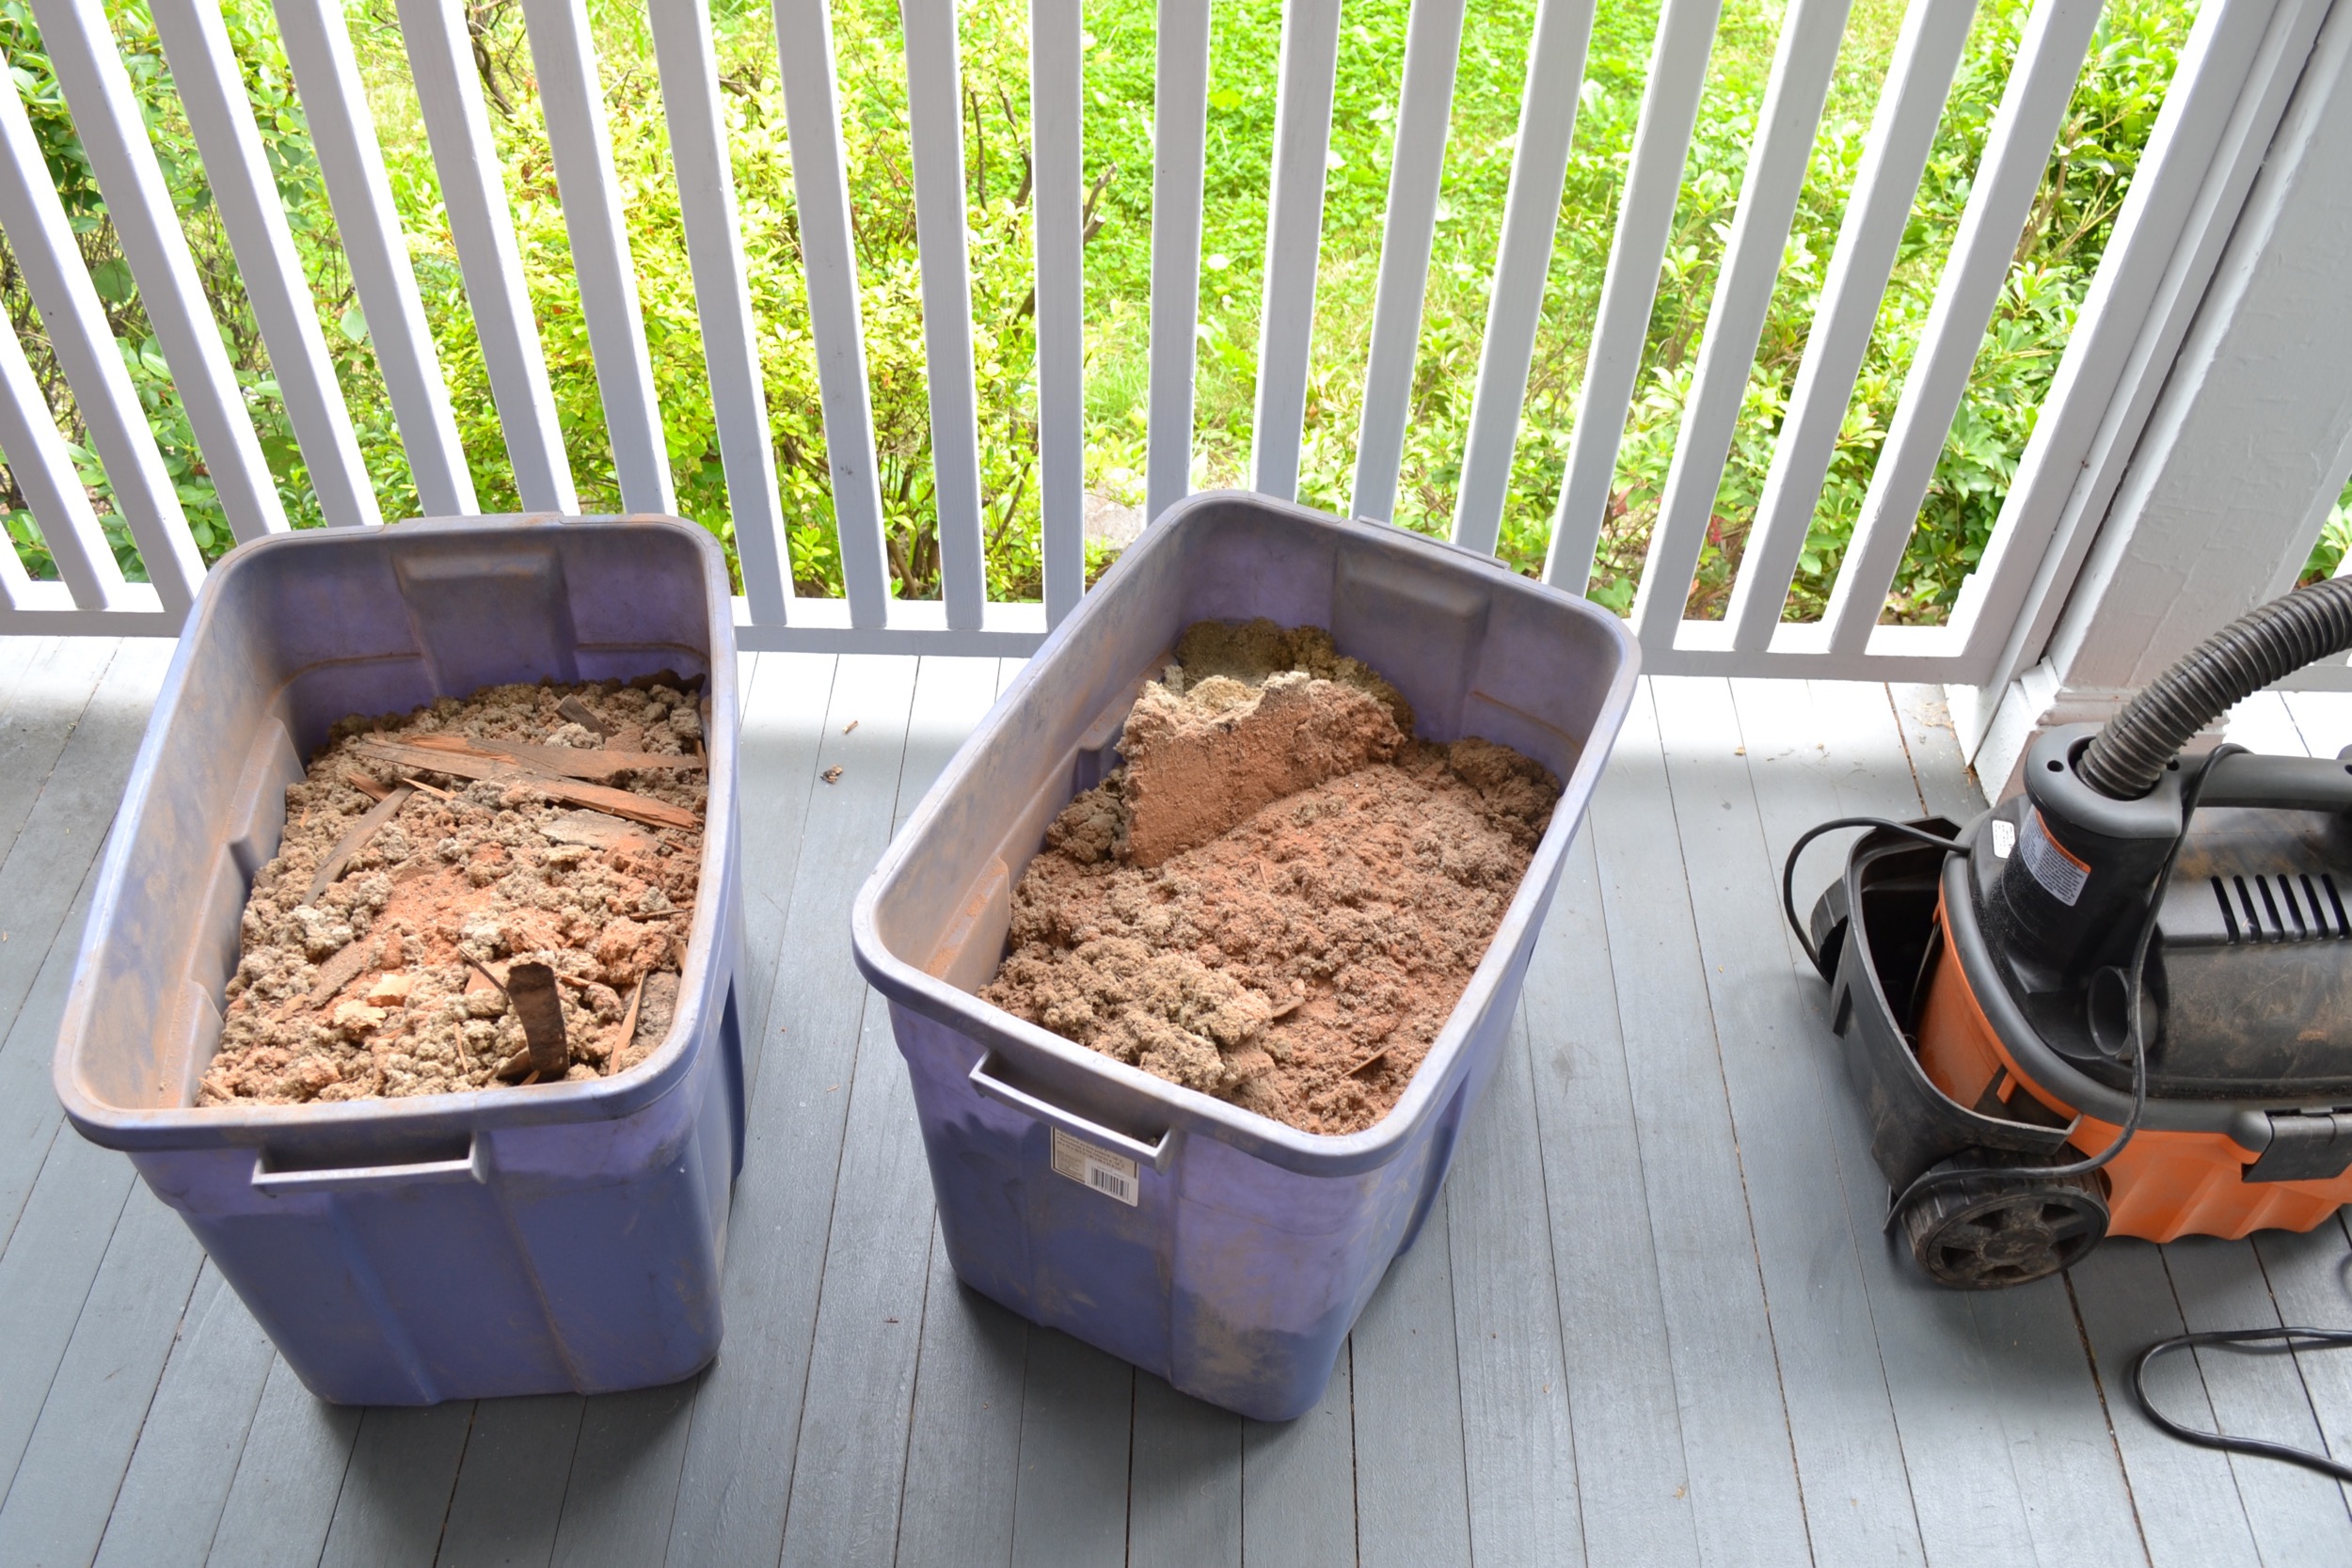
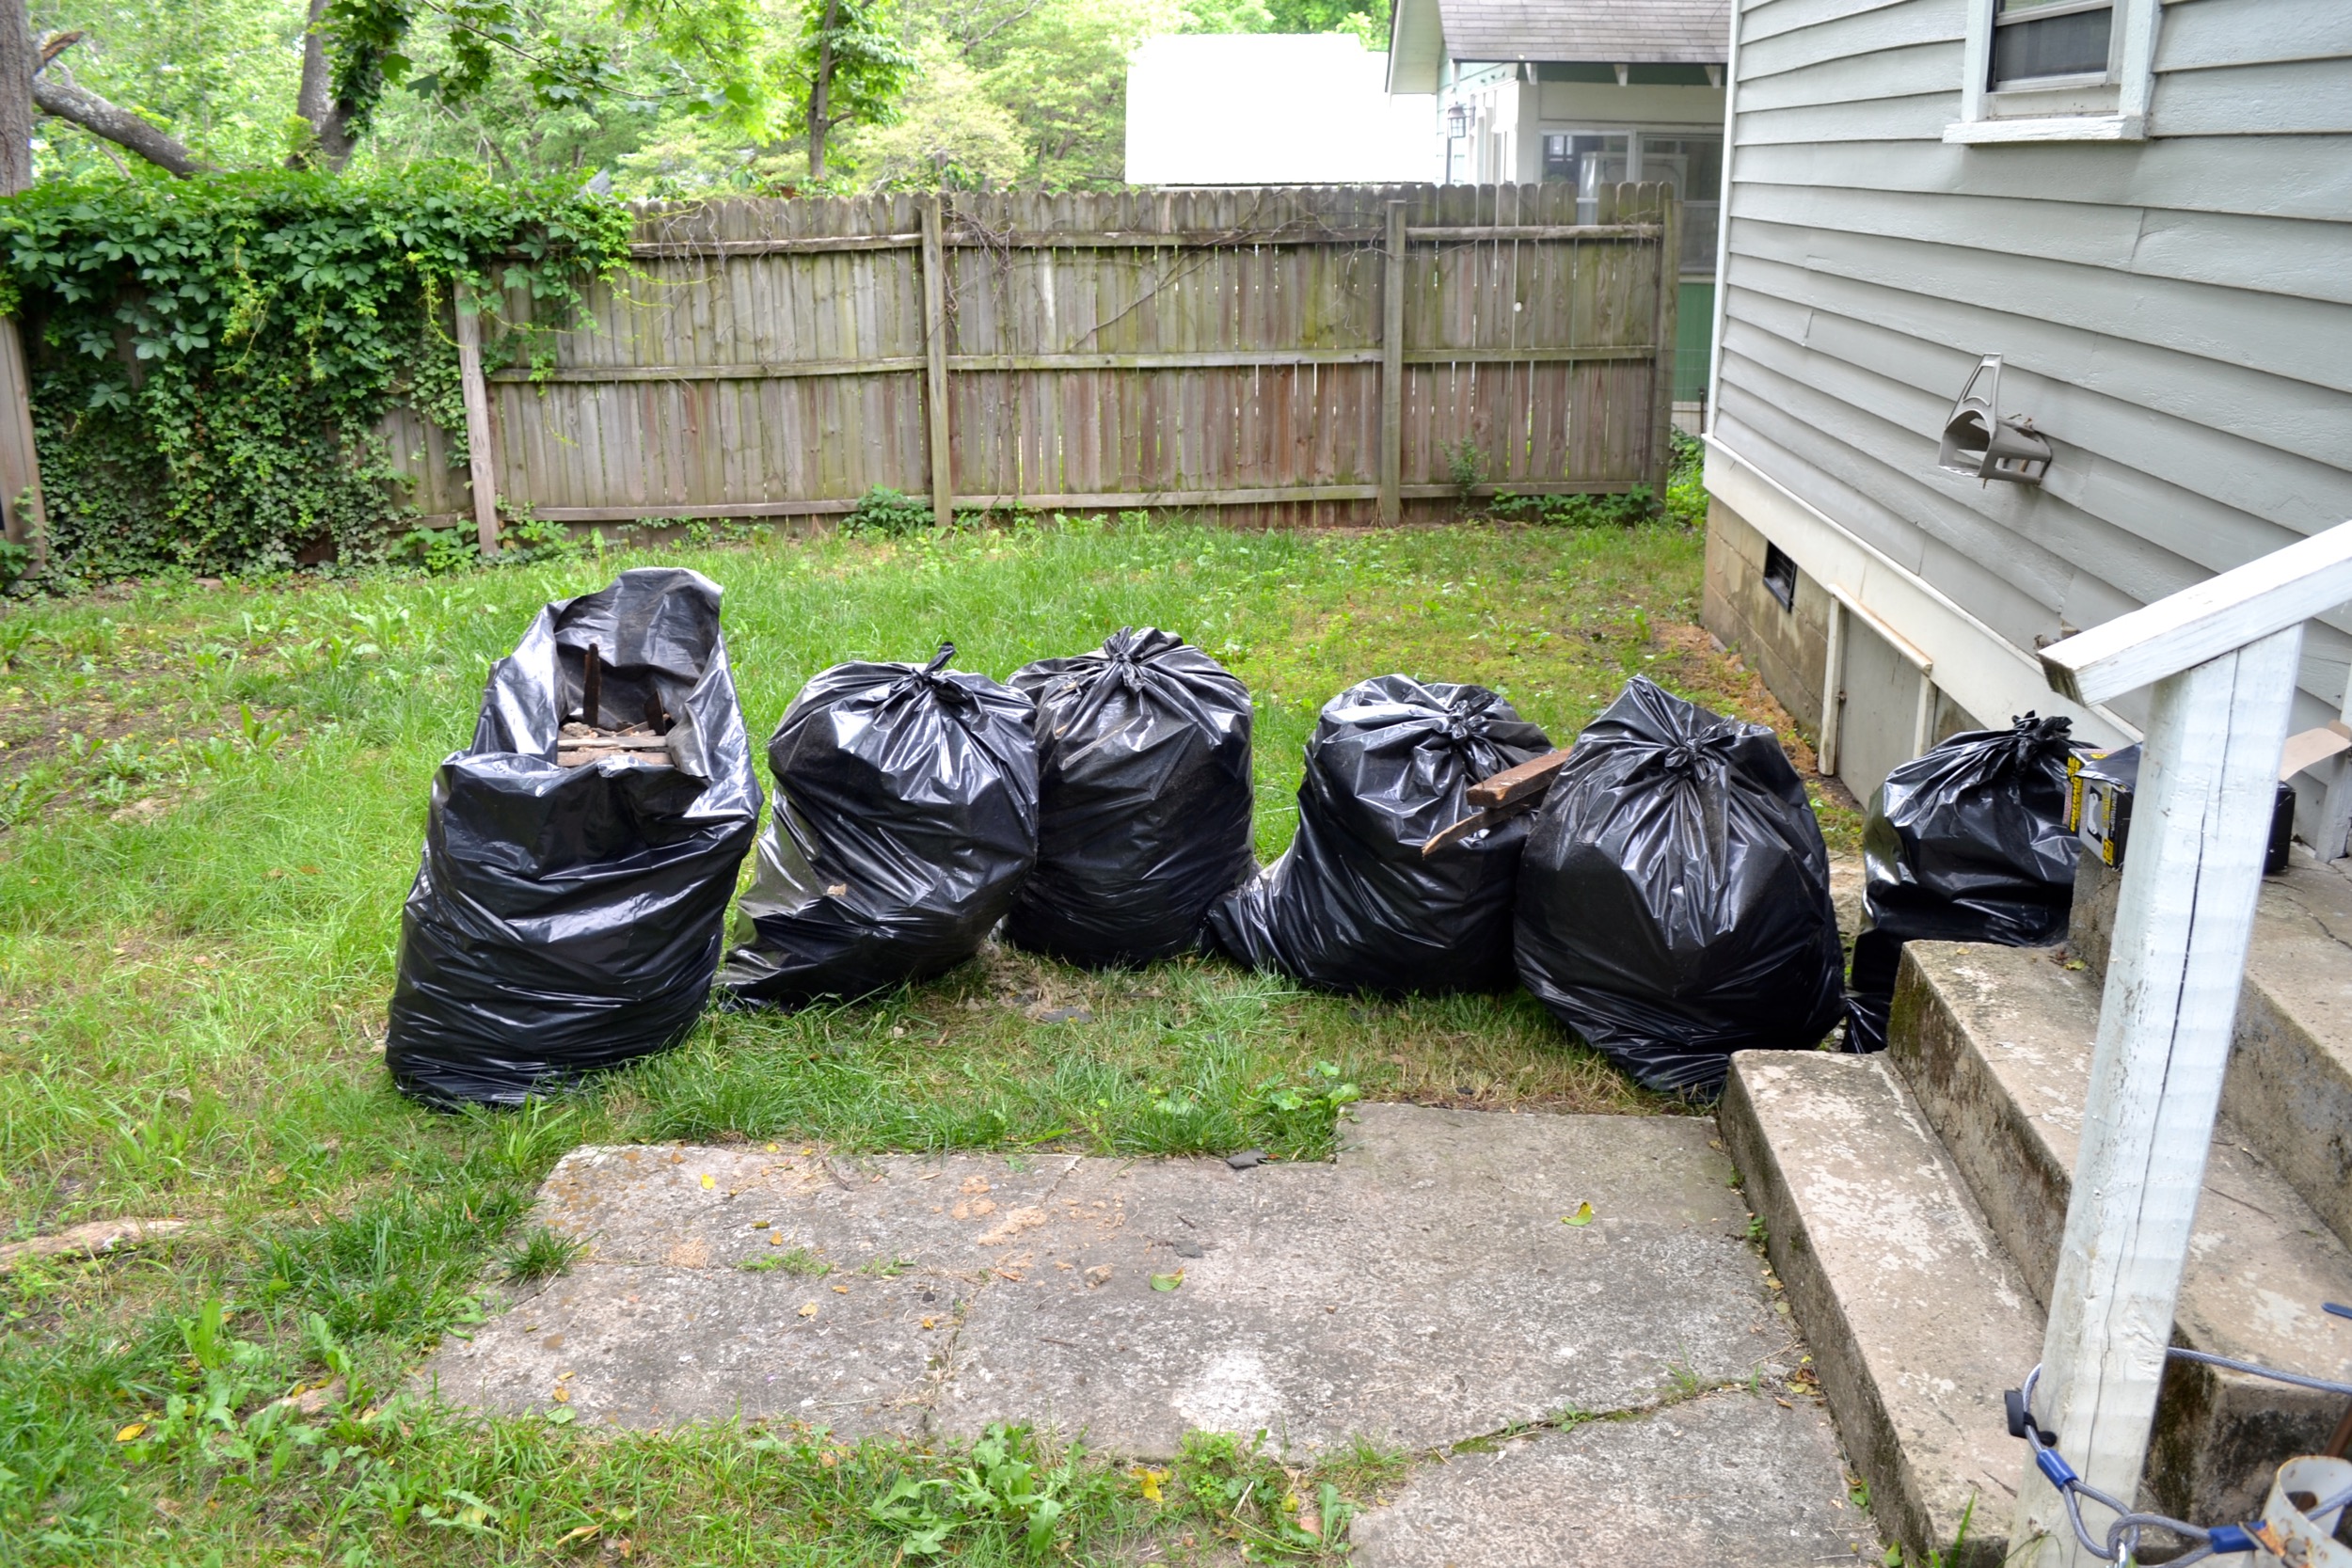
As you can tell there’s a ton of stuff that goes into one seemingly simple task: have someone replace the insulation. I’ll keep you updated along the way and give you all the tips that we find. At this point the attic has been completely cleared of the roofing debris and that’s what the pictures are from. It took about 3 days working for a few hours each day. You can only work up there at certain times of the day and for a little while at a time because it gets so hot. First, Xan organized everything into piles in the attic, then he put it all in big Tupperware bins, brought them down when they were full, and transferred them to trash bags. The attic access is pretty small so you can only fit so much through it so he made multiple trips. Unfortunately I don’t have any true before pictures because when Xan started we only had a small light up there and you really couldn’t get a shot. We got a much brighter light and I was able to take a couple photos up there after the debris was gone.
If you're trying a project like this at home, be sure to take as many precautions as possible. We bought these respirator masks and this awesome Rigid vacuum with a hepa filter in it to be sure we're keeping as much of that stuff out of the rest of house as possible.
Next up, Xan and his Dad will work on the wiring, exhaust fan, and bathroom outlet. But, that’s not until next weekend. Hope you have a great one, friends!!




Hi there, friends! I hope you had a really lovely Thanksgiving - we spent time with Xan’s family and ate lots of delicious food. Now we’re scouring the internet for some Black Friday/Cyber Monday deals for a couple things we need.