Happy Friday, friends! I’m excited because I’m sharing a project today that’s been on my list of to-dos pretty much since the day we moved in. And that’s a window covering for the front door.
Window Covering Background
Our front door has a window in it that’s about 2’ x 2’. It’s pretty large and when standing at it you can see the majority of our downstairs. It feels pretty open and exposed and so I’ve wanted to do something to give us a little more privacy for a while.
Front Door Window Treatment
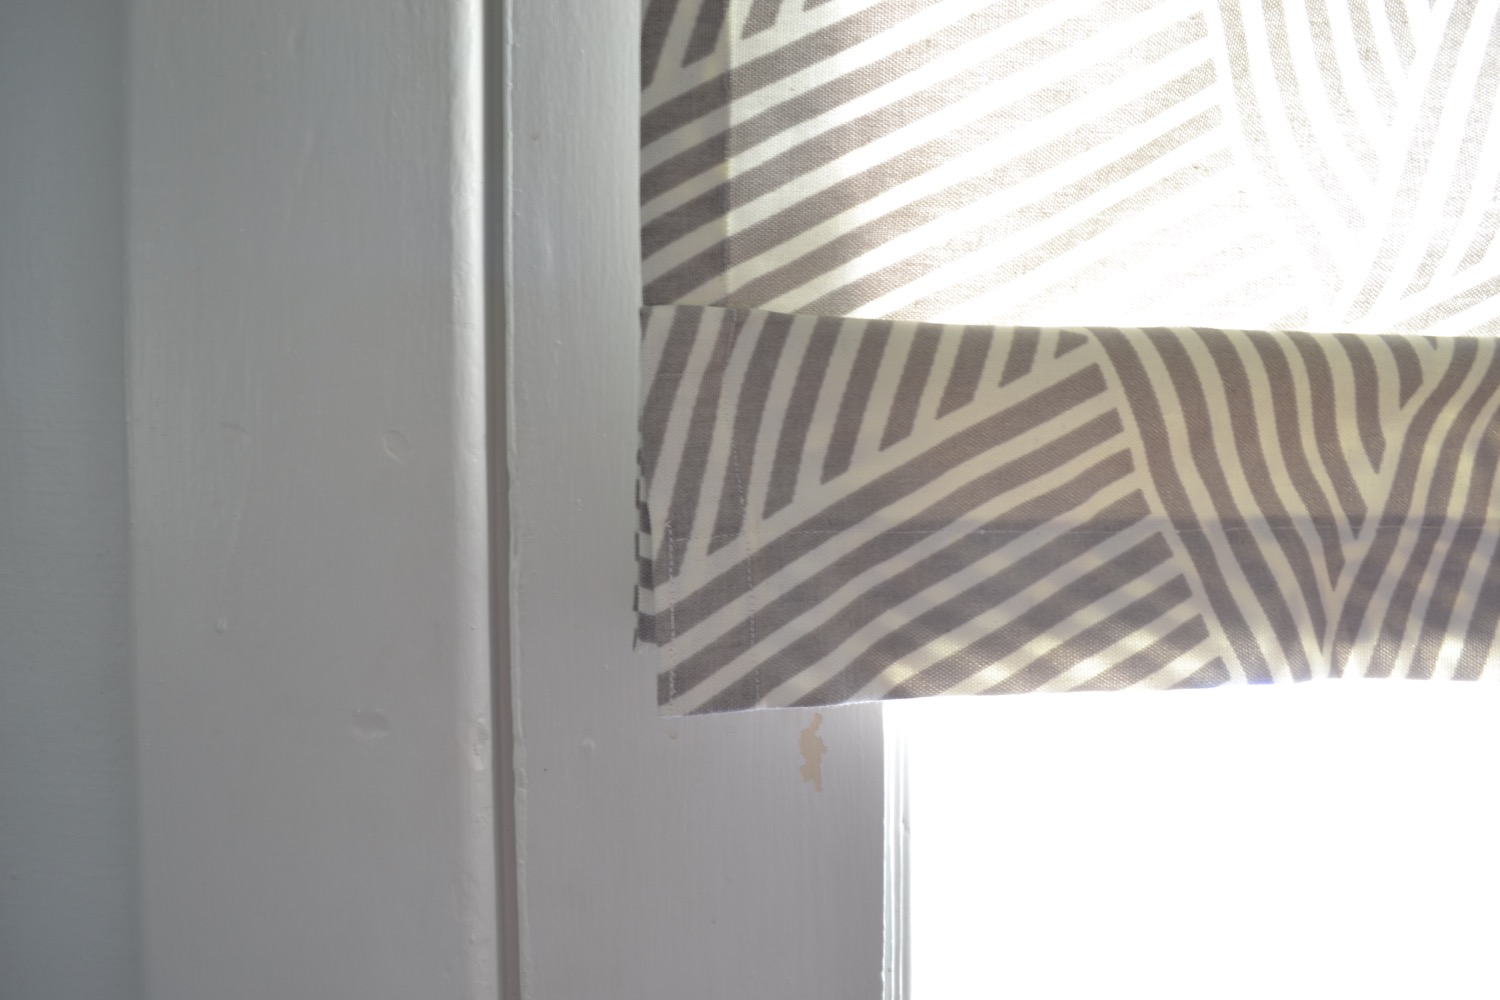
After a lot of research I finally landed on this magnetic roman-esqe shade. I’m still not sure it’s right for the door. I love the concept, I just don’t know if it works for this particular space. I also toyed with the idea of frosted glass, blinds, or a regular curtain. But, in this end this won out because it provided privacy with the option of opening and closing easily and could customized to the size of our window. I added little magnets along the side hems so the curtain could be folded up when we want more light, or left down when we want privacy. Plus, I really love the way it looks from the outside - you catch a little peek at the pattern.
Front Door Window Covering How-To
This was a really simple sewing project, and honestly I think you could even use this no-sew hemming tape and make it even easier. I basically just sewed a square and added magnets into the side hems to fold it up easily.
1. Figure out the size of fabric you need. I did this by holding my piece up against the window. Be sure to add a couple inches to each side for the hem.
2. Hem each a ¼ inch fold onto each side to get rid of your live edge.
3. Hem the sides again this time with a 1-inch fold. Leave the top and bottom open. Slide in magnets at matching heights and sew them in place by sewing a perpendicular line to the original hem.
4. Hem the top at a 2-inch fold. Leave the sides open so you can slide a curtain rod in and out.
5. Hem the bottom at a 2-inch fold to match the top. No need to leave the side of this open.
6. You’re done!
I like that this looks like a regular curtain but has the flexibility of blinds or a roman shade. And with the patterned fabric it adds a little personality too!


