

A couple weeks ago we posted about the design process for our new deck and today we’re talking about how we built it! Xan wrote this overview of the process, but because there’s so much to include it’s more an overview of the process and some tips and tricks we learned along the way. If you have specific questions feel free to include them in the comments. We should, of course, note that it’s important to talk to an expert in your area about your particular situation as it may be different from ours.
Now, on to the good stuff!
1. The first thing I did to build this small deck was to order the right materials at the right length. Its a tedious process but it will allow you to double check your design. Some lumber yards will help with your quantities and recommend materials. Be sure to check all local building code and use an architect or structural engineer if required. A helpful resource I used when designing and building was the AWI prescriptive guidelines for decks. In our deck, the joists are 2x6s which is not very common for a deck, but, since the deck is narrow and they are a double cantilever (the most efficient use of a beam), I was able to use a 2x6 joists.
2. After my materials were ordered I used masonry string and stakes to layout the small deck. This allowed me to double check all the dimensions and tweak anything after seeing it in real life. It takes some time but I always find it helps to prevent mistakes and because you are seeing it at full scale; you might find that what you thought worked on paper actually needs to be adjusted to help the design. We actually do this for almost anything - including when considering a new piece of furniture (we use painters tape to mark it off instead). Tip #1: Make a place for the materials. It needs to be easy to access by a forklift (for delivery) and easy to access when building.

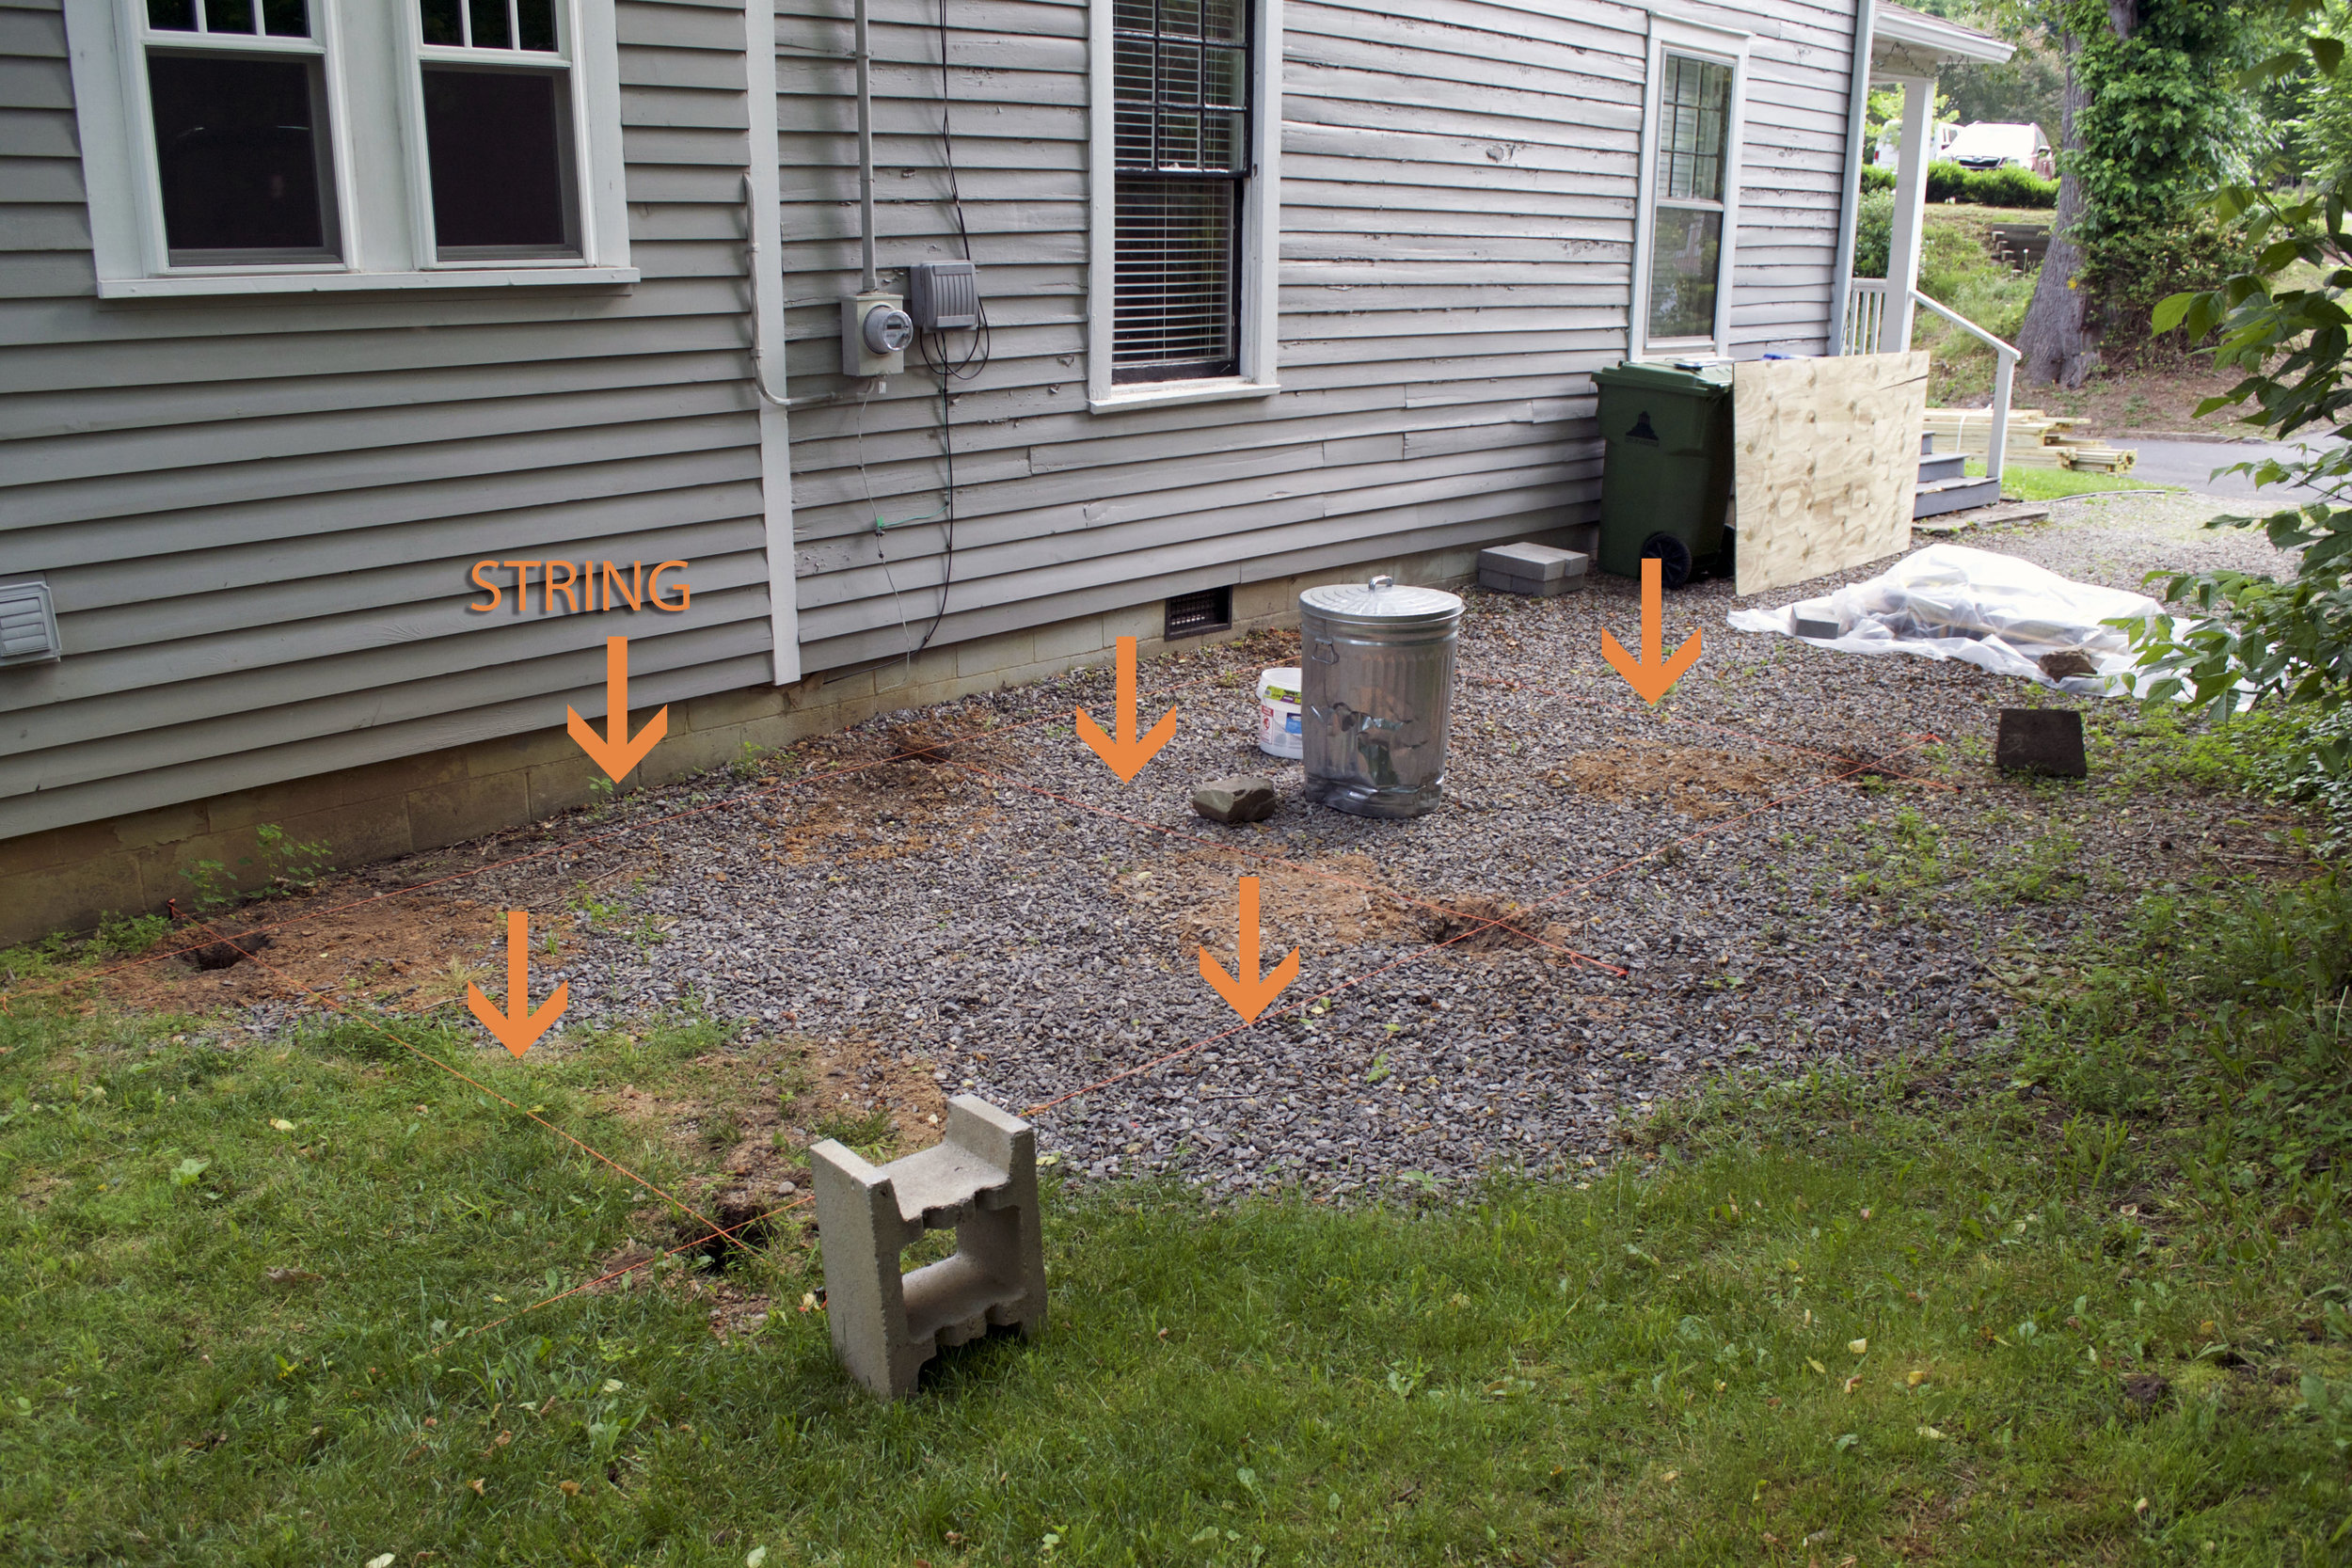
3. After I laid everything out, I started to dig my post holes where the strings intersected. Tip #2: Use an auger to dig holes. I borrowed one from a friend but you can also rent one from a local tool library or a home improvement store
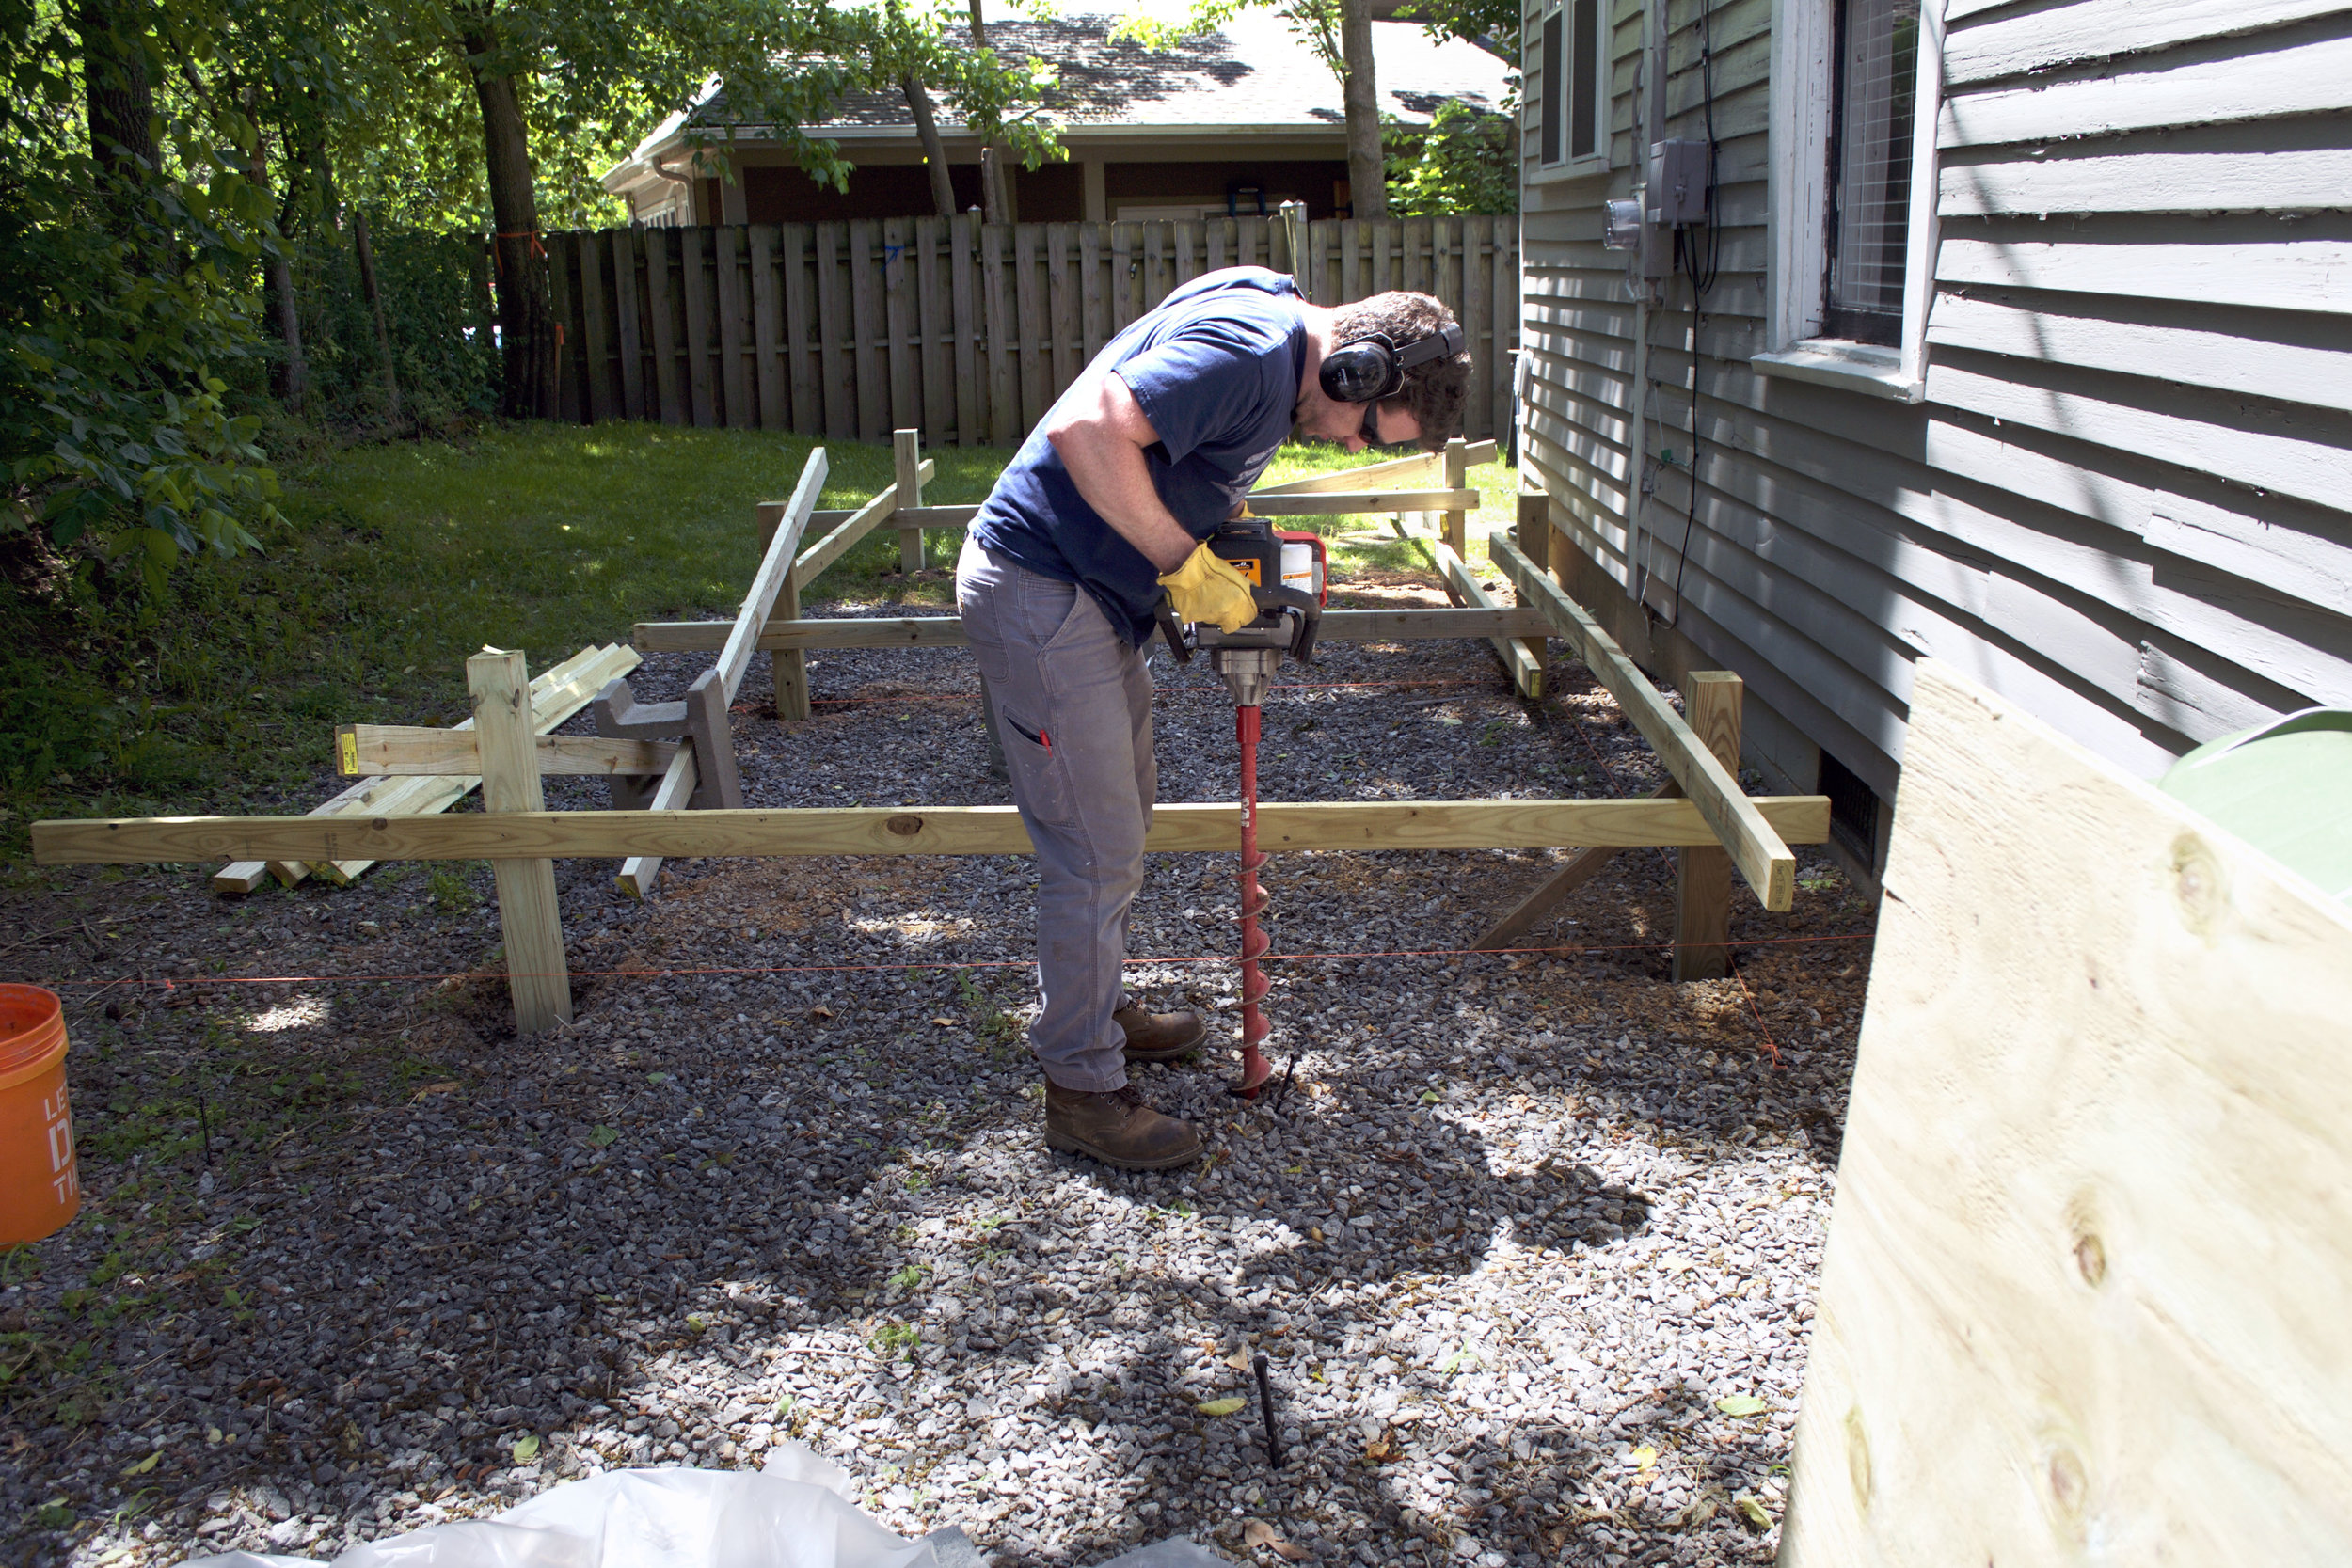
Auguring the post holes
4. After the holes were dug, I set the 4x4 posts in concrete, making sure they were plumb and located the correct distance from each other. After the concrete set (overnight), I cut the posts down to the right height. Using my laser, I found my cut line by calculated the height of all the beams from floor level subtracting, 2” for the step up to the house, 5/4” for the decking, 5 ½” for the joists, 9 ¼” for the beams.
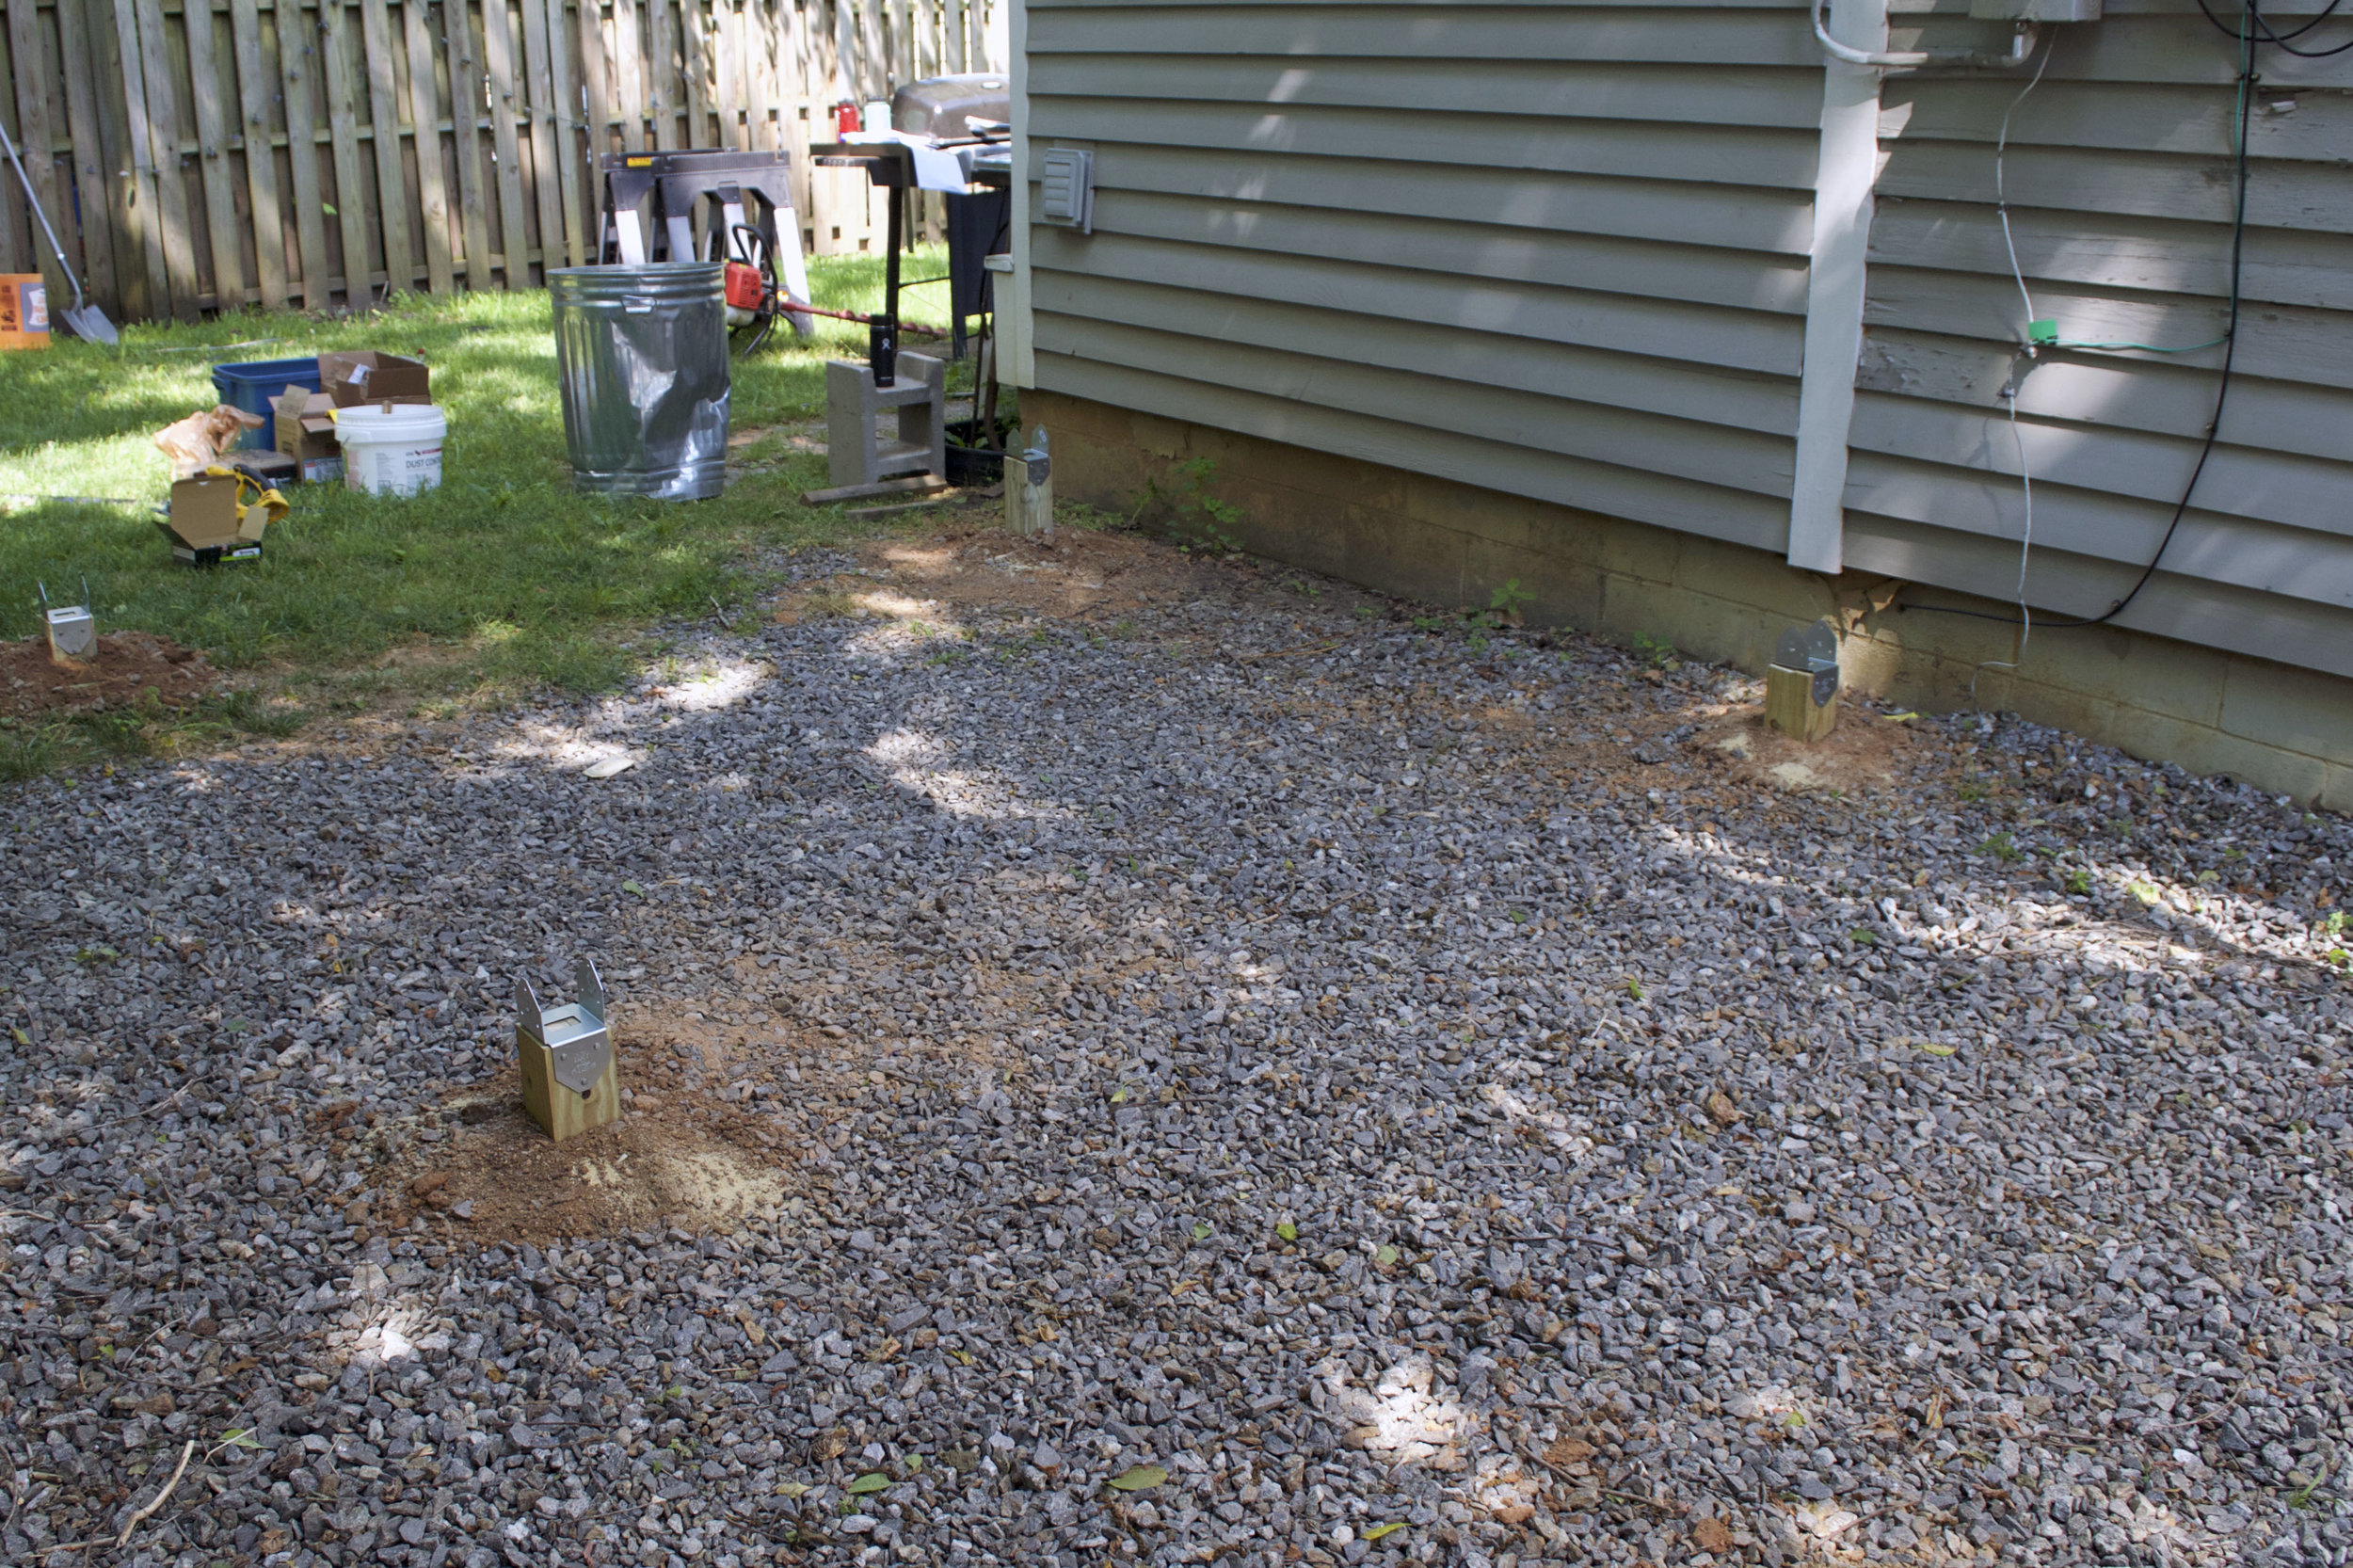
Post cut to length with beam holder
5. The next day I invited some friends over to help me set the beams and joists with the promise of a steak dinner (it’s always best to thank your friends profusely for their help). We started by setting the beams on top of the posts and once the beams were set, we used hurricane clips to space out the 2x6 joists 16” on center. We cut the joists and blocking to length using a compound miter saw. At the end of the day we laid out the decking in preparation for it to be screwed down. After that, the crew was tired and we called it a day and had a beer.

Deck beams with hurricane clips

All the joists are in place except for the ends.
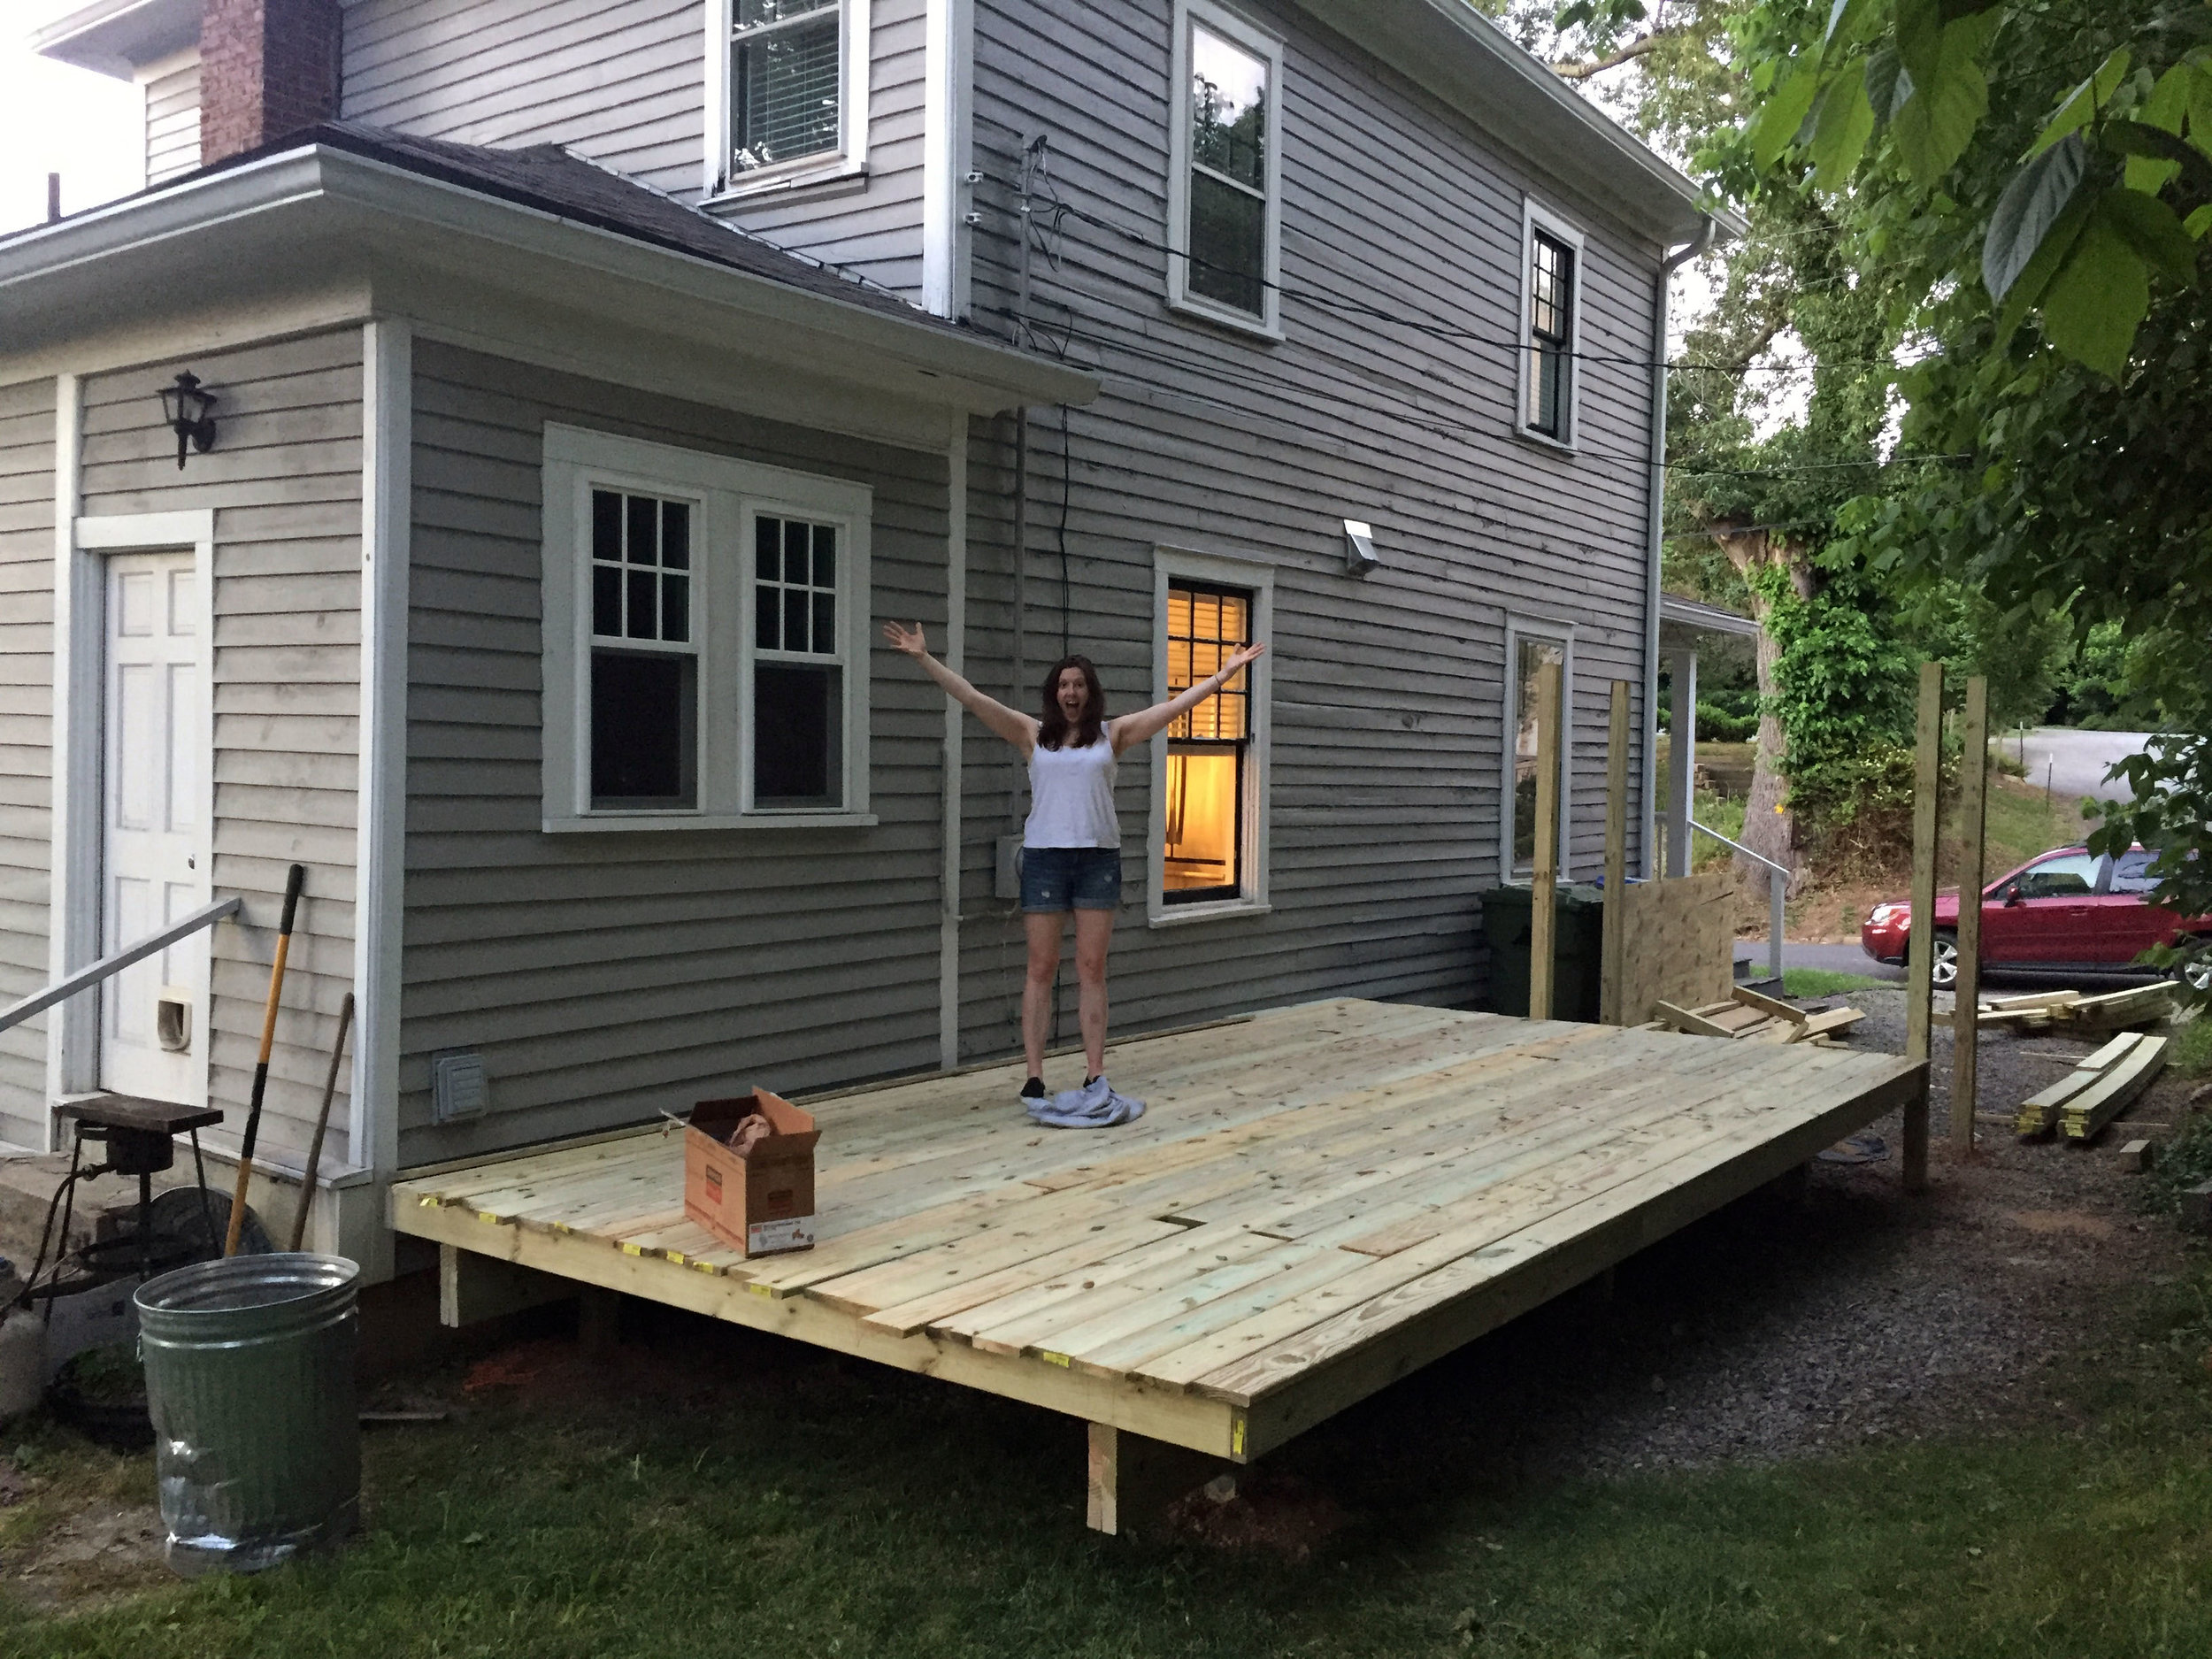
All the deck boards are in place and ready to be screwed down the next day
After a good night of sleep, Allie and I screwed down all the decking. First of all, I totally underestimated how long this would take. I thought it would be a few hours, but it took both of us working all day. We started on the outside edge and worked our way back to the house. Using the drill (to pre-drill the holes for the butt ends) and the impact driver from my Dewalt Tool Kit, we screwed a total of 714 deck screws. It’s not uncommon for wooden boards that are this long (16’) to not be perfectly straight. It took a few boards to get our technique down but eventually we worked out a system where we used this rachet strap to pull the crooked boards in place while we worked our way down the board screwing it to the joists. When we got further in and could no longer use the strap we used a crowbar to push or pull the board in the right direction. For the last board, we cut it to the right width using a table saw. I was really impressed with this saw. Not only did it have plenty of power but all the controls were easy and intuitive to use. I especially liked the large paddle switch to turn it off and the easy way to adjust the fence to measurements built right into the table. Finally, I cut the ends of boards with a track saw after the boards were screwed down. I really liked doing this because it meant I didn’t have to be precise with measuring each board length since everything was cut all at once at the very end and was guaranteed to be perfectly aligned. It was the first time I used a track saw and I am hooked! I have my eye on the Dewalt track saw but instead I borrowed by buddy’s Kreg Track Saw system which worked wonderfully. You can see in the photos below how uneven the boards are and then how perfectly straight they are after being cut with the track saw.
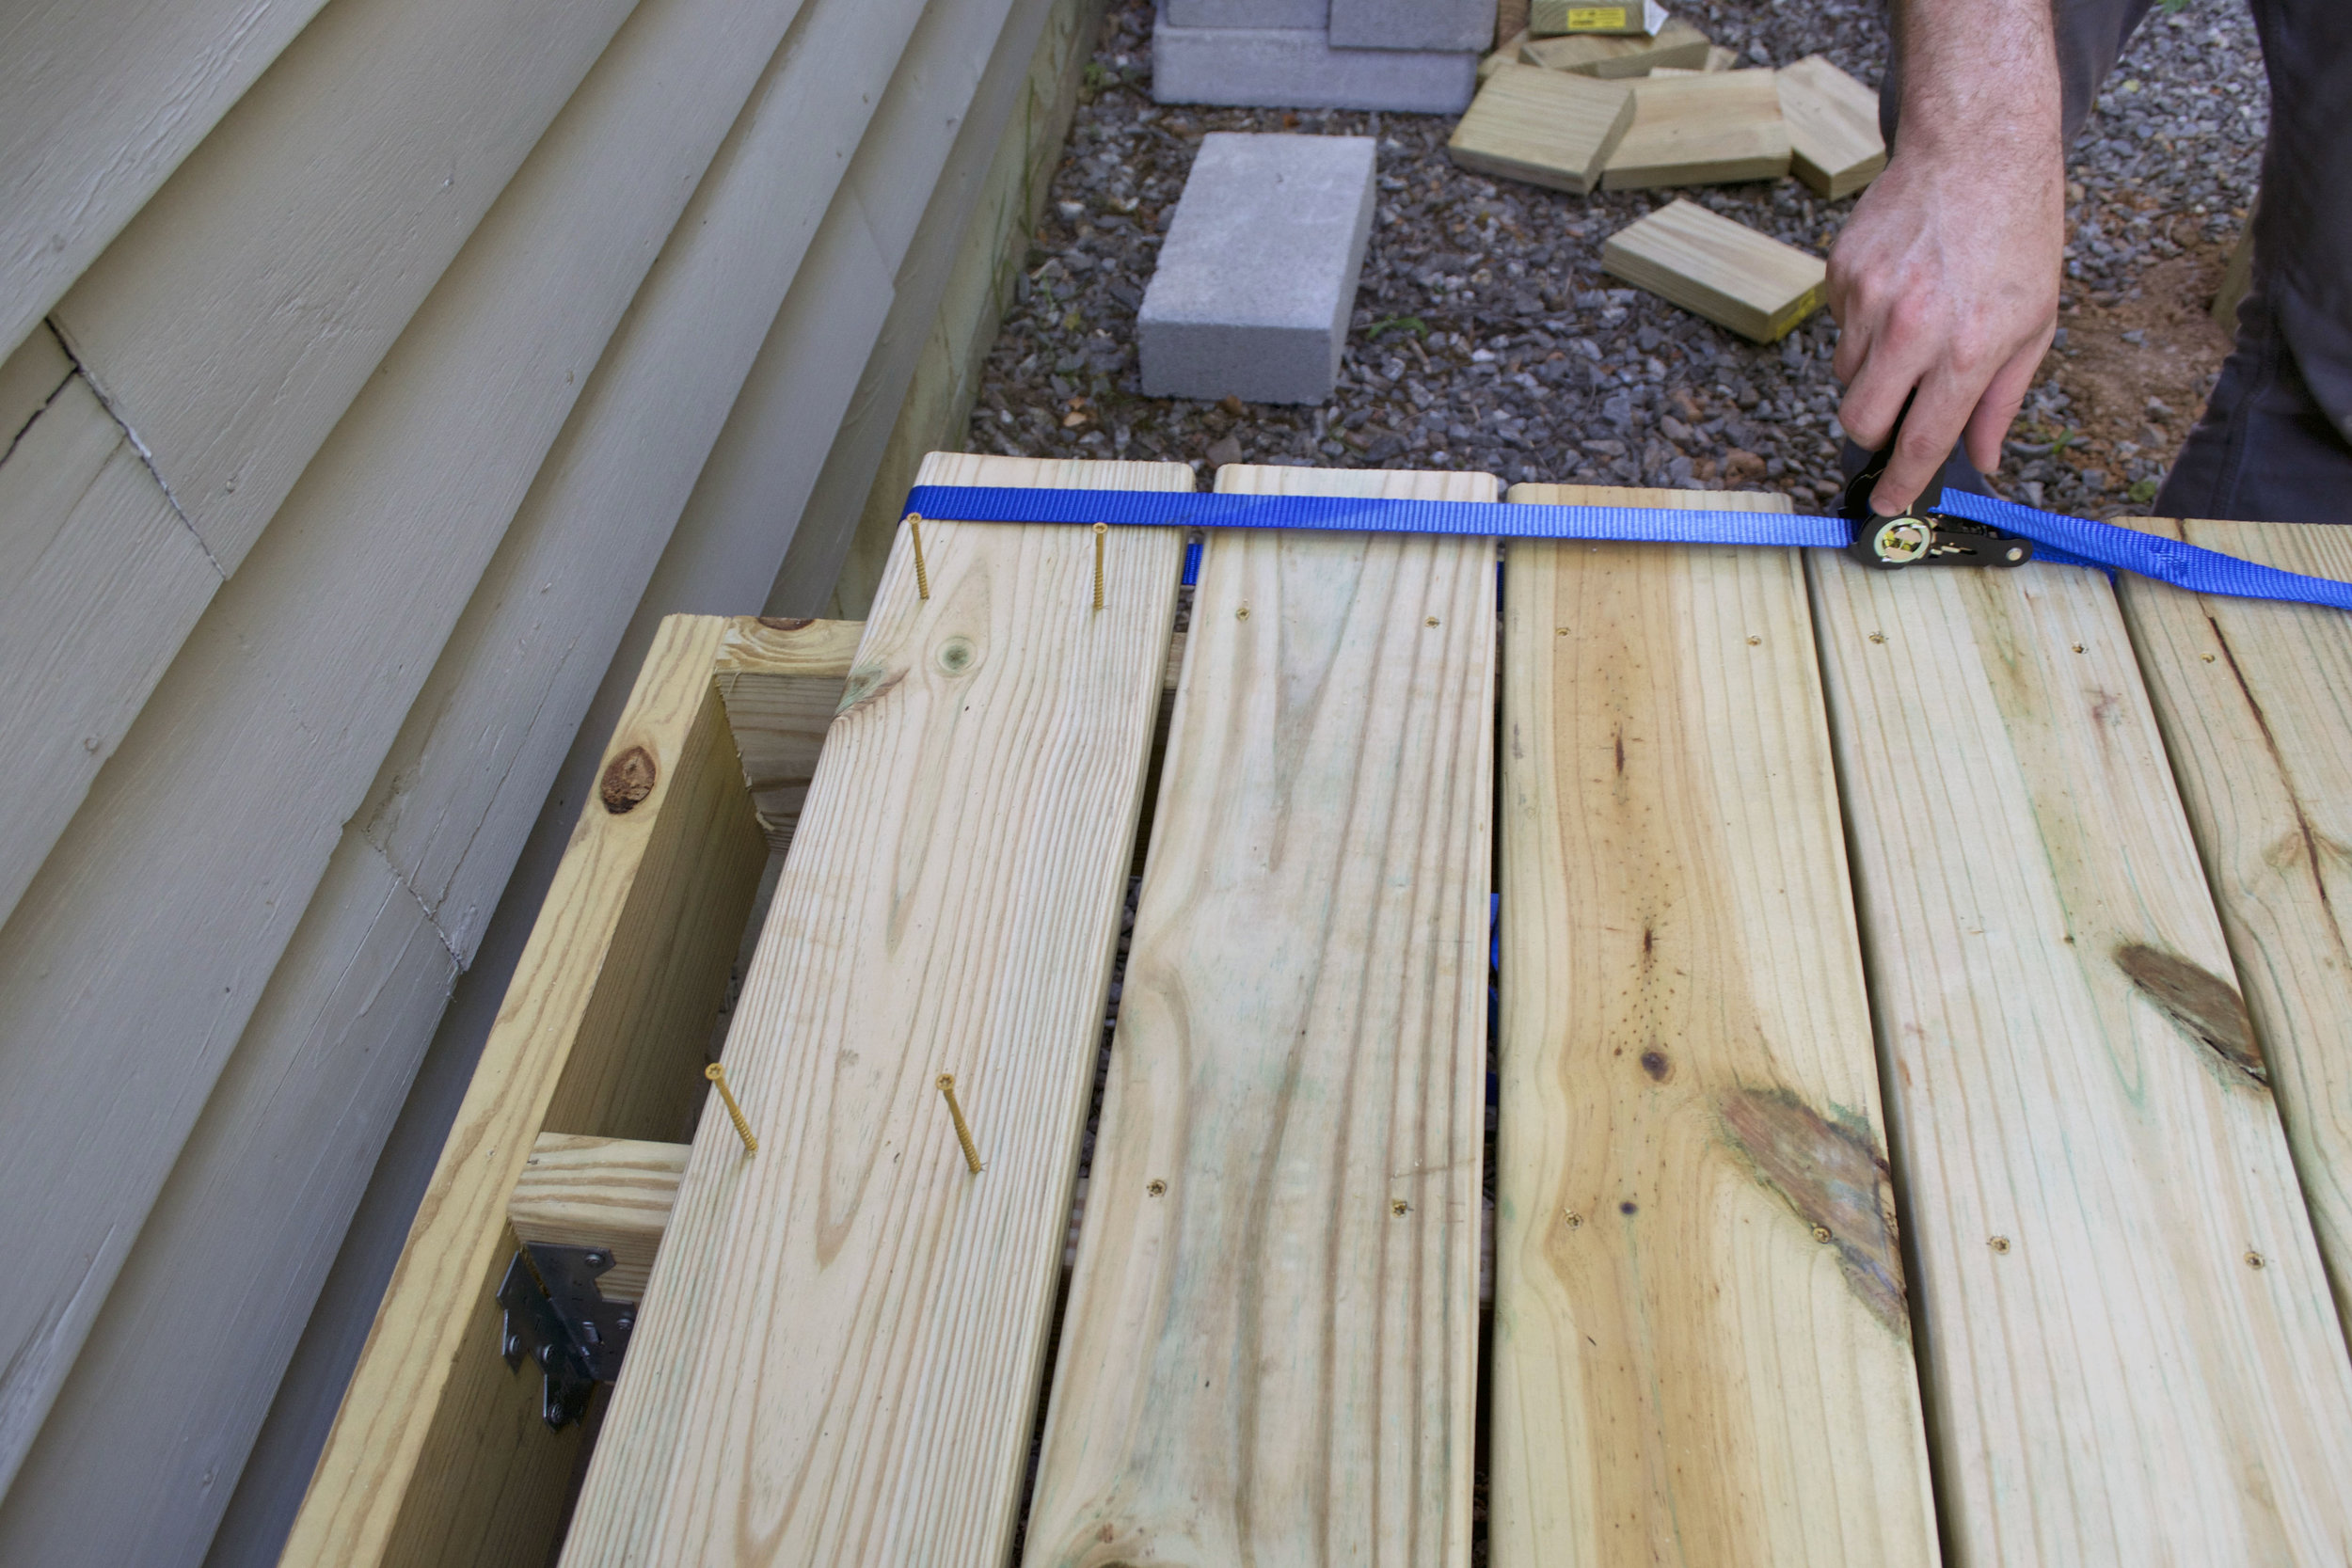
Using the ratchet strap to straighten a deck board

Deck boards before being cut with the track saw. They are so uneven.
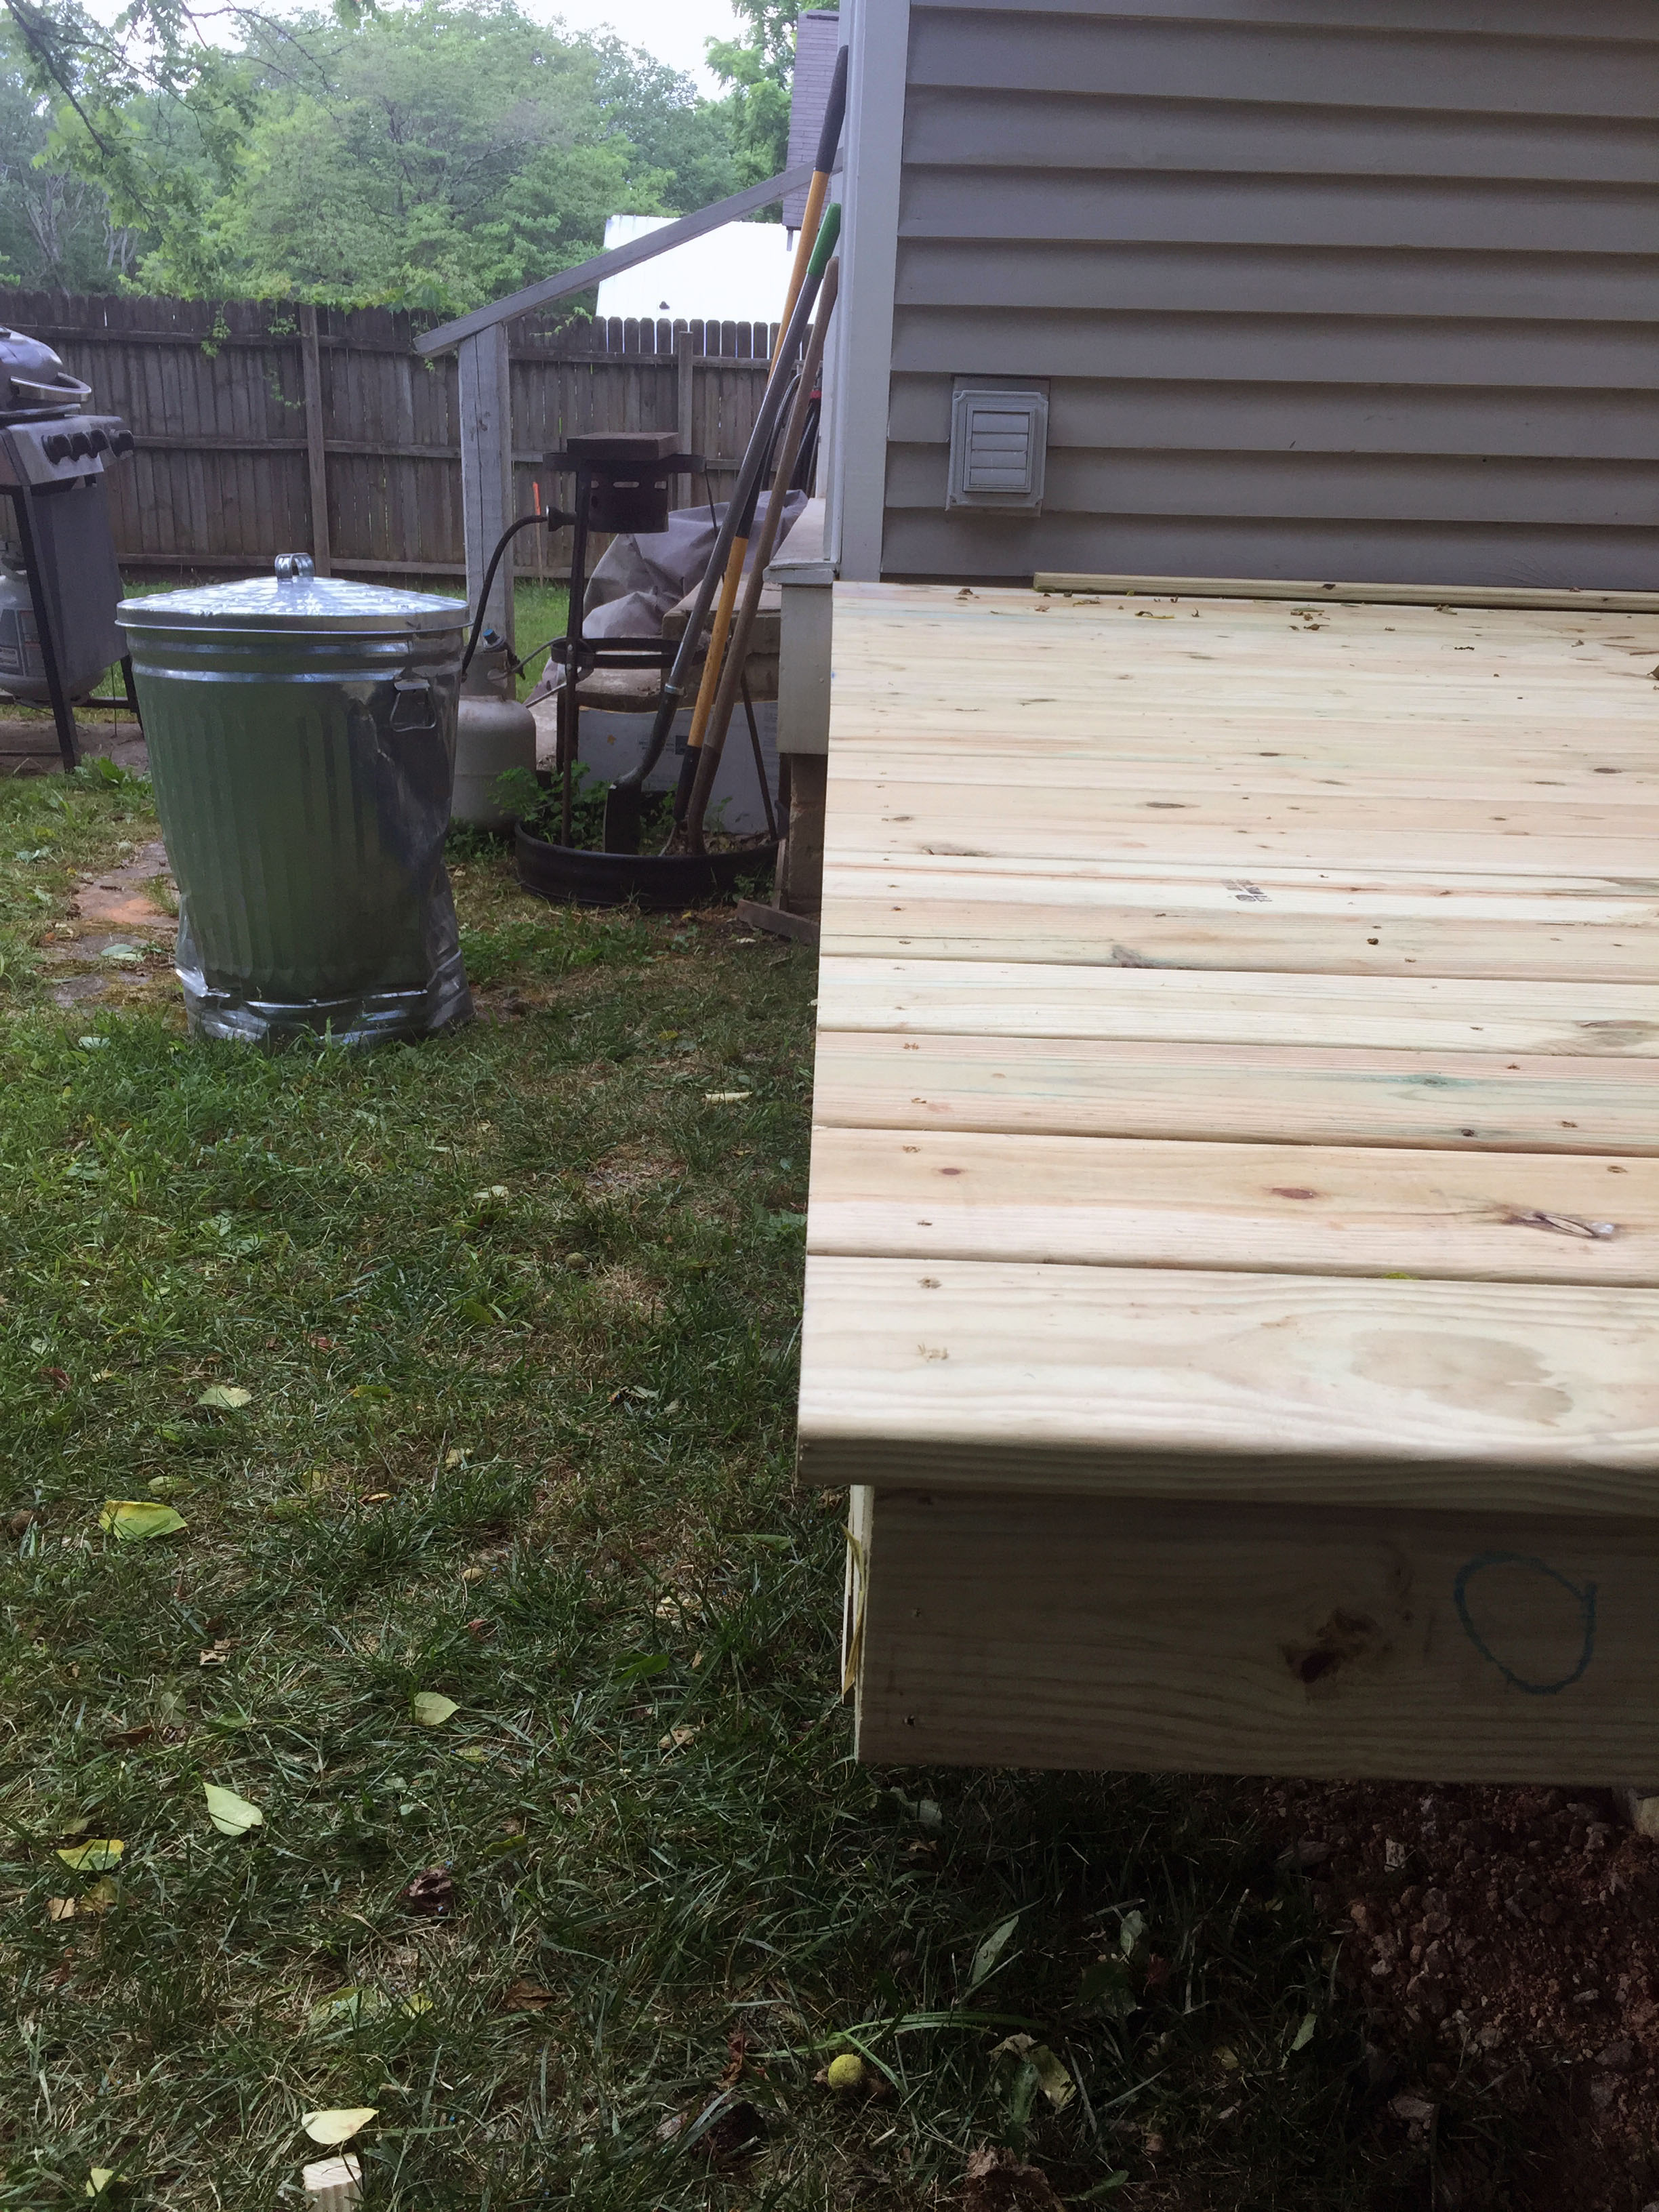
Freshly cut deck boards, perfectly aligned.
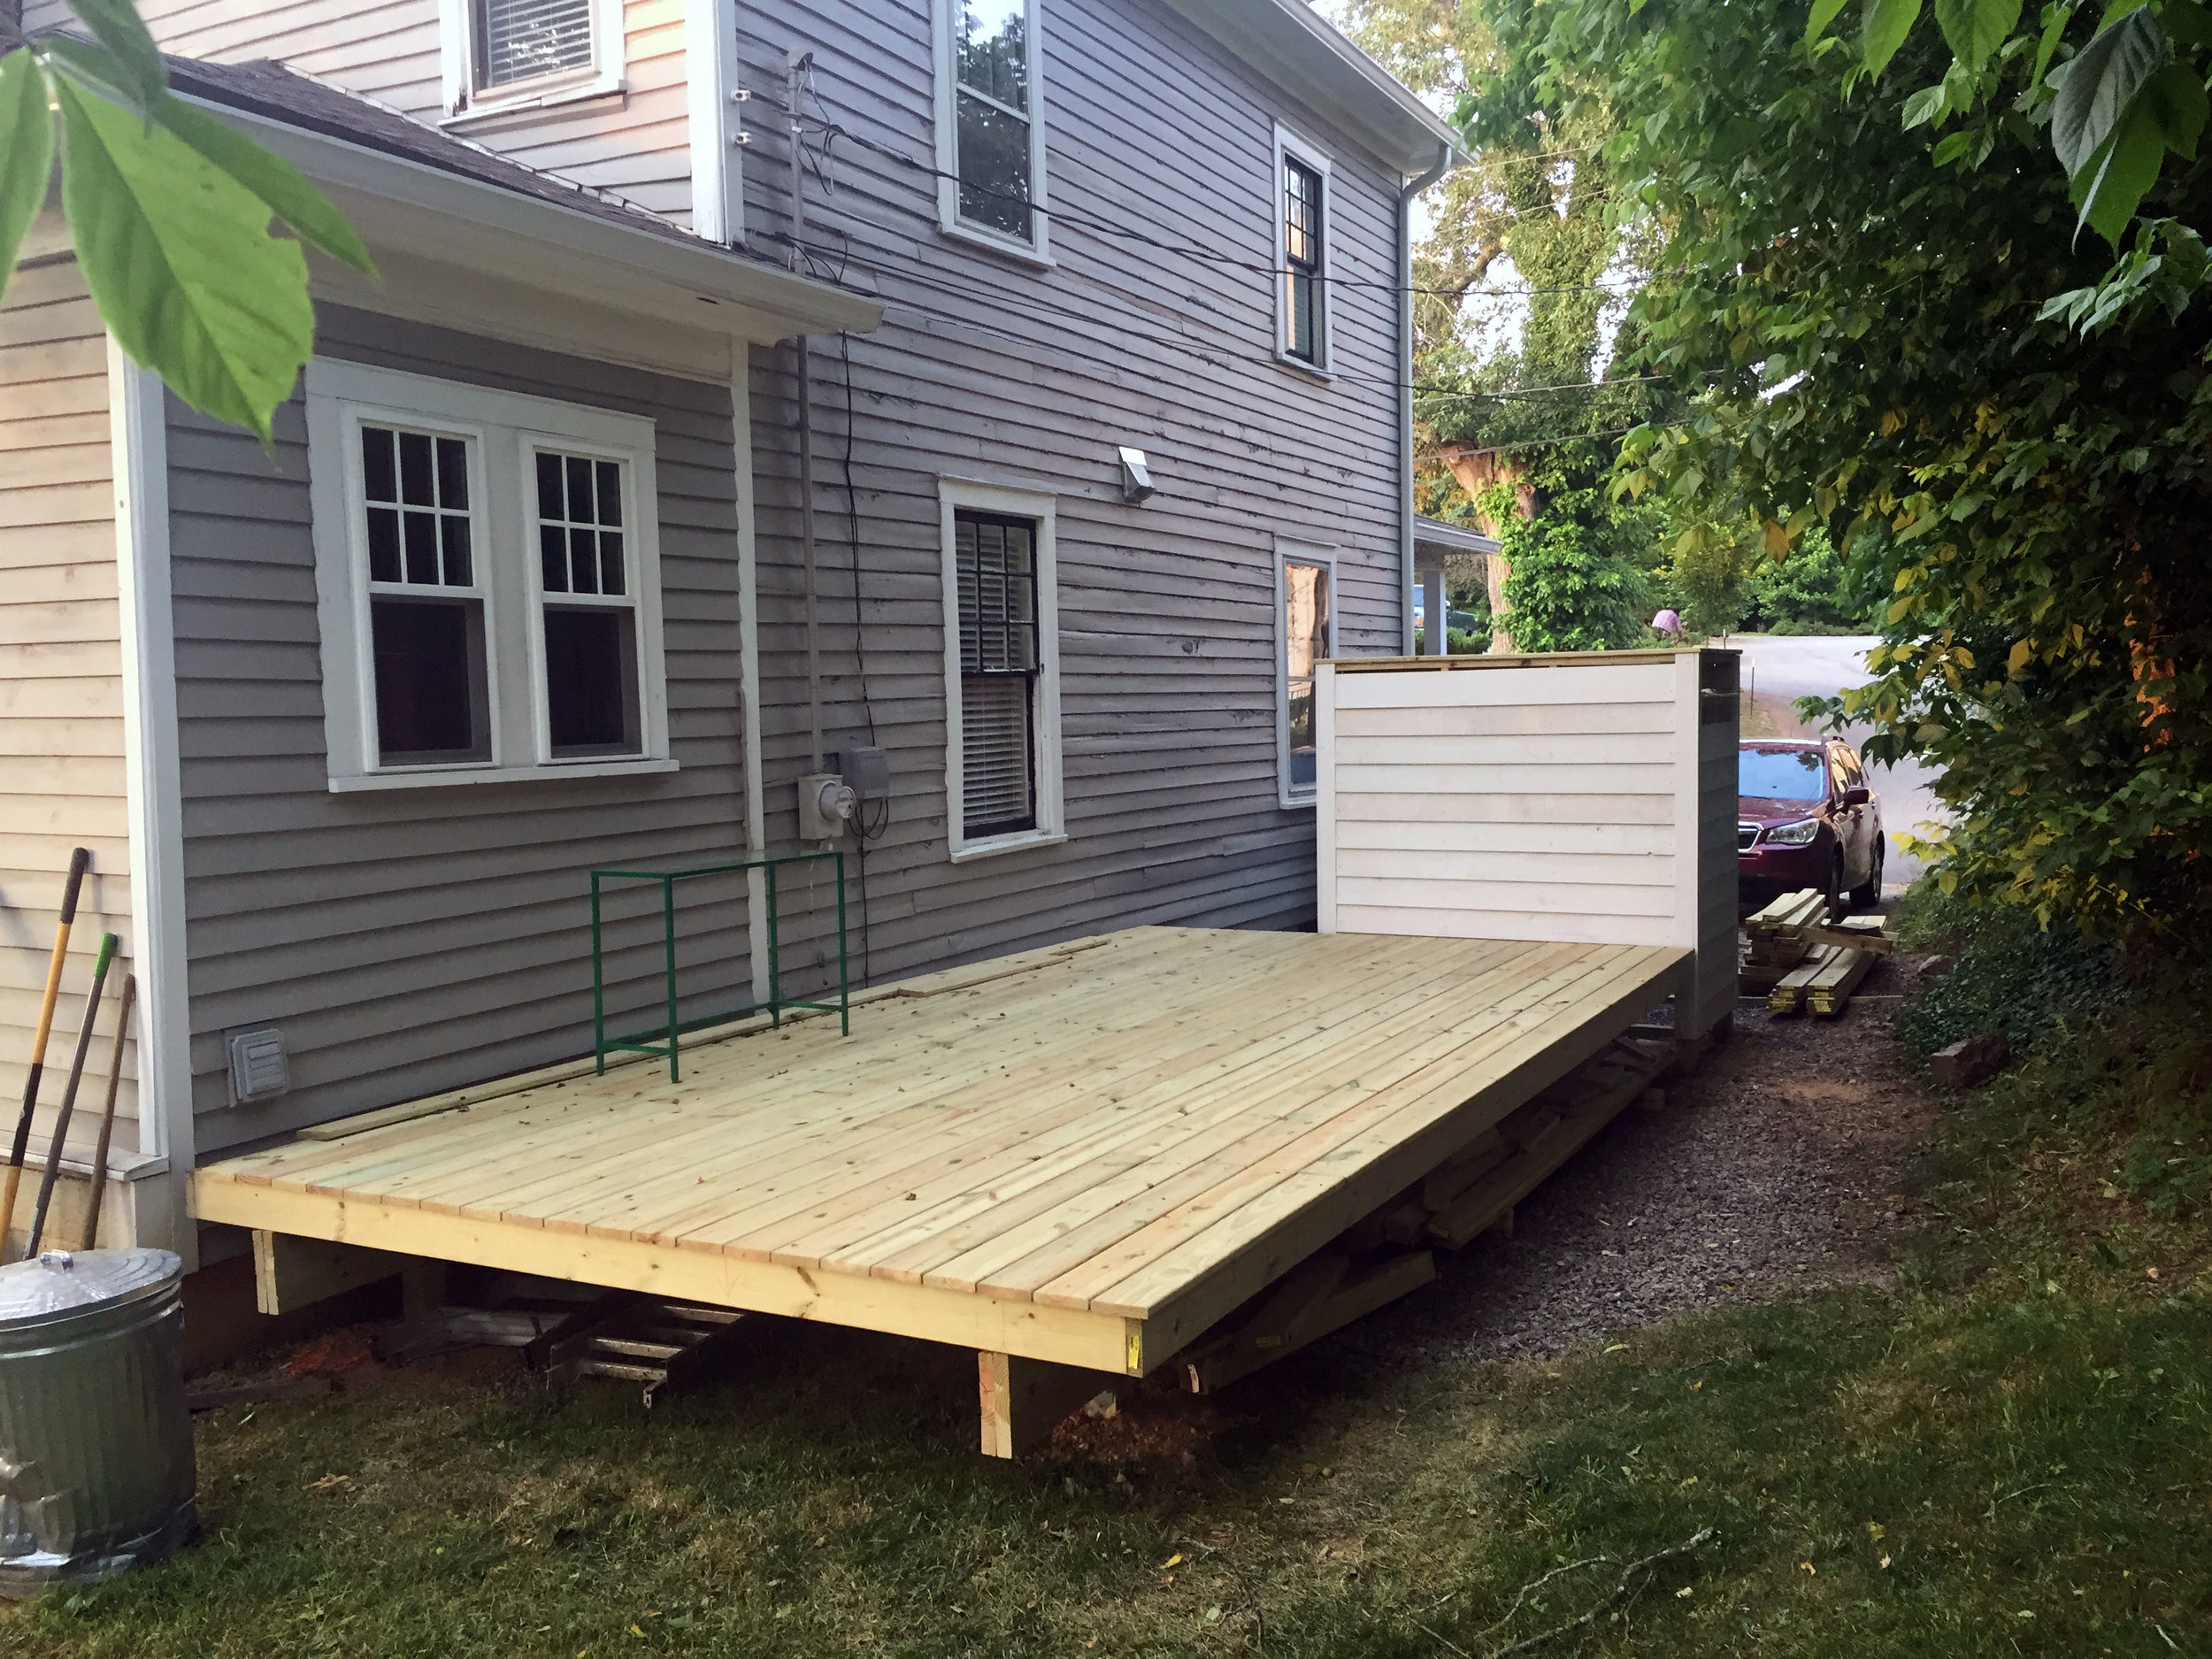
Extra Deck DIYs
We added some extra features to the small deck which. Here’s a short description of them, and if there’s interest I may do a separate post on them.
We added stairs to each side. For the stringers of the stairs, which can be challenging to cut, I made a template at full scale on the computer and then printed it off and traced it onto the 2x12 stringer. After that, I had a master template I could trace for all the other stringers. It was extremely easy and it was made easier by using a Kreg Track Saw system to make all the cuts. Pre-cut stringers are available from home improvement stores but they are expense and cannot be customized for specific riser and tread measurements. This method was not only cheaper but I can brag to all my friends that I cut my own stringers - its the first question they ask when they see the stairs. Allie and I talk about very different things with our friends...
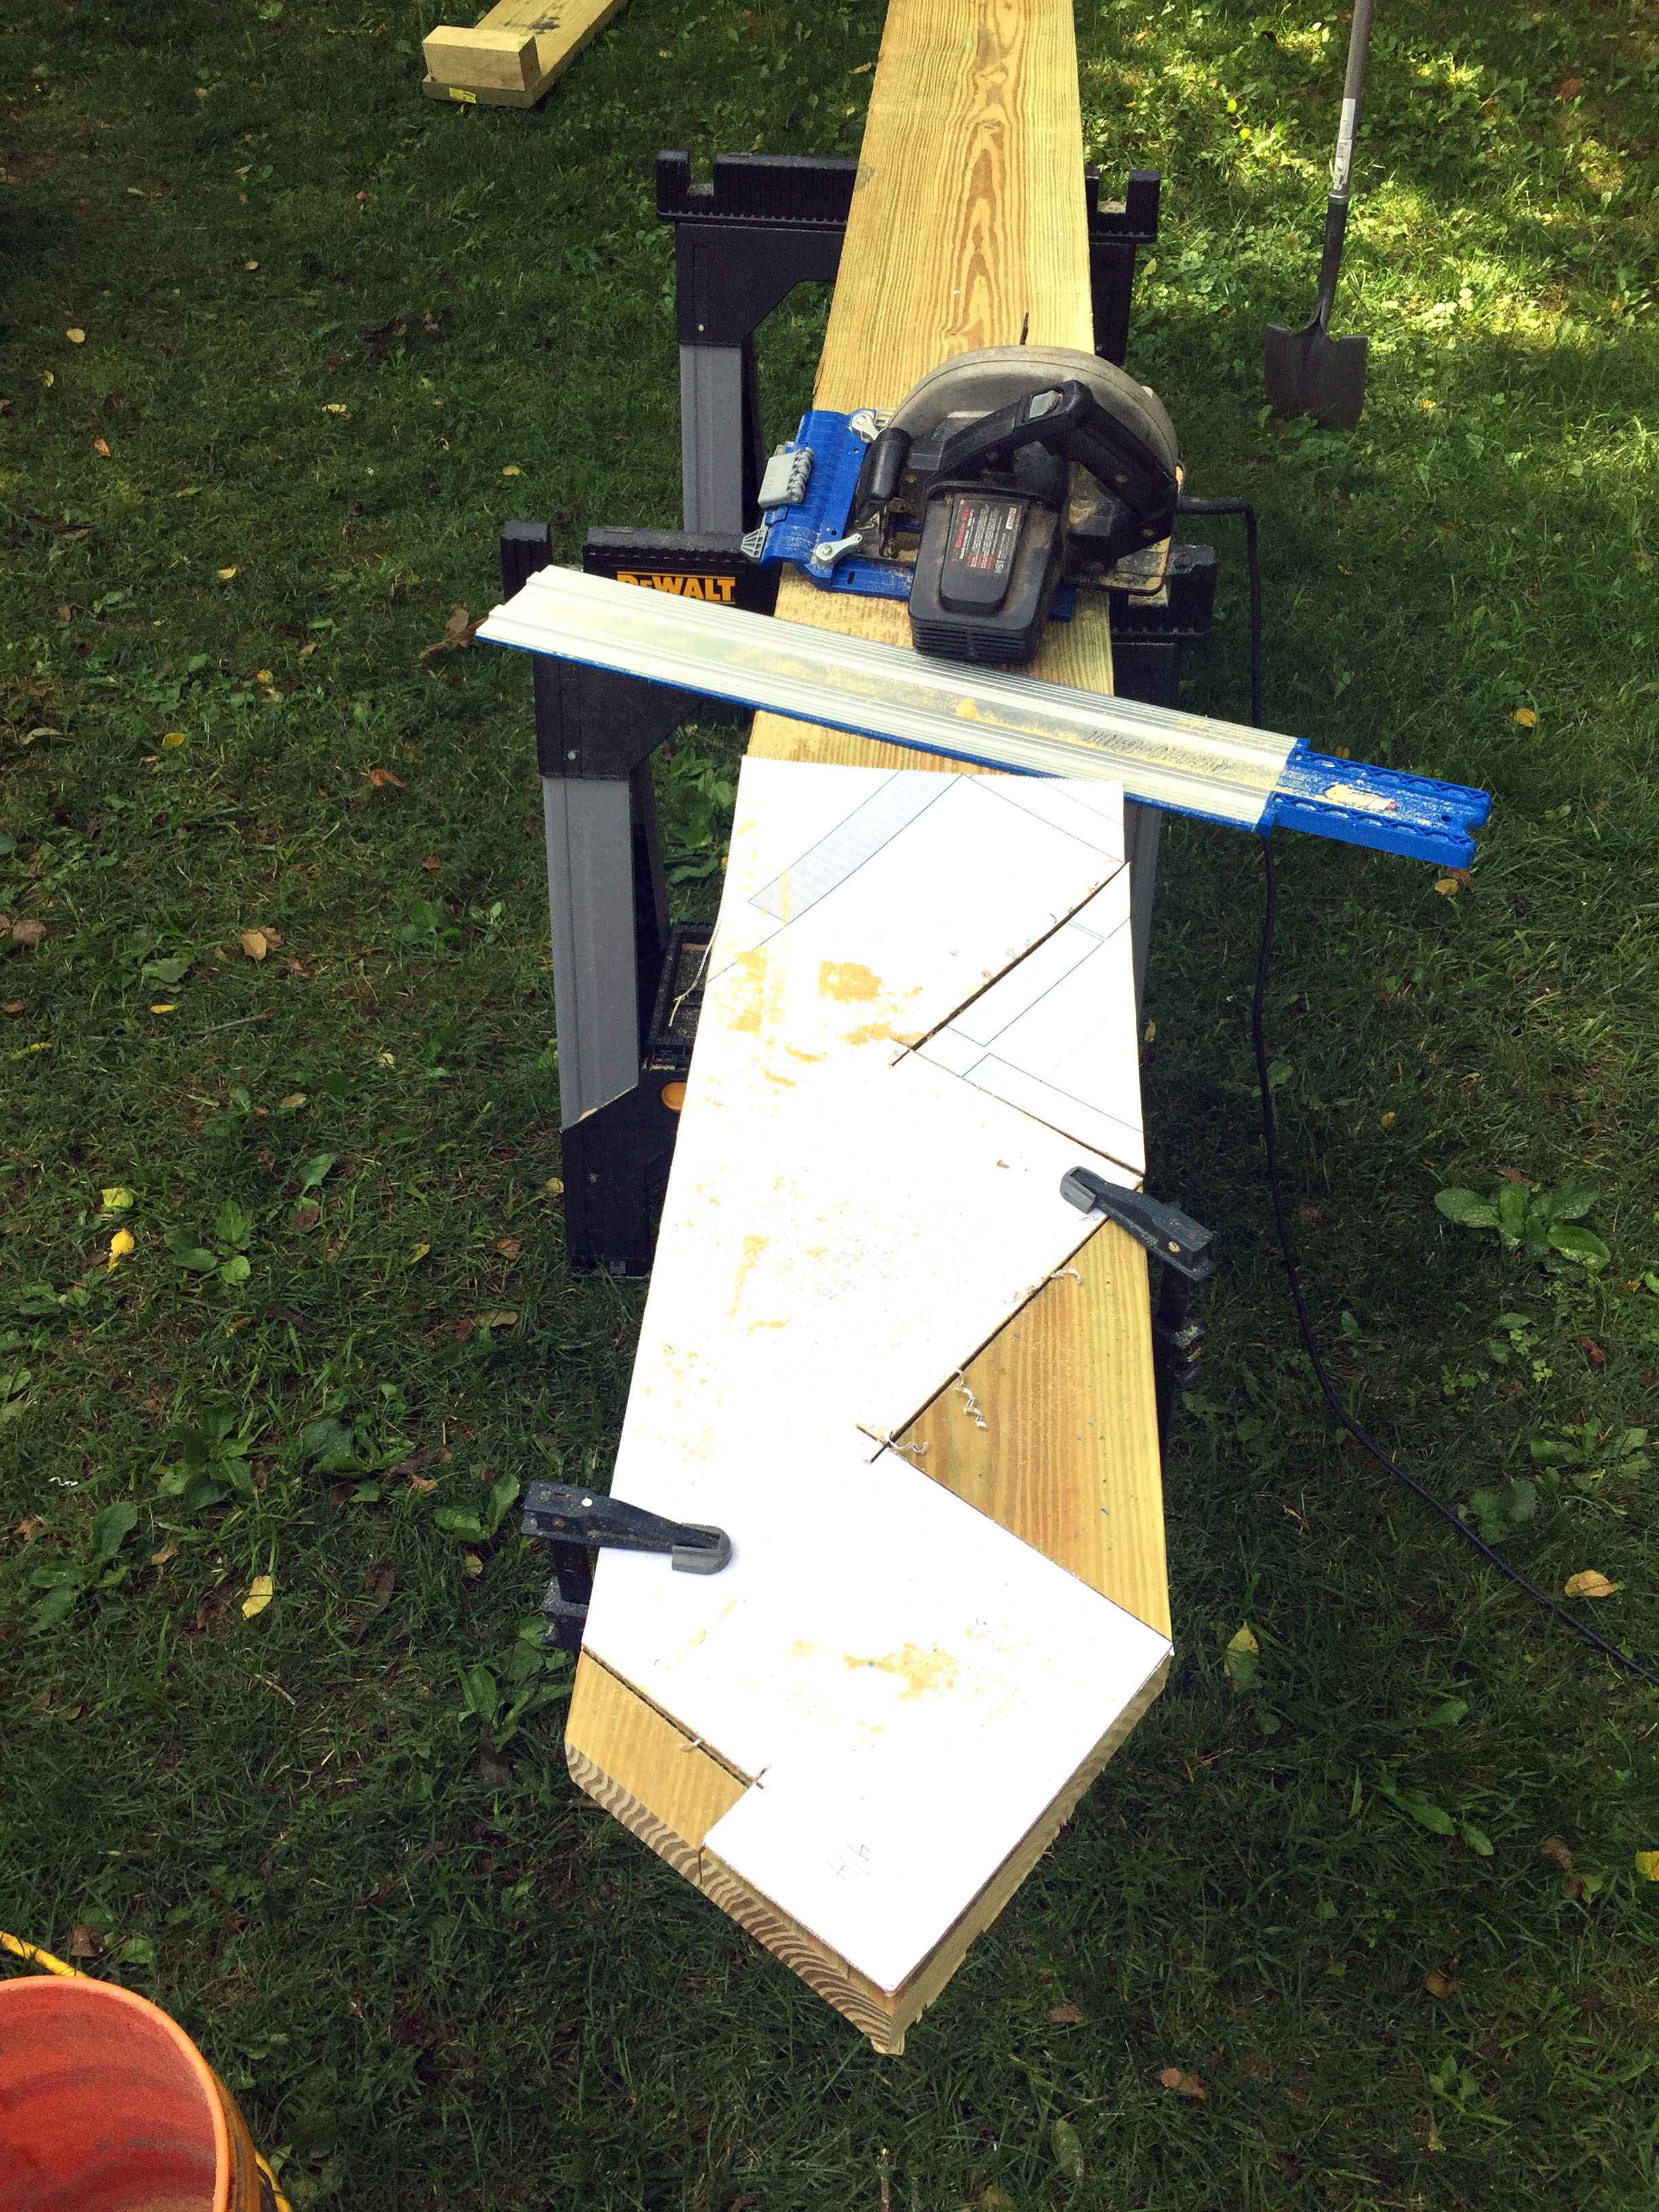
Using the track saw to cut stair stringers
We added a bench on the outside of the deck. We did this for two reasons: 1) we needed seating. And 2) it creates a nice barrier to keep things from falling off. Although code does not require a guardrail, it's always nice to provide something at the edge. For the bench I also used a full scale template to create the support brackets. I traced the dimensions on the 2x4 and used my compound miter saw to cut each piece.
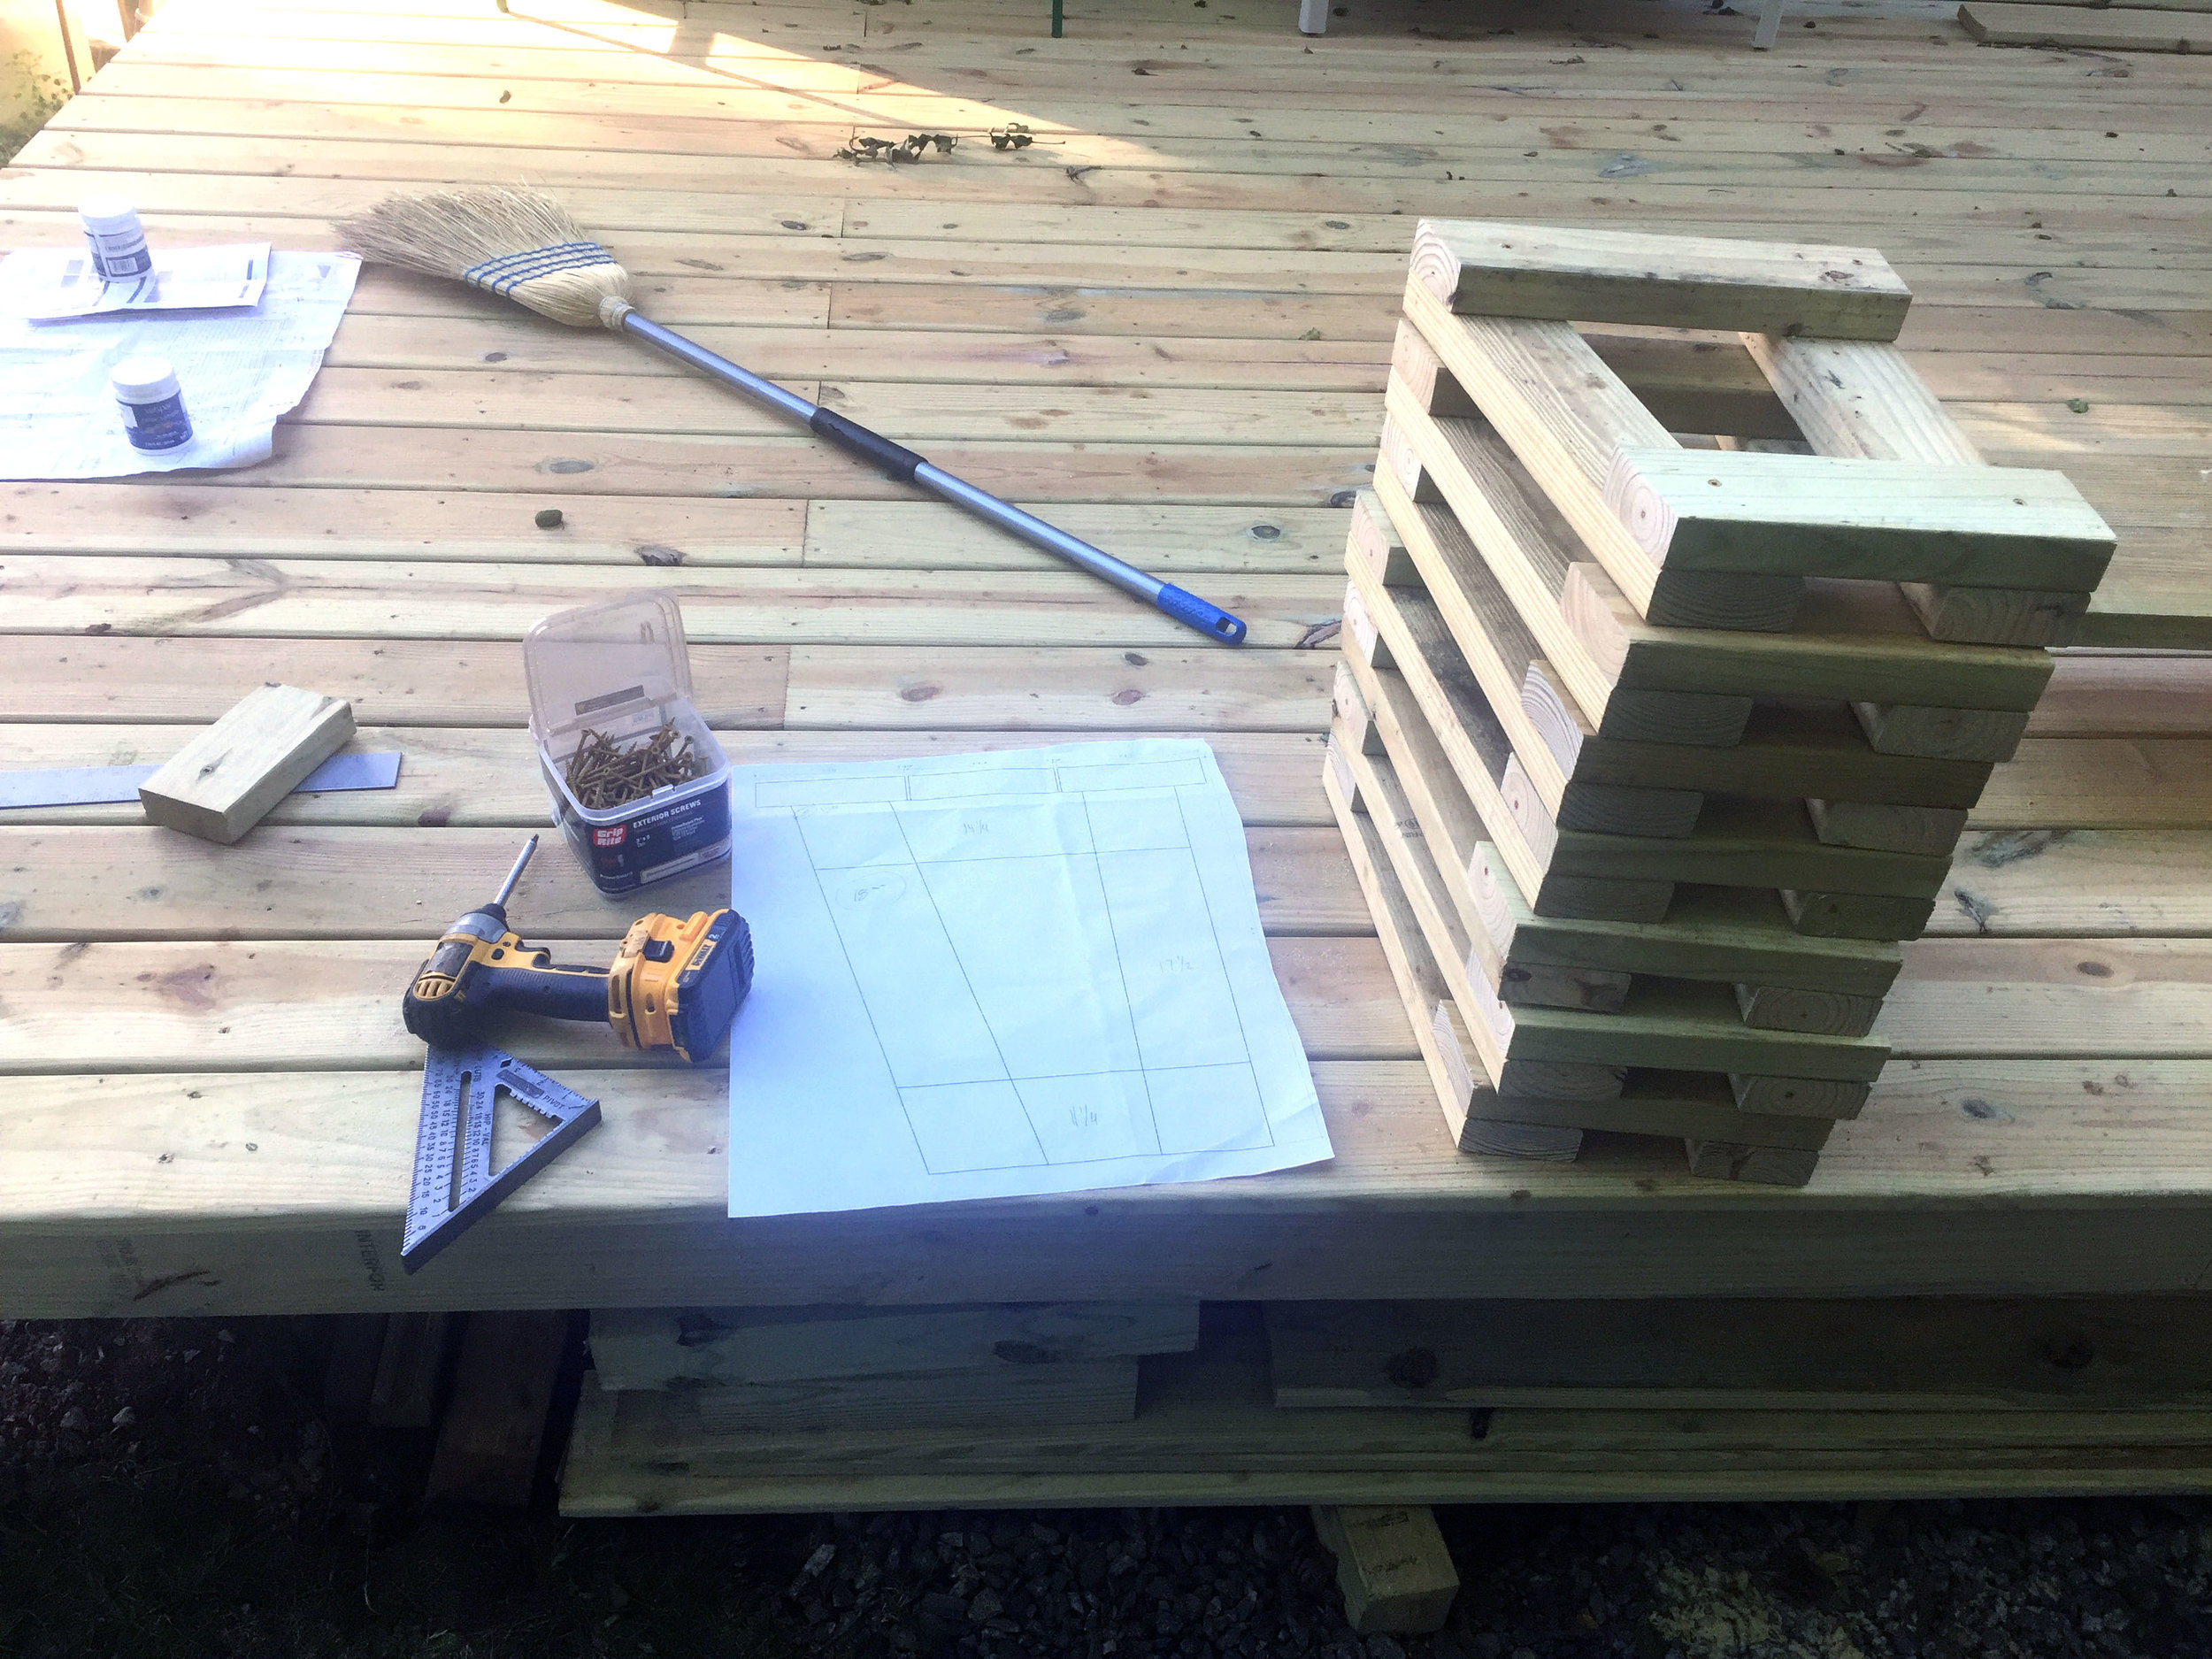
Making deck supports with a template
Probably the biggest extra thing we added to the deck was the trash enclosure. And we will talk more about it in a second post.






Happy Saturday! This weekend is a pretty chill one around here, which I’m really looking forward to. We’re planning on doing a TRX class together this morning, some small things around the house, and hopefully a hike. Today I’m sharing all about re-planting our front bed. When we moved in the bed was pretty sad. Actually, upon first glance you couldn’t tell quite how bad it was. (click to see the before and afters!)