

Last month I showed you guys my foyer make over and you may remember the wooden bowl that I found at Target. I guess it’s more of a tray, really. Either way, I got it to catch our keys and sunglasses and other little things that need to be corralled by the door. It was half off so I was able to snag it for just $12! Plus, I liked the natural look of it and at that price it was a no brainer. But, it was actually very raw. The edges were really fiber-y and would catch fabrics when they brushed up against it and overall it just looked really unfinished. A few weeks ago Xan started working on a wooden mirror frame for our upstairs bathroom and that got me thinking that it would be really easy to finish the bowl with a little DIY elbow grease. And of course I decided to add a little something to it in the form of gold leaf as well.


Key Tray DIY Process
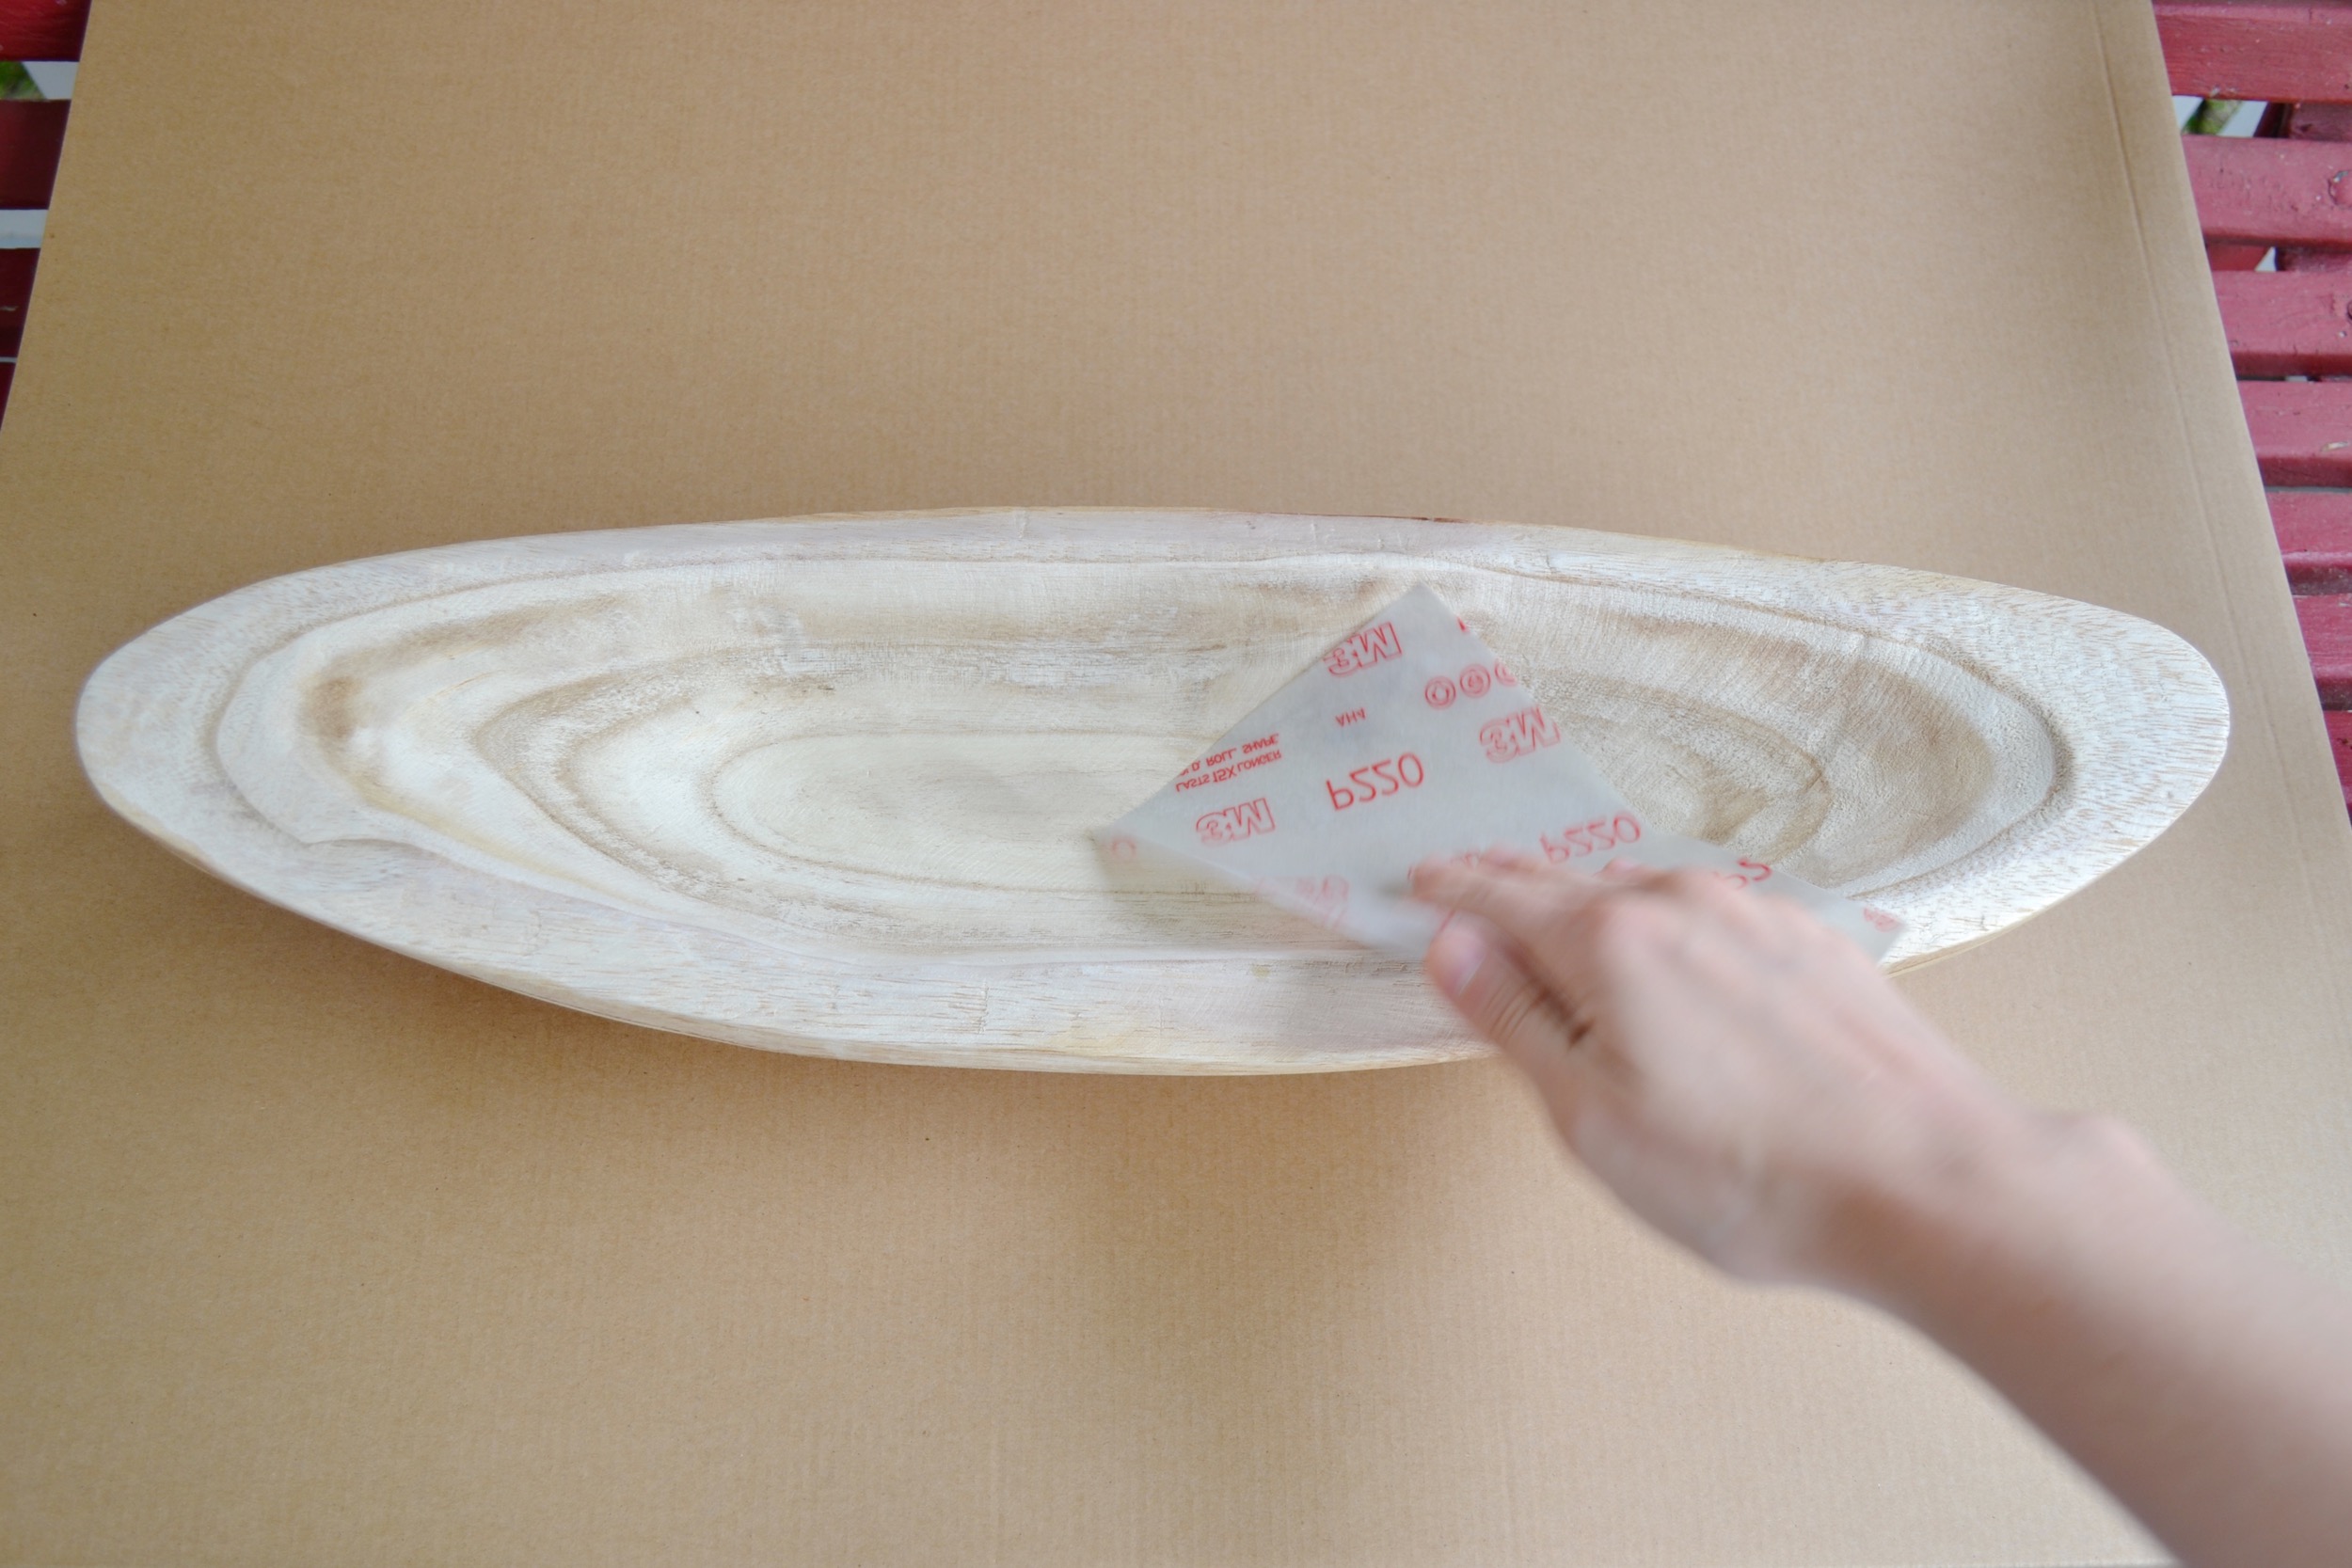
I started by sanding the whole thing with a 220 grit paper. I spent a while trying my best to smooth down all the live edges. After that I wanted to seal it some how and it turns out that we had this clear gel varnish on hand from the mirror so that’s what I used. I put a coat of that on the whole thing, working in phases because I couldn’t do the top and the bottom at the same time. I pretty much just followed the directions on the can, but a couple helpful hints I discovered are: 1. Make sure you wear gloves – I didn’t the first time because I figured I wasn’t using much so it wouldn’t be very messy. But it’s so sticky and soaks through the rag pretty easily. Once it’s on it’s really hard to get off. I basically had to wash my hands in nail polish remover. 2. Try to do it on a dry day. The first half of the first coat took SO long to dry and it wasn’t even a rainy day or anything – it was just your every day Southern humidity. It must have been a little drier for the next section because it cured much faster. I coated the bottom first, let it dry, and then did the top. Once I had a full coat that was dry I sanded again. This time I used 400 grit paper and that got it so smooth. It felt totally different than when I started.


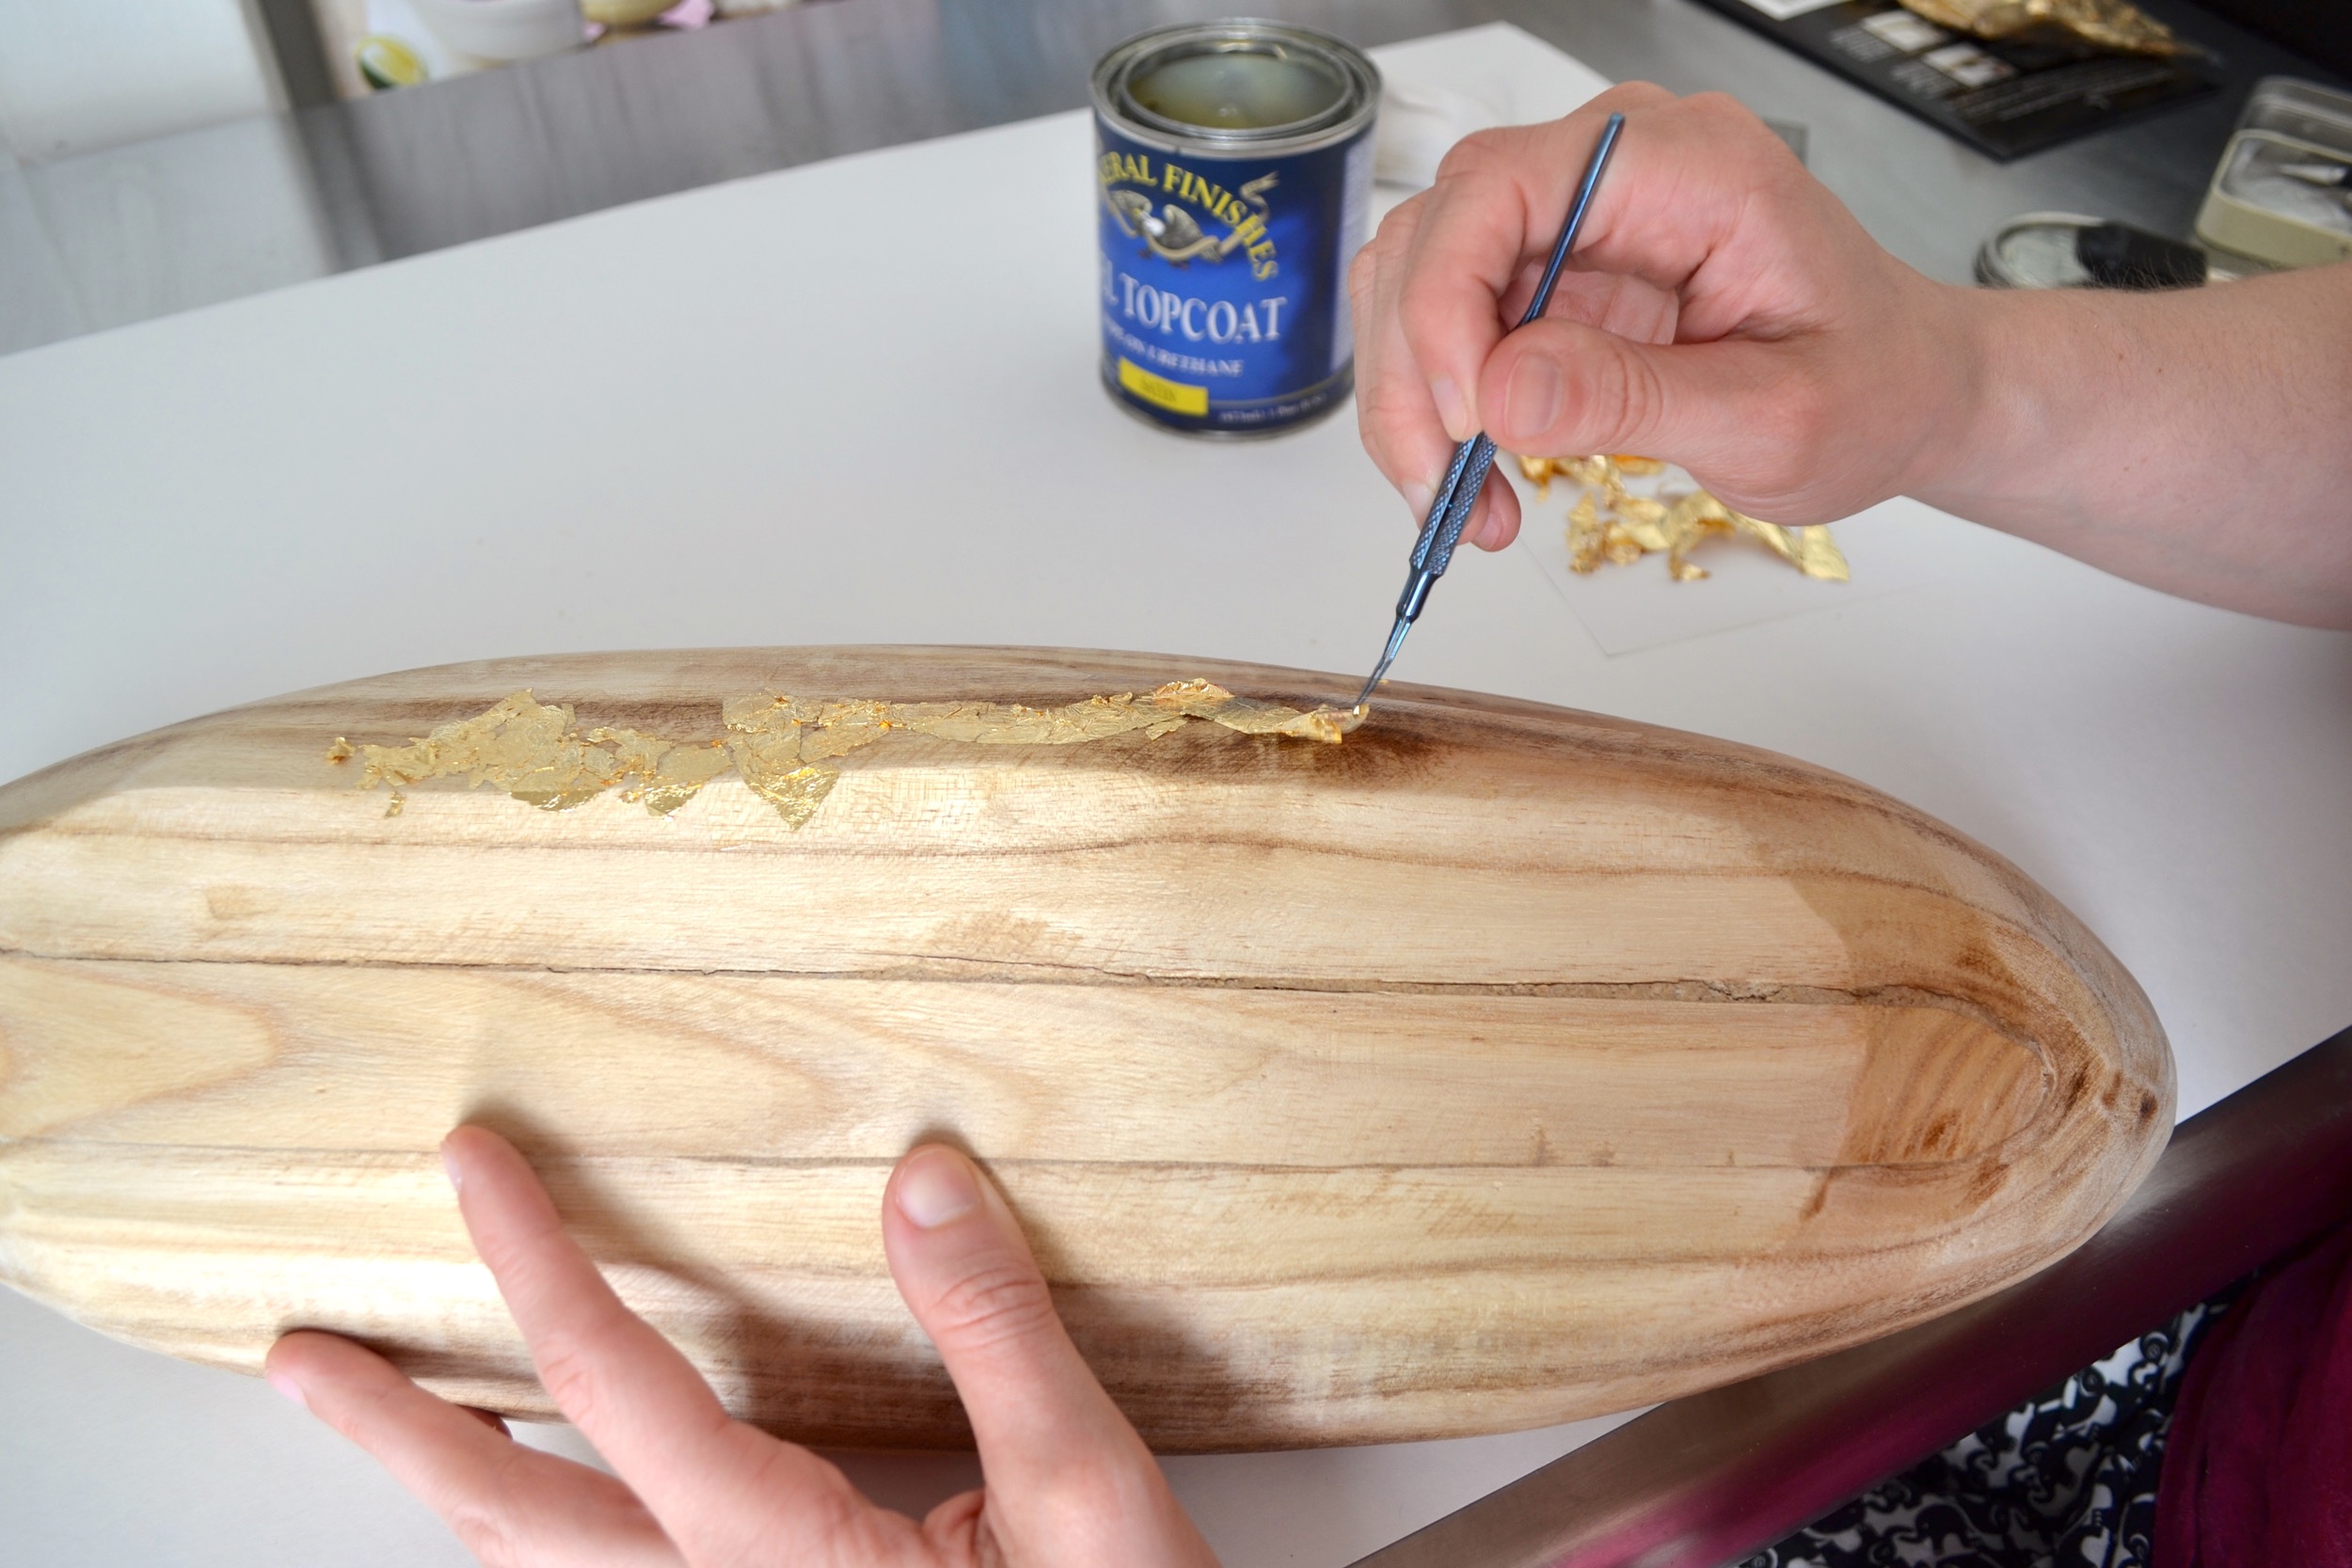

After sanding the second time I wiped off all the dust with a cloth and then applied some gold leaf. I’ve actually never worked with it before and found it to be relatively easy. I used the pieces rather than the sheets for a more organic look. The thing that made the most difference for me was waiting until adhesive was almost completely dry. So I started using the lightest coat I could, like it kind of didn’t even seem like it was on there, and then wiping it down with a rag and then waiting until it was just barely sticky. And also be sure to work an area with absolutely no breeze. Even a ceiling fan will send your pieces of gold leaf flying! After leafing I did one more coat of varnish to seal everything and then I was done!
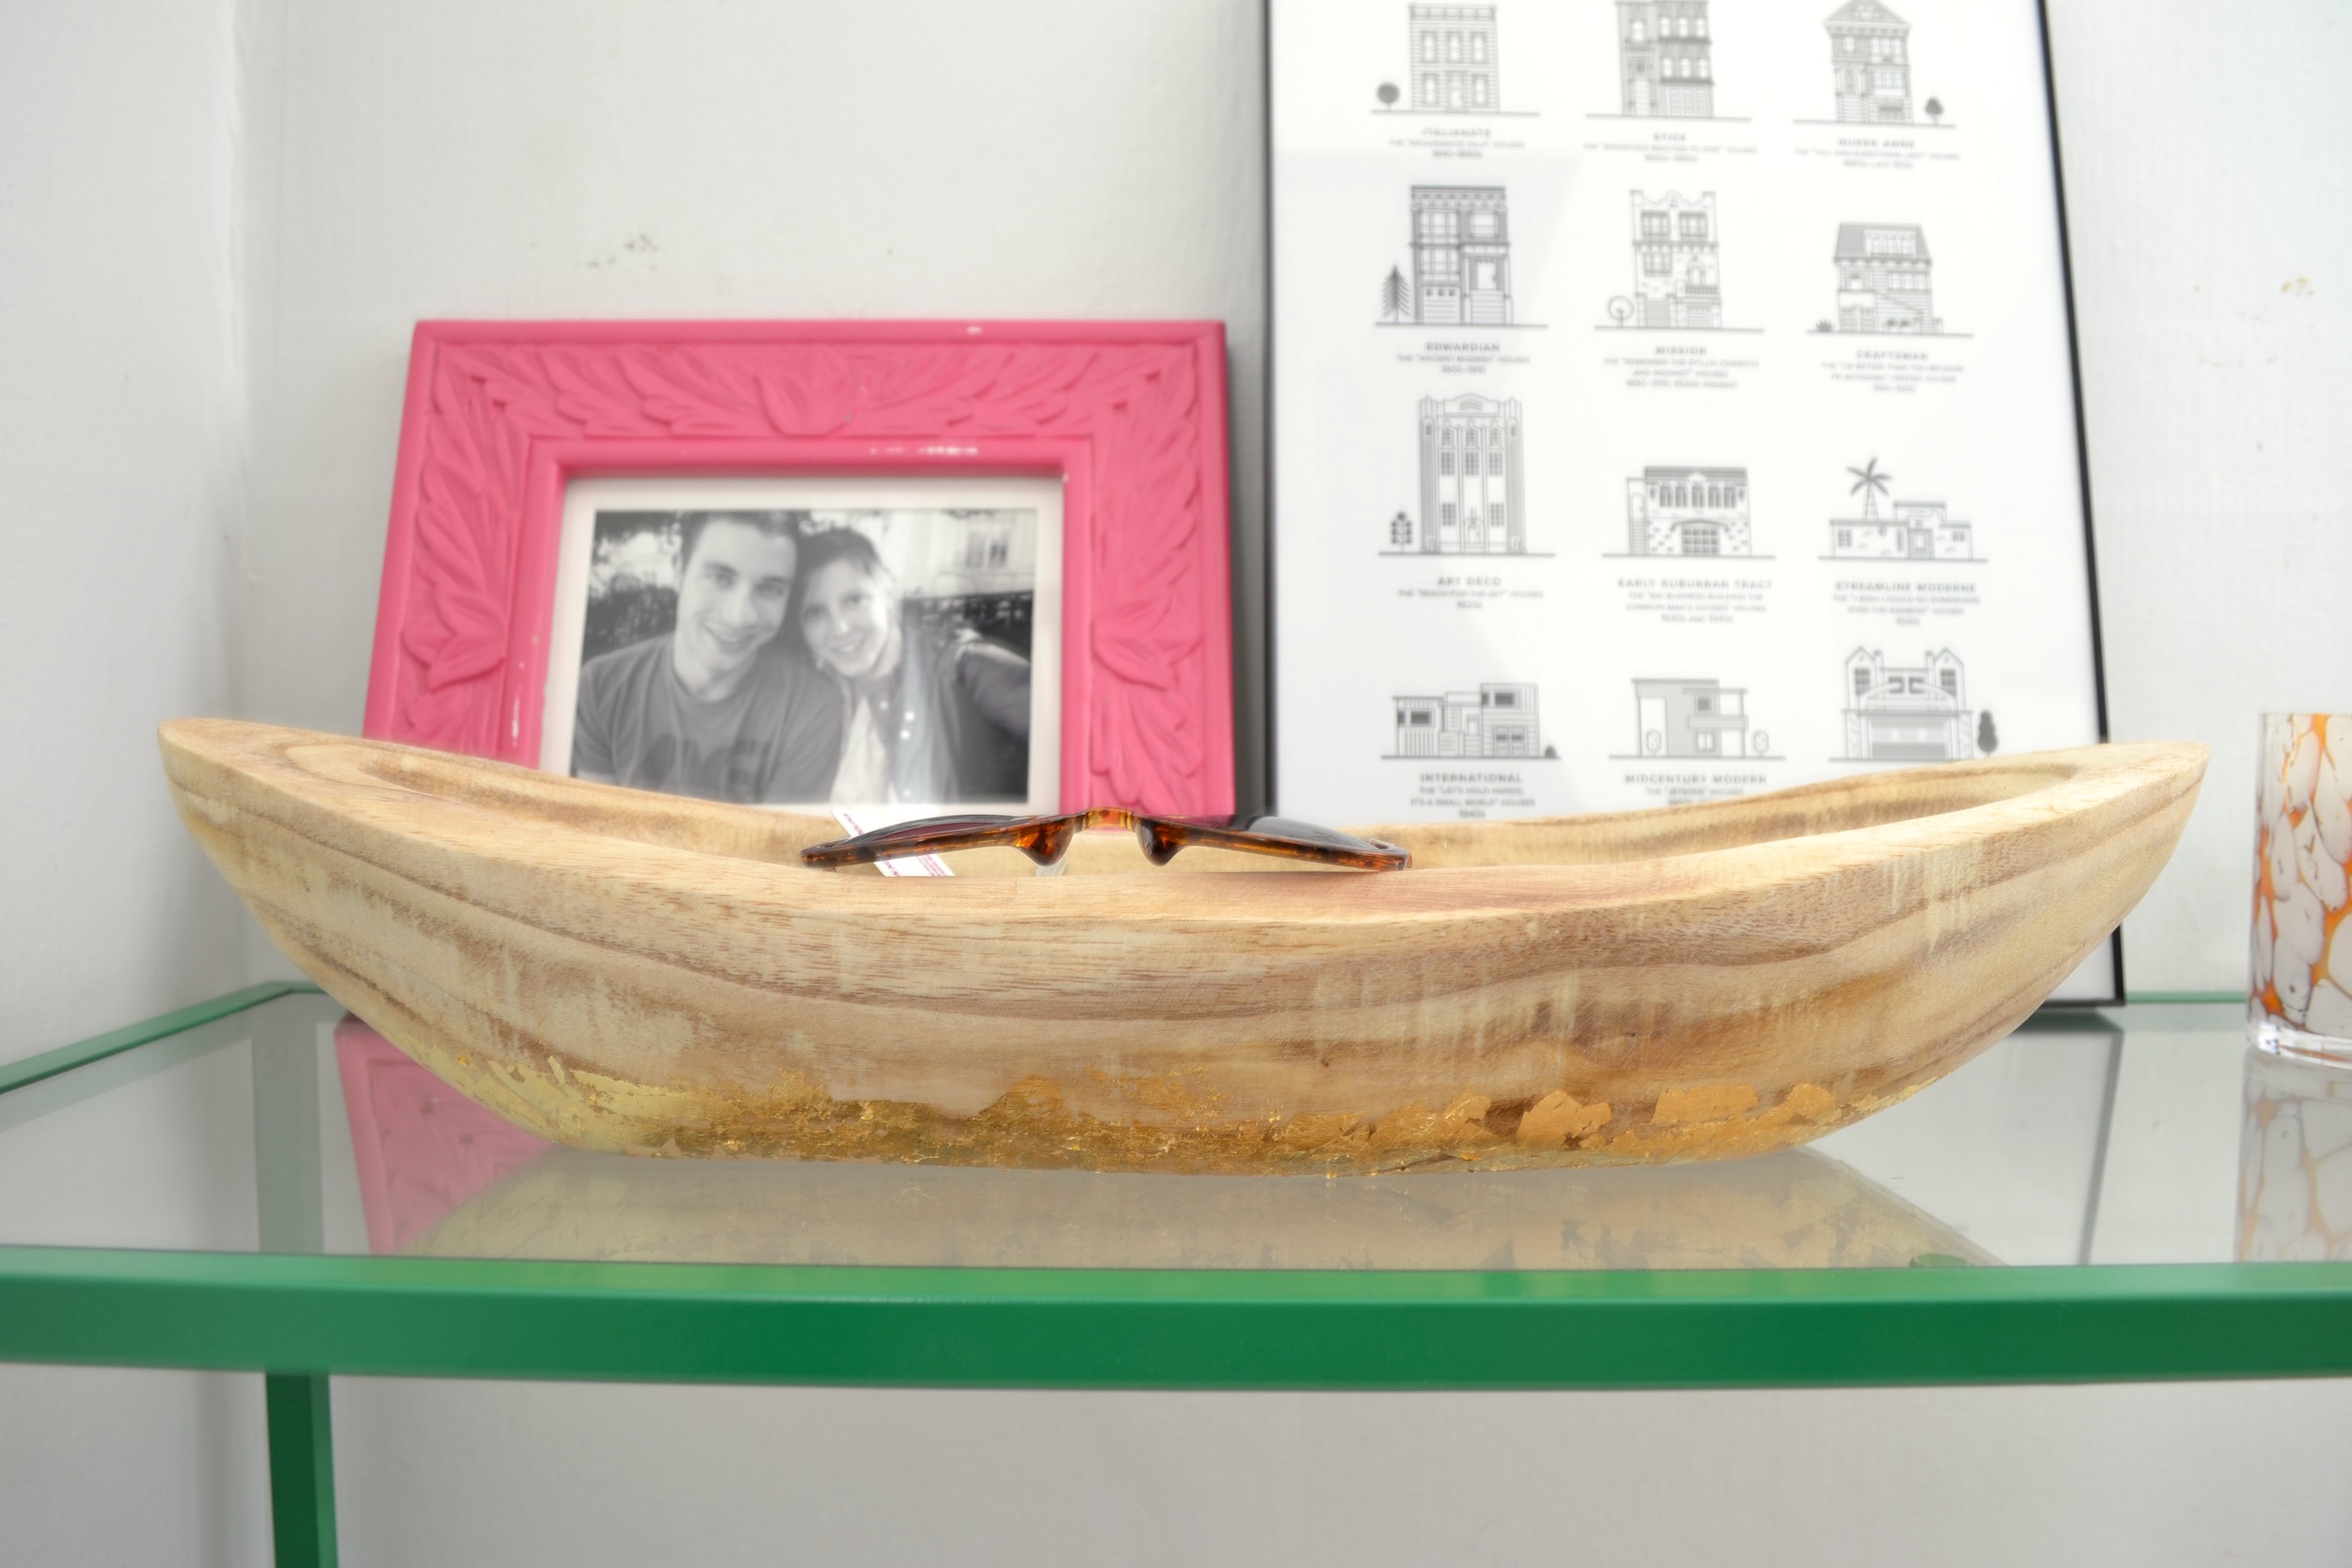
This project was super quick – especially if you don’t count the drying time. I mean the actual work that went into it was an hour, maybe two, you just have to spread it out over many days while the varnish cures. But, I love the look of the clear varnish – it just brings out the wood graining so beautifully. And now it’s so much smoother, it feels like it’s a real piece where before it felt a little like it was half finished. And the peek of gold on the bottom really takes it to the next level. Of course I feel that way about anything gold.
The tray/bowl I used isn’t being sold anymore, but here are a few more that might work! Here, here, and here.

Pin this and save for your next project!


Happy Monday, Friends! Today I have another update on our upstairs bathroom. It’s getting so close to being finished I can’t even wait!So, there was a little drama with these hooks before they even arrived. You see I accidentally ordered them to my old address. IN SAN FRANCISCO. After lots of phone calls and emails to friends in the city, a message to our old landlord, and an awesome customer service experience our old order was cancelled and refunded and we reordered the hooks to the correct address. Moral of the story? Anthropologie stores a default address for your online orders. Be sure that it’s the right one (it doesn’t matter if you’ve ordered things to your new address before, you know, say, the night before 🙈).