• HOME
  • ABOUT
  • SHOP
  • CONTACT
Menu

The White Apartment

Street Address
City, State, Zip
Phone Number

Your Custom Text Here

The White Apartment

  • HOME
  • ABOUT
  • SHOP
  • CONTACT

Recovering Dining Room Chairs: A Tutorial

July 7, 2017 Allie Ellenbogen

Hi guys! I’m sorry for the late post today, but you may have seen on Instagram that I broke my toe hiking right before 4th of July. My goal this week was to recover our dining room chairs so in between resting and at a very slow pace that’s what I’ve been doing, and I still have more to go.

Overall the process is going much slower than I was expecting. I thought it would take a couple hours, and they’d be done no problem – even with my broken toe. Yeahhhhh, not quite (#managingexpectations). But really, don’t let the time scare you. I’m going to go through everything I did to help save you some time. And I’m guessing you won’t have a broken toe when you do it! And honestly it makes such a big difference for a really small amount of money that I think it’s still worth it.

Okay, so if you read this post you know these chairs belonged to my grandmother and that overall they’re in great condition, but the fabric was clearly old and needed to be replaced. So, I went on the hunt for something new and I really like what we ended up with, even though it took what felt like forever to pick it out. Plus, it was only $15/yard and we could get a little over 2 chairs out of each yard so it was less than $7/chair. We ended up getting some extra in case one of them gets stained or something, but it’s actually enough for 4 more chairs. Since our dining table expands to sit up to 10 I’m thinking about trying to find some more chairs at a vintage store to add to our collection.

Recovering Dining Room Chairs with Fabric: The Tutorial

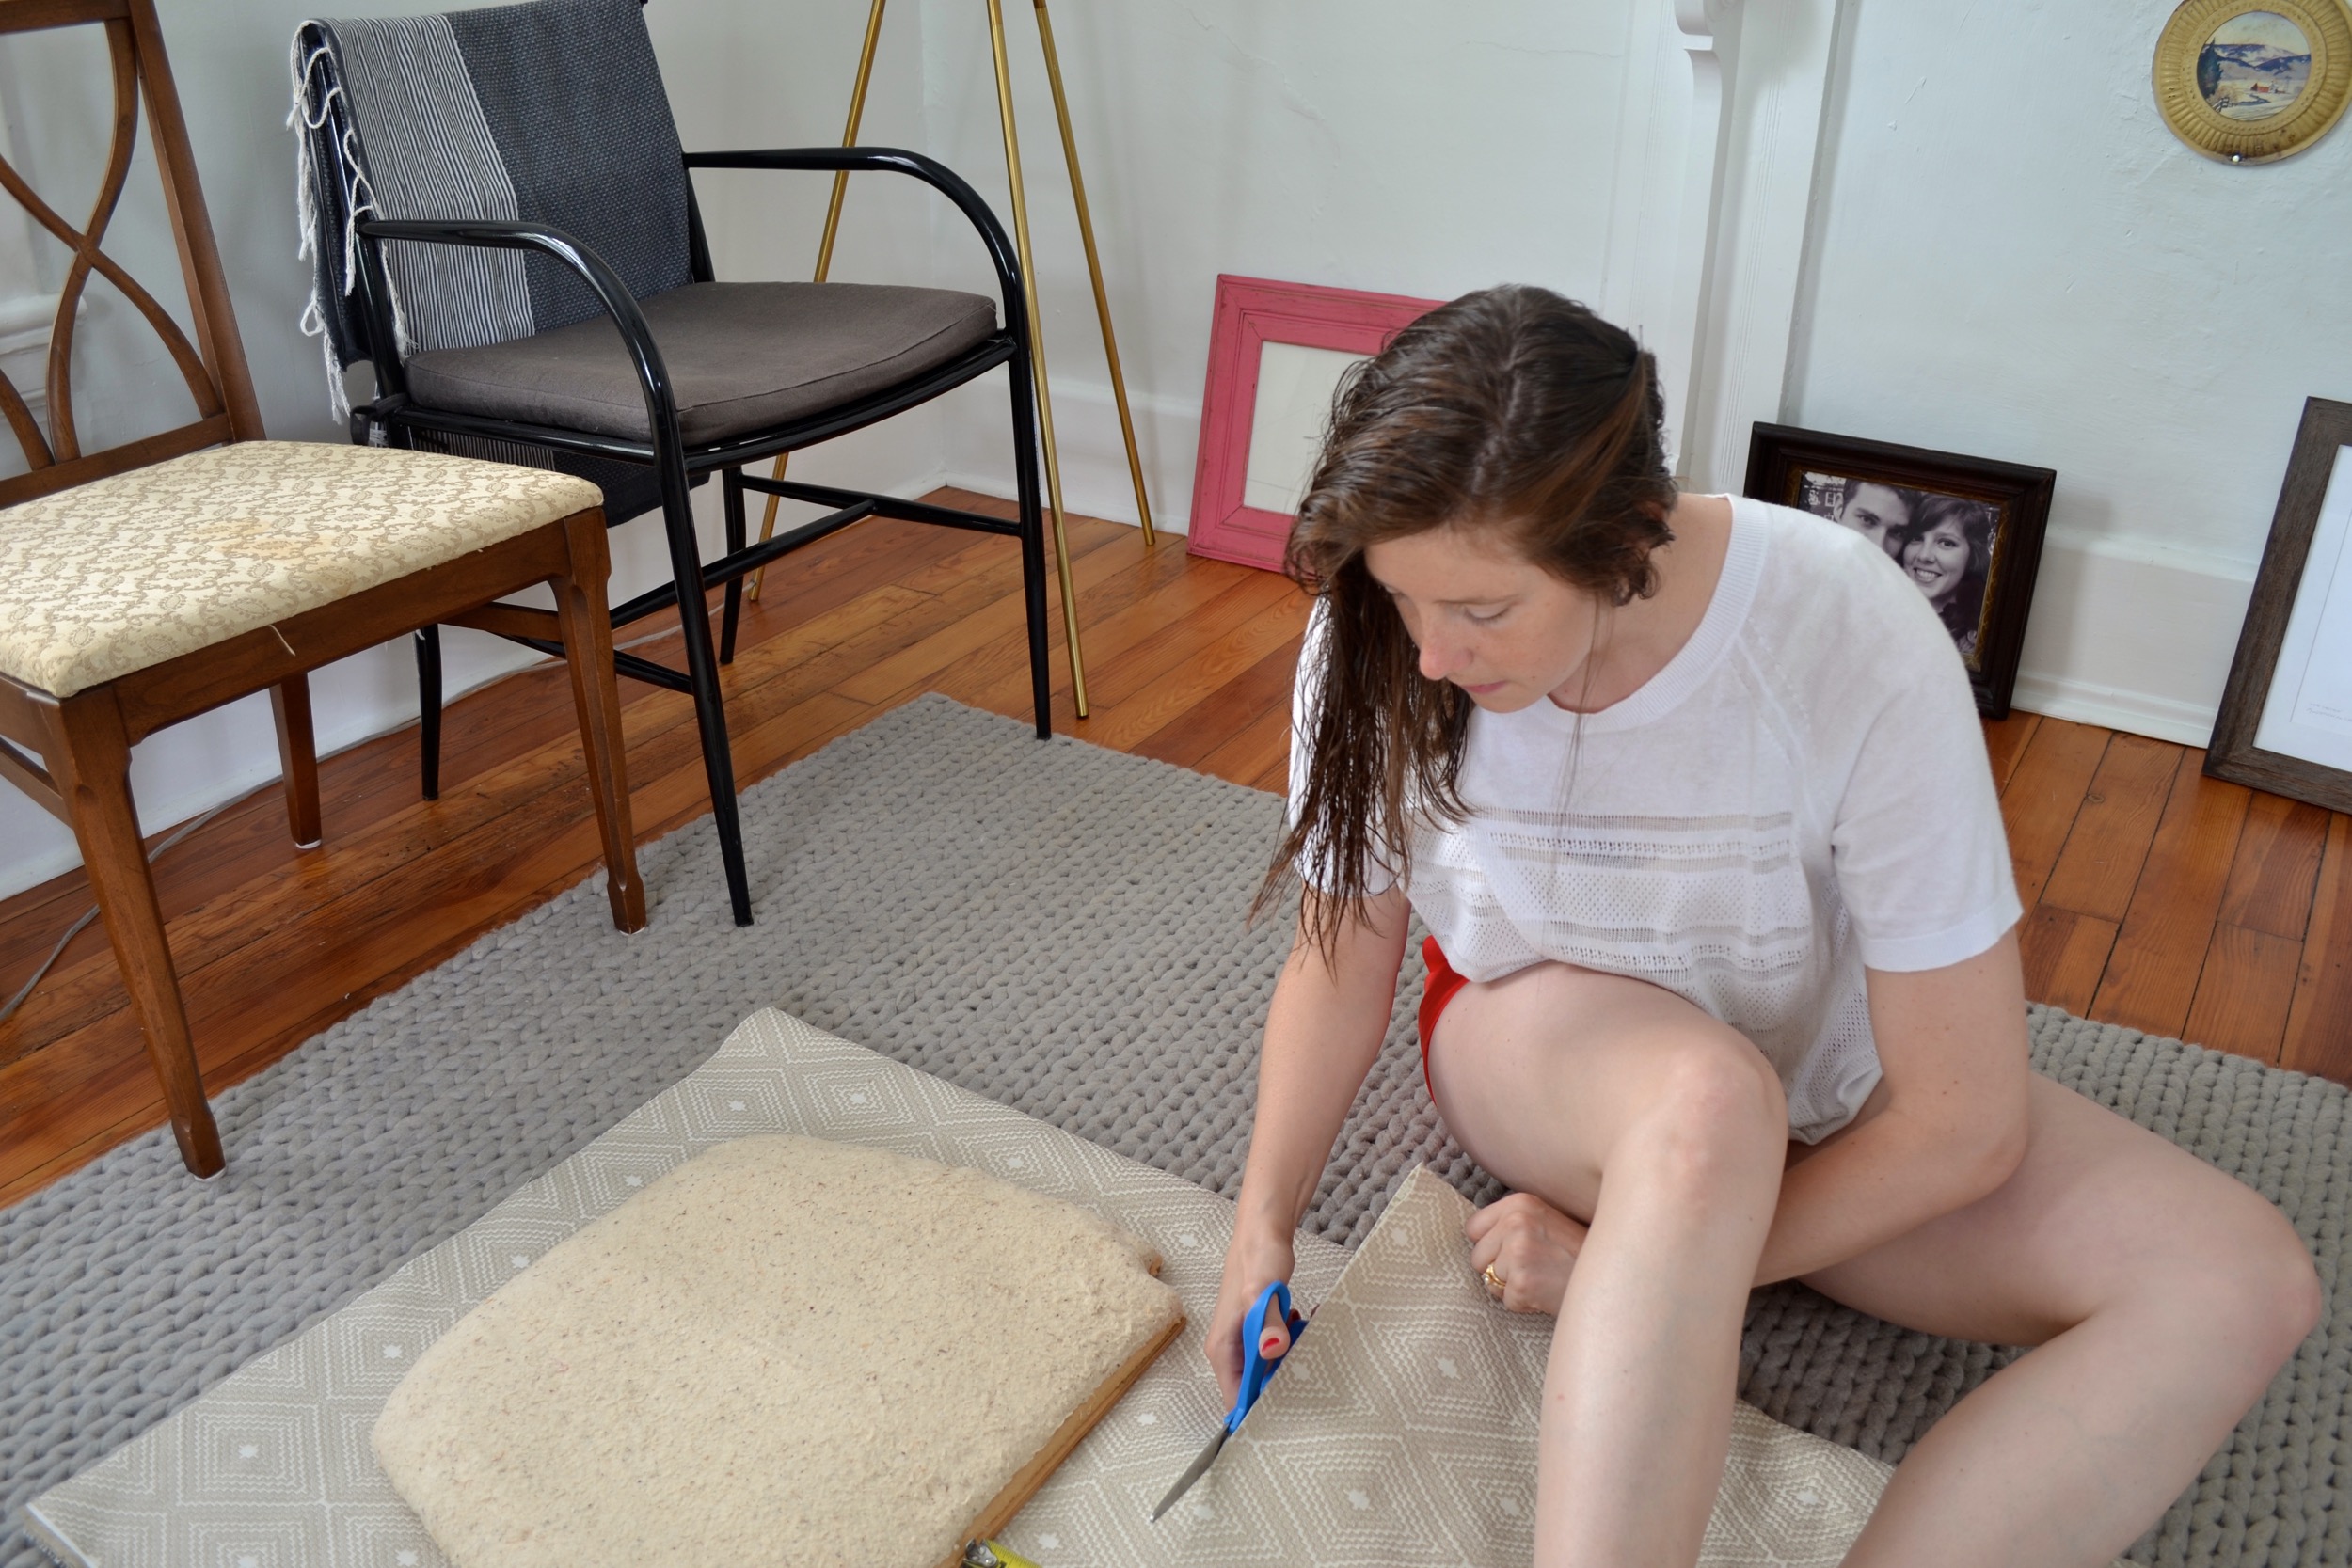
Okay, on to the good stuff. I started by laying the fabric out on the floor and folding it in half (hotdog style) to make sure we had enough by progressively moving one of the seats down the piece of fabric. Doing this helped me figure out how much extra I had. I was planning to leave 4 inches of fabric on each side, but found that I was really close to having enough fabric to make another set and if I could change the extra to 3 inches on each side then there would be enough. So, I tried the first 2 at four inches and found that three inches would be plenty. Yay!

After measuring I left the fabric folded, put the seat on top, made my measurements, and cut just one strip of fabric (which was enough for 2 chairs). I did this so I could make adjustments for the remaining ones if I needed to. Then I cut that piece in half. After that I laid the fabric over the seat to make sure I got the pattern lined up nicely. I wanted it to be straight and centered on the seat. Once I did that I held 2 sides tightly while I carefully flipped it over, trying hard not to move the fabric and get it off center. Then I started stapling. First I tried doing it on the ground – I thought I could just sit on the floor that way I wouldn’t be on my foot. But, that didn’t work. You really need to be at a table so you can use your bodyweight as leverage. I worked at our dining room table, because our steel table would have been too high. I just made sure to cover it and use some dishcloths as padding so I didn’t scratch the table at all. When stapling I started by doing one staple, flipping the seat and then stapling in the same place directly across. This helped me keep from pulling the pattern too much to one side or the other. I did that until I had 6 or 7 staples on each side and everything felt pretty secure. At that point I finished a whole side and then moved on to the next until I was all the way around. I left 2 inches or so around each corner and went backand did those last. There were a few things that I figured out about the staple gun that I think will help you:

1. As I mentioned, staple in a place where you can get good leverage. Depending on how hard your wood is, it can take a lot of force to get the staple all the way in.

2. I’m right-handed and I found that using my left hand to pull the fabric and my right hand at the top of the staple gun and pushing down as hard as I could helped add more pressure that was necessary to get the staples all the way in. You don’t want any “recoil.”

3. I found if I stapled quicker they went in more evenly. When I slowly squeezed the gun (to help gather some more force) many times the center would go in but the side would come out or go in crooked. 

If you’ve been thinking about recovering your dining chairs or feel like your space could use a little facelift this is the perfect thing! It’s inexpensive, easy and makes a big impact. I’ll be sure to share some photos when I’ve finished them all.

Pin this DIY tutorial and save it for your next project!


You Might Also Enjoy
Easy-landscaping-ideas2.jpg
Front Yard Landscaping Idea

Happy Saturday! This weekend is a pretty chill one around here, which I’m really looking forward to. We’re planning on doing a TRX class together this morning, some small things around the house, and hopefully a hike. Today I’m sharing all about re-planting our front bed. When we moved in the bed was pretty sad. Actually, upon first glance you couldn’t tell quite how bad it was. (click to see the before and afters!)

Read more →
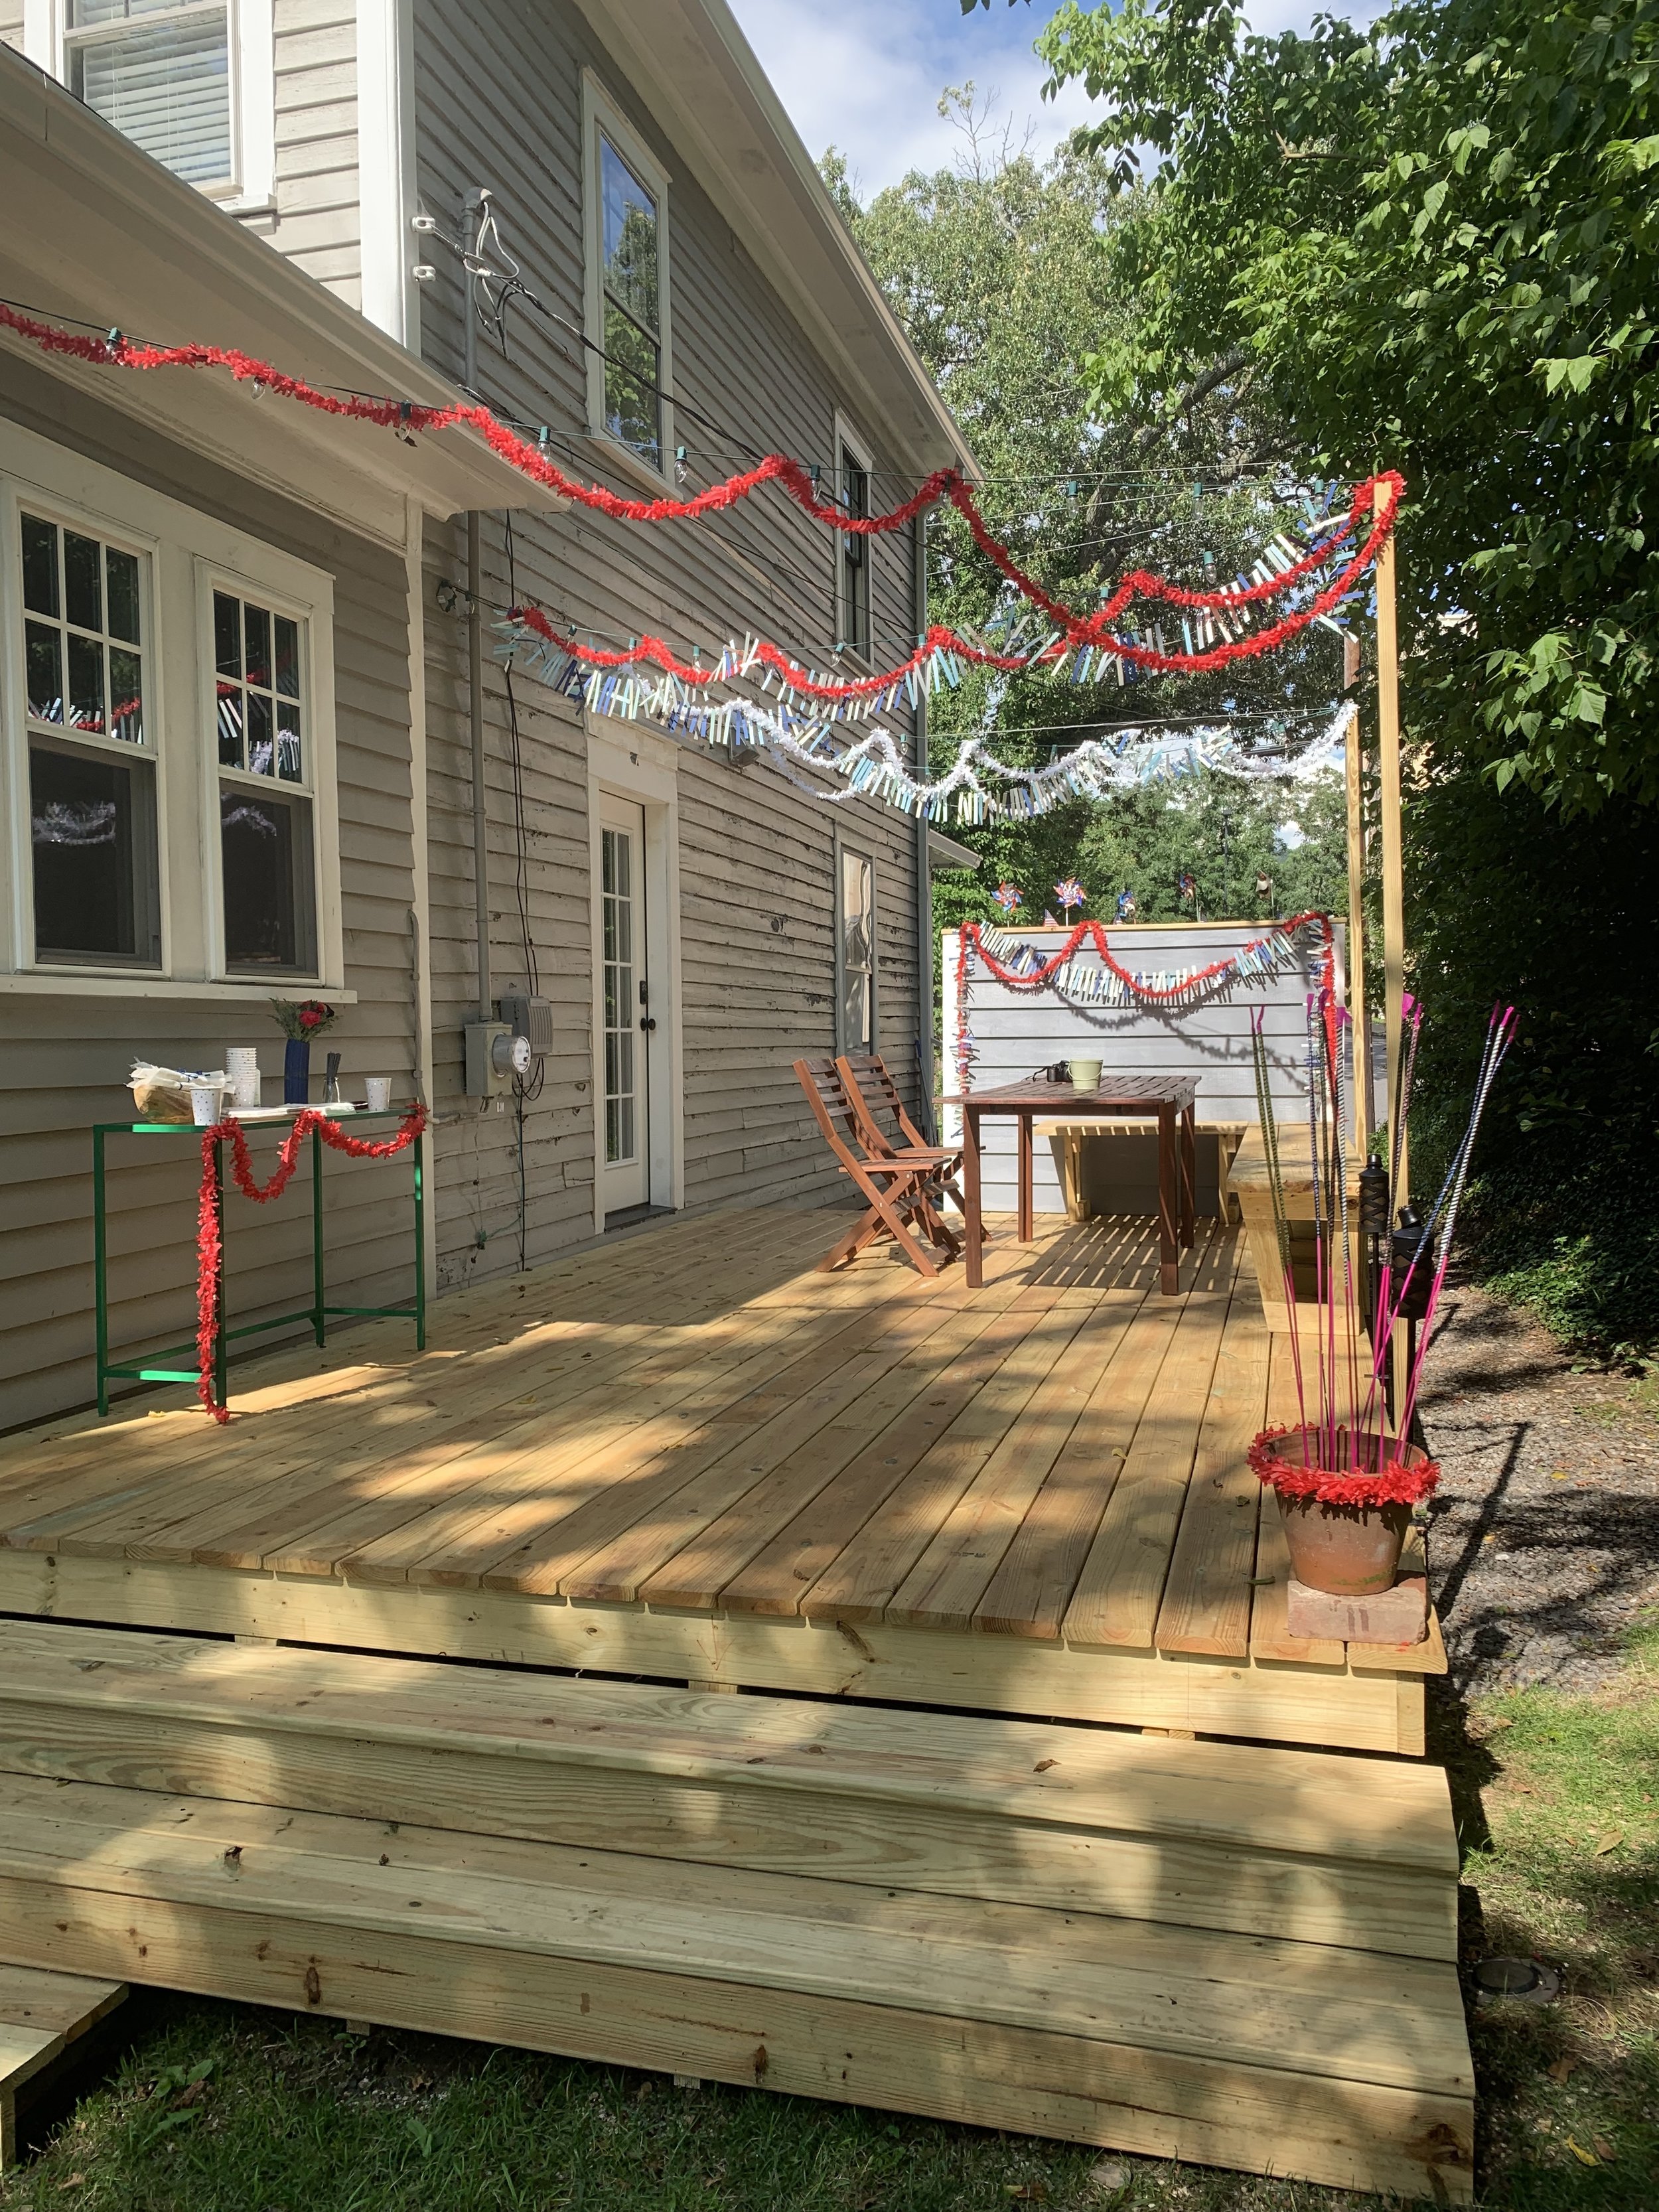
Before and After: Our DIY Deck

Happy (long) weekend, friends! I’m so excited for this 3-day weekend - it’s just what I needed. And to be honest, I’m excited to mark the transition to fall. Labor Day always feels like the unofficial end to Summer, but I’m okay with it. I’m ready for cooler temps and this may be controversial, but longer nights too. 

Read more →
DIY-Deck-Build-7.JPG
Our DIY Backyard Deck

A couple weeks ago we posted about the design process for our new deck and today we’re talking about how we built it! Xan wrote this overview of the process, but because there’s so much to include it’s more an overview of the process and some tips and tricks we learned along the way. If you have specific questions feel free to include them in the comments. We should, of course, note that it’s important to talk to an expert in your area about your particular situation as it may be different from ours. 

Read more →
Deck-idea-Final.jpg
Deck Design Process

Happy Saturday! We skipped our Fourth of July post - we were busy getting ready for and hosting a party and spending time with friends and family. It was basically an extra long weekend and it was just what I needed. It included parties with friends, celebrations of babies, movie dates, and long naps. Perfection! 

Read more →
Hook-bathroom-wall-DIY1.jpg
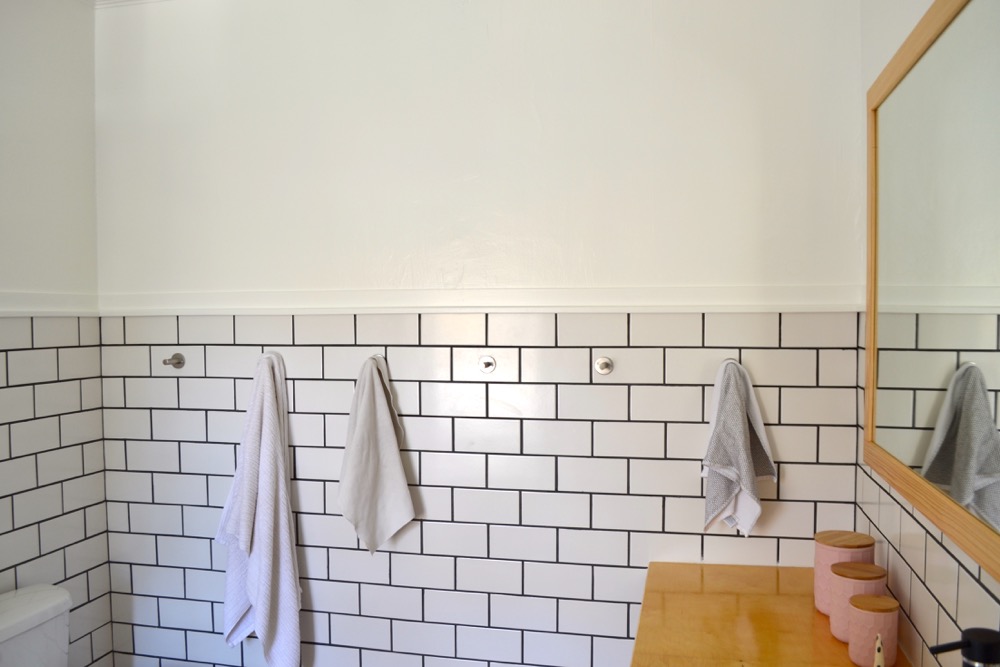
A Wall Mounted Bathroom Towel Hook Idea

Happy Monday, Friends! Today I have another update on our upstairs bathroom. It’s getting so close to being finished I can’t even wait!So, there was a little drama with these hooks before they even arrived. You see I accidentally ordered them to my old address. IN SAN FRANCISCO. After lots of phone calls and emails to friends in the city, a message to our old landlord, and an awesome customer service experience our old order was cancelled and refunded and we reordered the hooks to the correct address. Moral of the story? Anthropologie stores a default address for your online orders. Be sure that it’s the right one (it doesn’t matter if you’ve ordered things to your new address before, you know, say, the night before 🙈).

Read more →
Front Door Window Covering: A Faux Roman Shade

Happy Friday, friends! I’m excited because I’m sharing a project today that’s been on my list of to-dos pretty much since the day we moved in. And that’s a window covering for the front door.

Read more →
DIY-Desk-Idea01.jpg
DIY Desk Idea for Small Spaces

If you’ve been following along with on my Stories then you know that a couple weeks ago Xan and I built a new desk for me. Yippppe it’s so awesome to have it finished, and as I promised I have all the details for you on how to build it. I’m still collecting all the accessories for it and will do a full reveal (hopefully) later this month.

Read more →
Master Bathroom Paint Idea

We’re slowly inching closer to a finished upstairs bathroom. Even though we didn’t do any major renovations in there it’s still taking a while and the latest step in getting there was a fresh coat of paint. You may be thinking to yourself, “Allie, the bathroom doesn’t look like it needs to be painted?”

Read more →
Recovering Dining Room Chairs: A Tutorial

Hi guys! I’m sorry for the late post today, but you may have seen on Instagram that I broke my toe hiking right before 4th of July. My goal this week was to recover our dining room chairs so in between resting and at a very slow pace that’s what I’ve been doing, and I still have more to go.

Read more →
A DIY Foyer Table for Small Spaces

You might remember from a few posts back that I’ve been rearranging the furniture in our house. For me this is the final step before the fun stuff like hanging art, designing and just generally adding character and I’ve been pretty much dying to get to that since the day we set foot in this house.

Read more →
In DIY Tags Dining Room, Budget Friendly, Tips, Before and Afters, Cost Breakdown
← Living Room Decor IdeaHostess Gift Ideas for Summer →
 
 
No results found
Summary Block
This block is invalid. Please check the block settings and try again.
Featured
Aenean eu leo Quam
Aenean eu leo Quam

Quisque iaculis facilisis lacinia. Mauris euismod pellentesque tellus sit amet mollis.

Read more →