
Hiya! I’m coming to you today with a DIY to take you into the weekend. Do you know what Shibori is? It’s a Japanese dyeing technique that produces really beautiful, organic designs. It’s like a step-up from that tie-dye you did at camp when you were a kid. I’ve been really into all the Shibori dyed things I’ve been seeing around lately. Honestly, for probably a year and it hadn’t even occurred to me to give it a try until I read Jenny Komenda’s post about DIYing it. That really inspired me to give it a try myself. And it was seriously so fun and easy! I dyed a few things because you can only have so many Shibori pieces in a house, but now I’m trying to figure out what else I can do because I just want to dye everything.


DIY Shibori Techniques and Tips
I followed Jenny’s instructions for prep, materials, and folding which you can find in the post I linked above and supplemented the actual dyeing instructions with a Shibori tutorial from the Rit website. I thought I’d share some tips that I discovered and didn’t find in either.
1. Start with much less dye than you think. Yes, you can add more water to dilute the color, but the dyes are very intense. I used a large glass mixing bowl and added just a tablespoon of purple dye and even that was way too much. I ended up pouring most of it out to make room for more water. So, just start with very little bits of dye adding more as you go, especially if you’re hoping for a lighter color.
2. I did the triangle fold, which turned out to be very hard to tie tightly. Because of the tapered sides of a triangle when I got my string nice and tight it would just slide down to a narrower part of the triangle and become loose. Next time I would try rubber bands with the triangle fold, I think those would stay in place a little better. And I’m sure the square would be easier to tie as well.
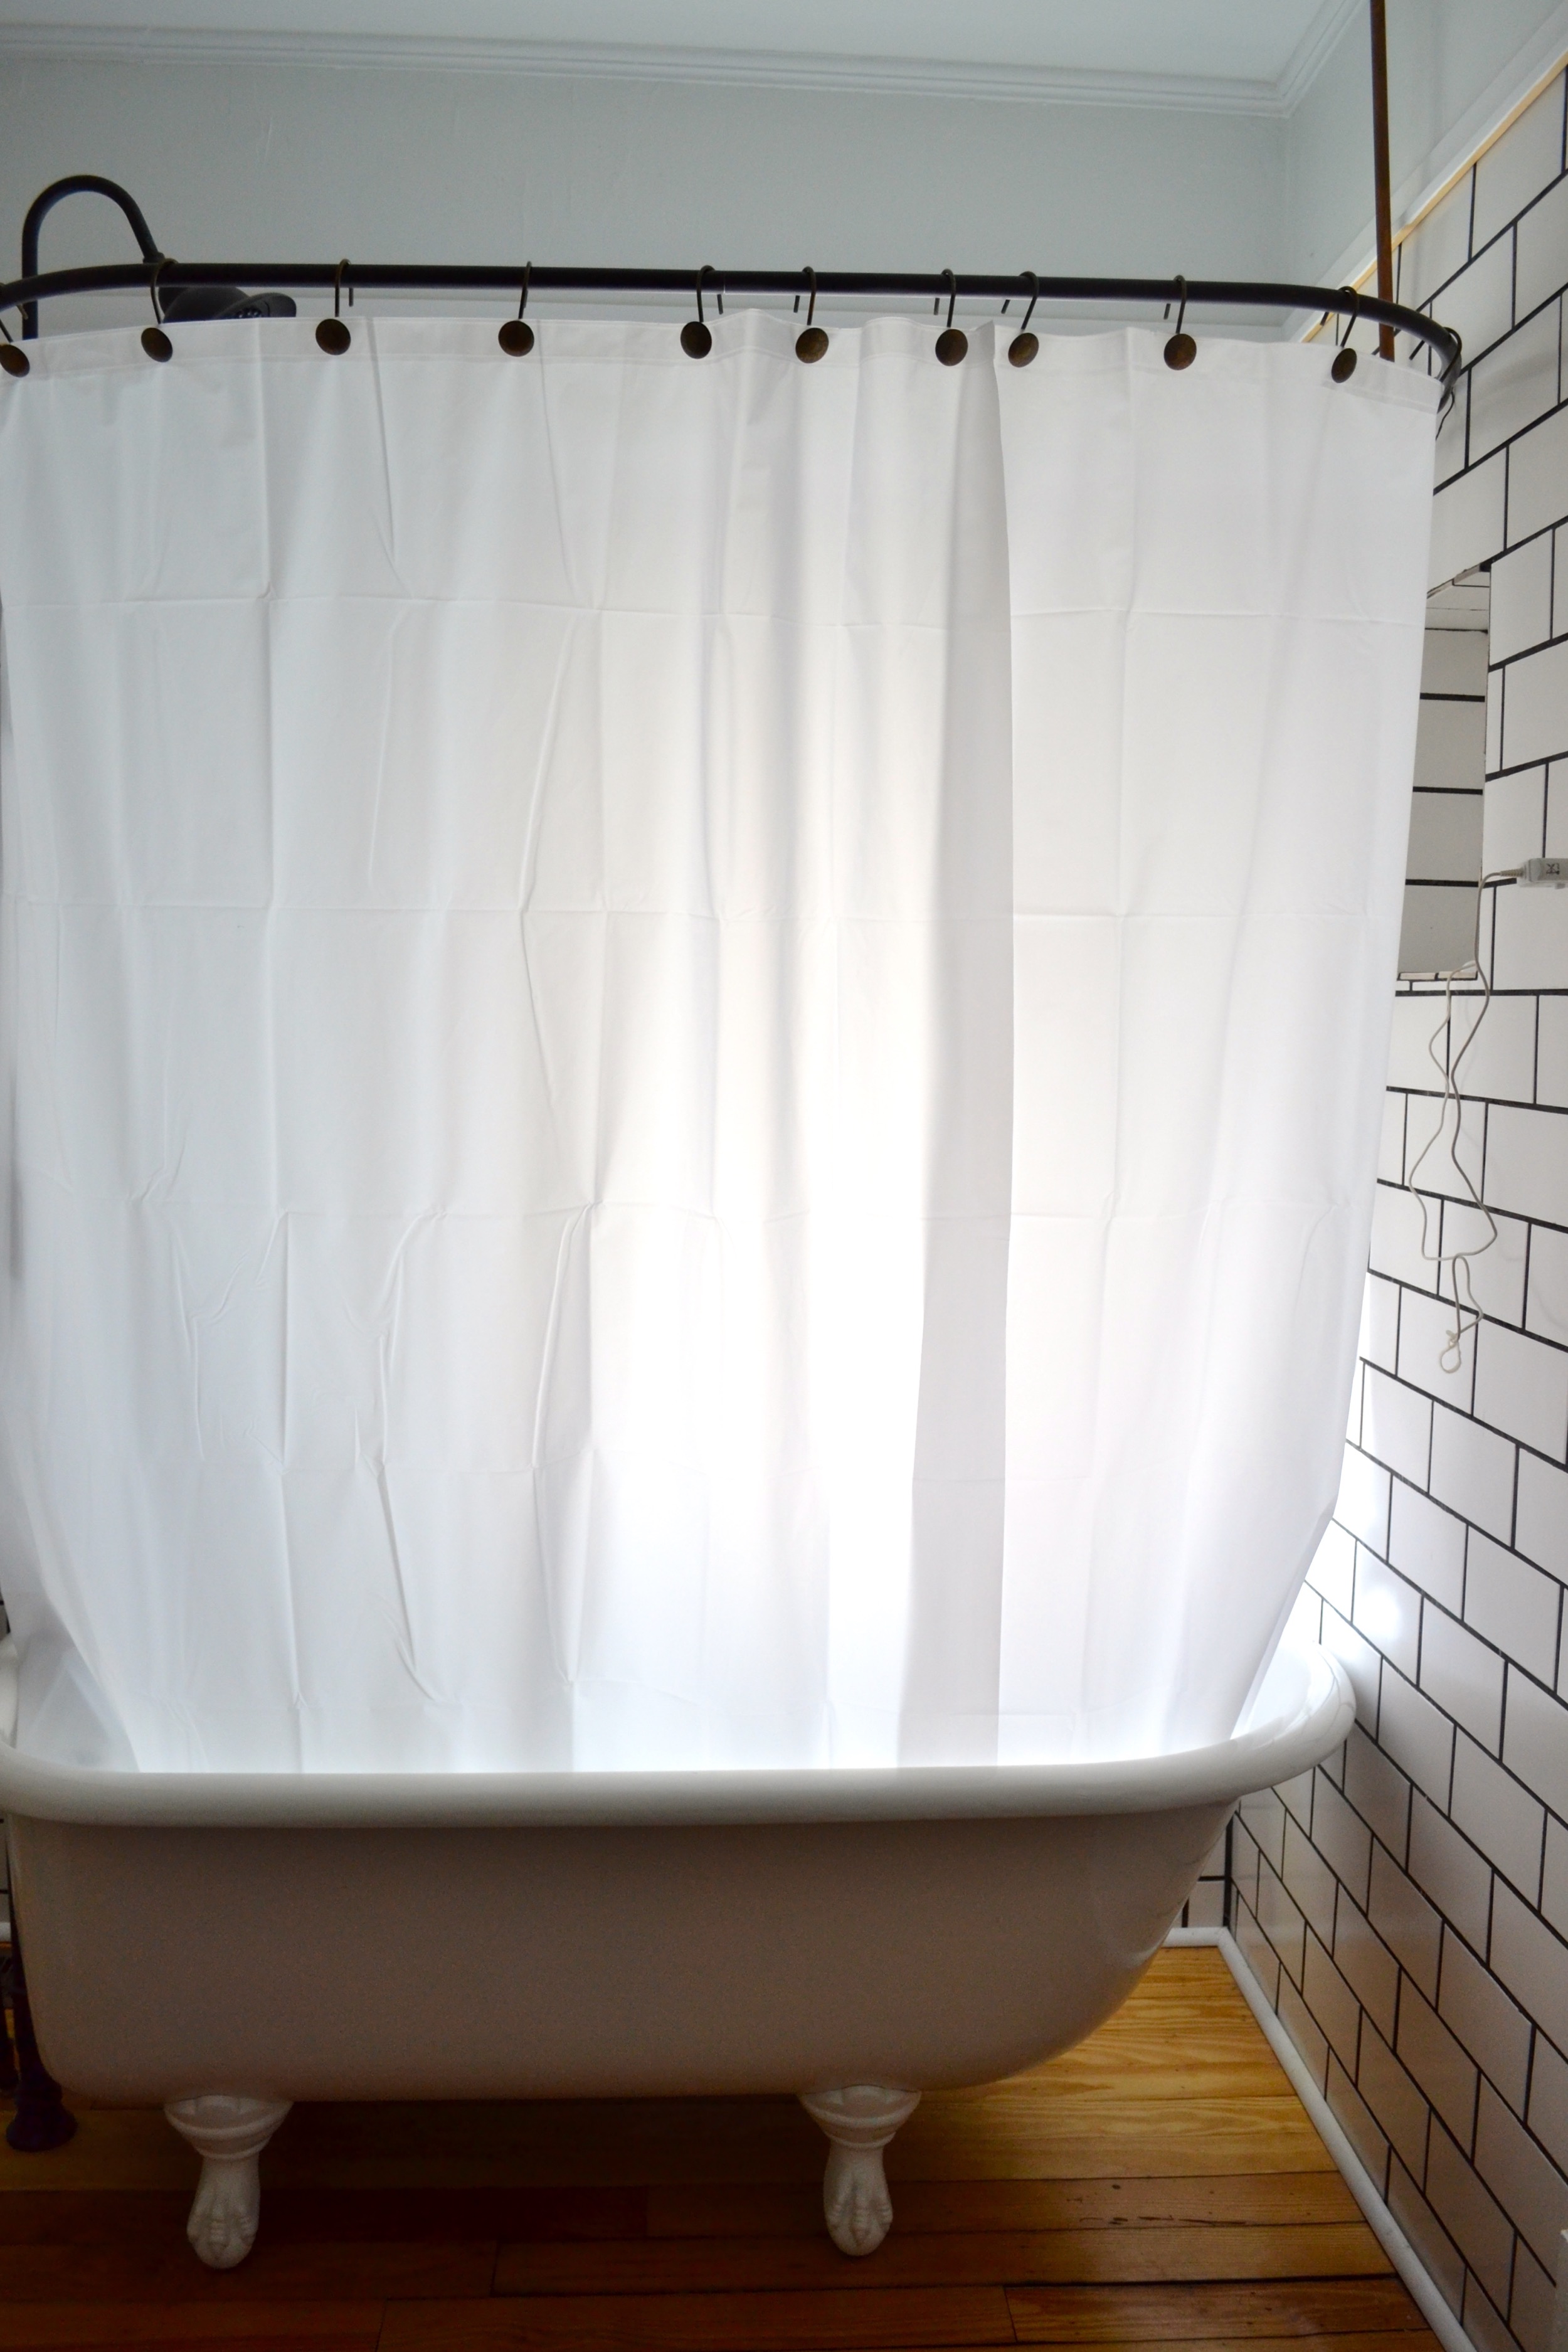
3. After you dye be sure to fully rinse your textile while it’s still bound up and only after the water from that runs clear unbind it and rinse again. On the blanket I only rinsed it a little before unbinding it and then the dye colored the white parts a little. It still turned out okay, there just wasn’t as much of a contrast and the white parts turned out looking a bit dingy.
4. The colors will lighten significantly in the wash. You can see that the blanket looks purple. Before washing it was actually a pretty dark navy. I also used less salt than the Rit tutorial called for and I think the salt has something to do with setting so it could be that. But, generally I found that everything came out much lighter after washing. Next time I’ll go for darker colors to account for that.
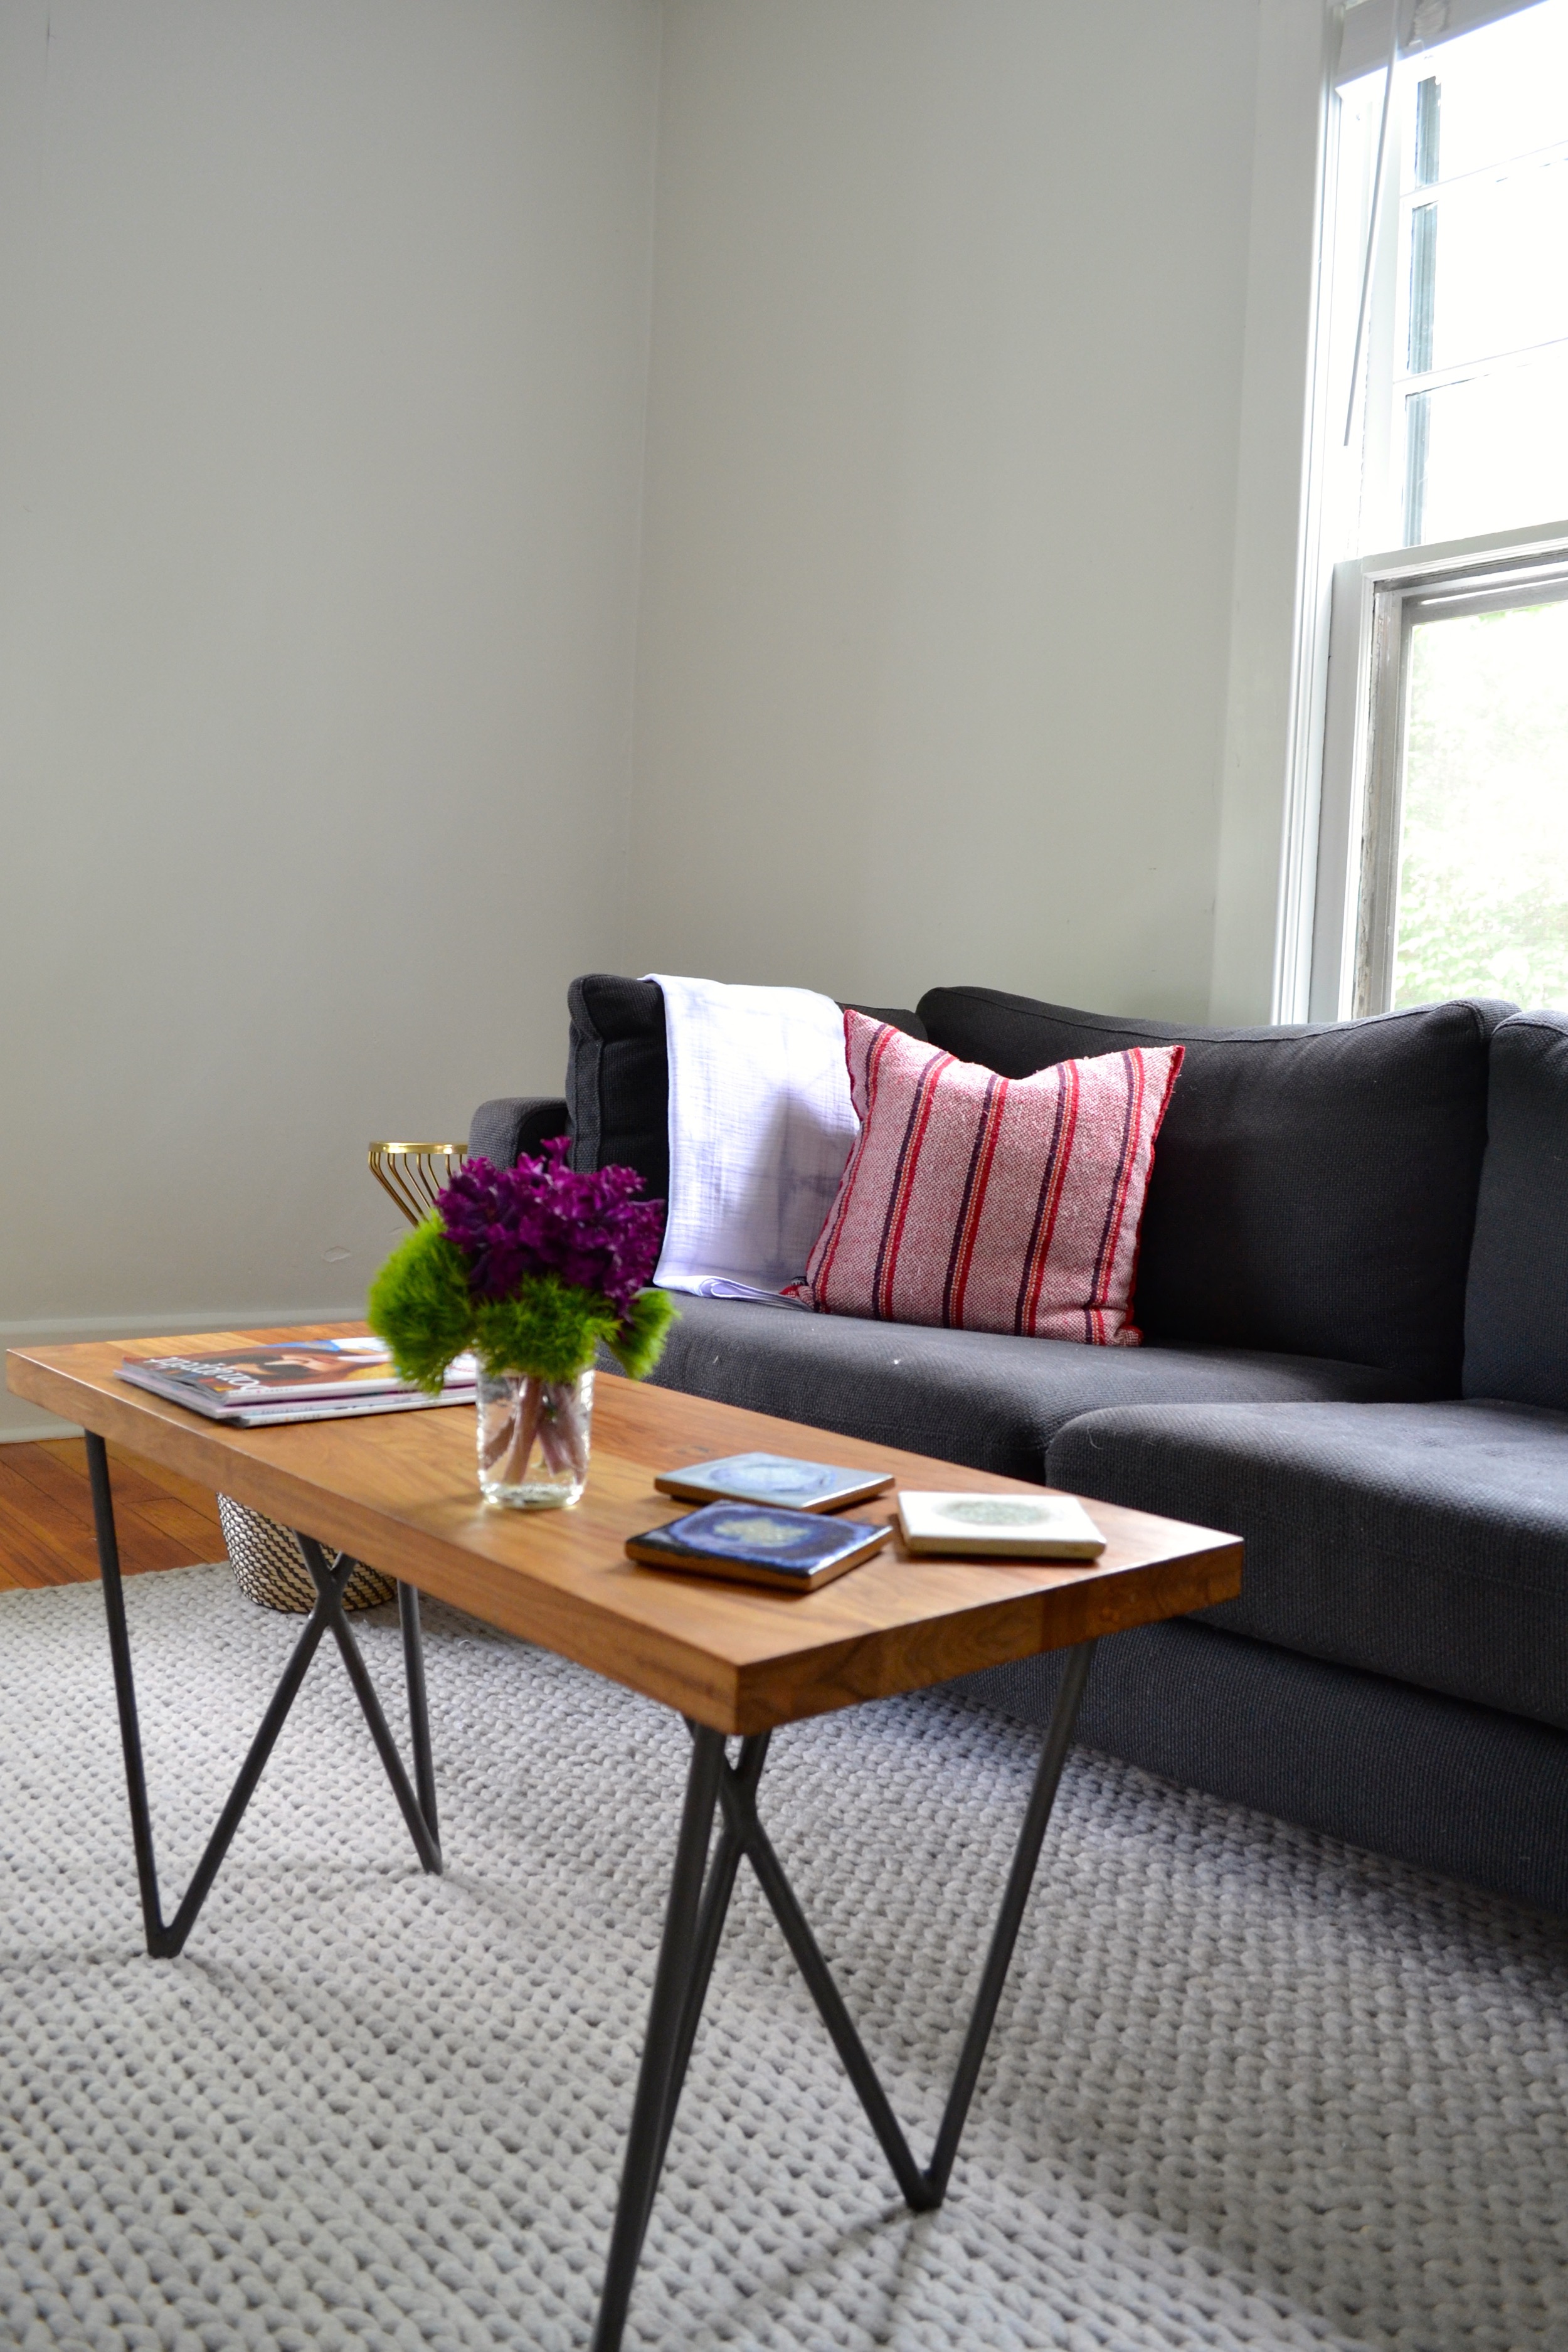
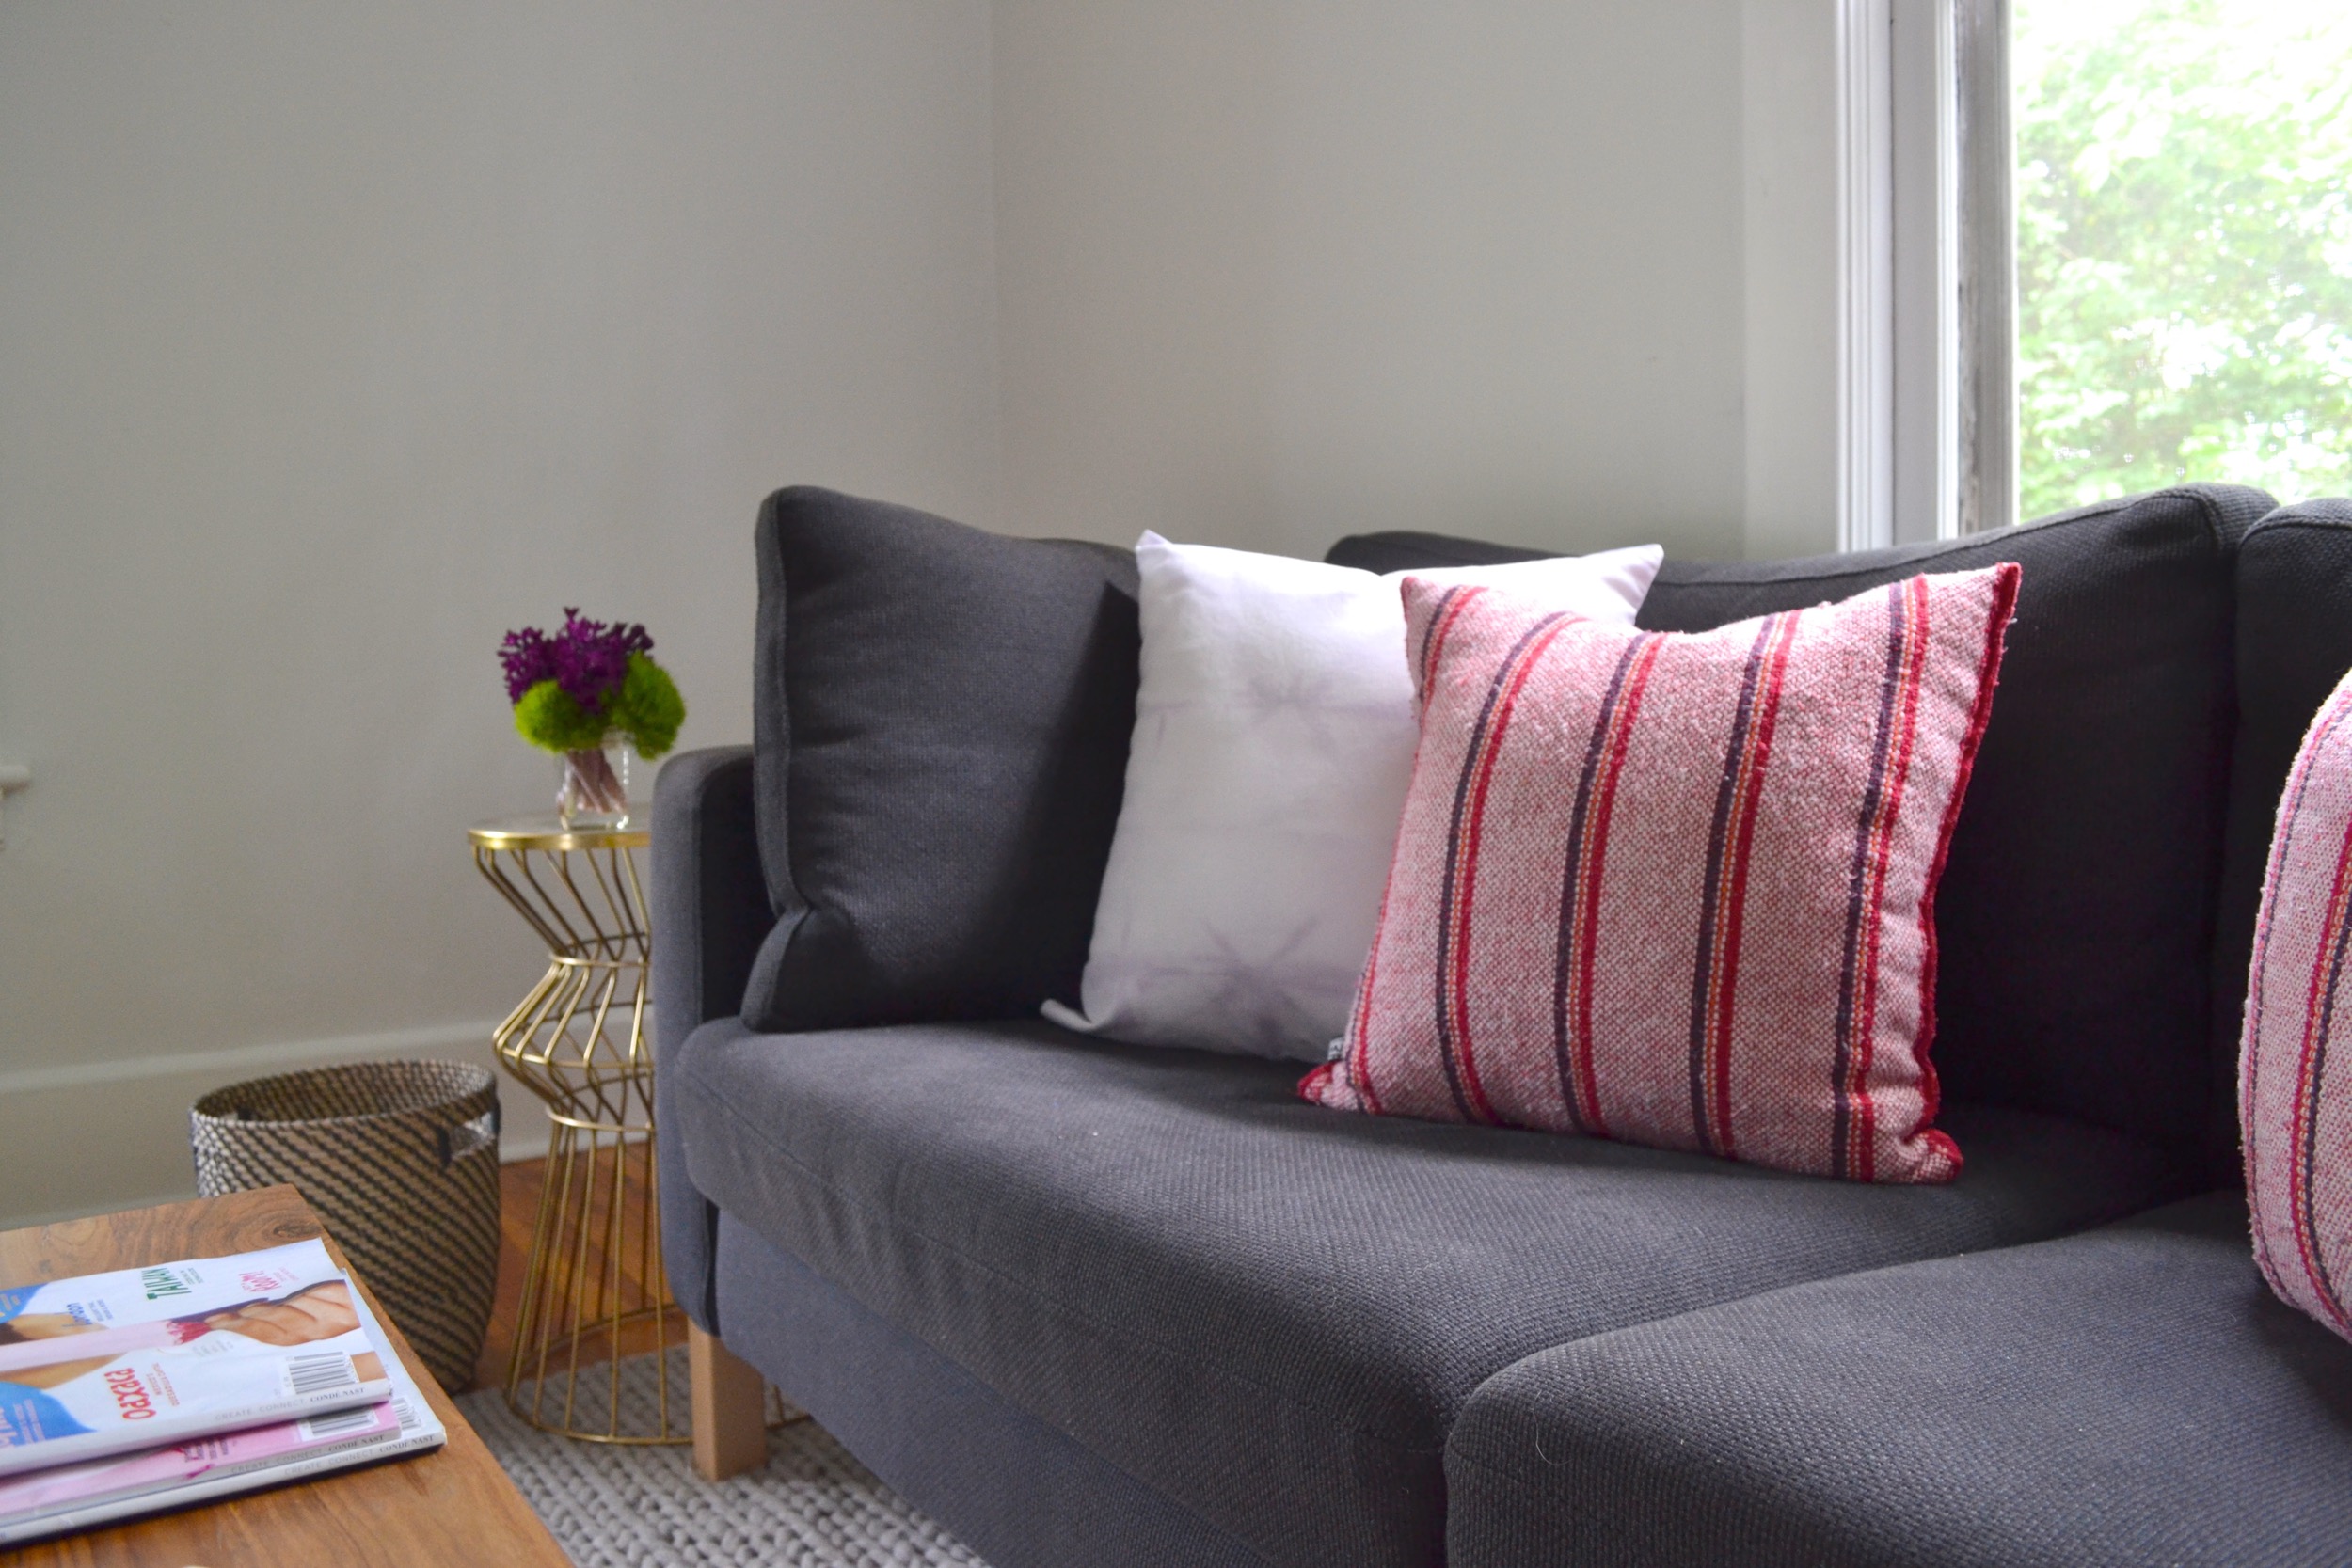
5. If you do a pillowcase make sure you get a size smaller than the insert you have so your pillow is nice and full. The pillowcases I dyed were about 18” x 19” and I got these 20”x20” inserts which look good. Generally, whatever size your insert is order your pillowcases one size up (or vice versa if your choosing your insert last).
6. If you have several things you want to dye I recommend starting with one piece first to get the hang of it and have the chance to tweak things for the next batch. Choose whatever is least important as your “practice” piece. Don’t worry, you can’t really mess it up, but if you’re going for a particular result practicing first will help you achieve it.
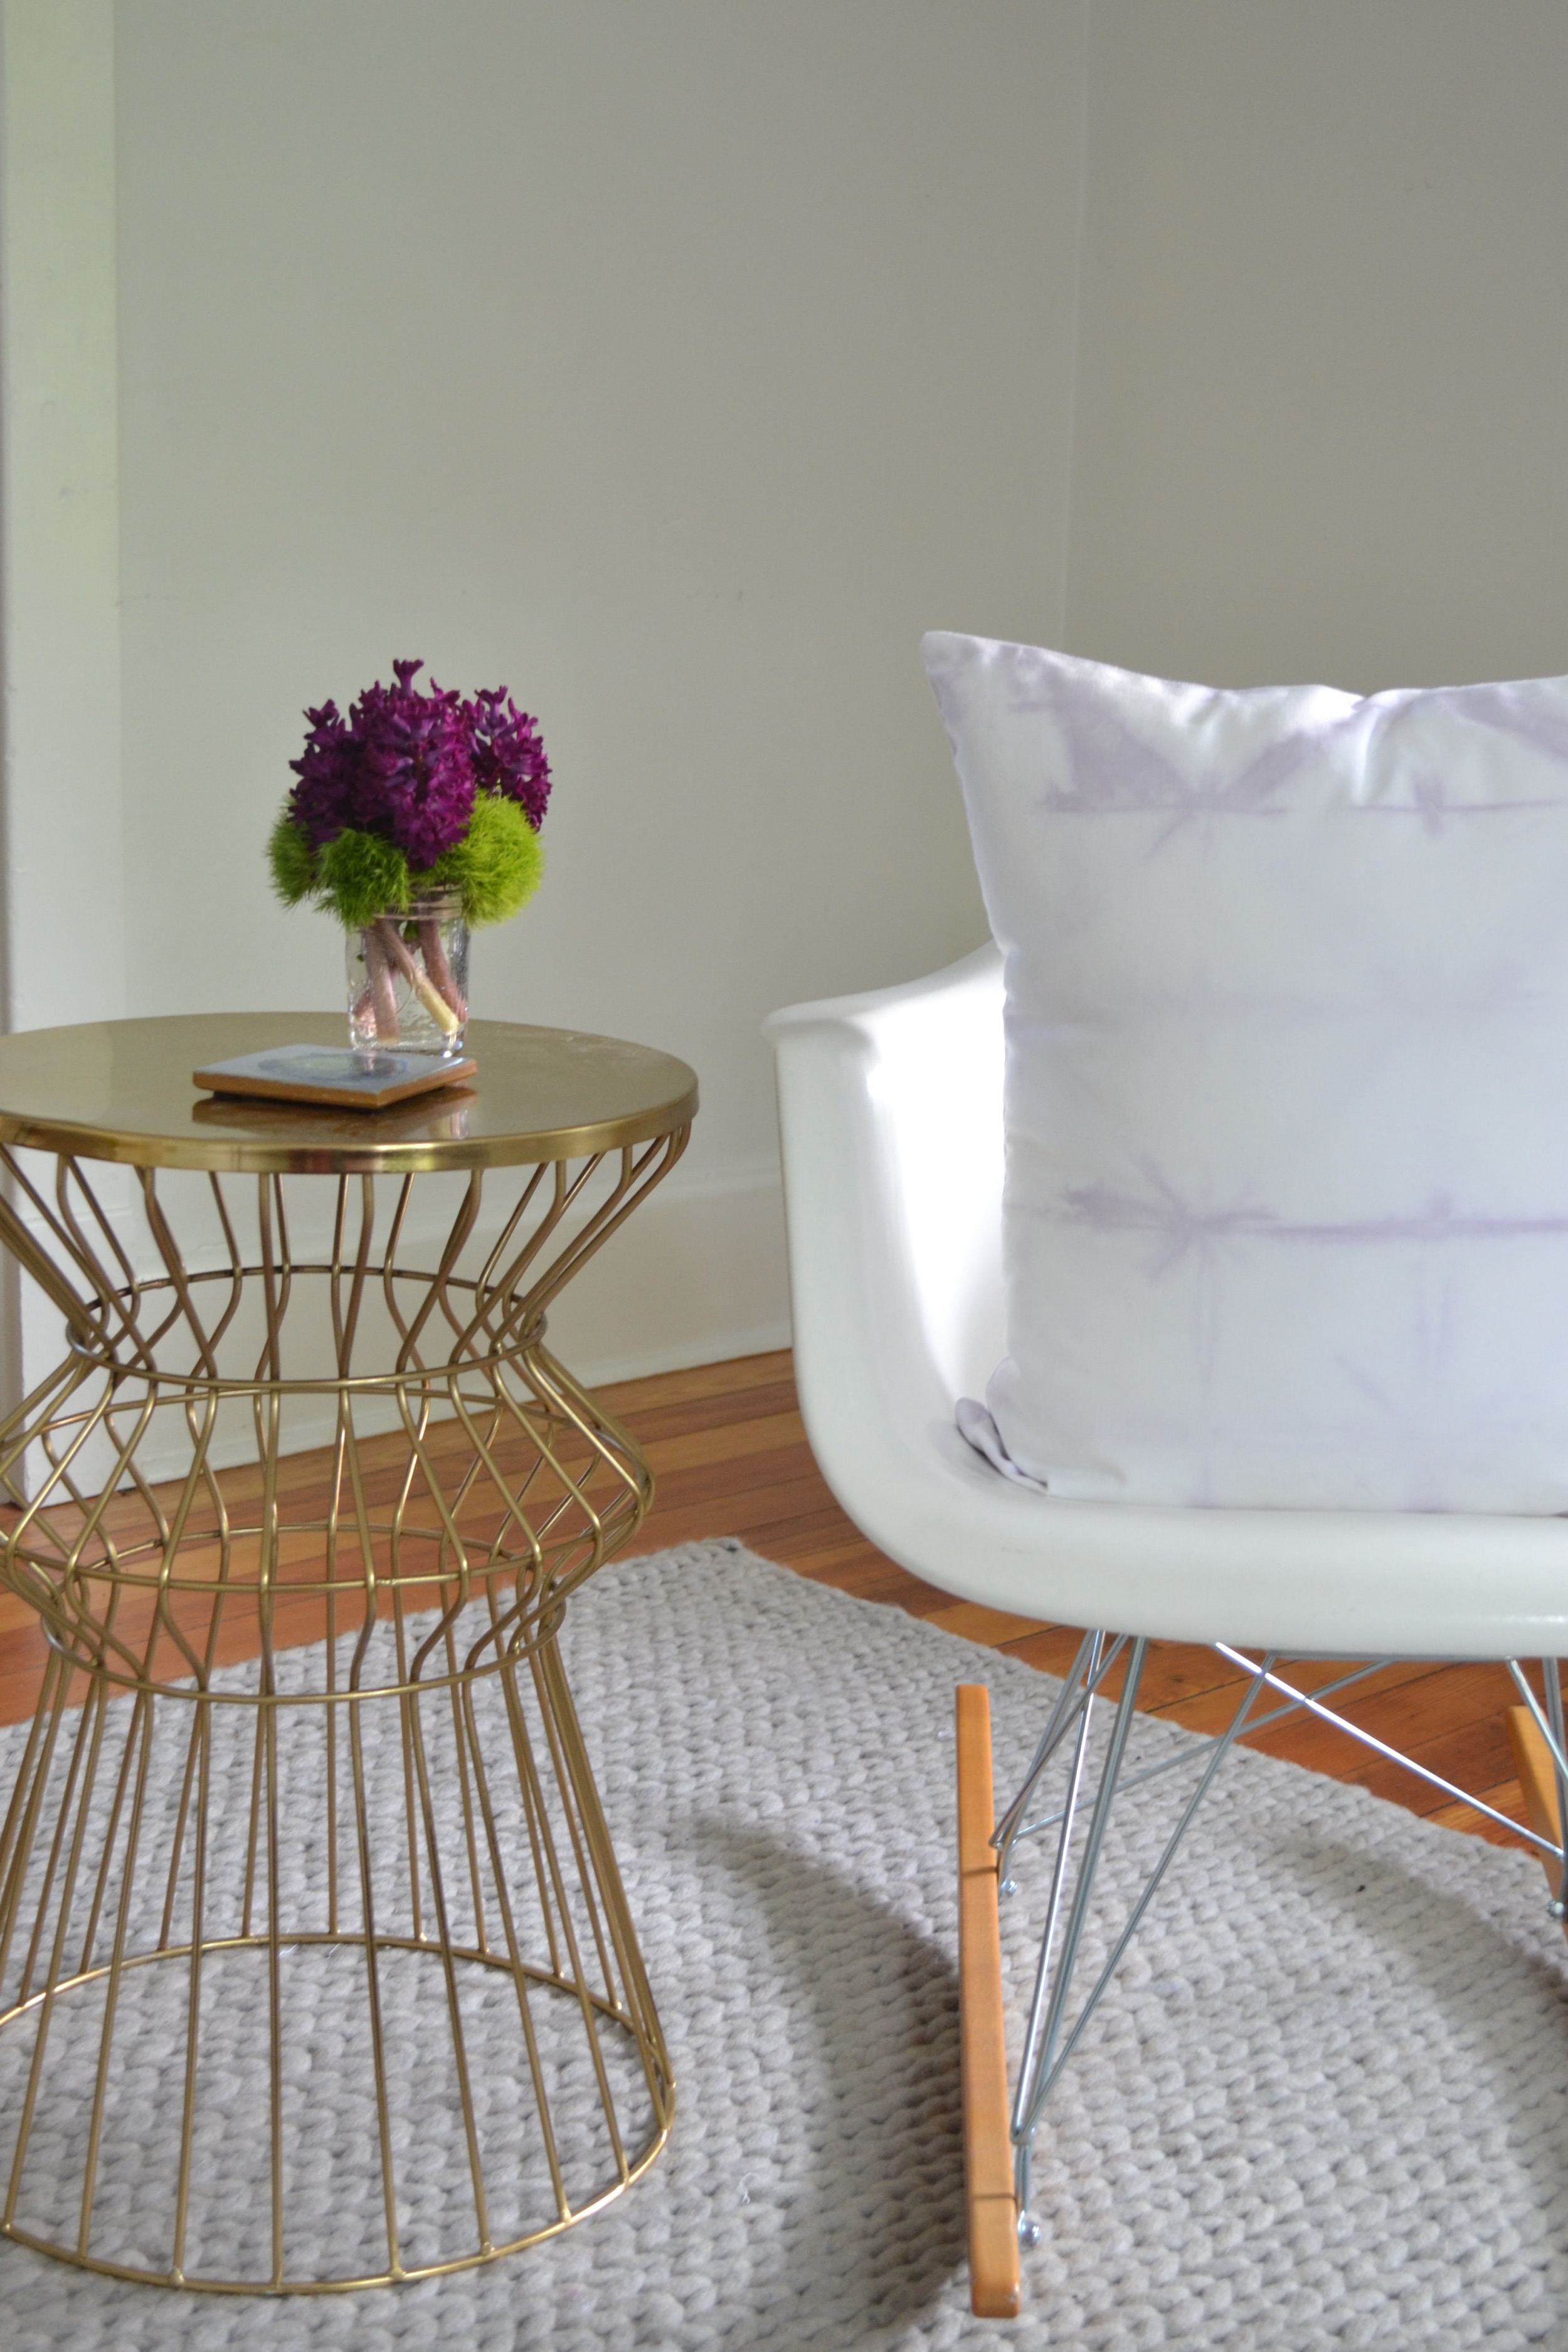
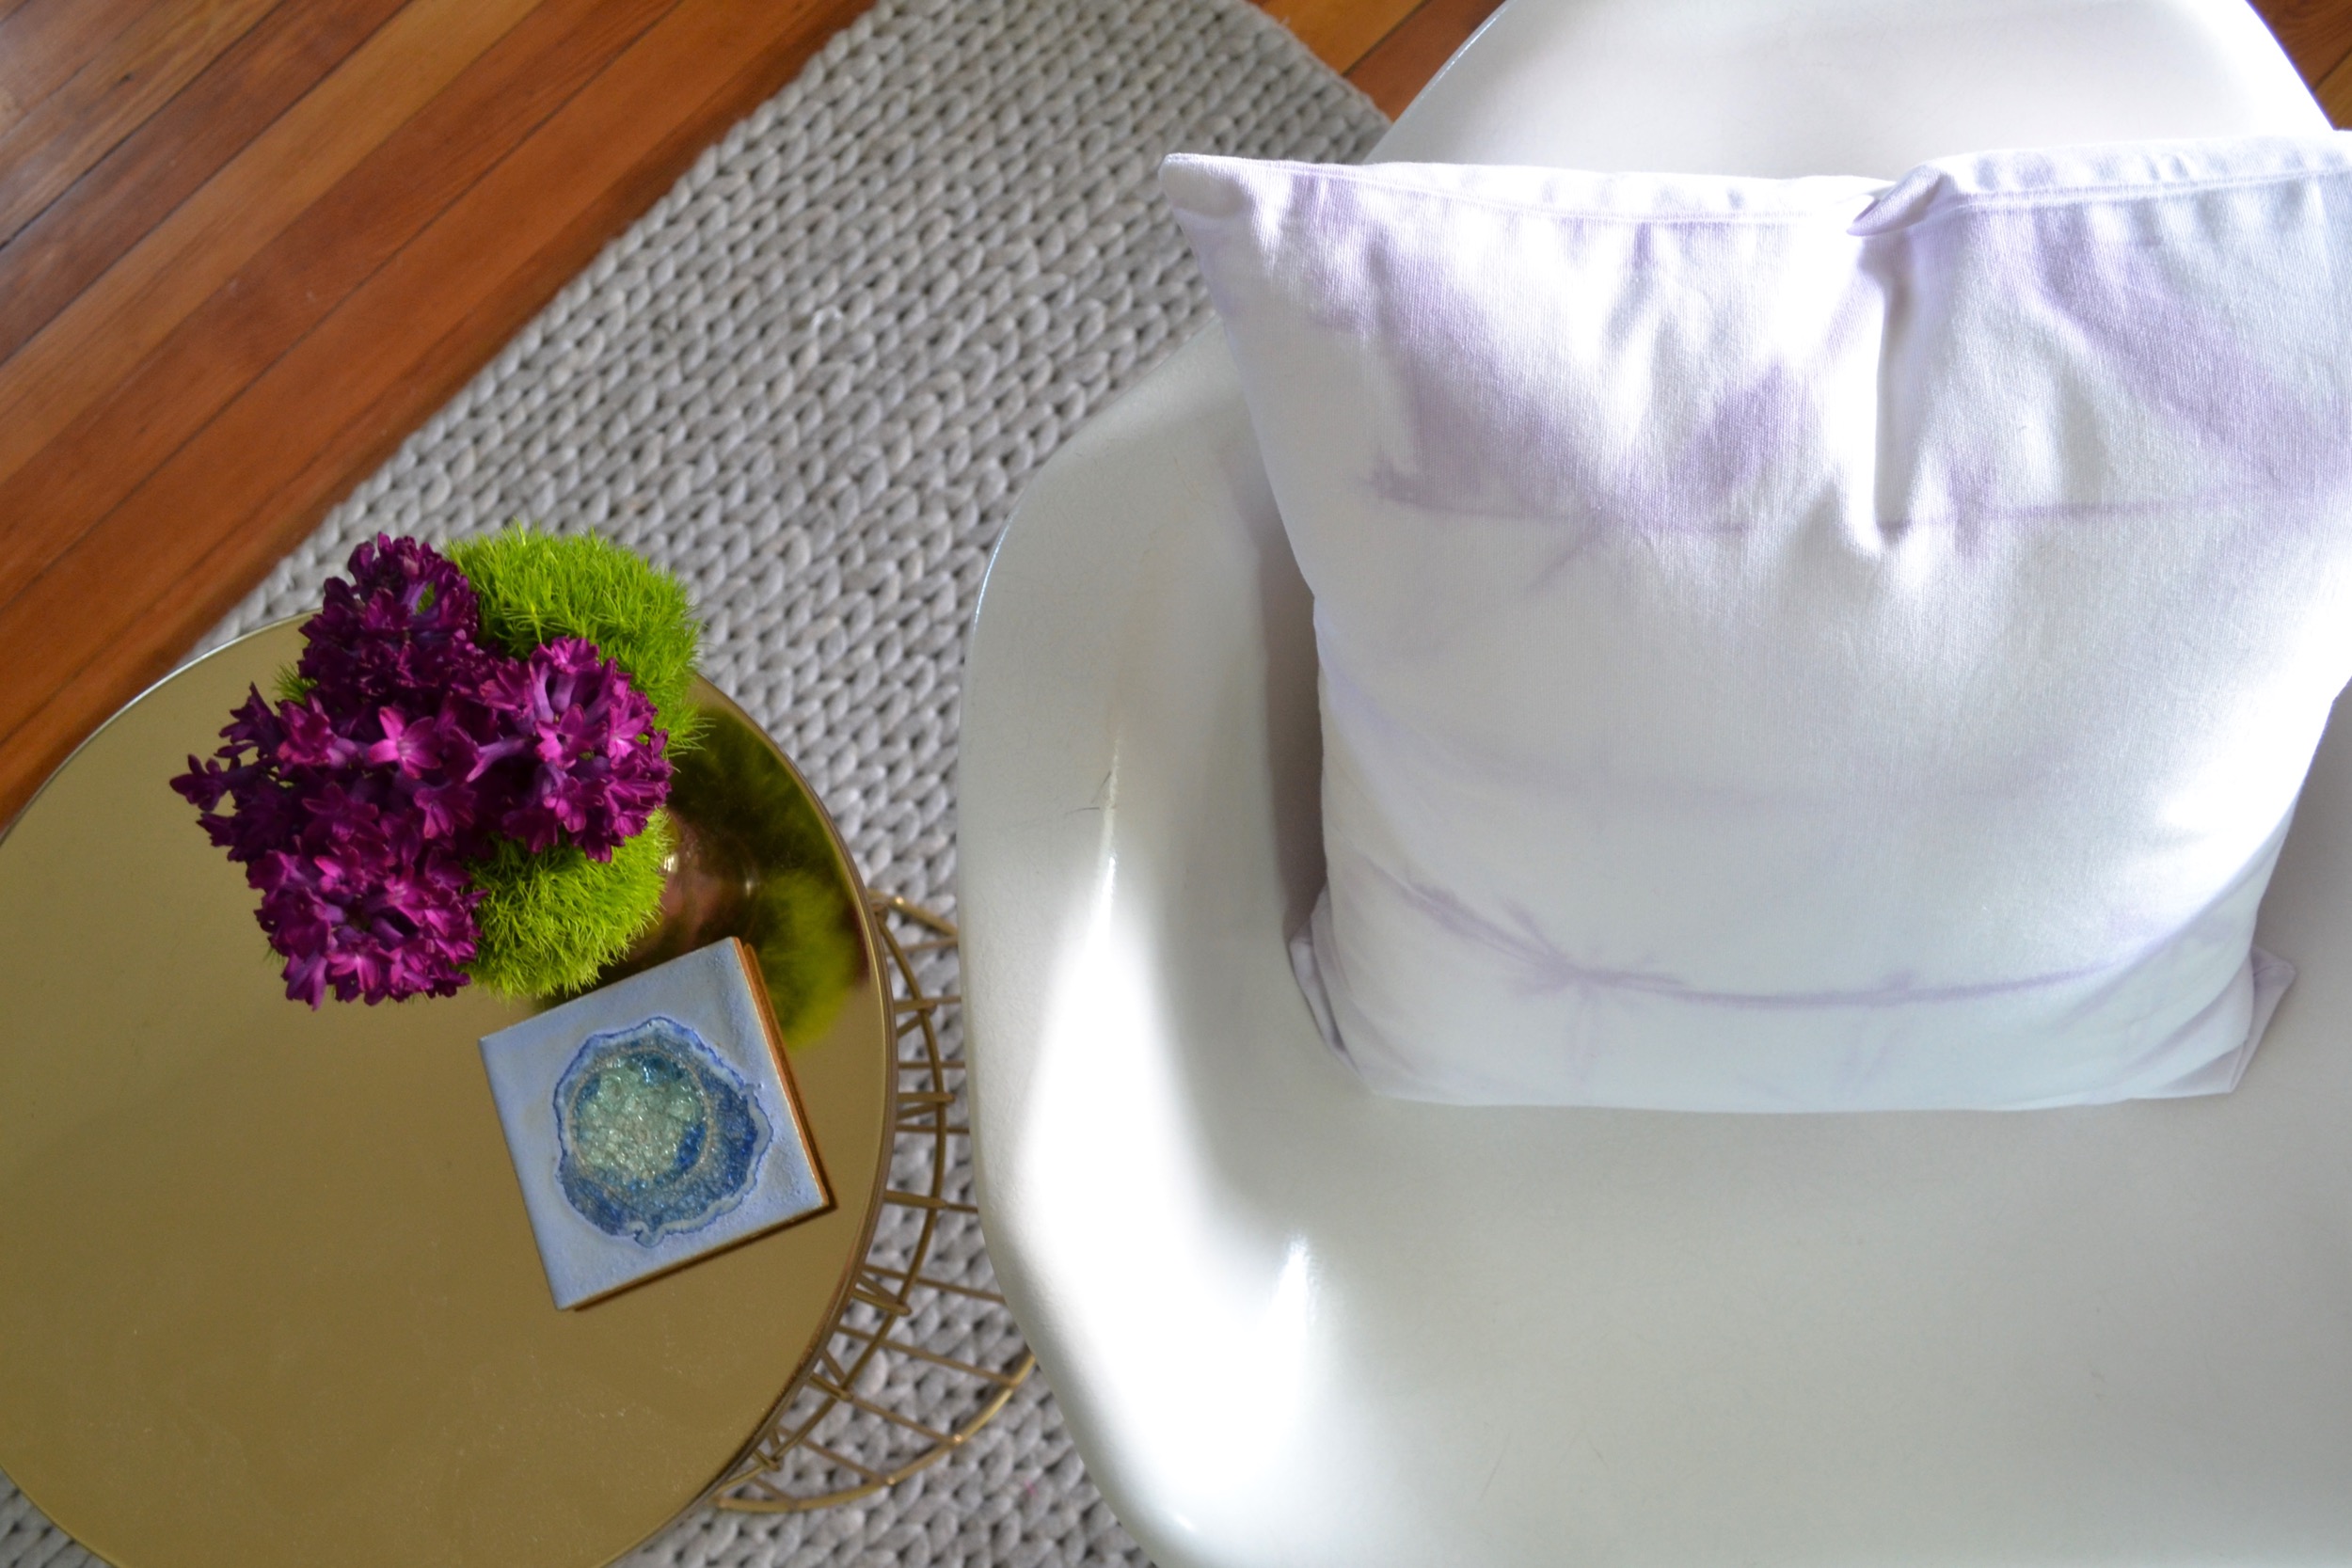


I thought this project was a lot of fun, and overall very simple. And, I love the organic look the pillows add to my living room. The unique bit of earthiness is exactly what I was hoping for!