A Clawfoot Tub Shower Curtain
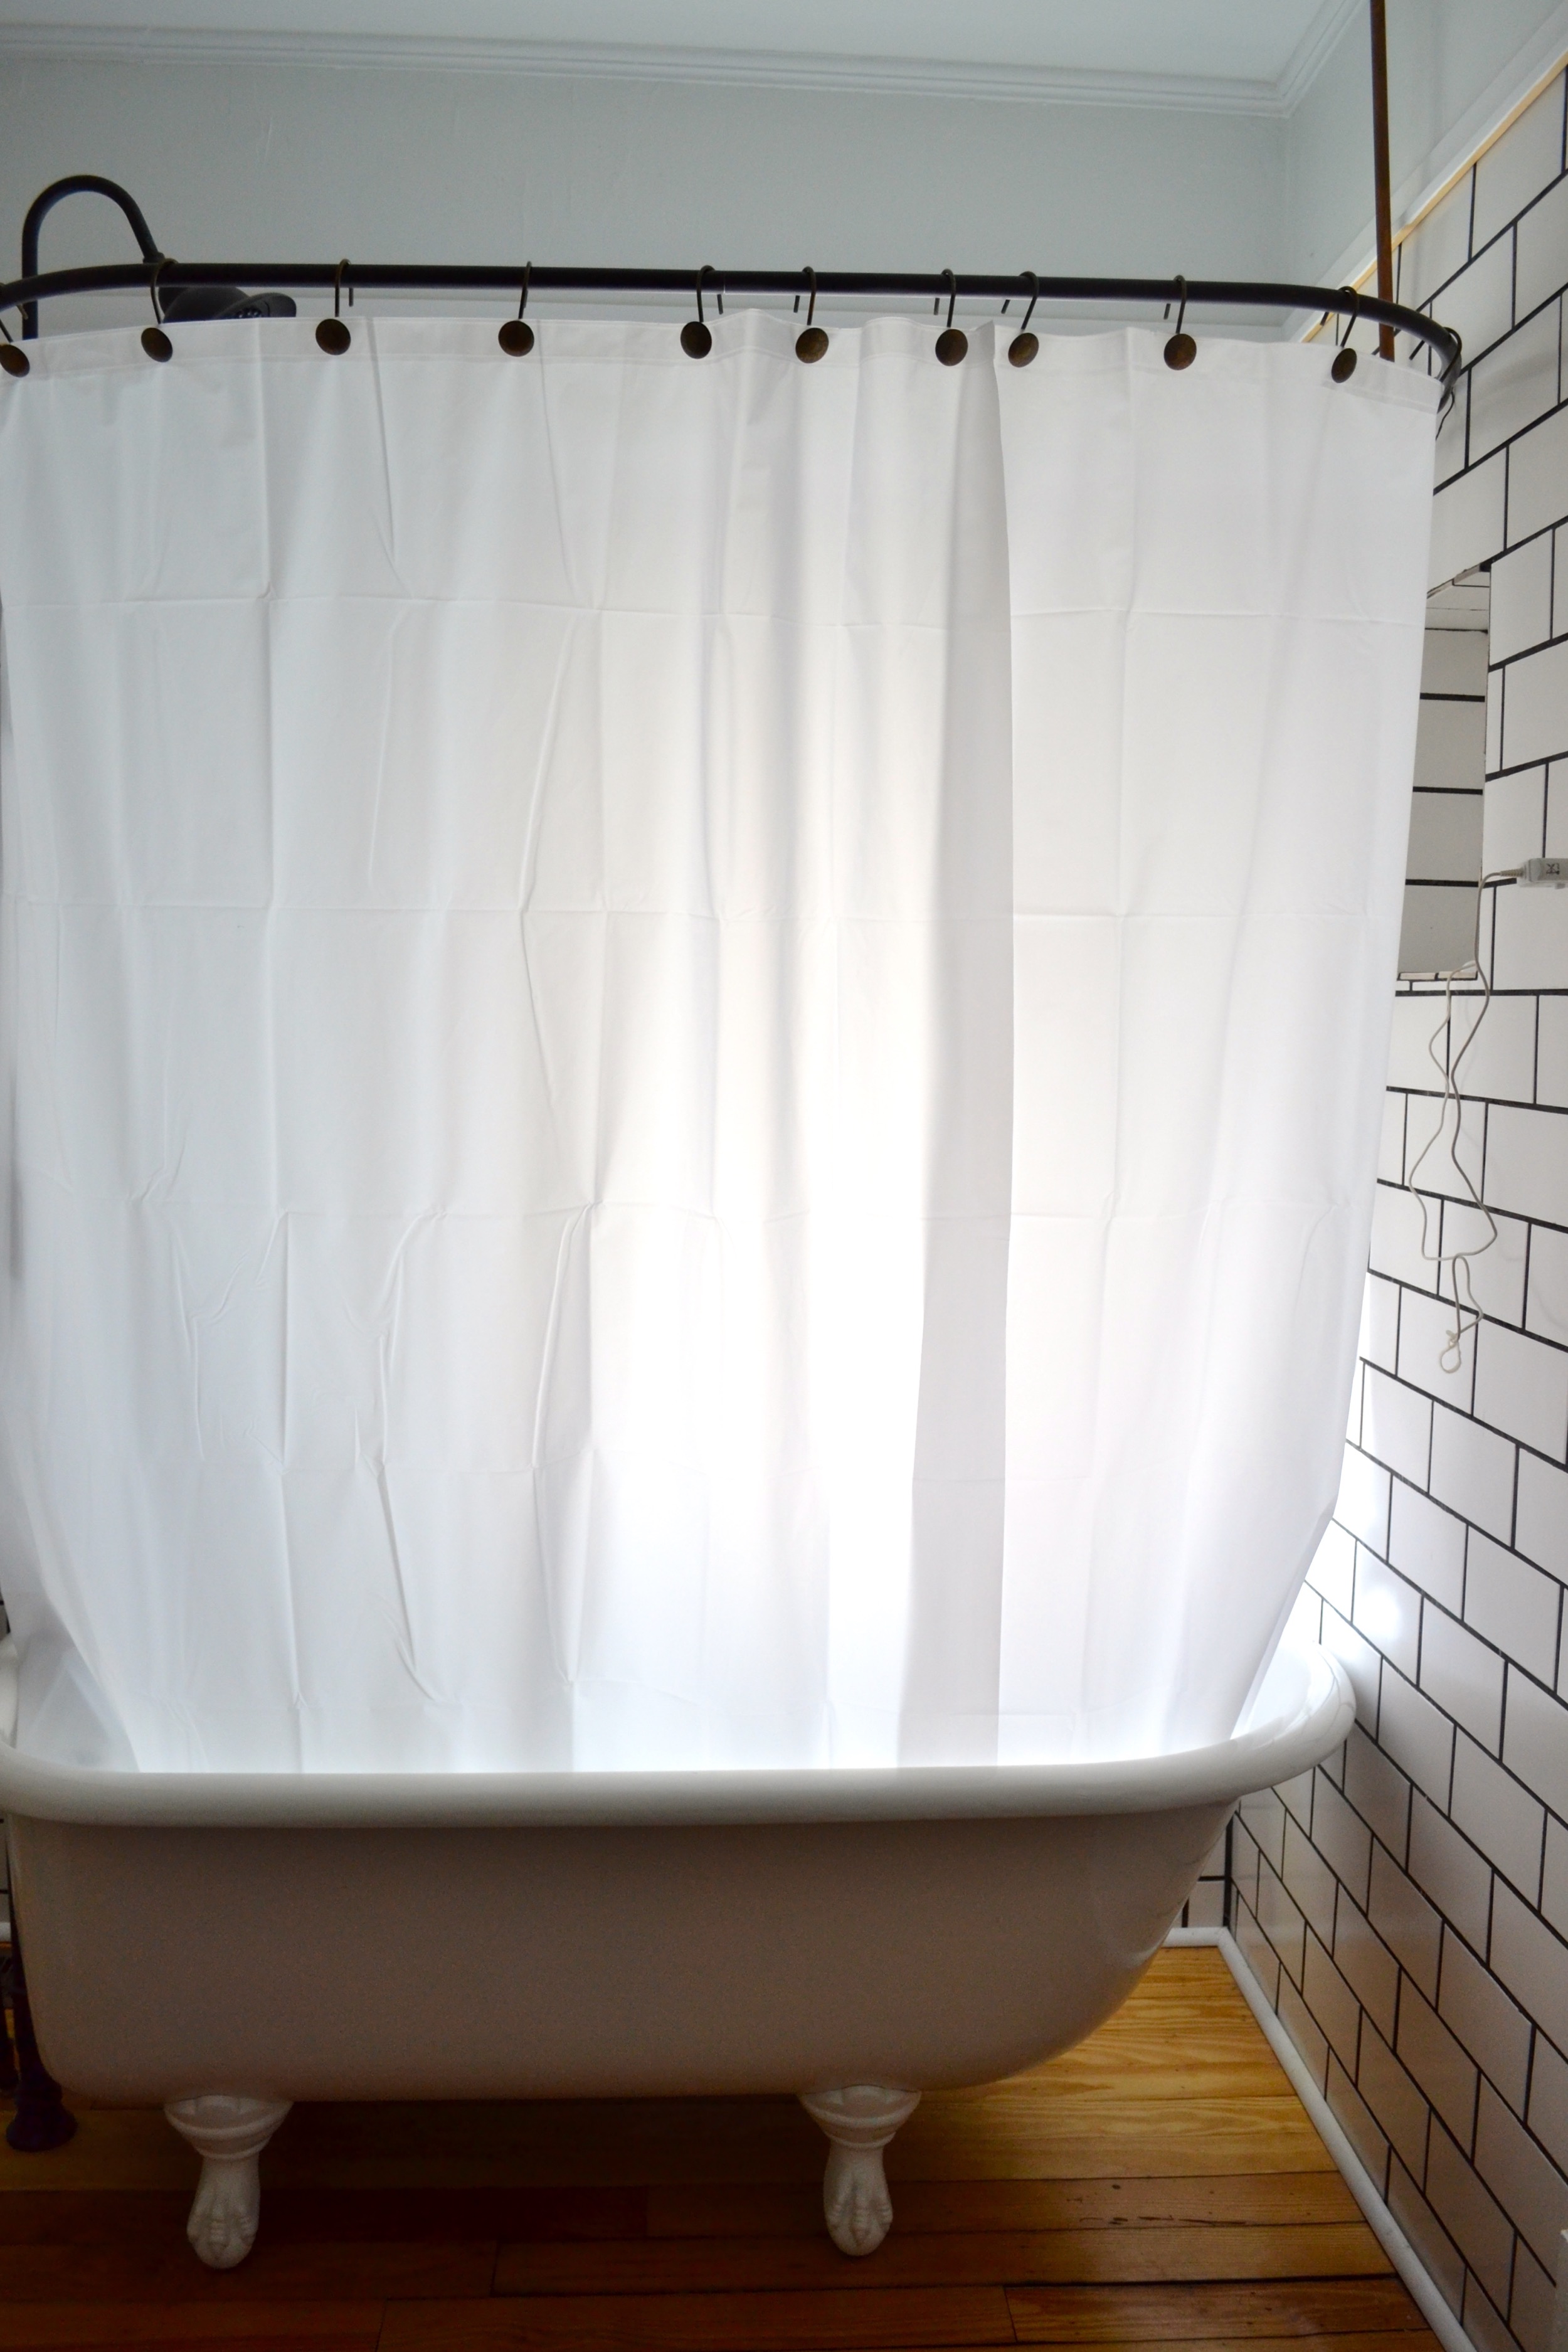
Hi friend, happy Monday! Pretty much since my last post I’ve been firmly camped out in shower curtain land, and am happy to say I’ve made it out to the other side! If you’ve been following along since we bought the house you’ll remember that our main bathroom has a clawfoot tub, which means it needs to function primarily as a shower instead of a tub. I searched far and wide for the best way to do this and came up with not a whole lot. I detailed the things I did find in this post and the next thing was to get a shower curtain liner in there so we could at least start using the bathroom. With a little DIY elbow grease I took care of that. And then the next thing the clawfoot tub needed was an actual shower curtain. Because of a lot of the obstacles I talked through in the previous posts this was a bit of a challenge. Ultimately I figured out that I could use 2 regular sized shower curtains to get all the coverage we needed. We both agreed that it didn’t seem necessary to cover the back because as you can see in the photos it’s not at all visible. And another layer would just block more light from the window. But, I did want the shower curtains to wrap around the sides enough that you couldn’t tell the back of the clawfoot tub wasn’t covered from the outside. Overall it seemed easy enough, just find a shower curtain we liked and buy two. Welllllll, that’s where I hit a road block. There really are just not many shower curtains out there that I like right now. The ones we did like were expensive. Like $120. Which, when you multiply it times two just felt crazy. To me a shower curtain is like a tablecloth. You don’t want to be too attached to it because it gets a lot of wear and tear and there’s a good chance it’s going to get stained. So spending nearly $300 on shower curtains was something I wasn’t ready to do.
Instead I decided to DIY it. Years and years ago my grandmother gave me a sewing machine. For a long time I never used it. My only experience with sewing was a college Halloween costume that my roommates were doing too. One of them kept the machine threaded and did any troubleshooting. I just remember it seemed really complicated. So my sewing machine made several moves with me (including a cross country one) before ever getting used. But, finally, when my mom was visiting once in San Francisco I had her teach me. I was hoping to make a Christmas tree skirt (never did, haha! But I made my purple shams for our bed so it wasn’t a total waste). I somewhat got the hang of it, but the machine was an extra that my grandmother had and is basically ancient which means it has a lot of quirks. However, with the help of Xan I’ve been able to get it working (funny enough he knows more about sewing machines than I do. Thanks to his need to learn how any machine works he learned how to use one when he was young). We don’t have many fabric stores here, but our Joanne Fabric is surprisingly good. I’d only been in one a few times before this and had always been underwhelmed. But our local store has a bunch of home dec fabric at pretty good prices. We looked at a bunch, but eventually narrowed it down to a handful of choices. We got samples, took them home and put them in the bathroom to help us decide. Seeing them in the room helped us decided that a solid would look better with the rug we found (more on that when I do the full reveal). And we liked the white linen the best. Plus it has a really nice weight to it. It had to be light to keep as much natural light coming through as possible, but the other samples we picked up that were more off white or sandy colored had undertones that just didn’t work in the space. Too yellow, too brown, etc. I’m a little nervous about having an all white shower curtain but, I feel better because the total cost for almost 4 yards of fabric and thread came in at $47. Between the low price and the ease of the project I’m willing to take a chance and make some more in the future if I need to.
When it comes to sewing a shower curtain for your clawfoot tub, and most other home decoration projects it’s just a lot of straight lines. As long as you’ve measured correctly the sewing itself is really very easy. Here’s the DIY!
Making a DIY Shower Curtain for your Clawfoot Tub
Project: Clawfoot Tub Shower Curtain
Cost: $47 (total)
Time: 3 hours
Tools needed: sewing machine, thread, pinning needles, sewing gauge ruler, tailor’s chalk, iron, ironing board, button hole attachment for your sewing machine or grommet pack.
1. Figure out what width your shower curtain needs to be. Because I have a clawfoot tub I made 2 so there’s a part in the middle.
2. On the selvedge end use your sewing gauge ruler measure ¼ inch up and mark with chalk.
3. Iron that edge over at the ¼ inch mark.
4. Next, measure and mark to whatever width you want your seam to be. I made mine very small because the width of the curtain was the width of the bolt of the fabric and I needed it all to avoid sewing multiple pieces of fabric together. So, my next fold was at ¼ inch as well.
5. Iron at that mark, making sure to get a really good crease. Then pin every 8-10 inches or so (not too many – it’s annoying to pull them out as you’re sewing).
6. Sew the edge you just ironed, making sure to get as close to the inner fold as you can.
7. Repeat these steps for any remaining sides. If you don't have a clawfoot tub and are just making one shower curtain you’ll only have one more.
8. Now it’s time to do the same thing for the top and bottom. First decide how big you’d like your hem to be and what about you’re going to fold over. I made a 2 inch hem and ½ inch fold. So that was a total of 2 ½ inches on each end. Then measure how long you want your shower curtain to be, making sure to account for the both the top and bottom hem. Then, cut off any extra fabric.
9. Follow the steps 1-7 with your new hem and fold measurements.
10. Sew over the ends of your large hem on the top and bottom so you don’t have a gape in the seam.
11. Add your holes for the curtain hooks. We figured out how to make buttonholes with our machine, but you could add grommets instead and from what I understand those are very easy. Just be sure to space at least as far apart as your shower curtain liner’s holes. Leaving an extra ½ - 1 inch so it falls pretty. We actually just copied the spacing on the West Elm shower curtain we already had and they were 6 inches apart.
12. Give it one last iron, hang it up, and admire your work!!
I know this sounds like a lot of steps, but I promise it’s really very easy and the thing that takes the longest is actually the ironing, not the sewing. So you can throw on your favorite podcast or tv show and knock it out in no time!


