Hi guys, how’s it going, how was your weekend? Mine was great! I got to spend time with my family and picked up some “new” pieces for the house. It’s actually some furniture my parents have had that used to be theirs or my grandparents, so it’s not really new but it’s new to our house. I have some DIY plans for them that I’m super excited about and if it all goes well I’ll be sharing them here!
Today I’m going to share a different kind of DIY. This one is a little less exciting than making over furniture, but really important. And that’s weather stripping. There are a lot of quirks to our little house and we’re slowly addressing them in order of importance. This one fell pretty close to the top of the list especially because it was a relatively easy fix.
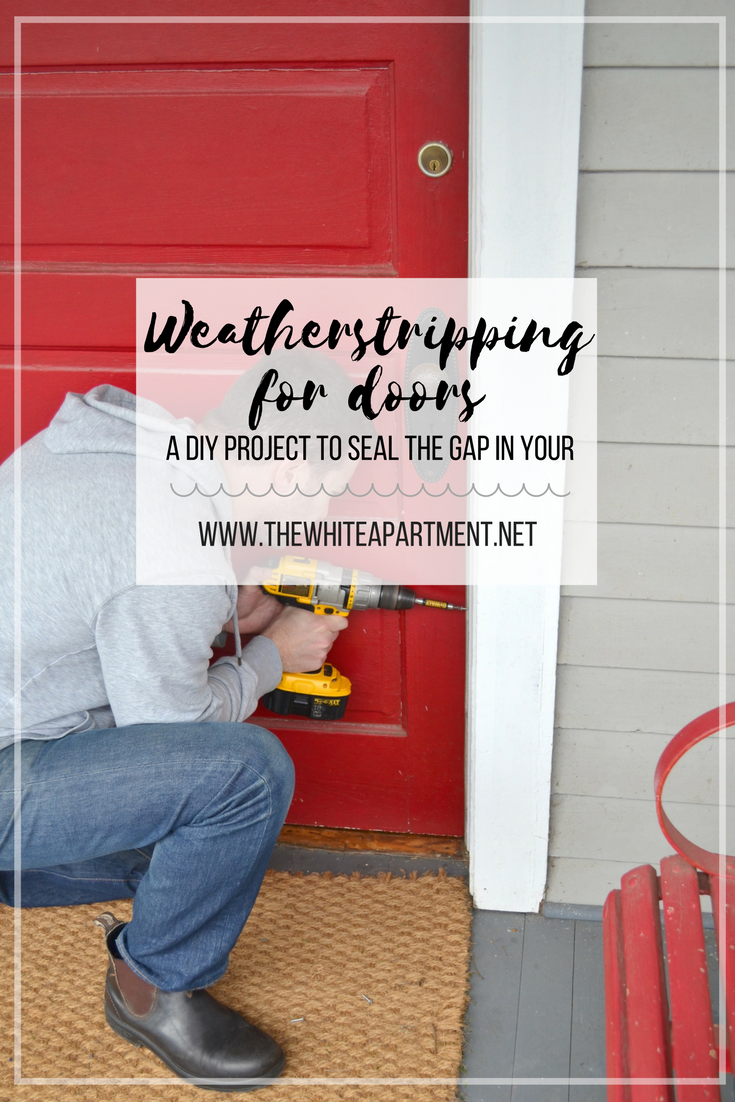
Weatherstripping for Doors: Minding the Gap
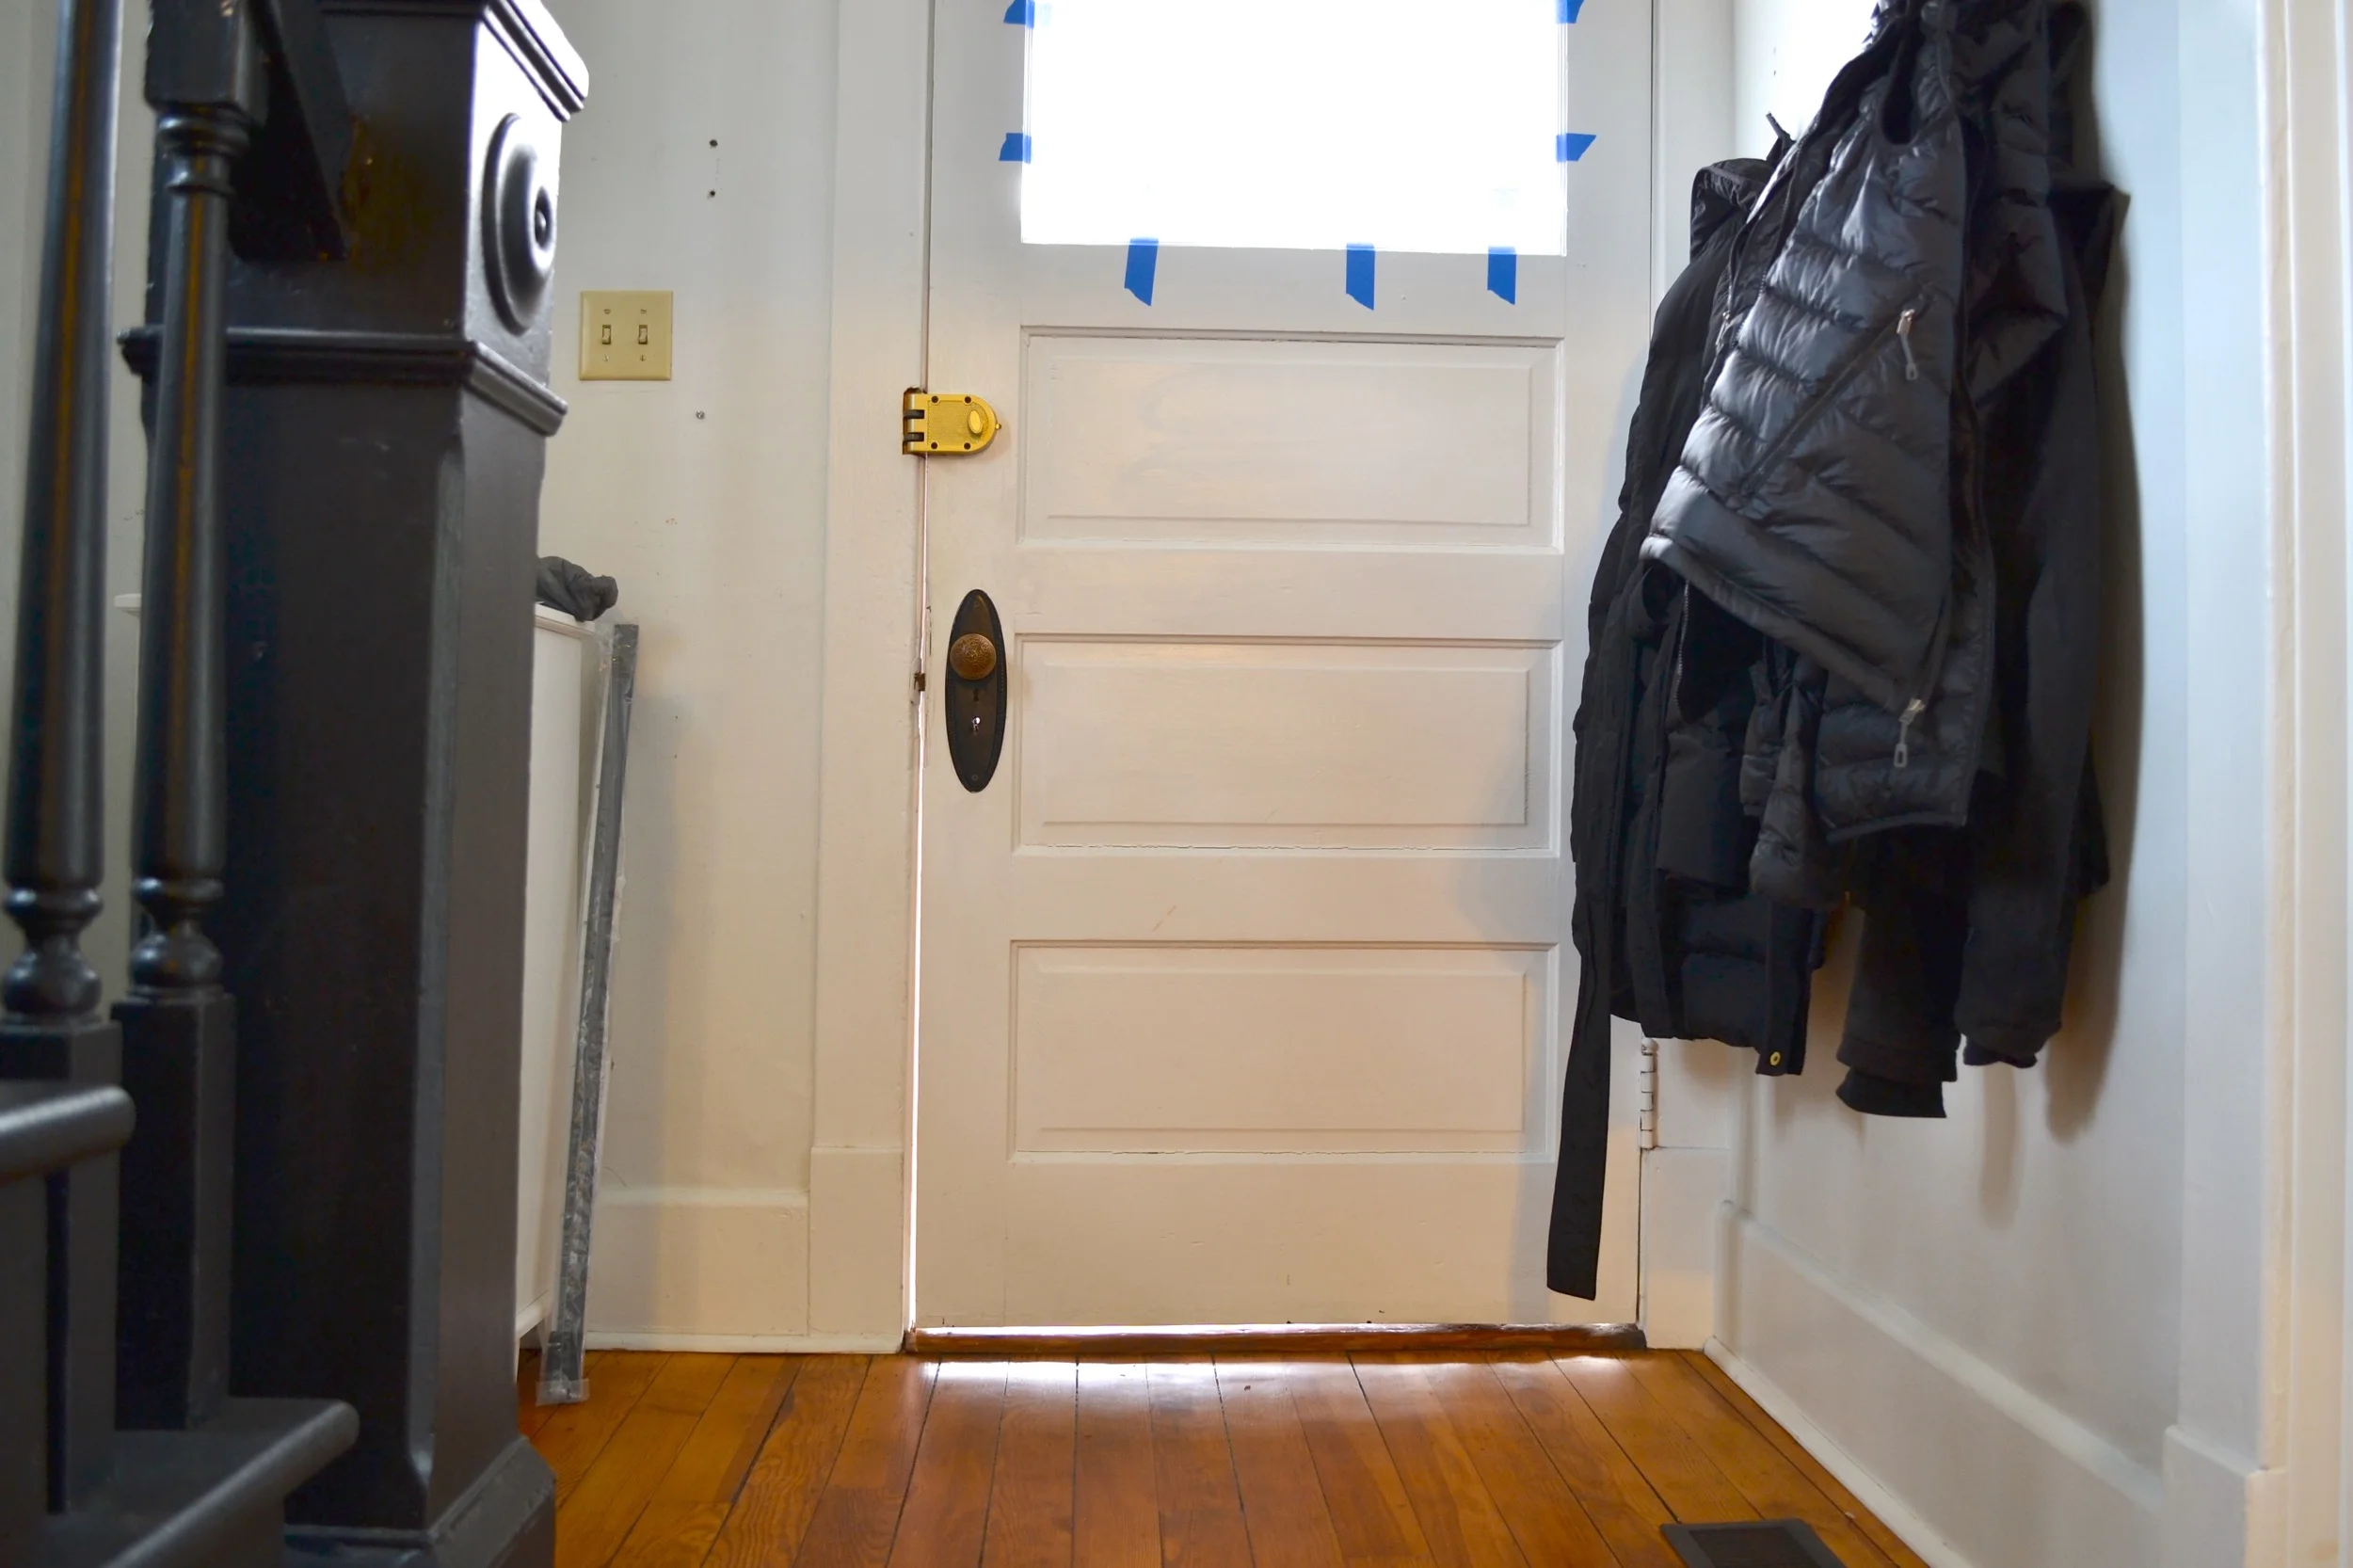
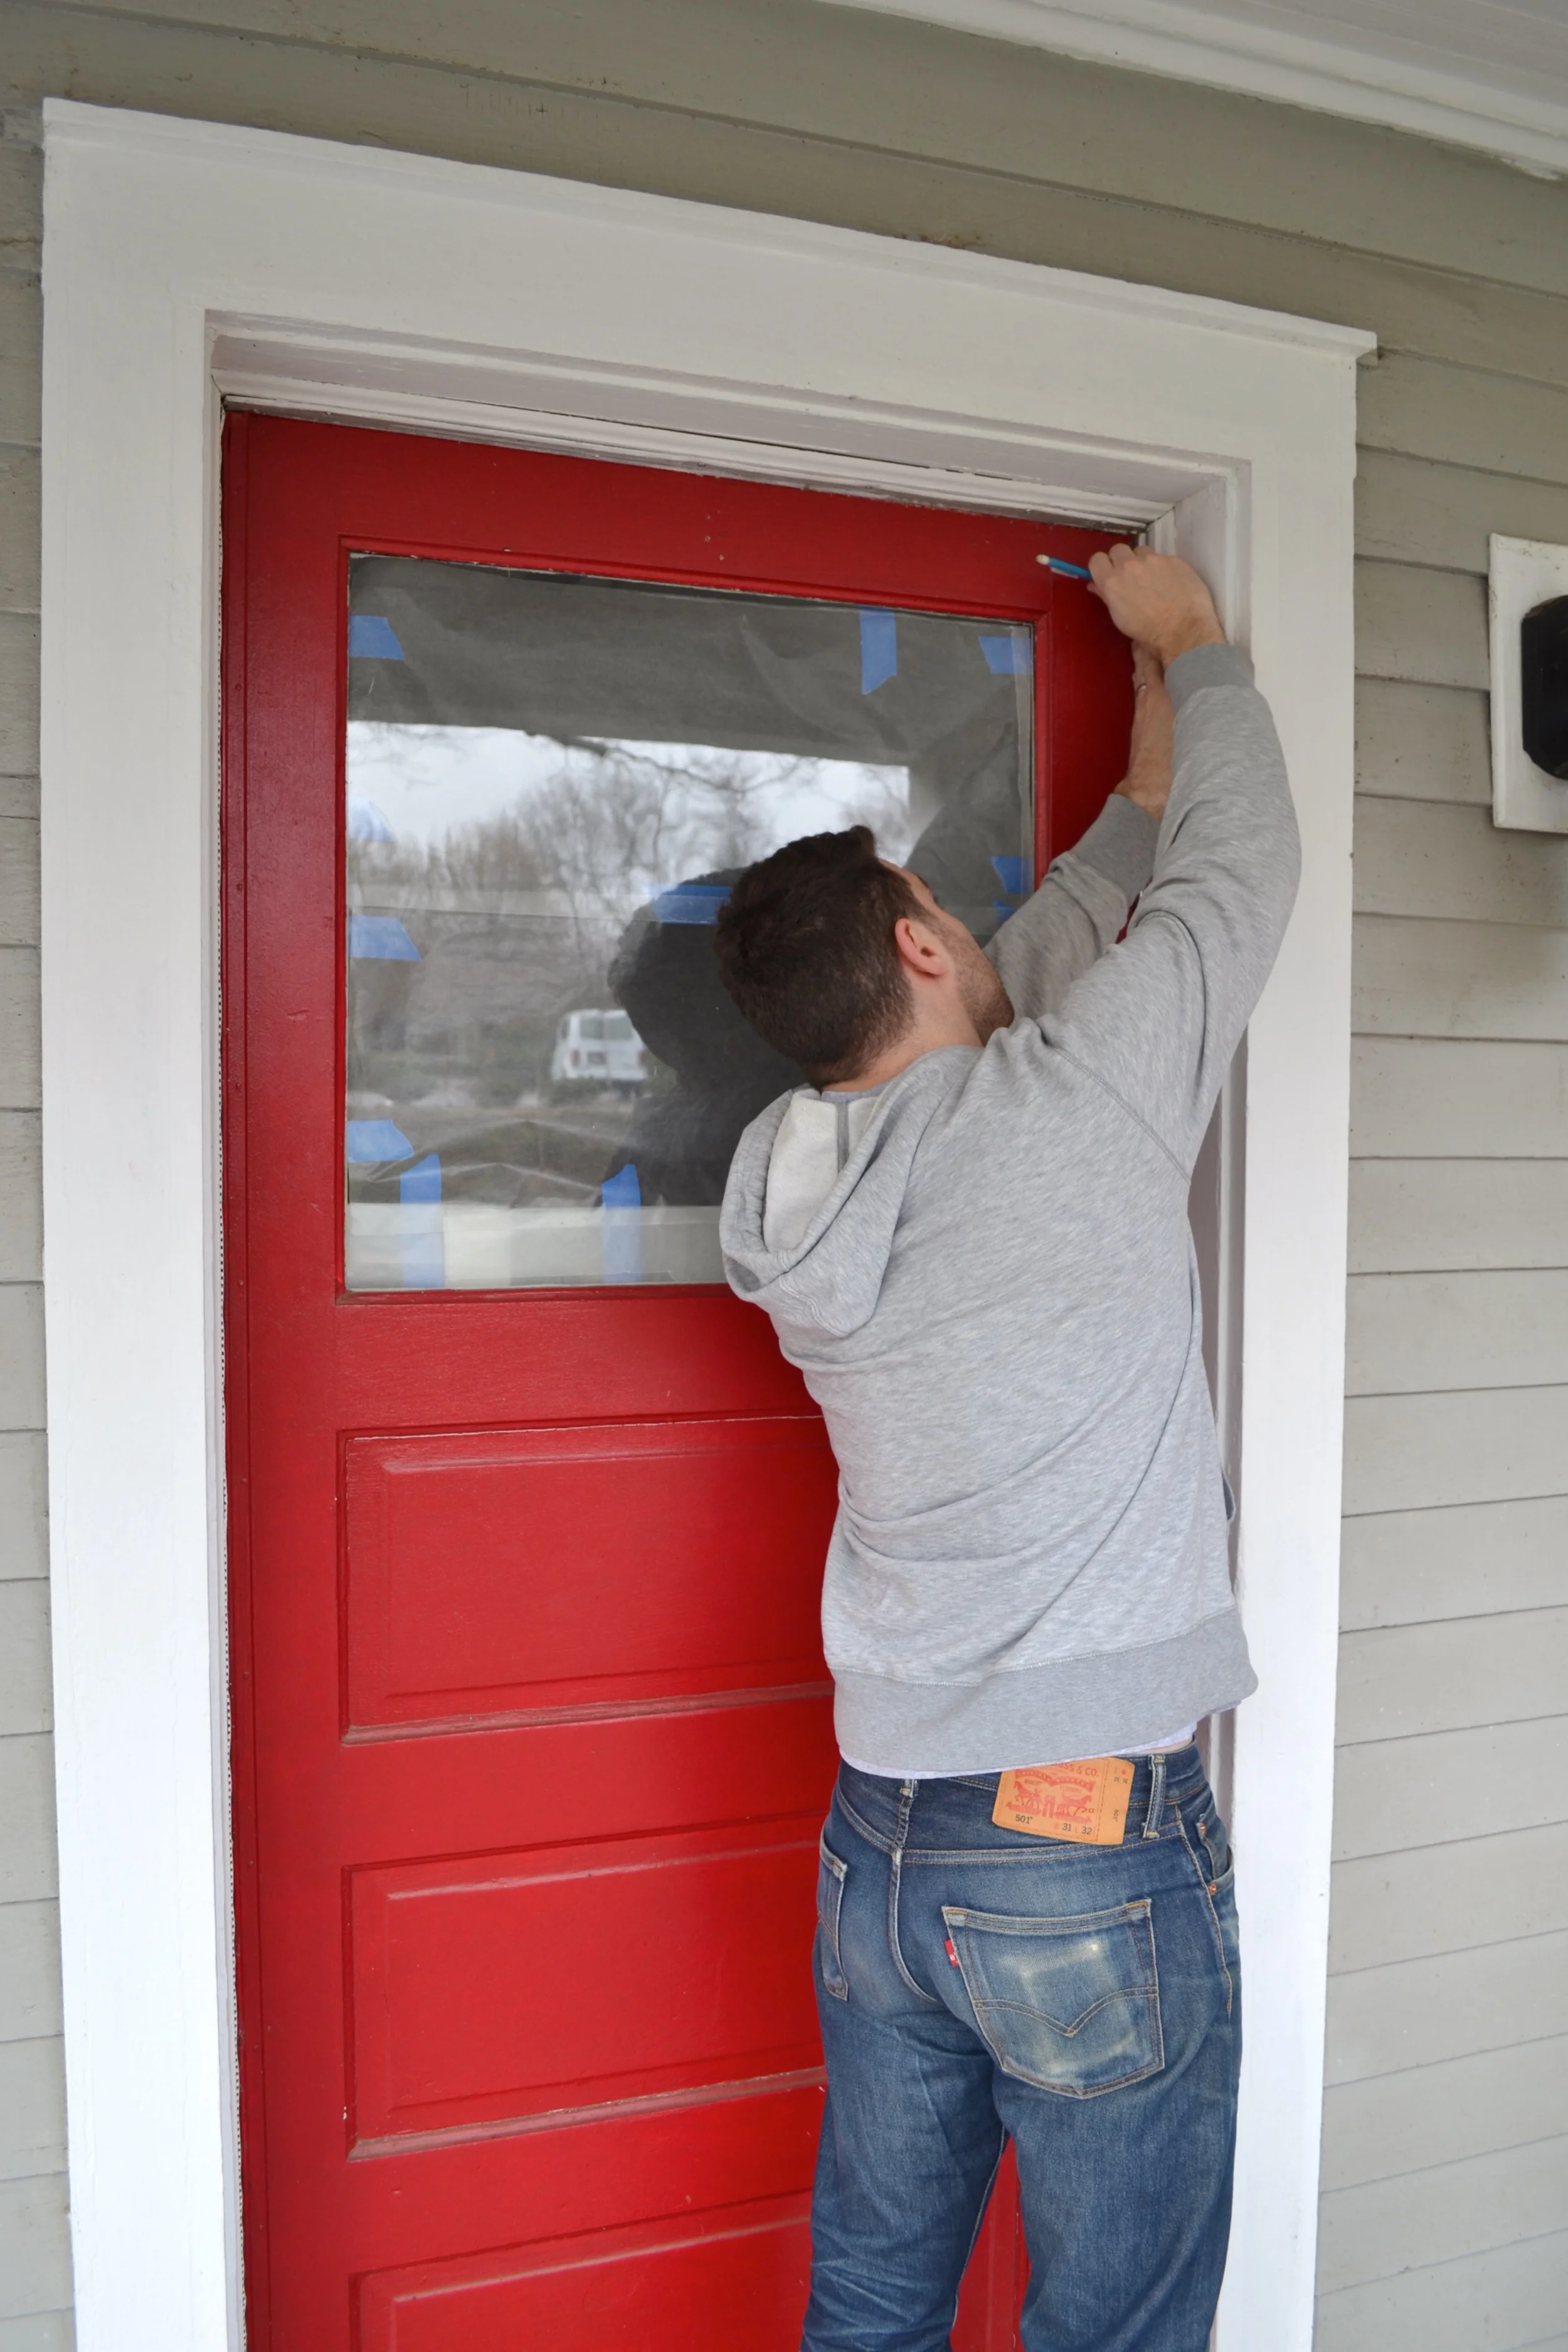
You see, our front door is actually meant for indoor use so it didn’t have the appropriate weather stripping on it. It was missing a piece on the bottom all together and what was there on the side wasn’t actually close enough to the door to seal. Combine that with the fact that the house isn’t totally level (as many old houses aren’t) and it was a recipe for weatherstripping door gaps between the door and the frame, thus letting in a bunch of outside air. Where we live gets relatively cool in the winter and fairly warm in the summer, so it’s important for us to insulate the house as much as possible so we’re not spending a fortune on heating and cooling. You can feel me on that, right? So, Xan spent about an hour and a half adding weather stripping to eliminate the gaps. It’s a pretty simple DIY project – he spent about $10 on supplies and only needed a few tools that we already had.

Look at all that day light coming in. No good! Also, don't mind the weird wax paper and painters tape on the window. Haha. It's up temporarily for a little privacy.

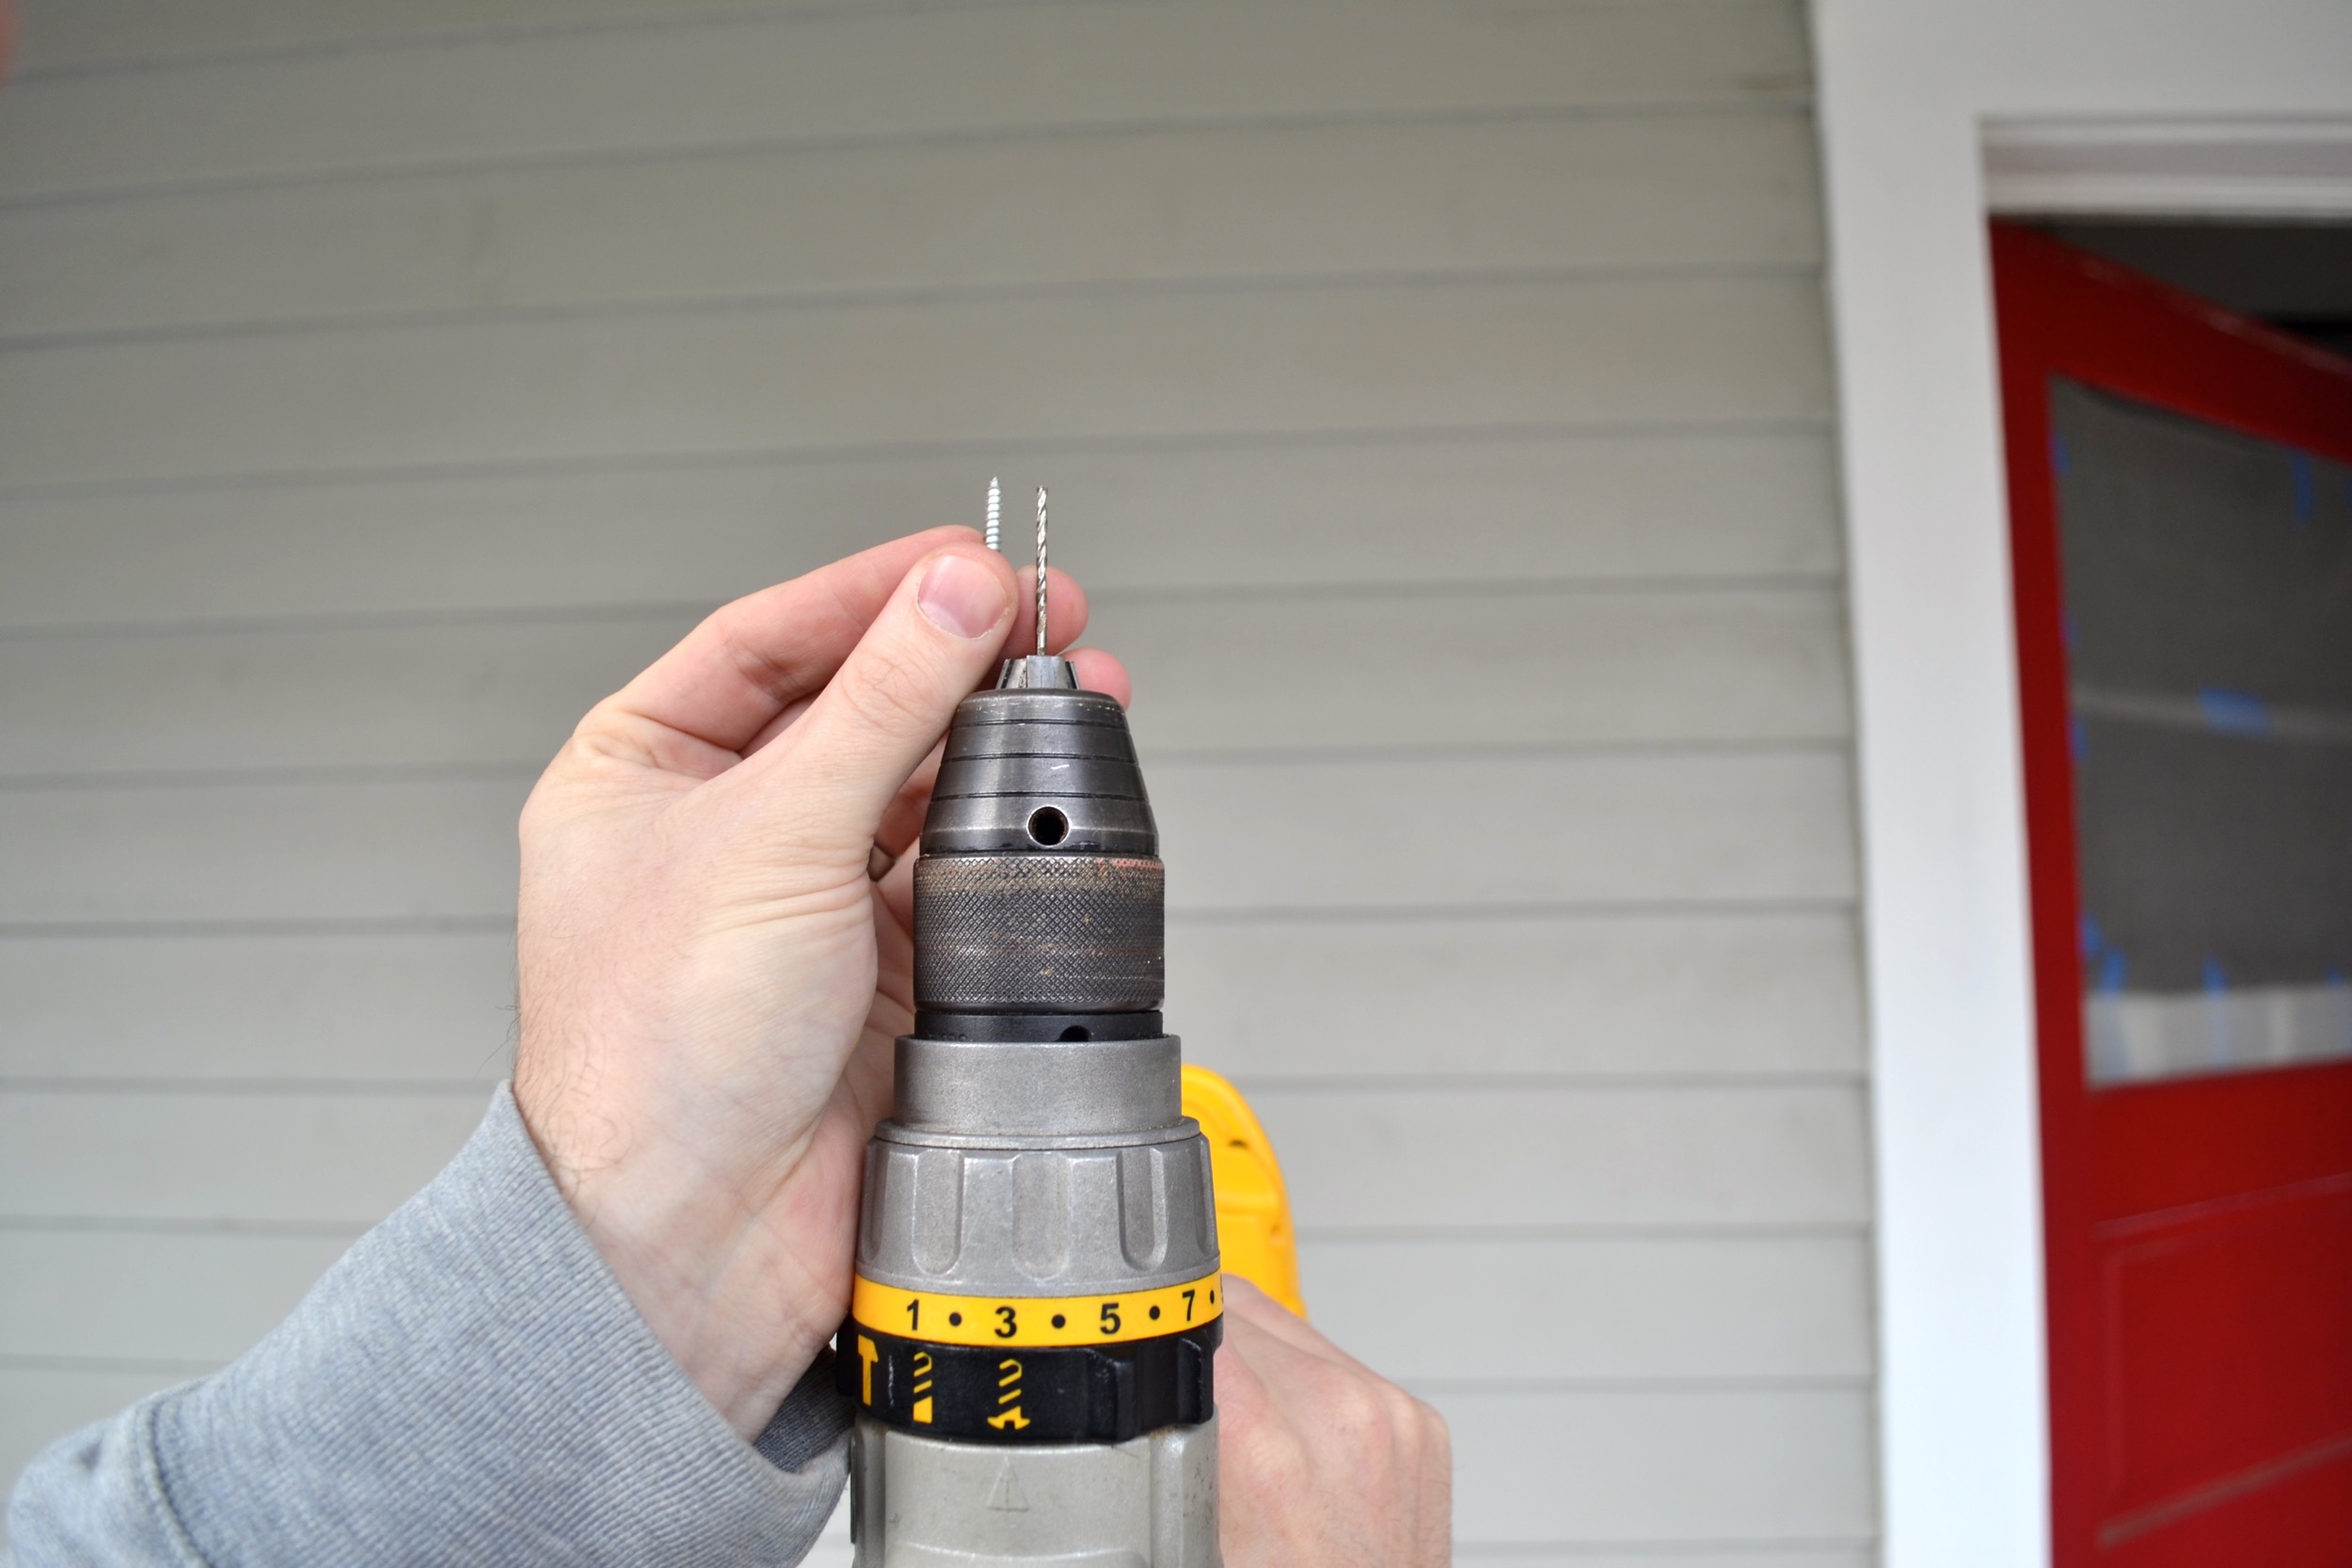
1. Start by gathering your materials. You’ll need:
a. Drill (this isn’t the drill Xan has, but his is old and needs to be replaced. This is the one he’s planning on getting as soon as we quit hemorrhaging money from the move.)
b. Pilot drill bit
c. Pencil
d. Weather stripping for bottom of door
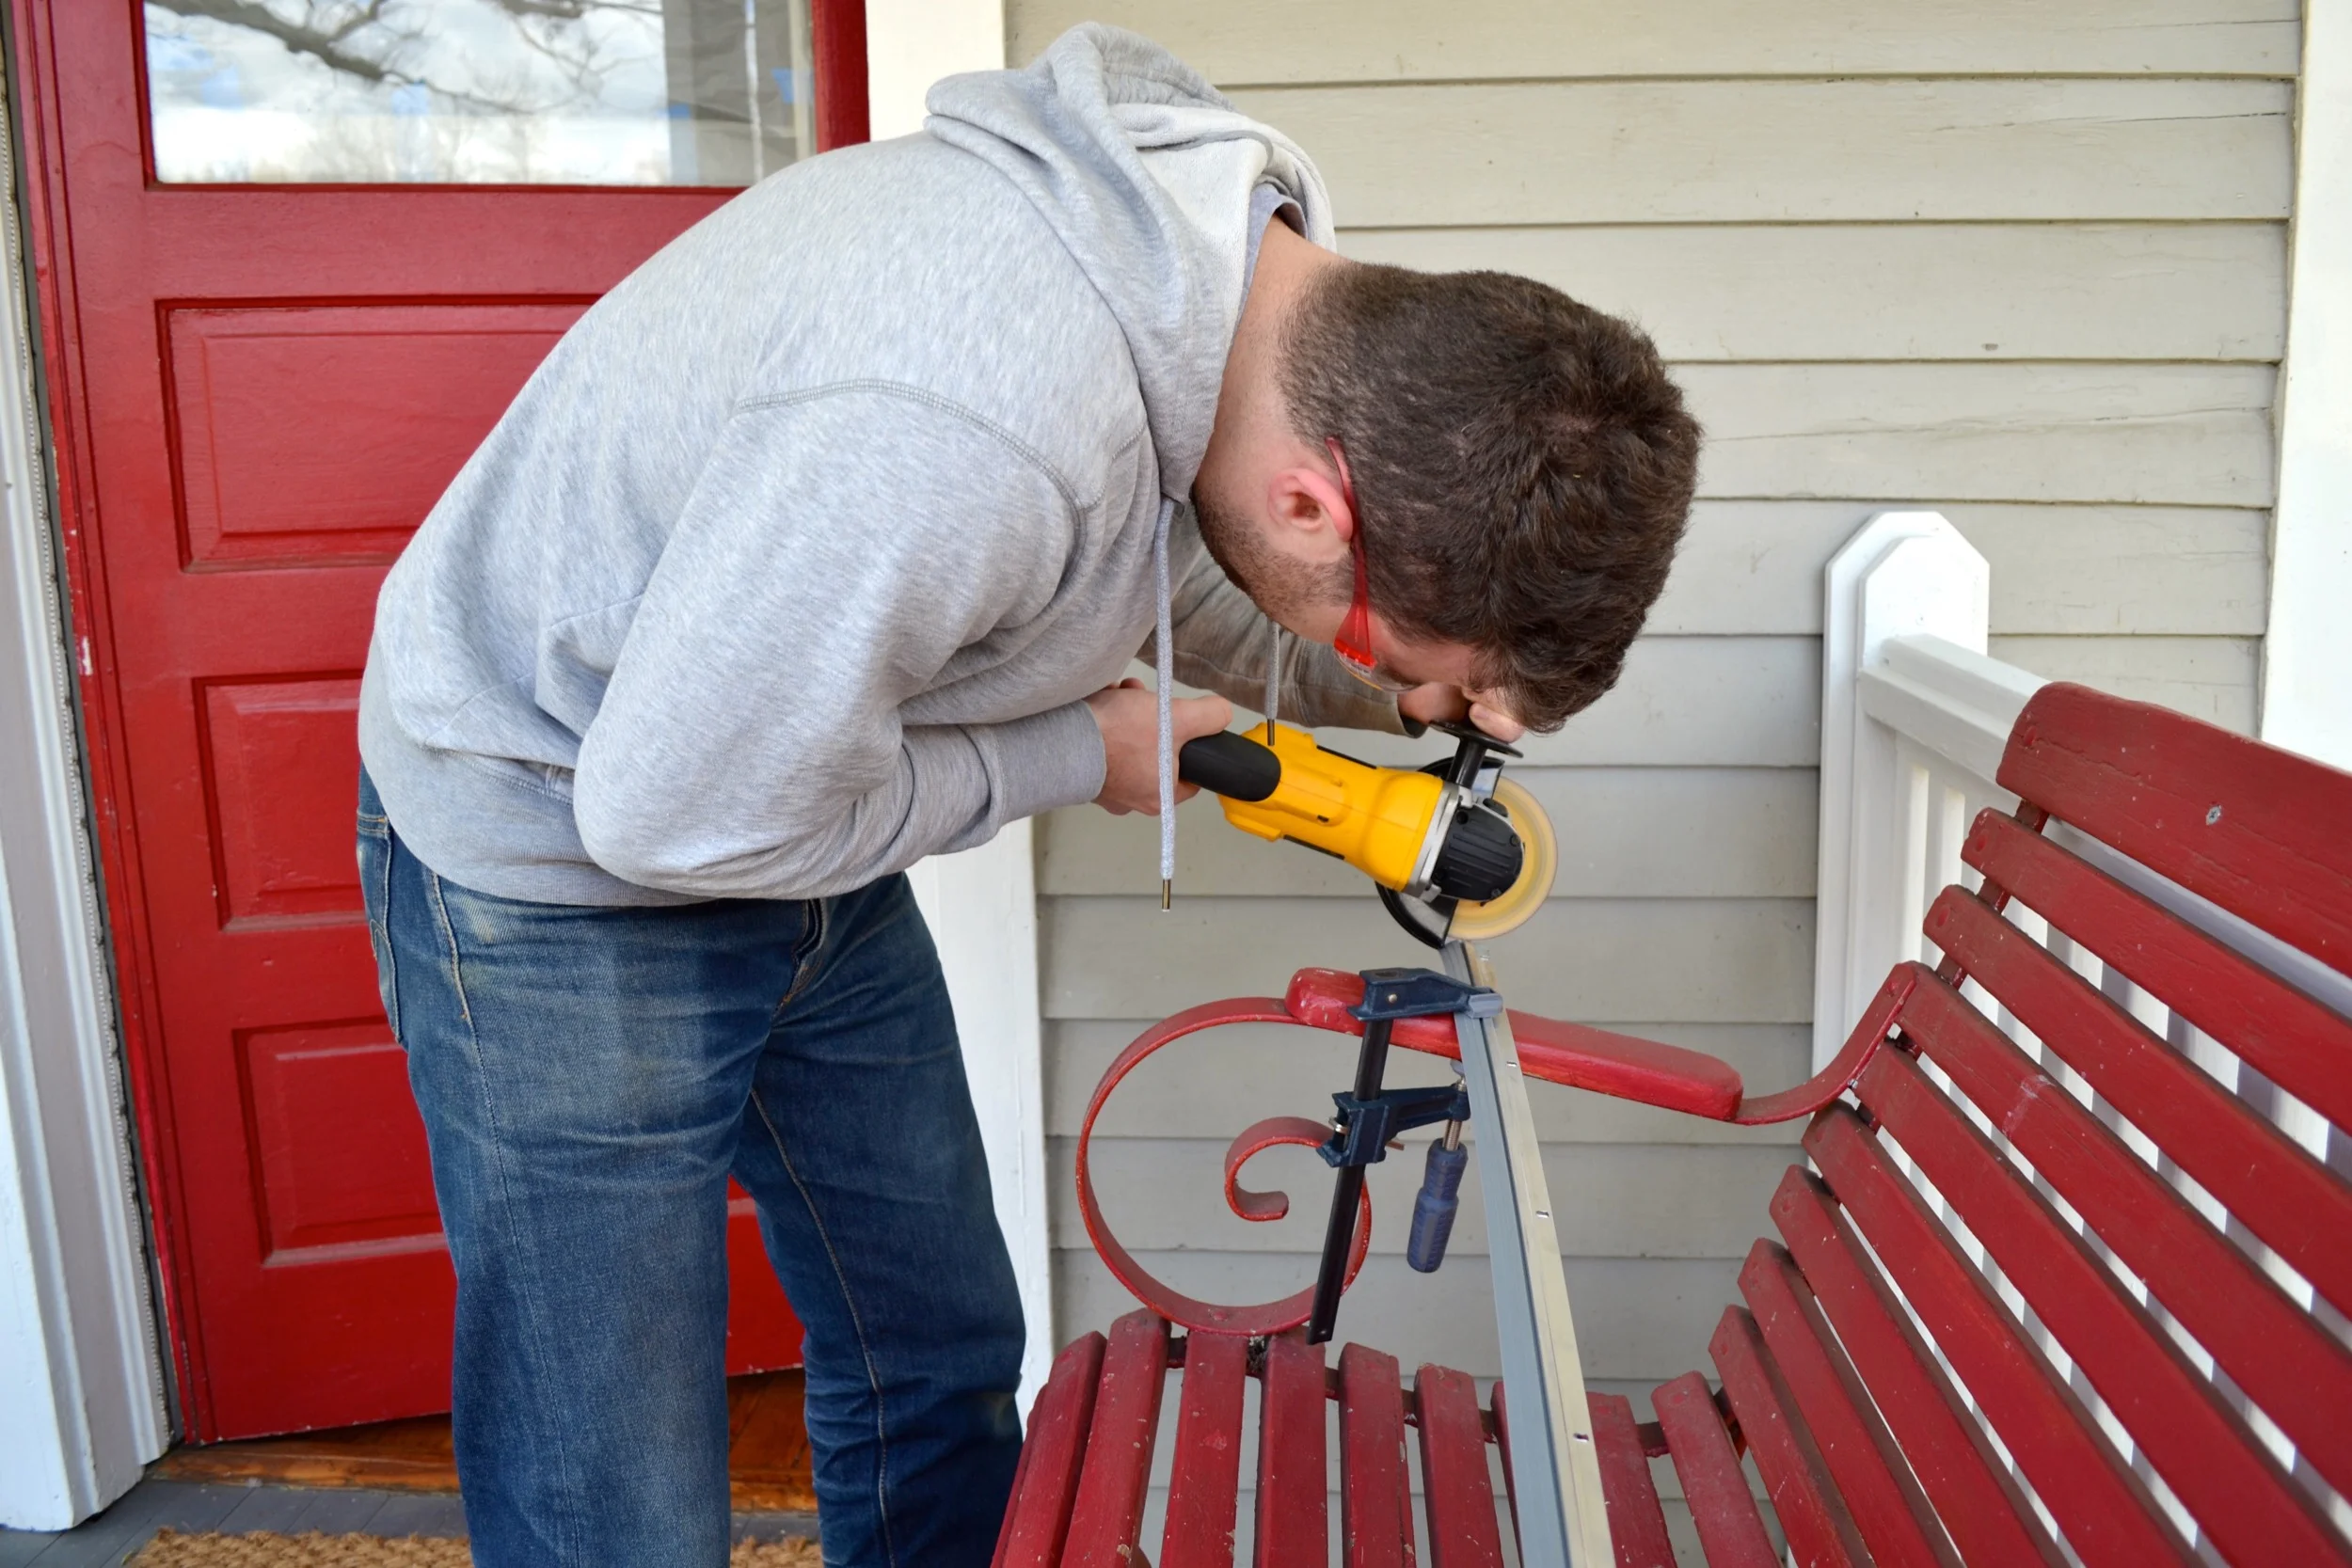
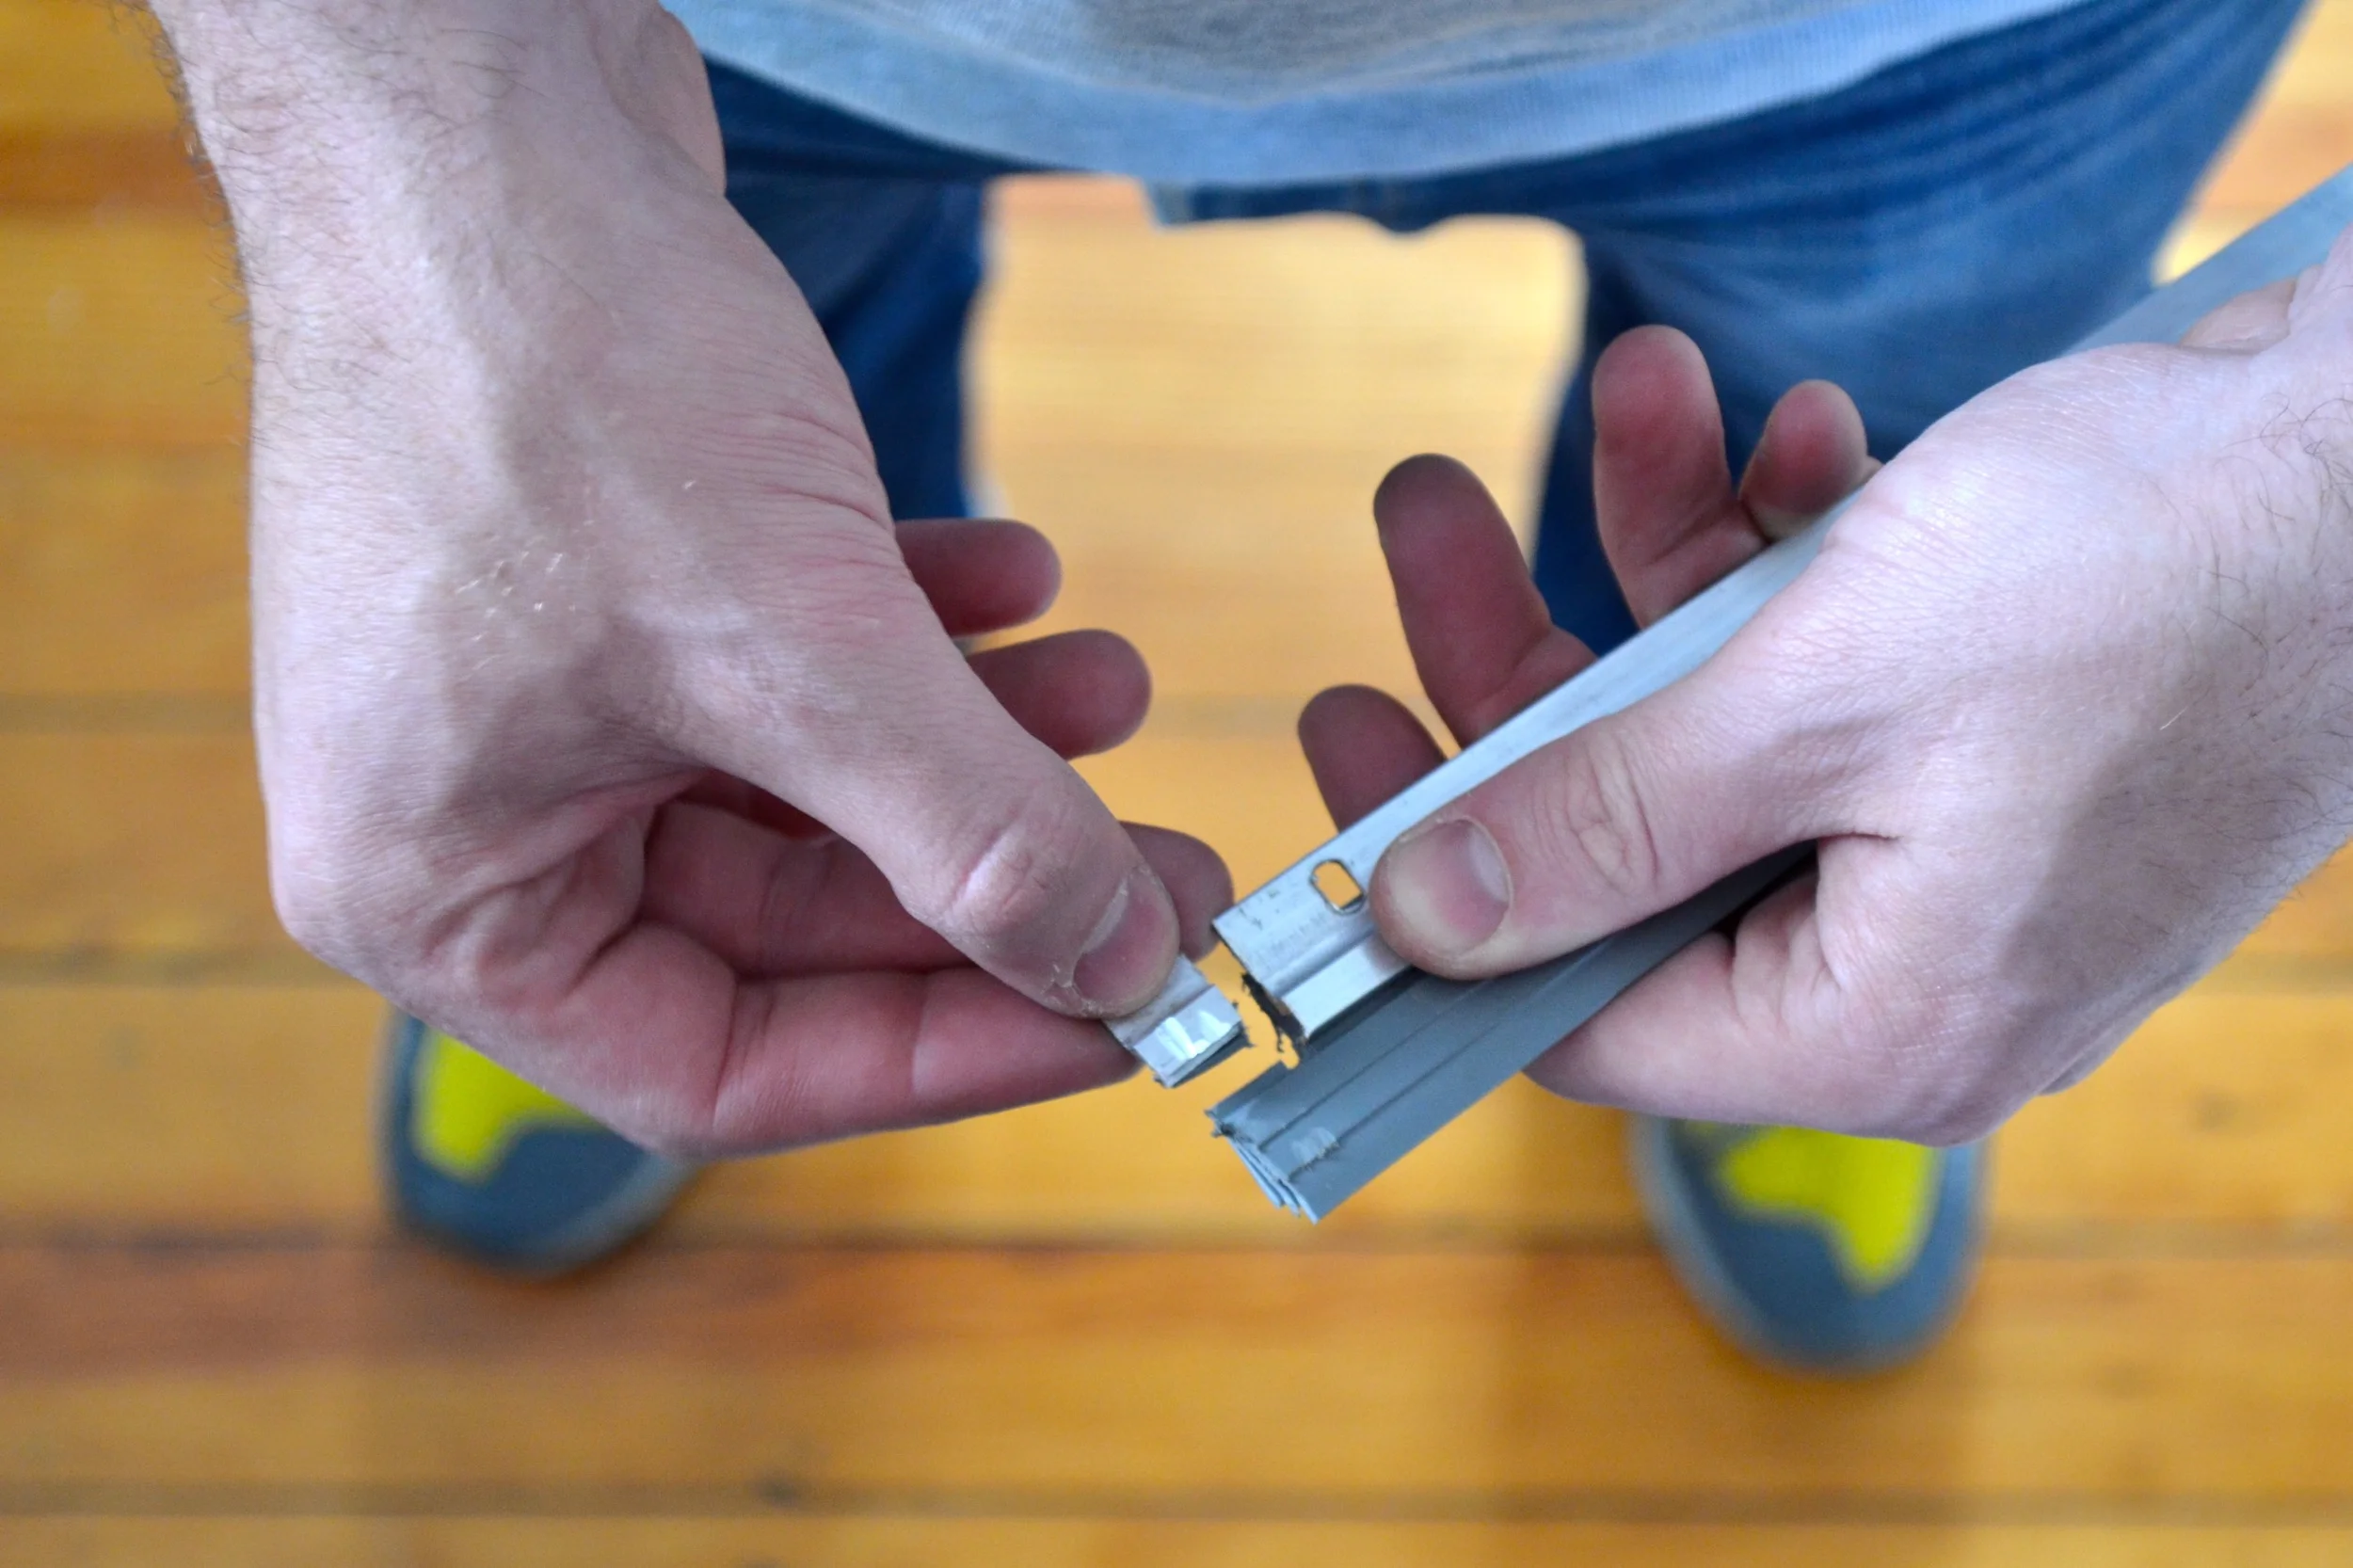
e. Angle grinder/cut off wheel
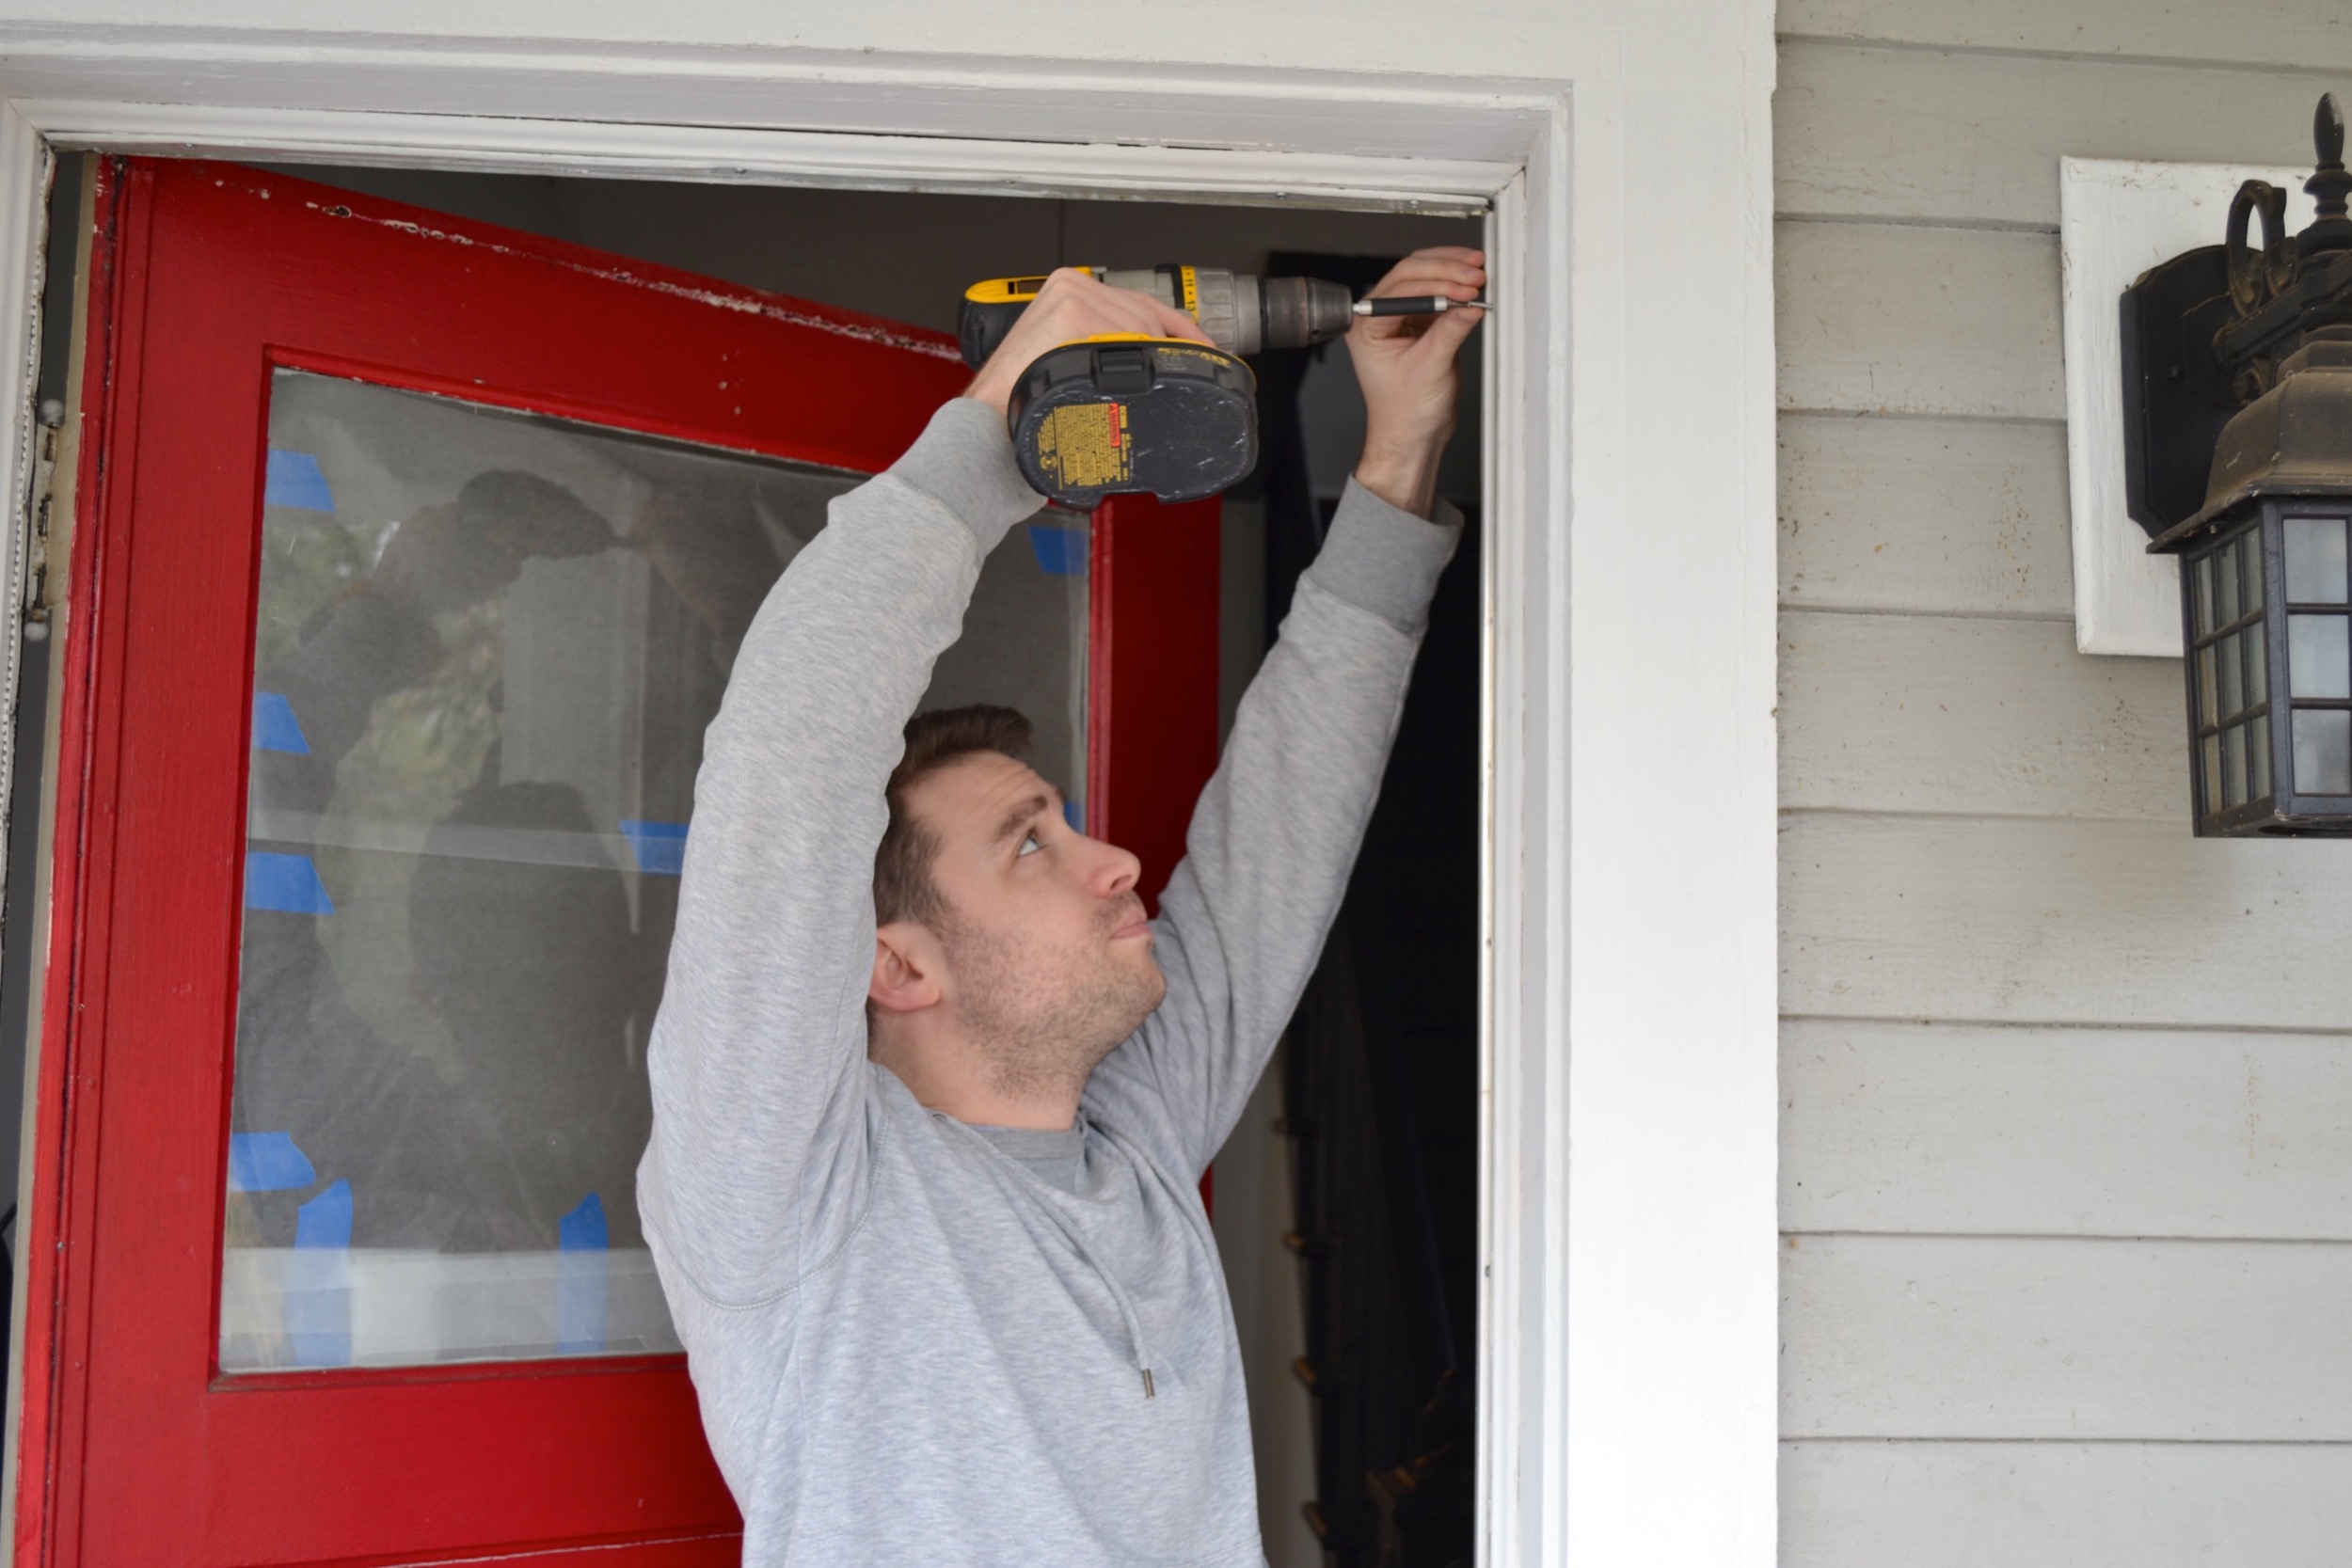
2. Next, remove existing weather stripping on the side of the door and anywhere else necessary.
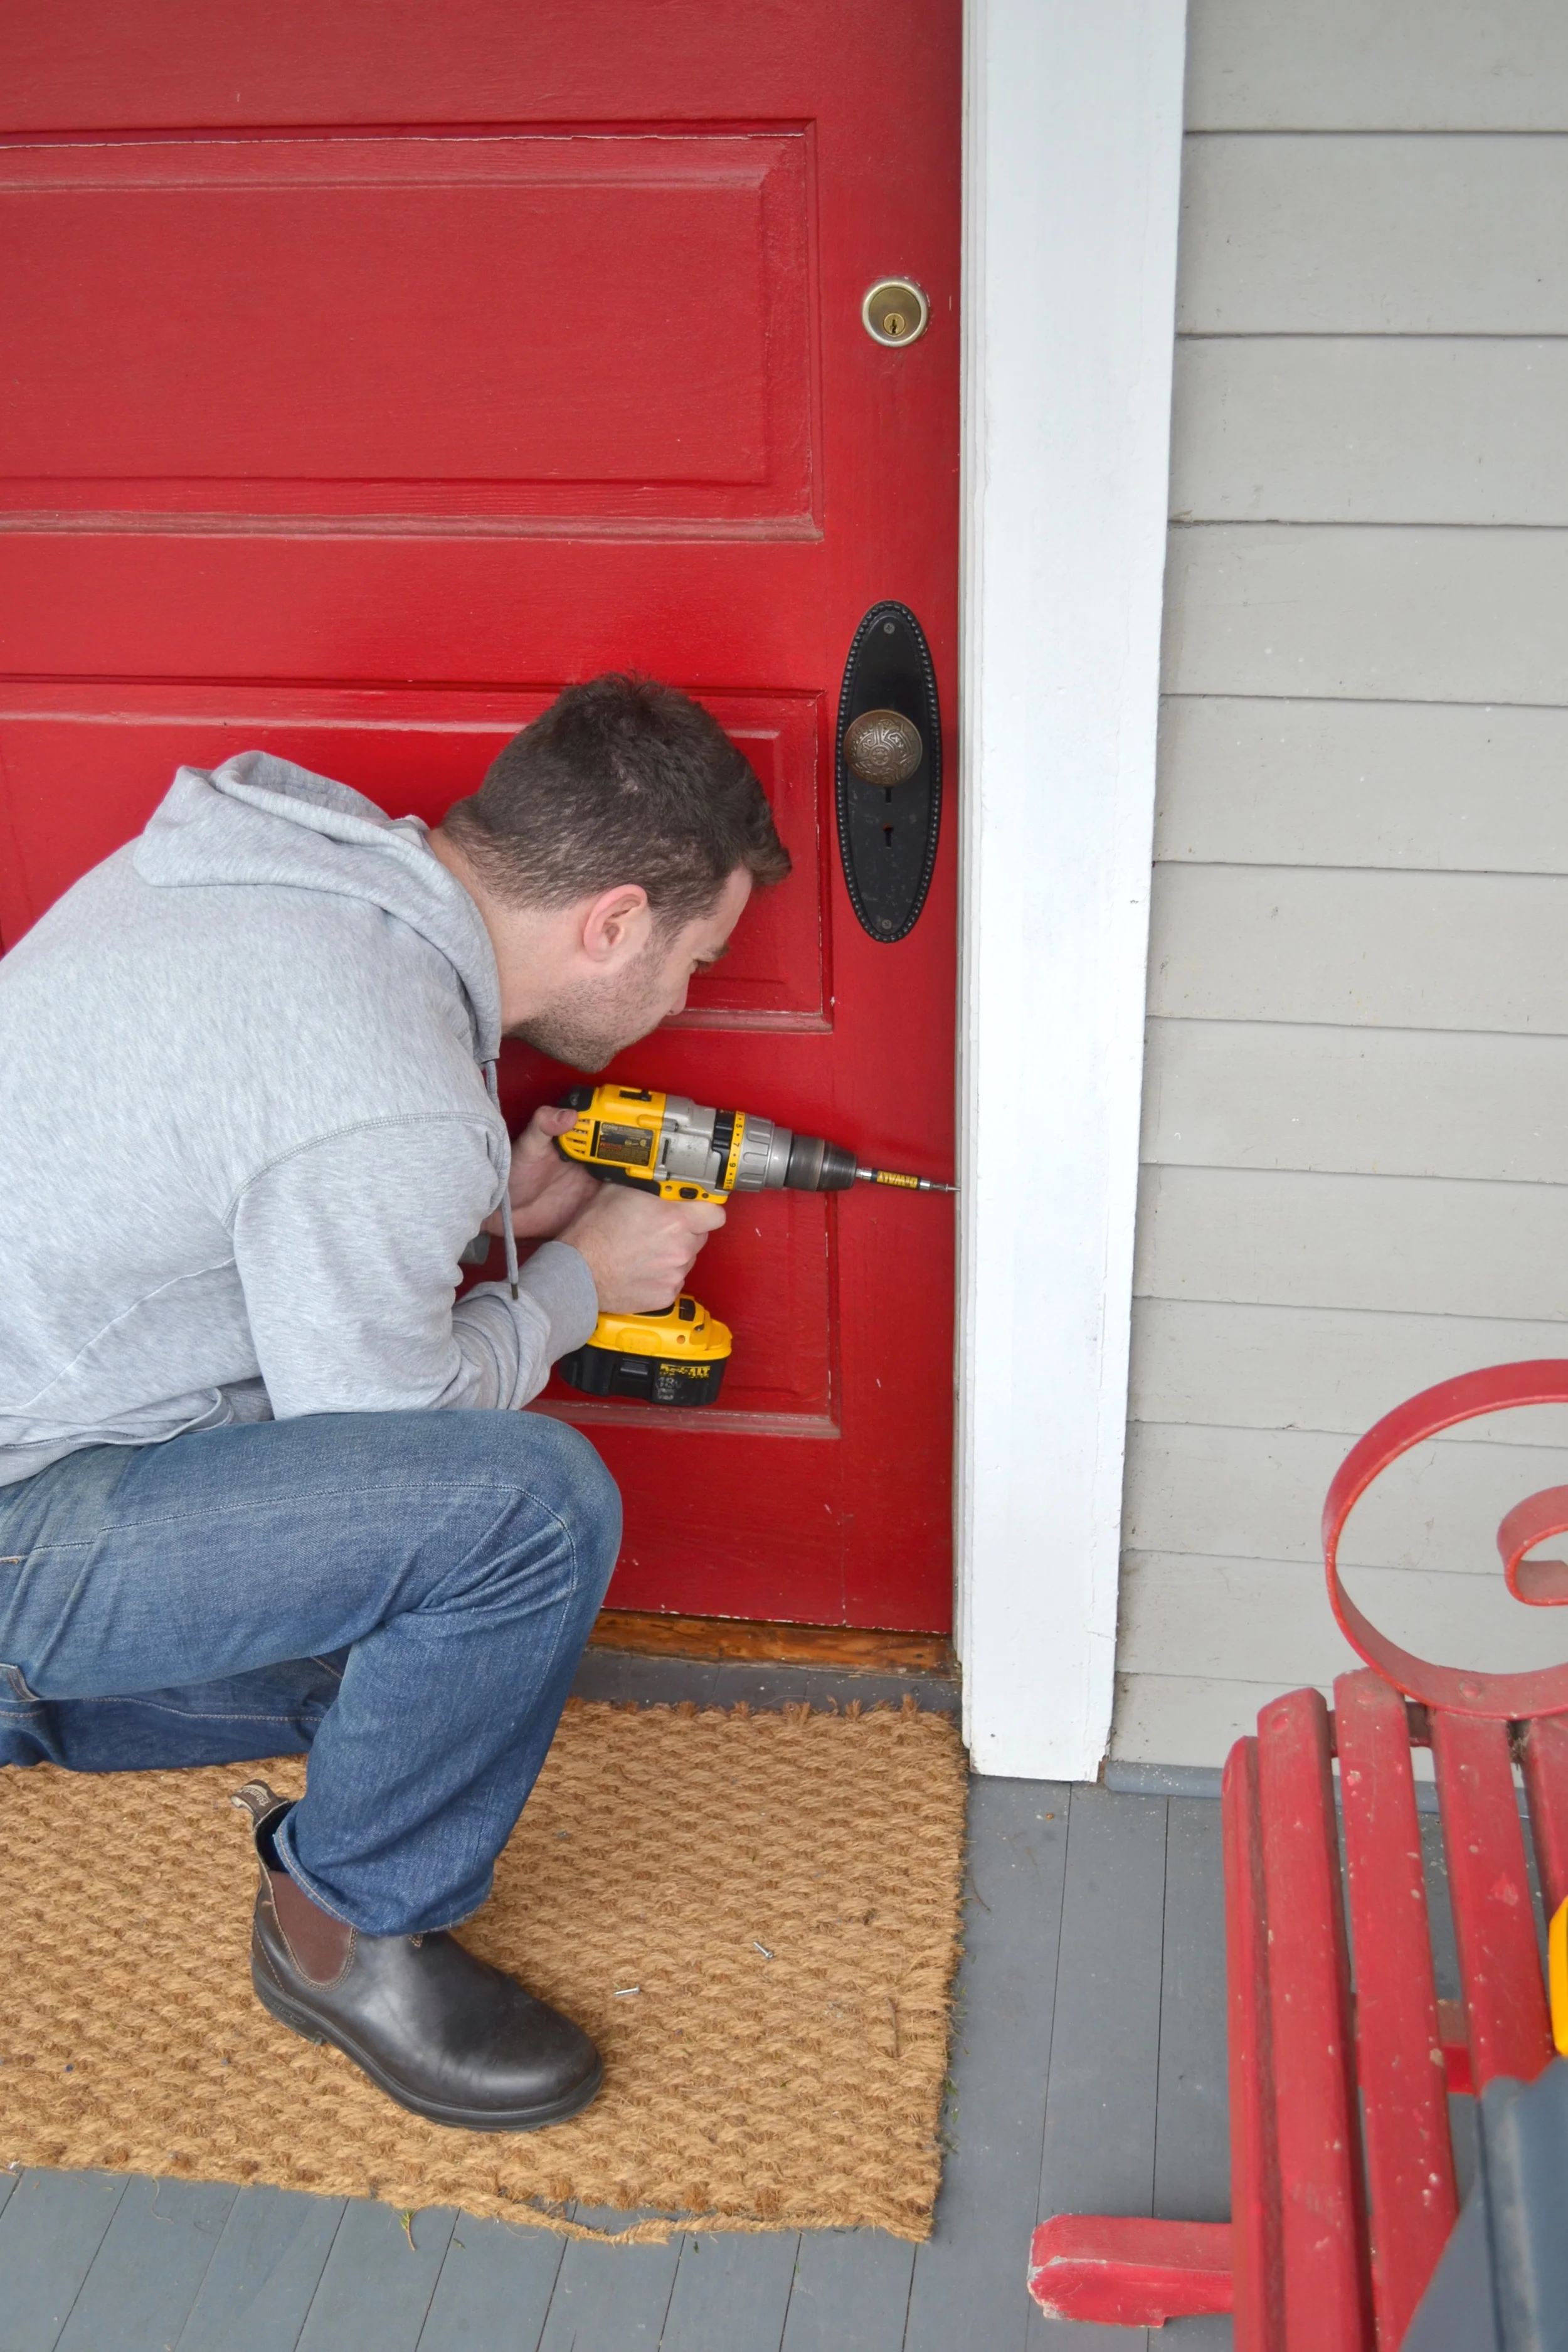
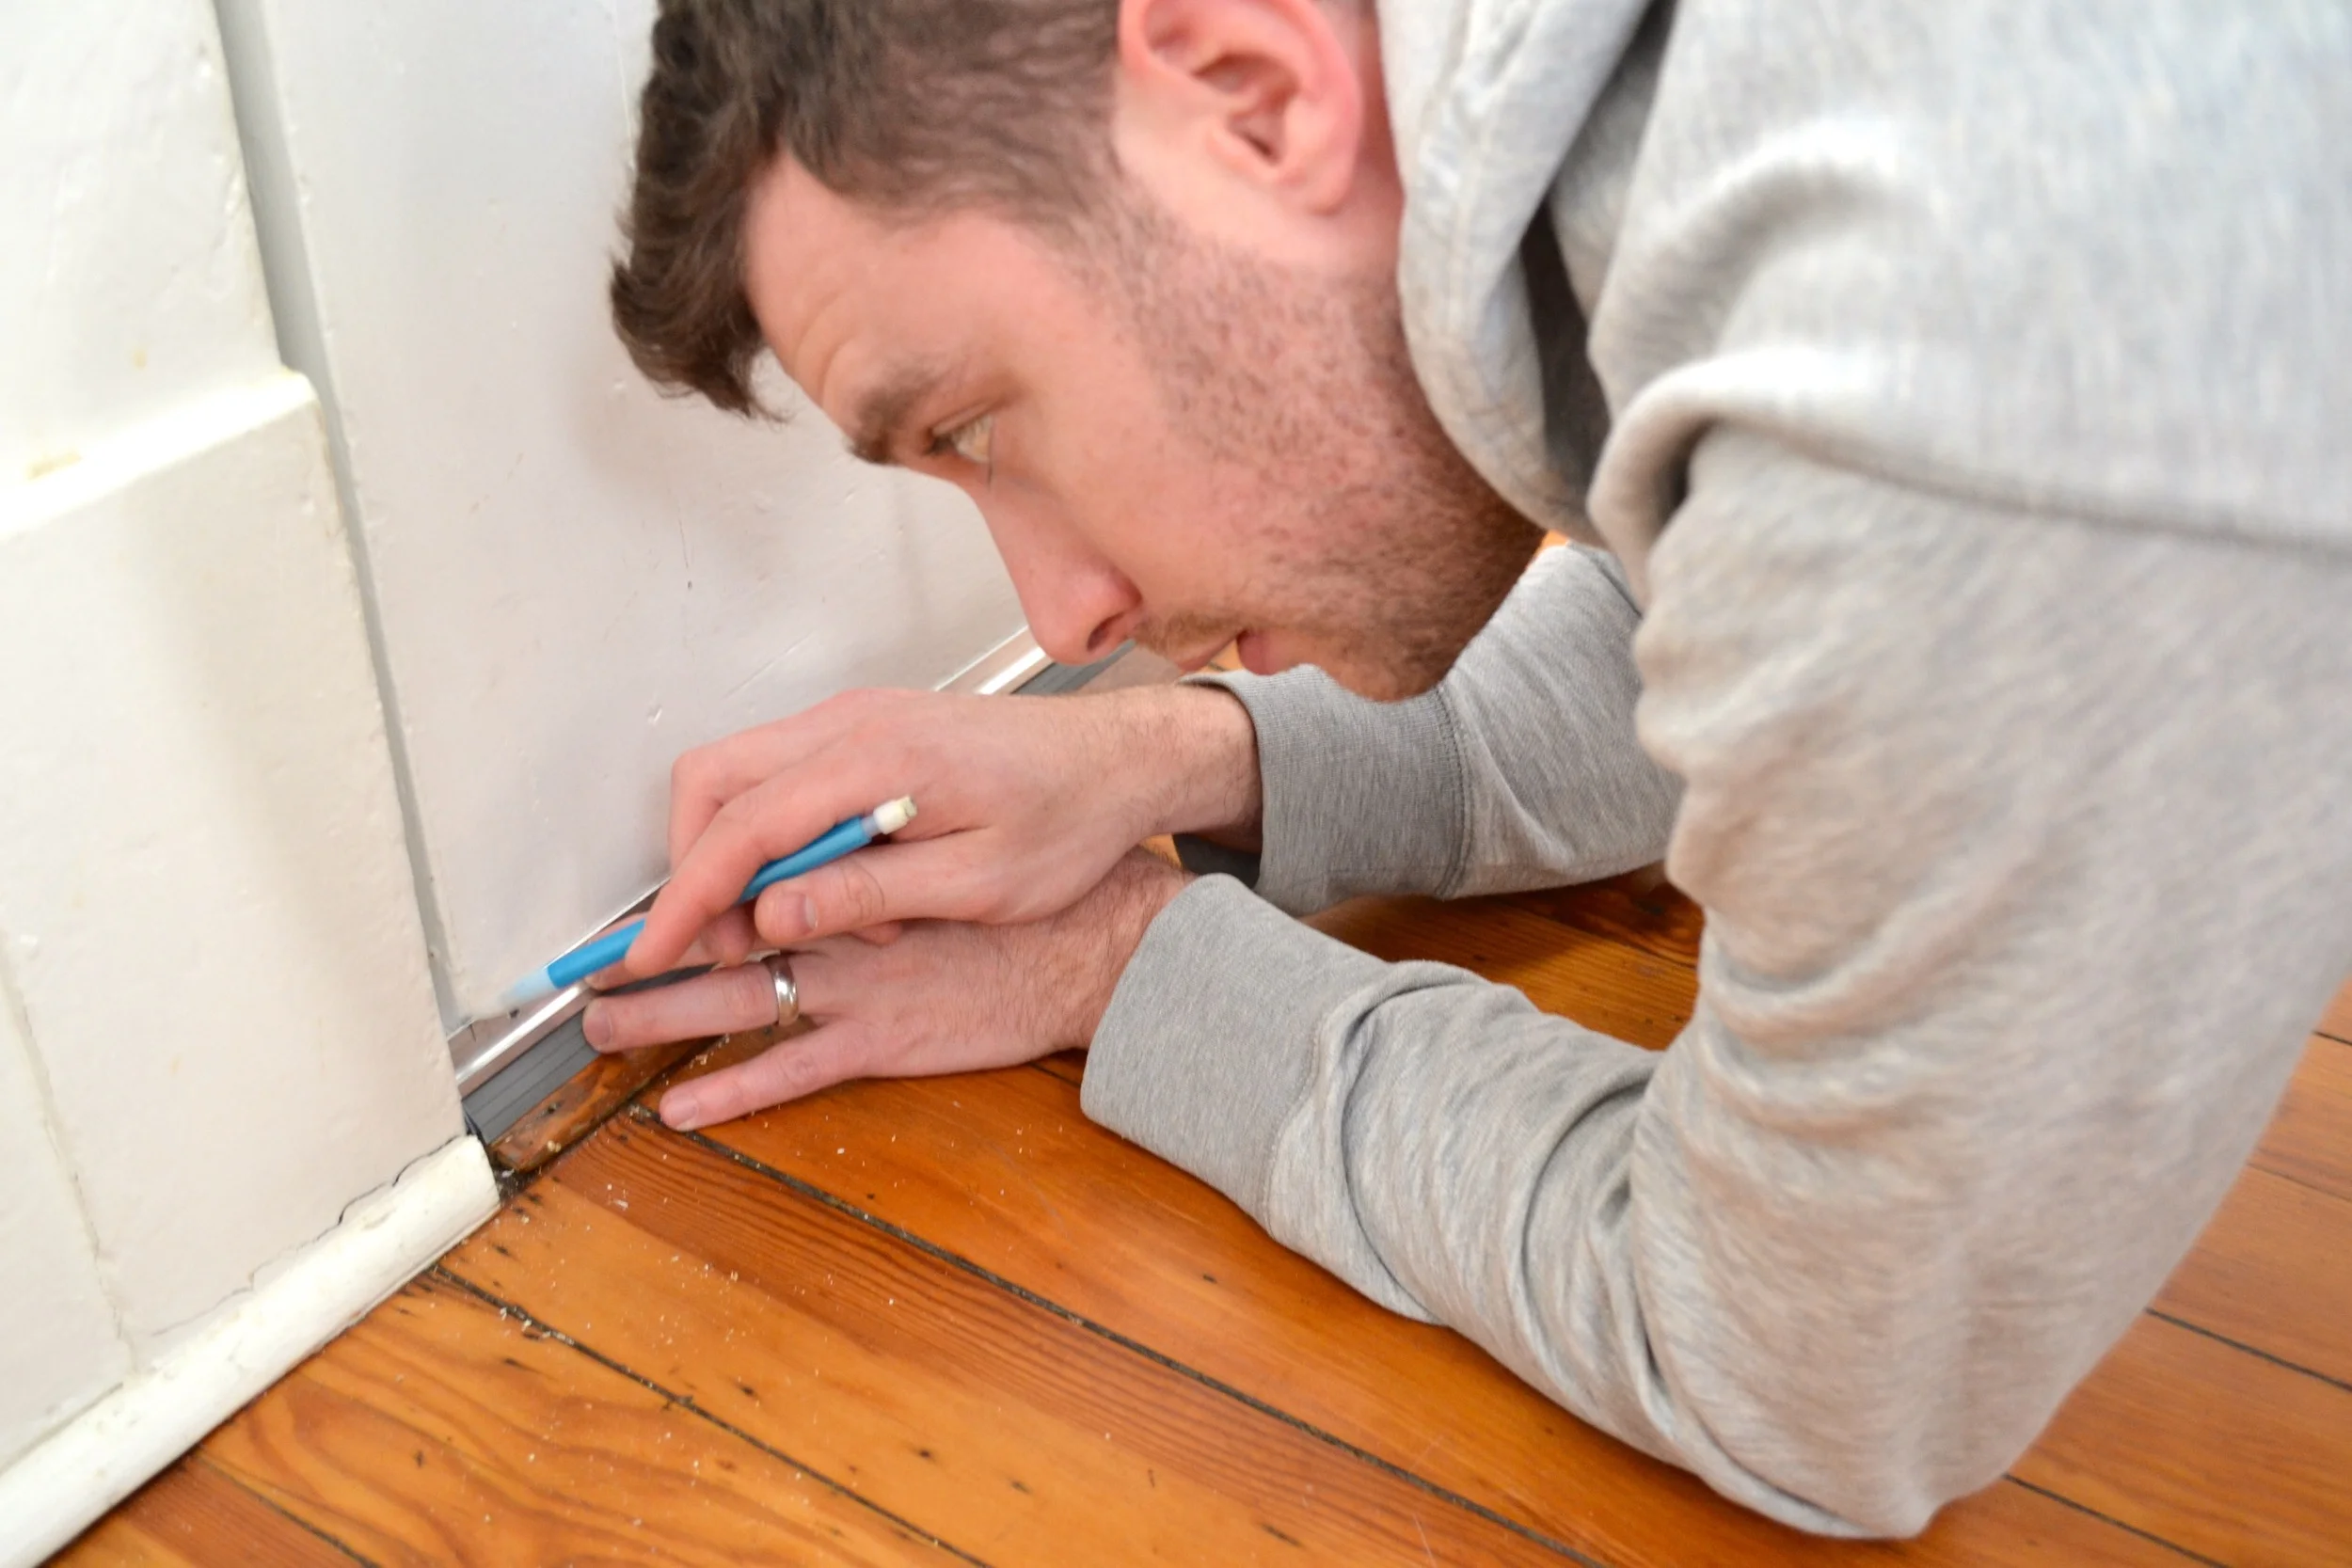
3. Then, place it closer to the door so it will seal, use your pencil to mark where the holes will be, drill your pilot holes and screw your weather stripping back into place.
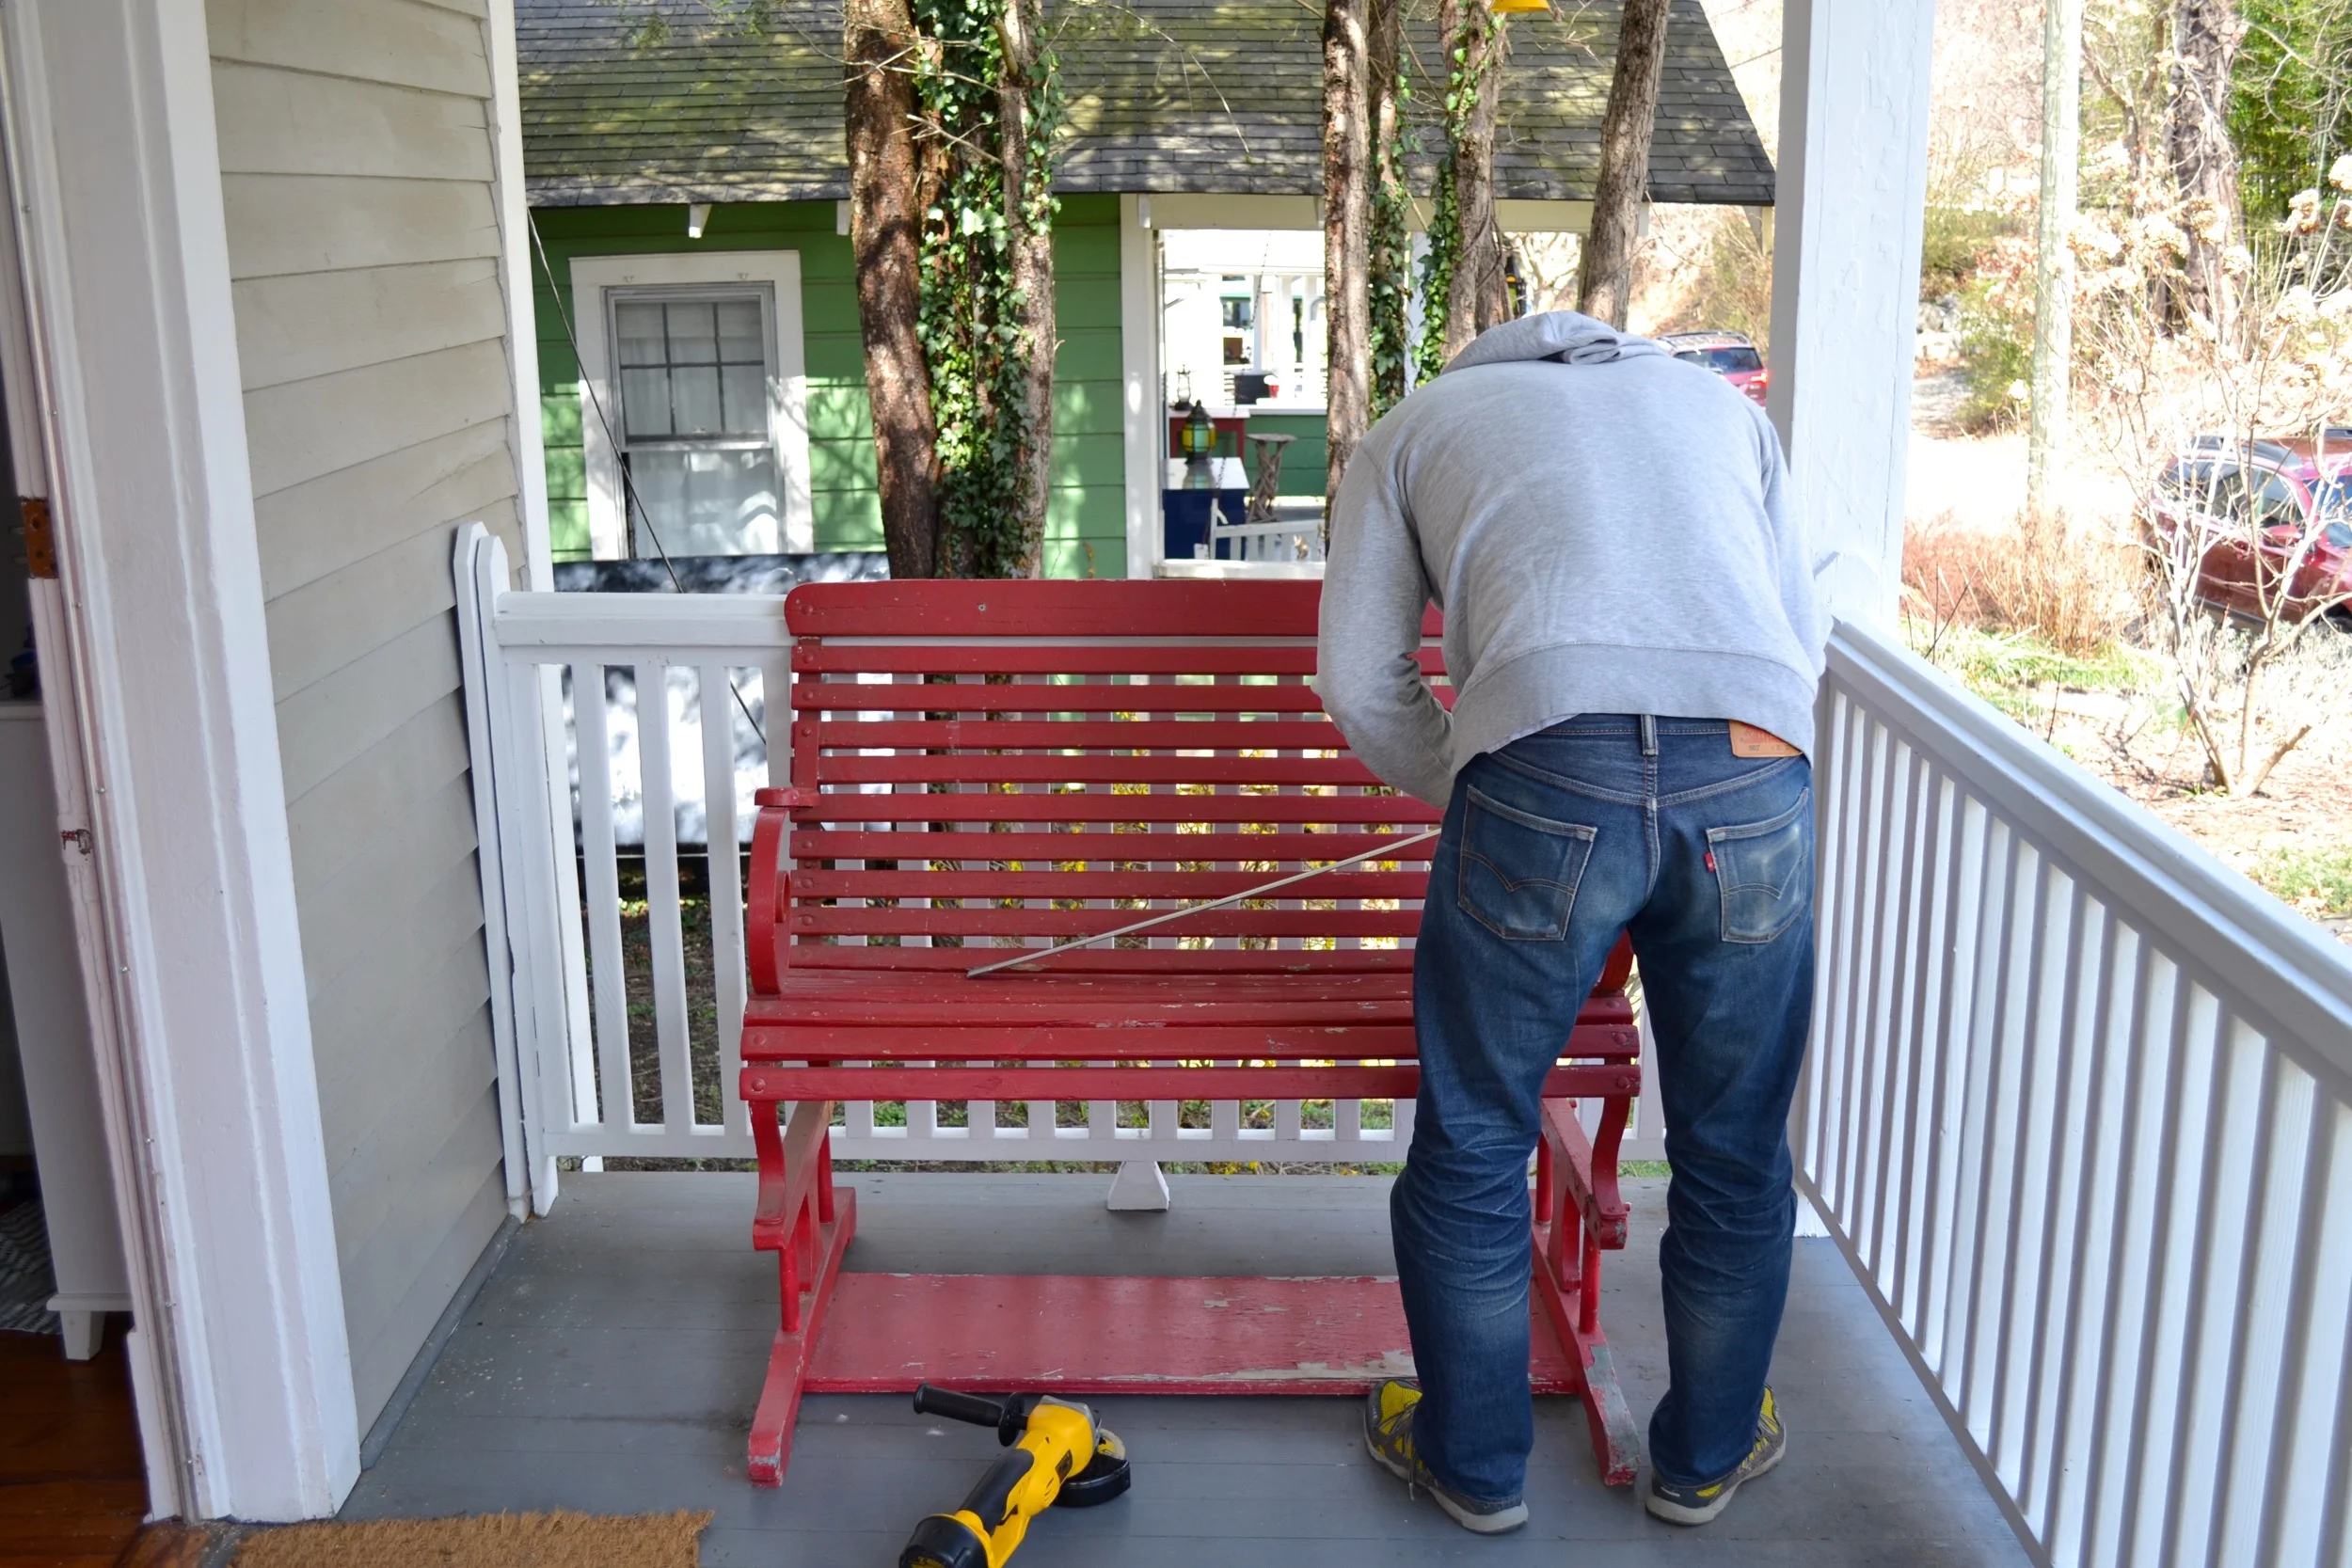
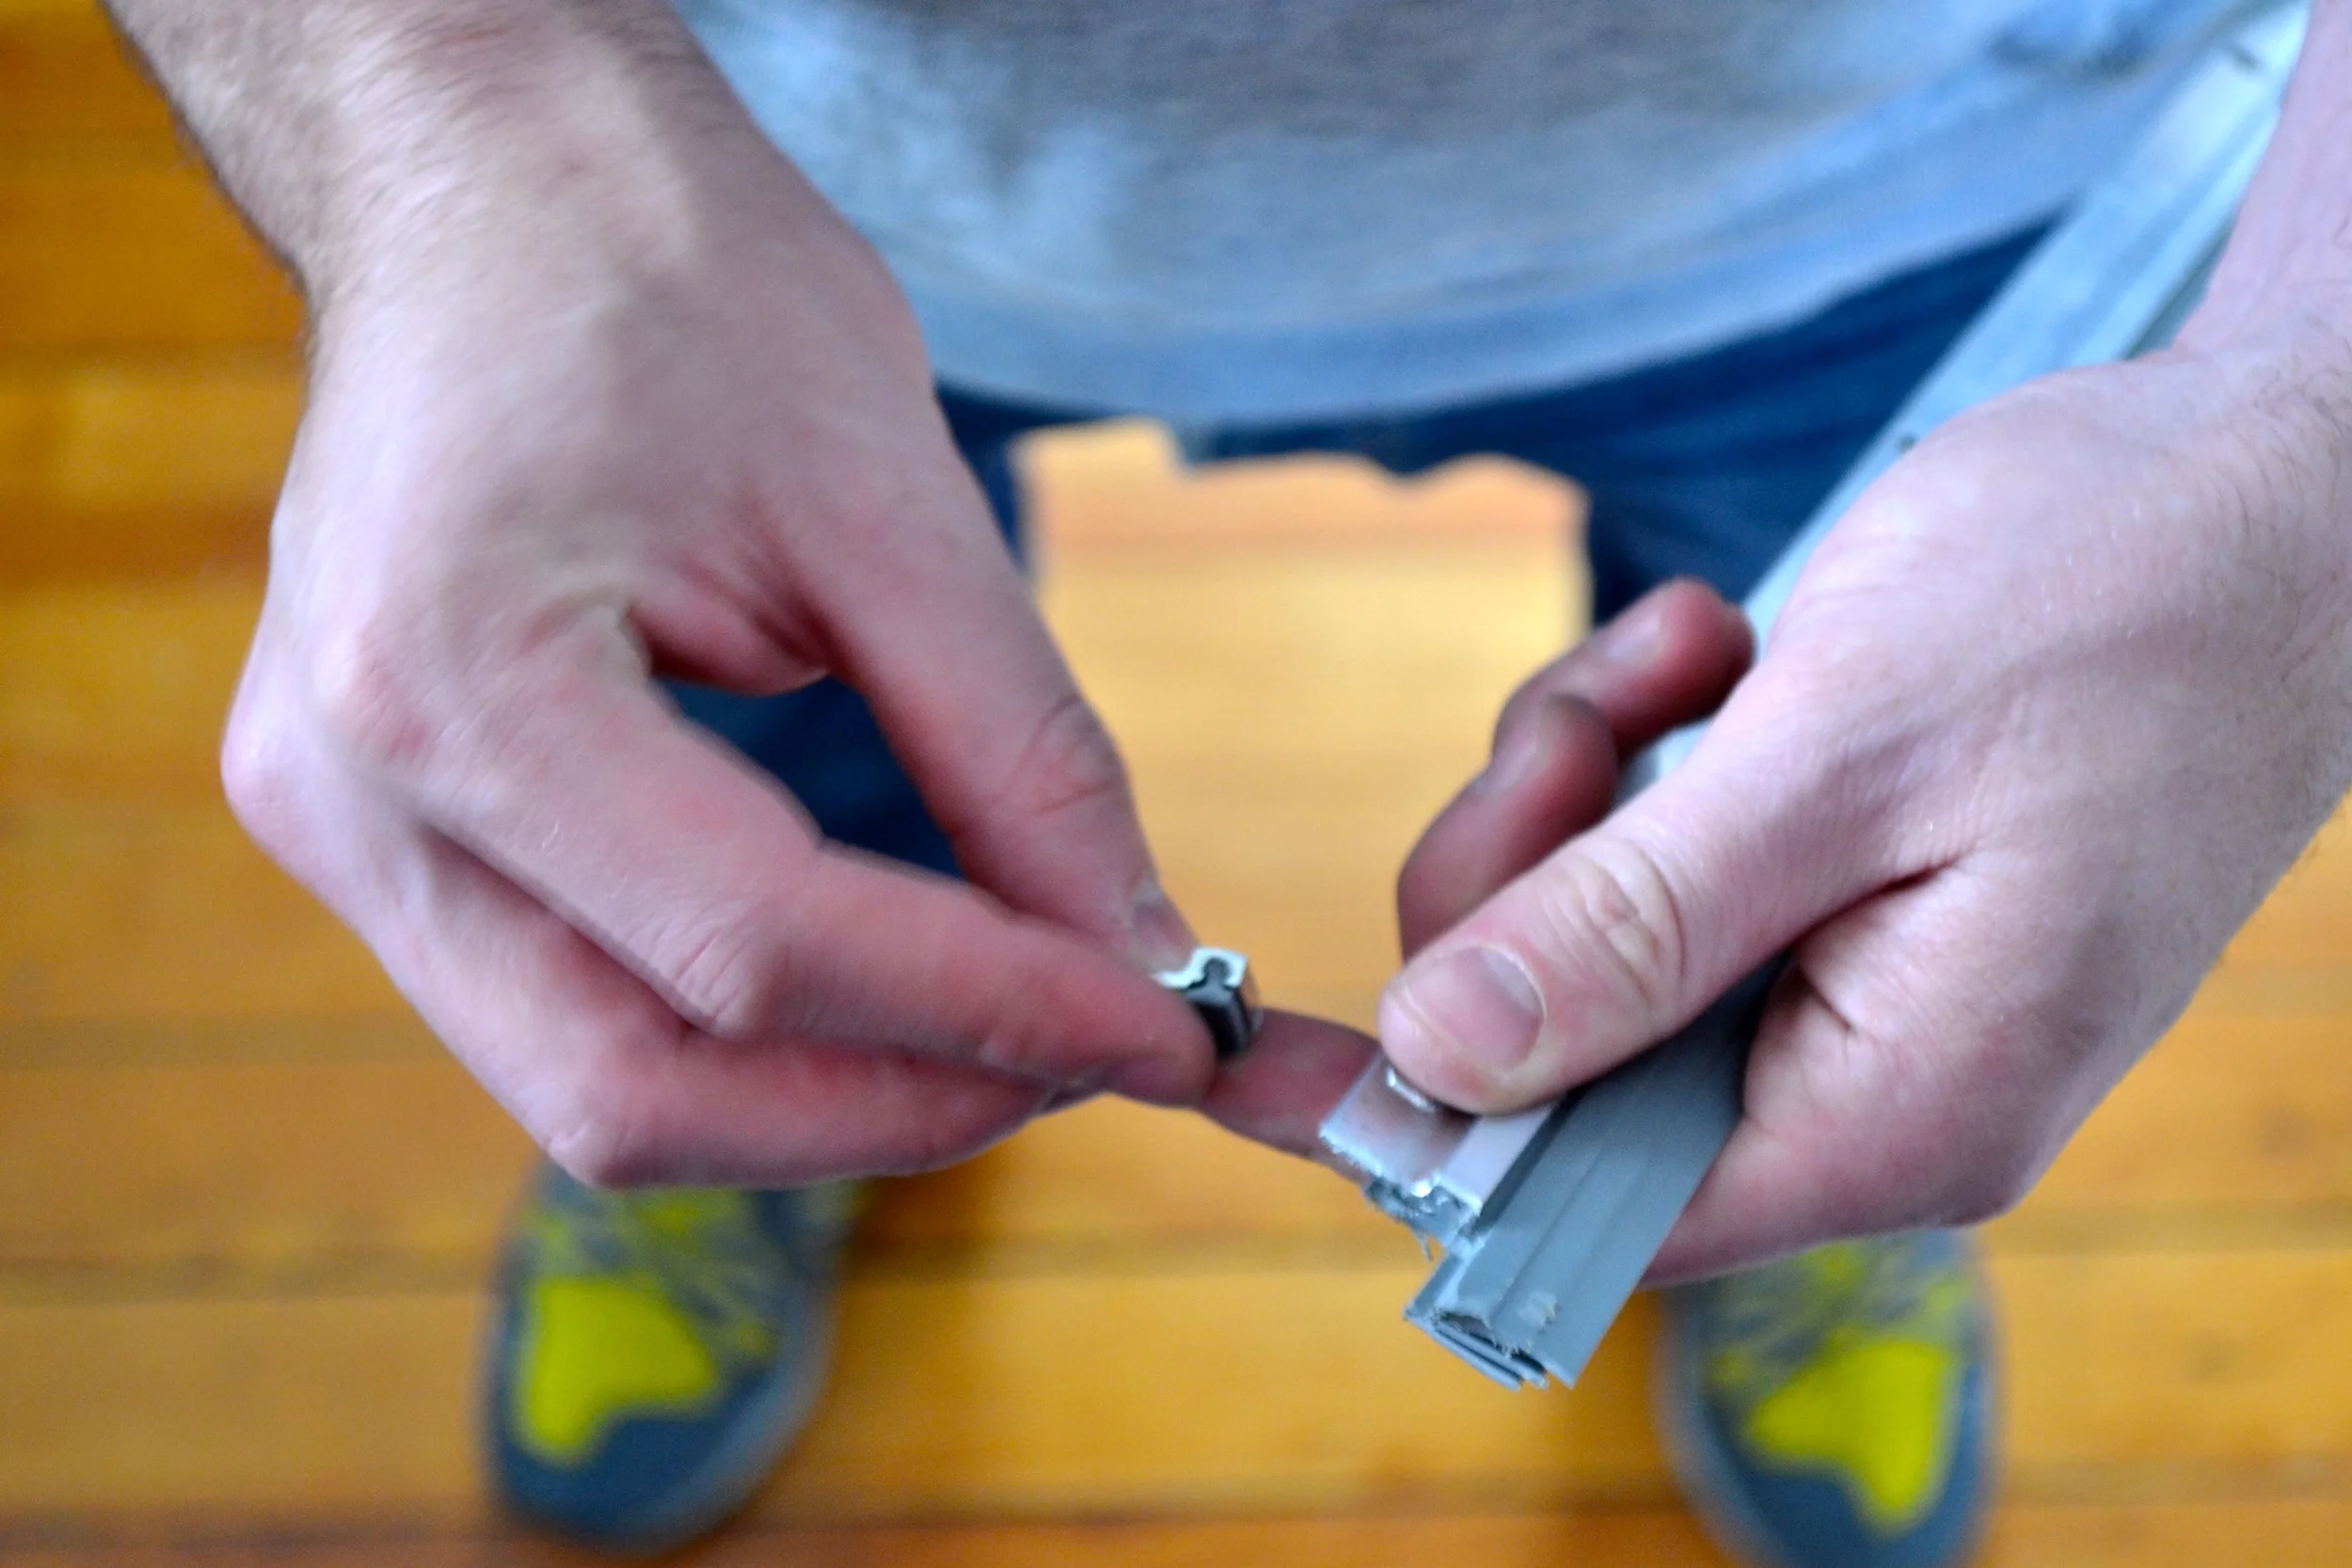
4. Measure your interior weather stripping for the bottom of the door and cut it to size with your angle grinder. If your threshold is like ours and doesn’t have a notch on the exterior side or any weather stripping on it already then adding this piece to the inside of the door is probably the easiest and cheapest option.
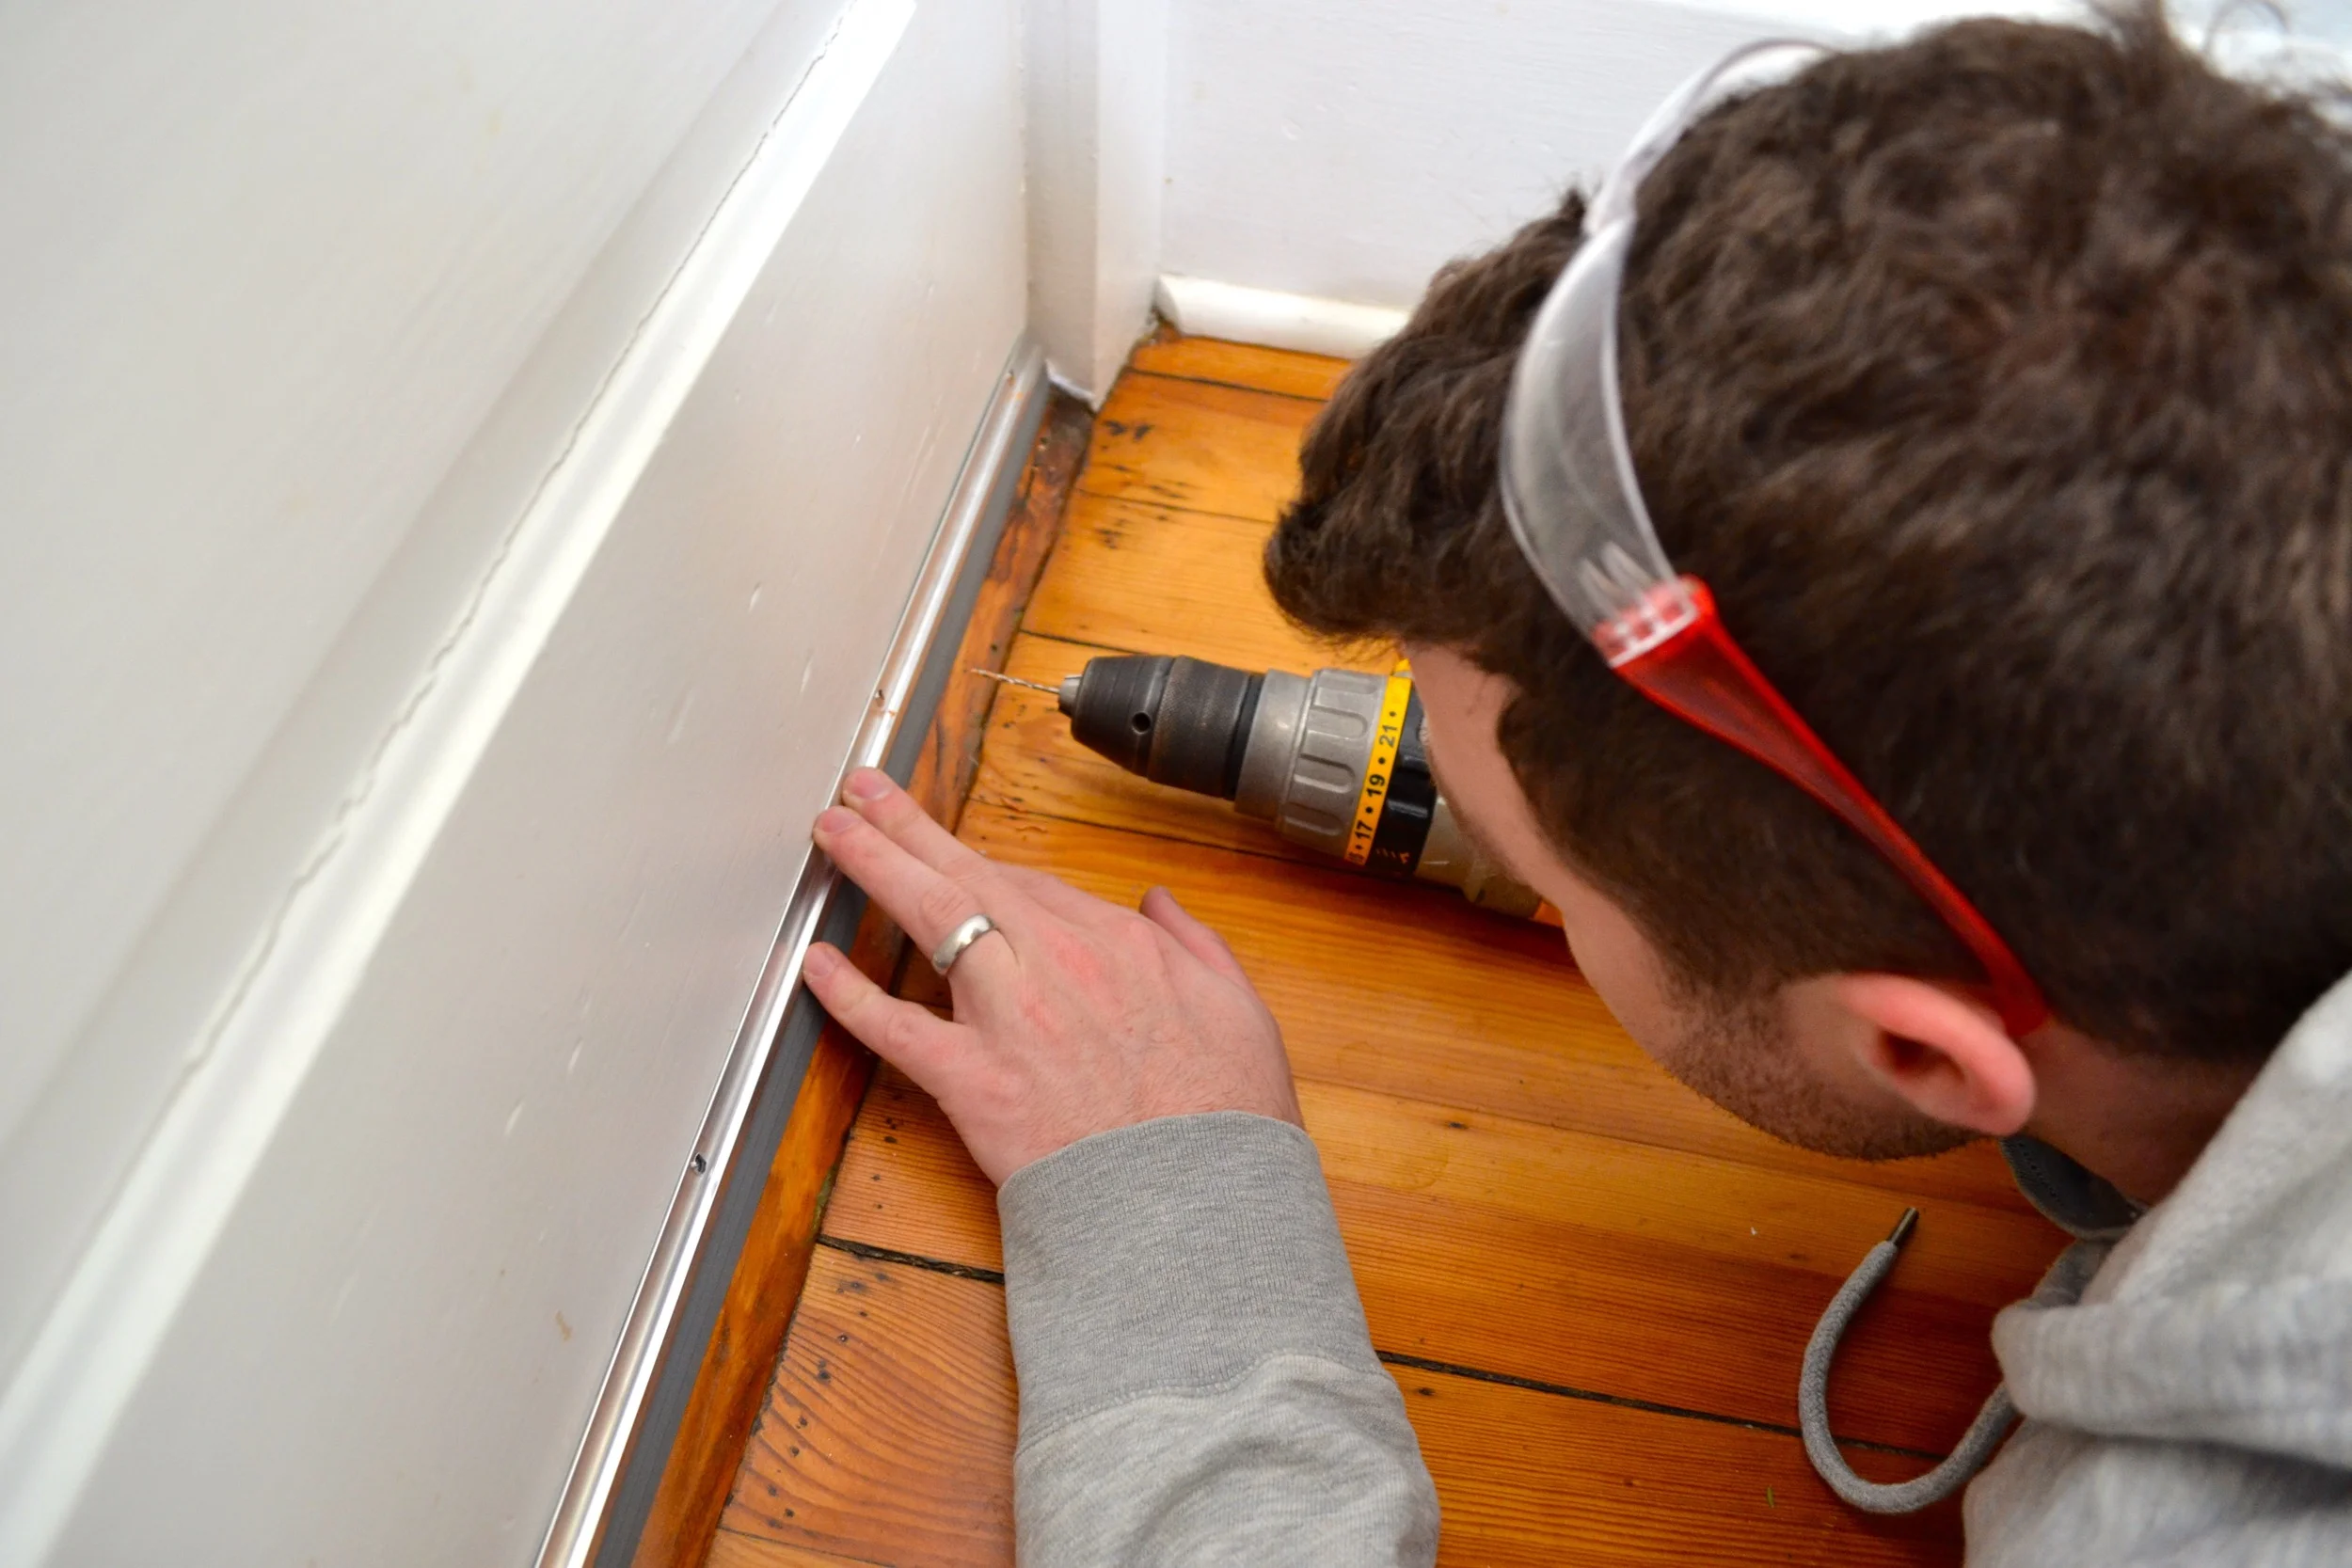
5. Place the weather stripping, mark the holes with a pencil, drill your pilot holes, and screw it into place.

Number One Tip for DIY Installing Weatherstripping on Your Door
Xan’s one tip for this project is that you only need to mark one hole with a pencil. Drill that pilot hole, screw it in, and that will hold the rest of the weather stripping in place. That way you can skip the step of marking all the holes and start drilling your pilot holes right away

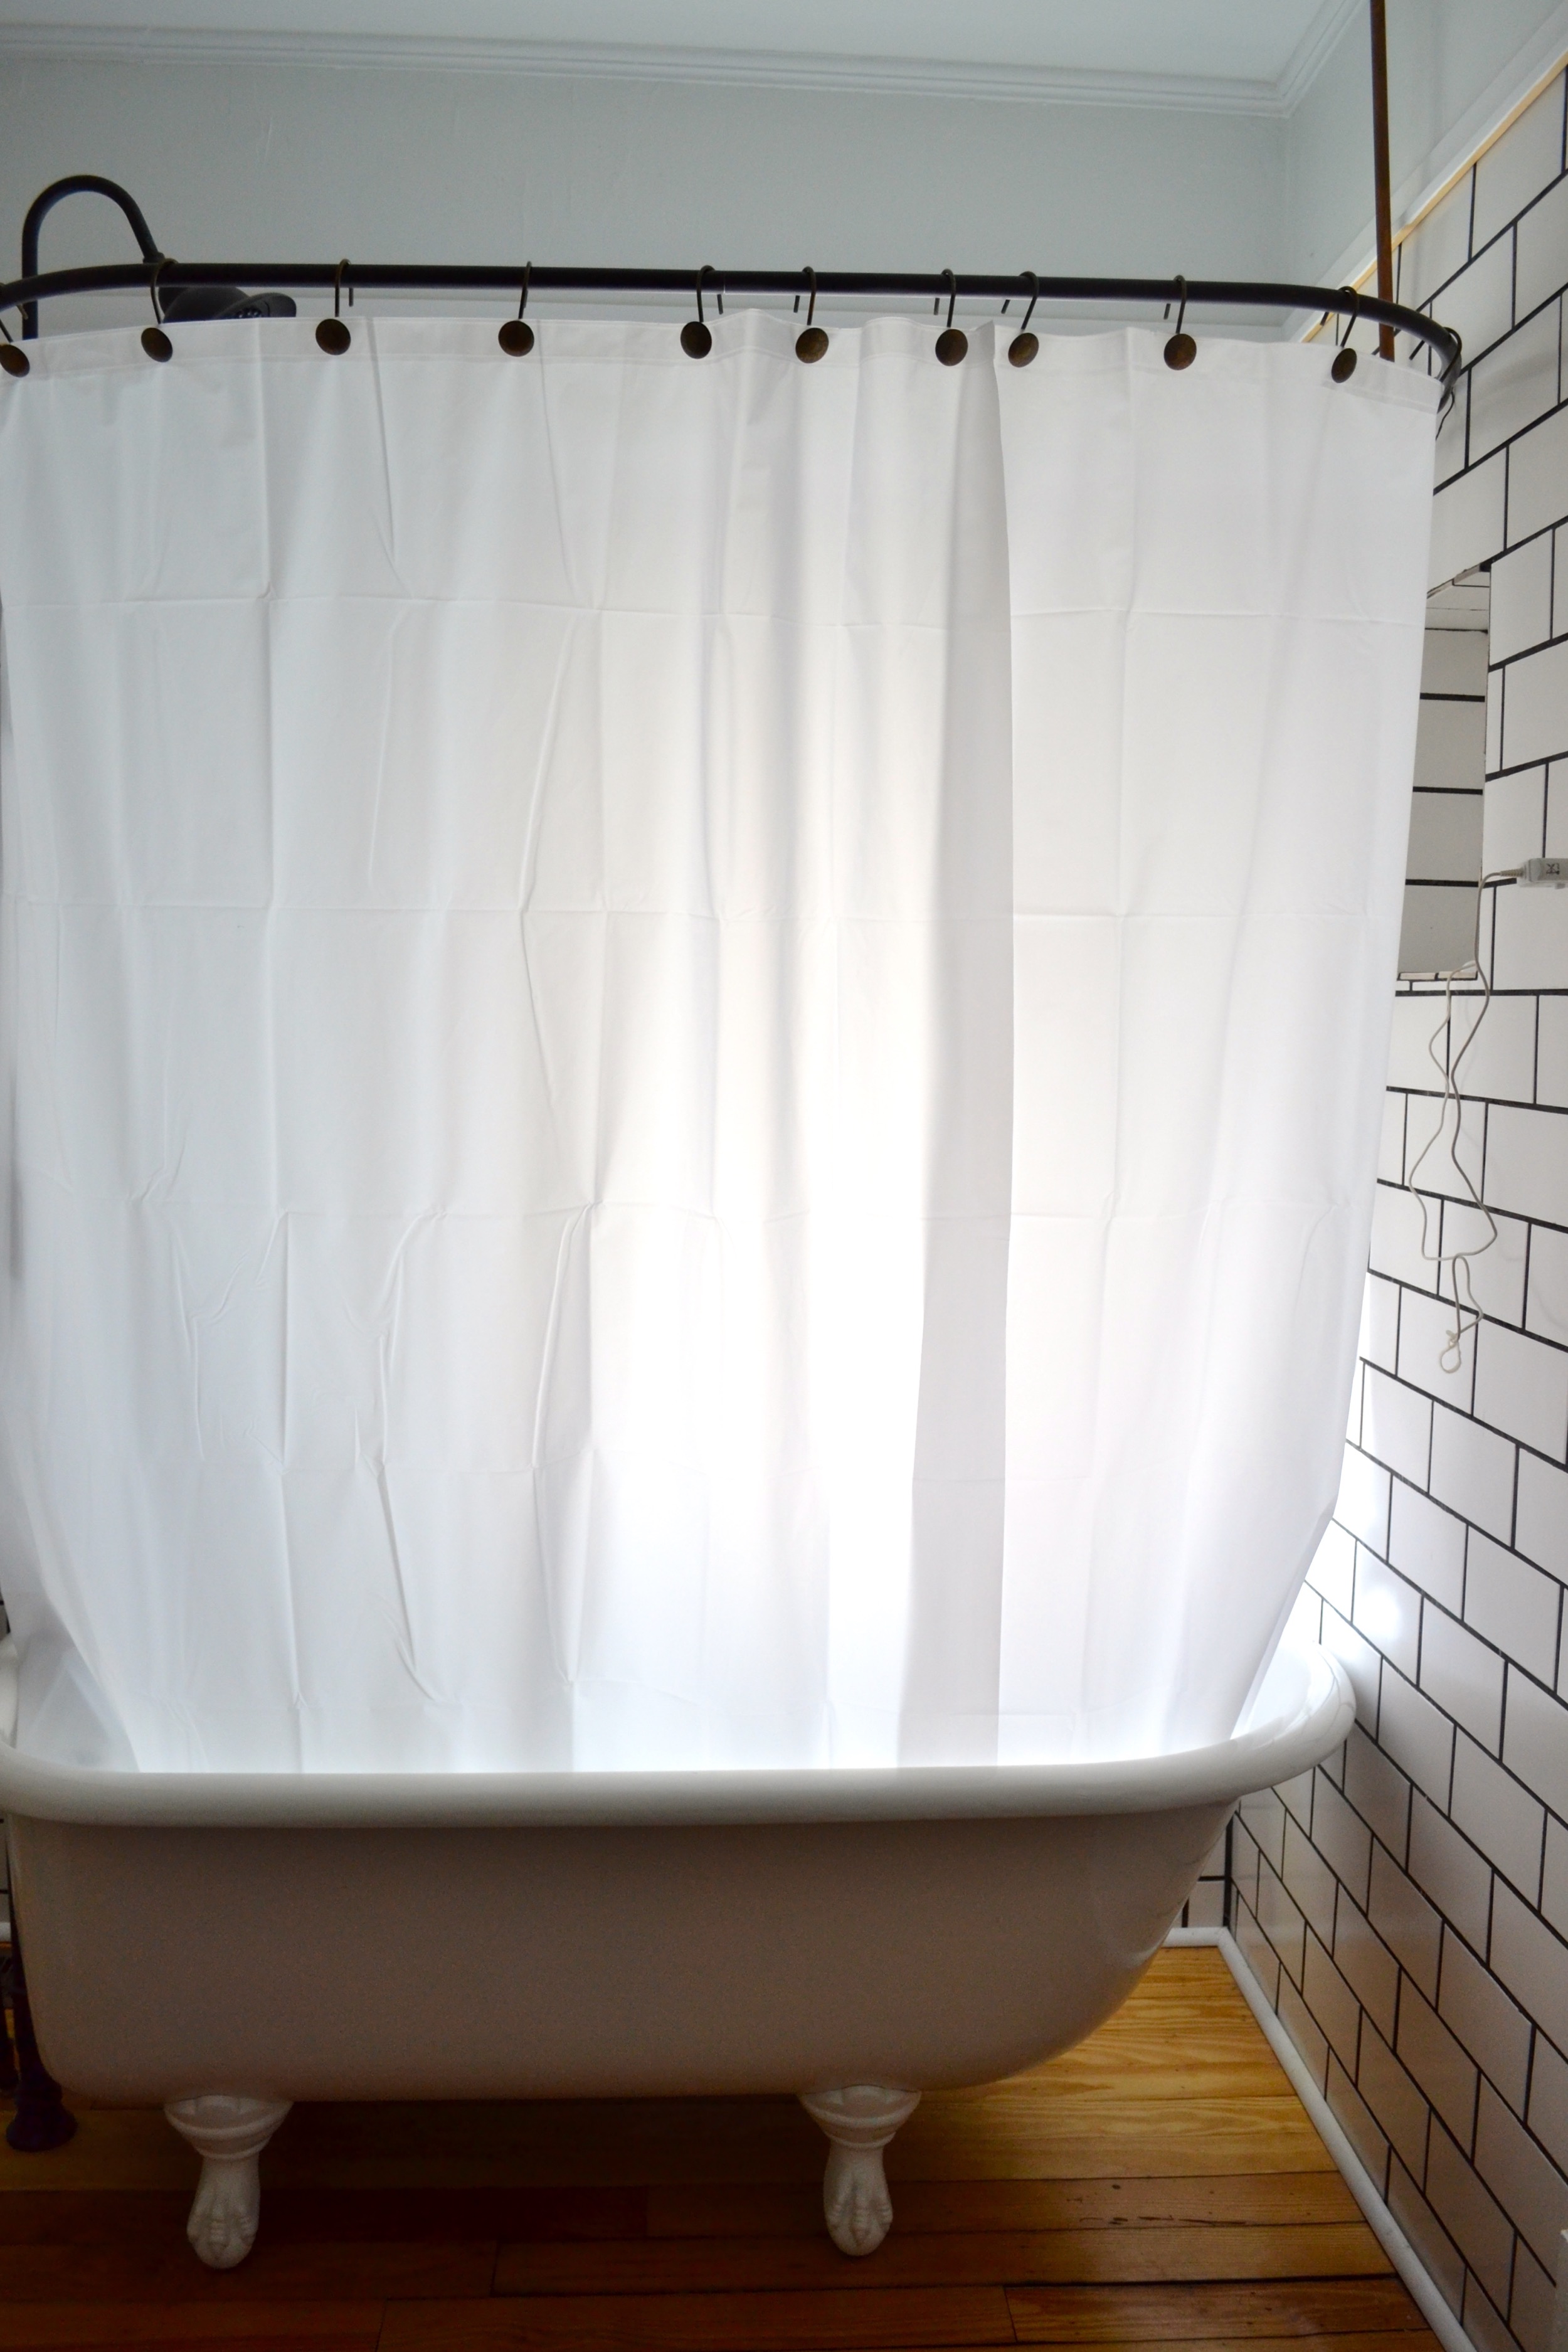
And now look at it! There's almost no weatherstripping gaps on the door. Check out the different in the light coming in. The left is before and the right is after. Yipee!!