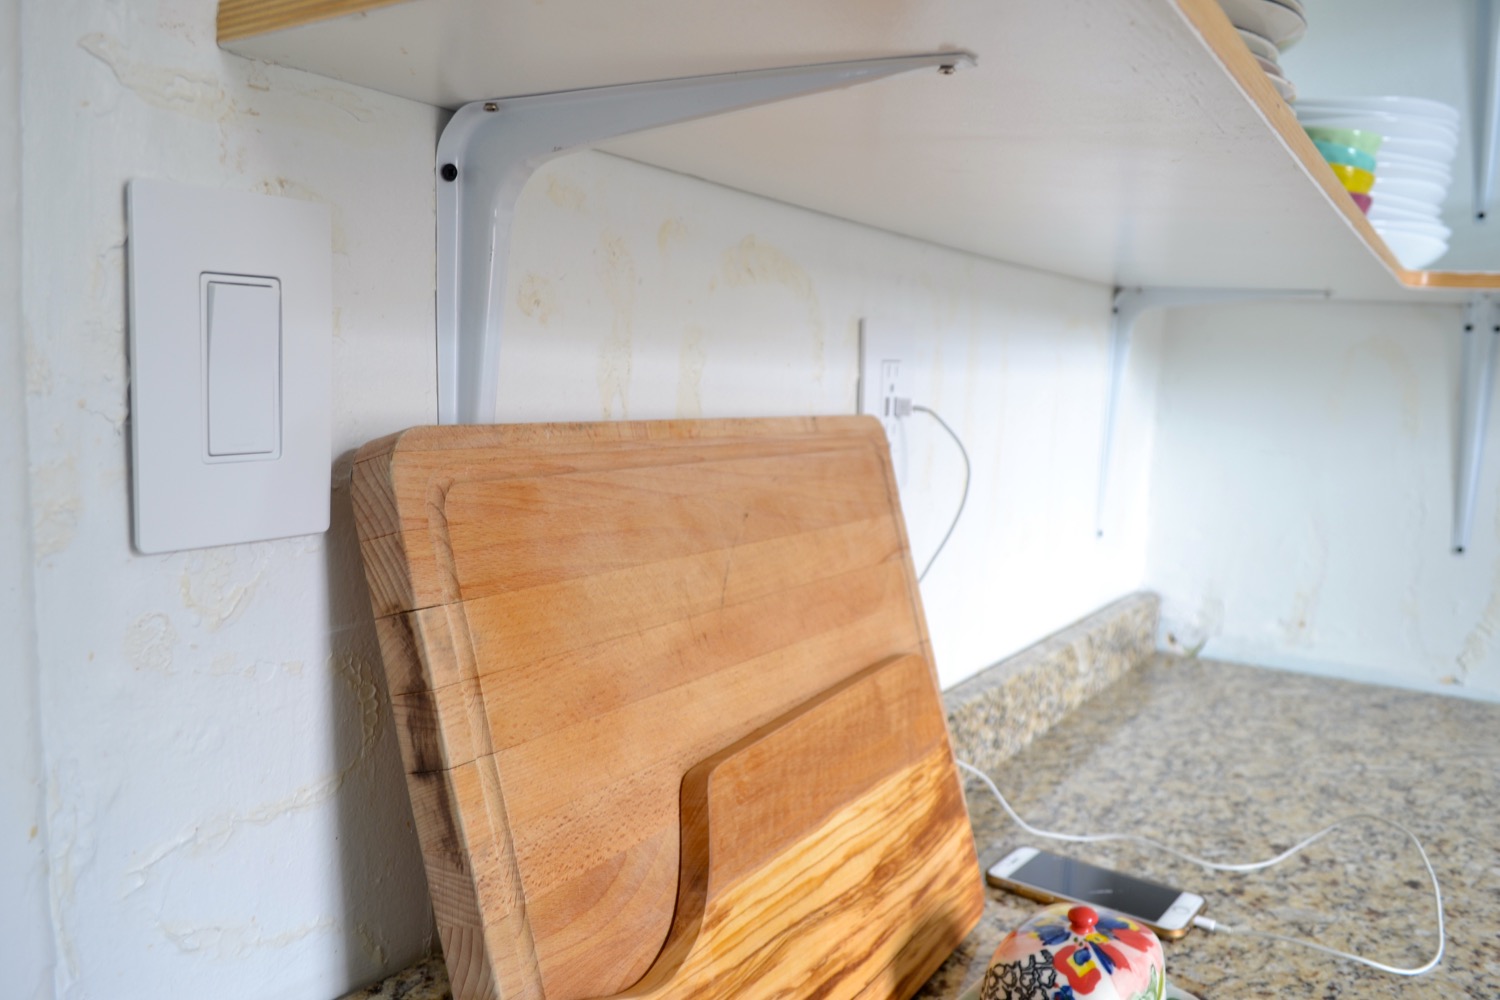

Today I’m sharing how to easily switch out that old outlet or light switch. You know the one I’m talking about. It looks old and yellowed when in fact it’s just “almond.” A color that really shouldn’t be in existence any more. Or maybe it has paint on it because it wasn’t protected during the last redesign, or perhaps it’s chipped, or the plate doesn’t even really fit and it wiggles threatening to fall off with each plug and unplug. Whatever the reason – just replace it. I’m telling you, you won’t believe the difference it makes. And it feels that much better knowing you did it yourself. So, I’m sharing the how-to instructions and of course if you’re still not comfortable your local handyman should be able to do it in snap.
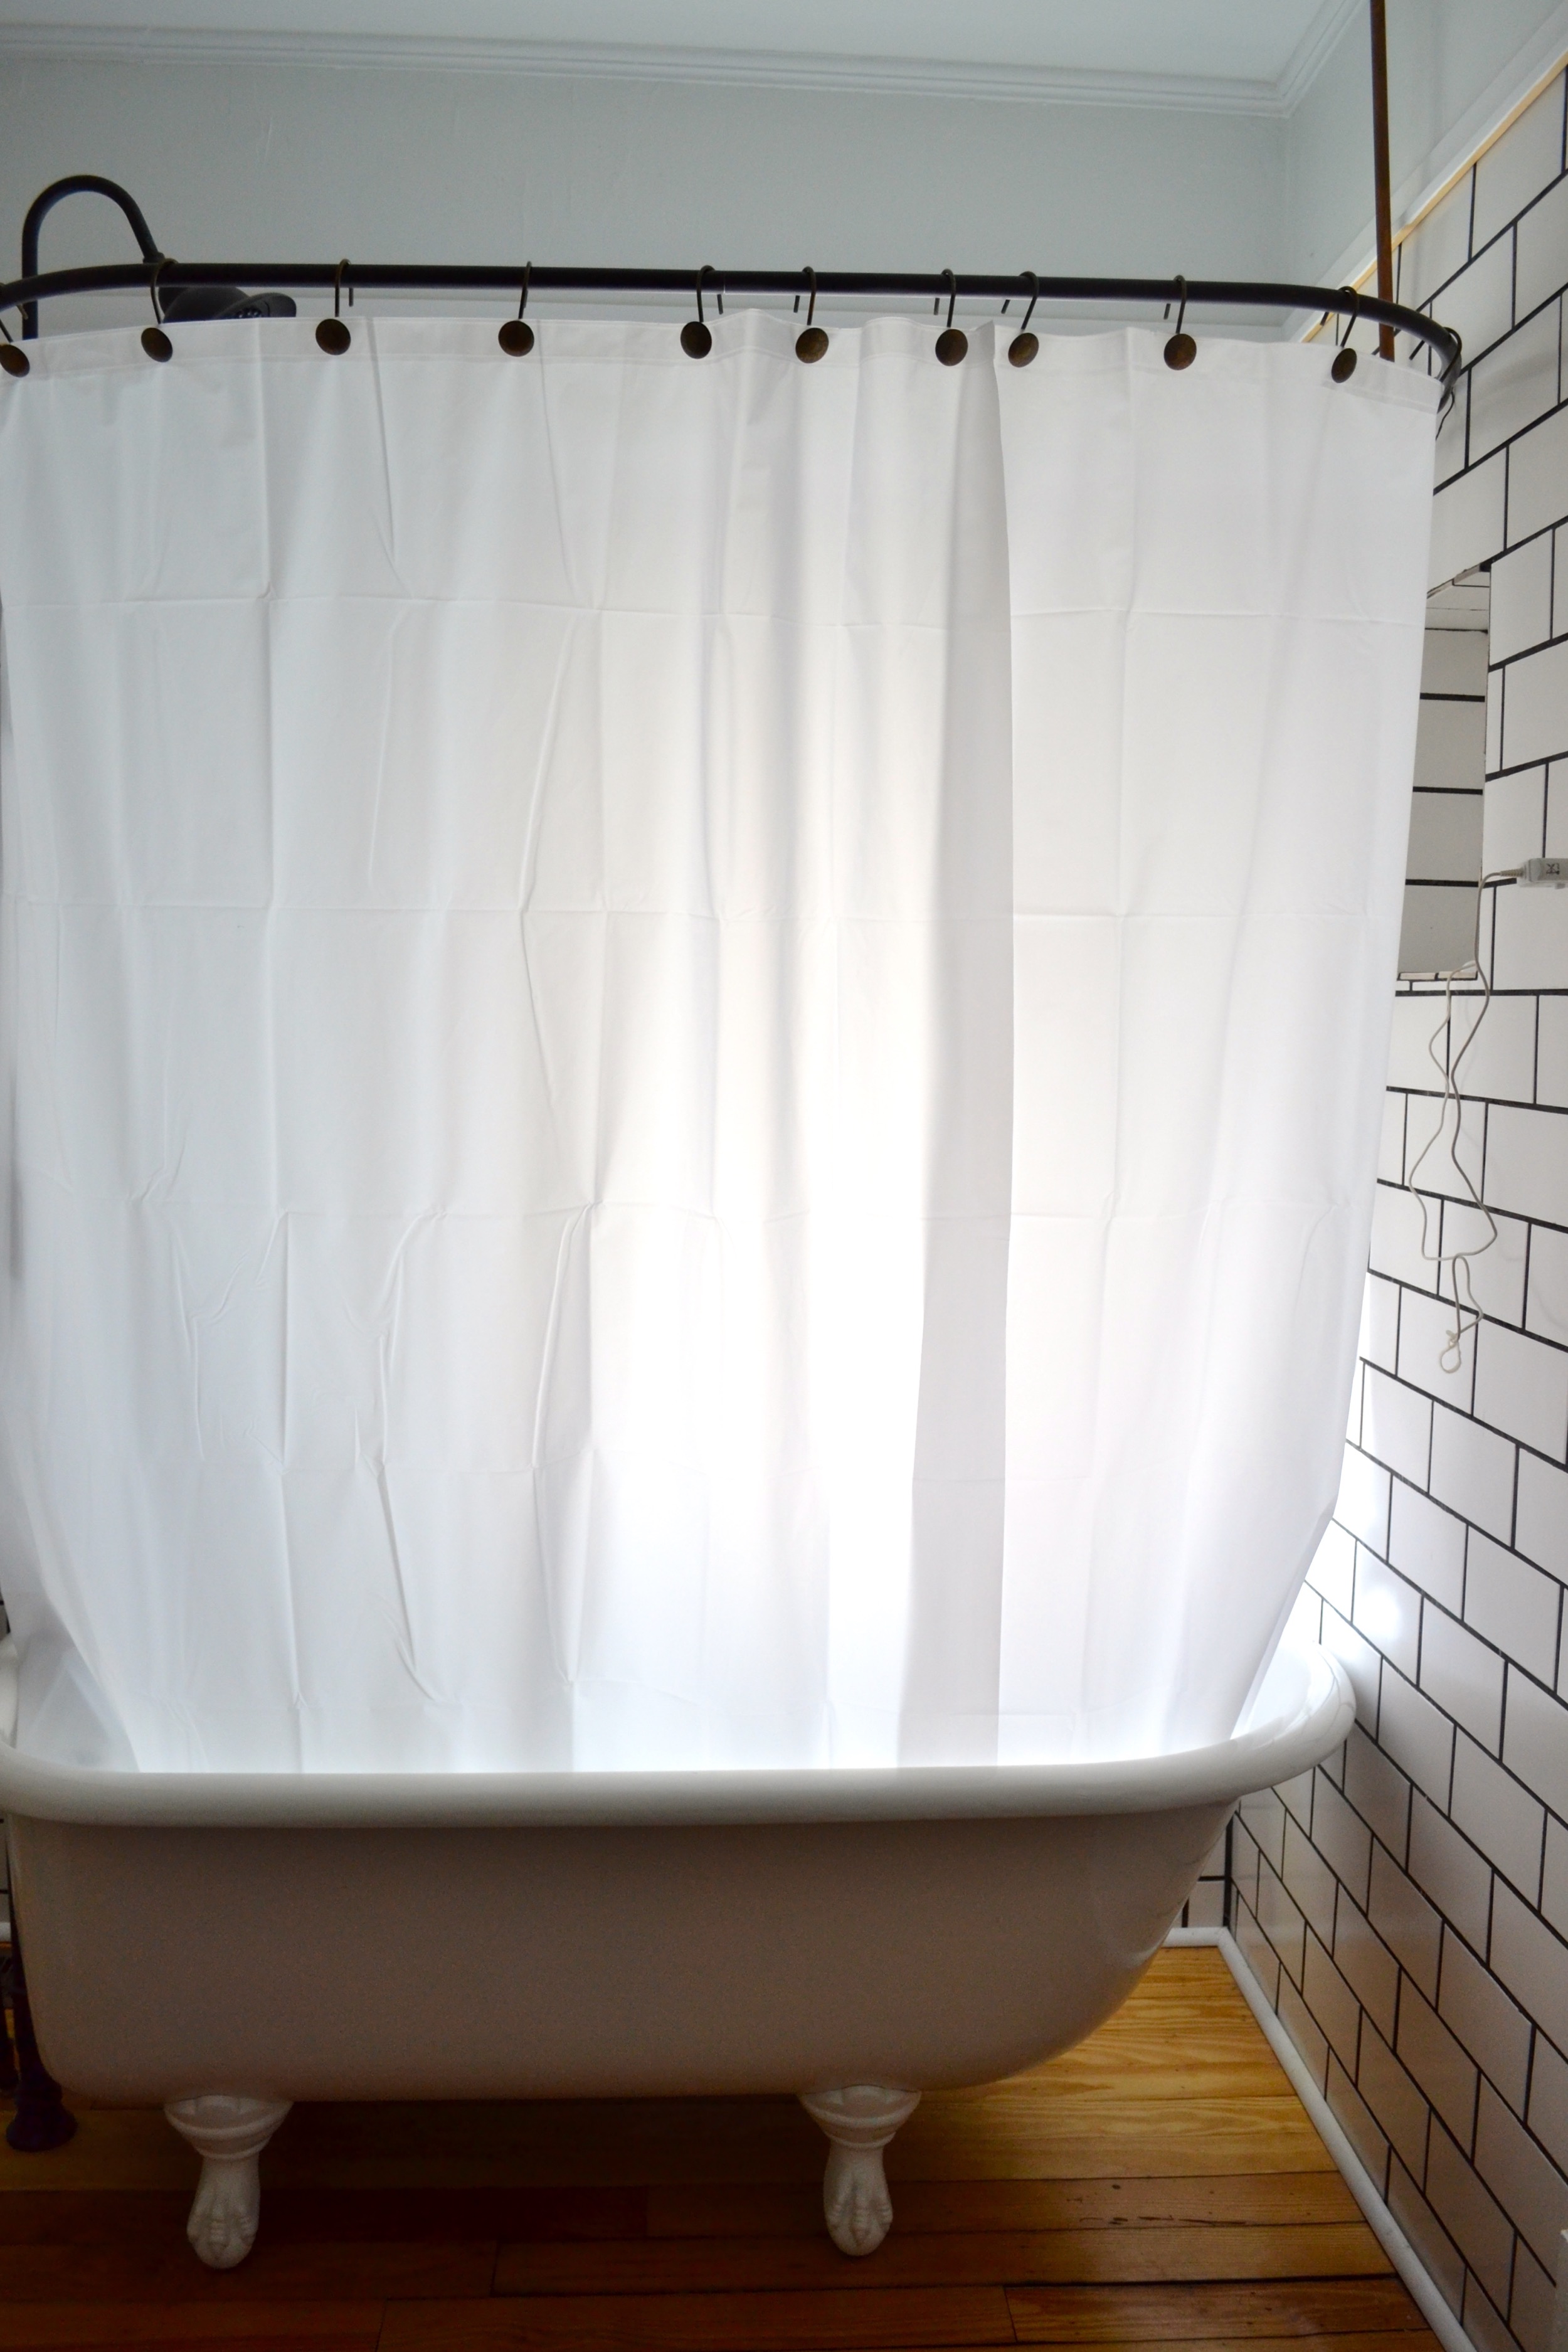
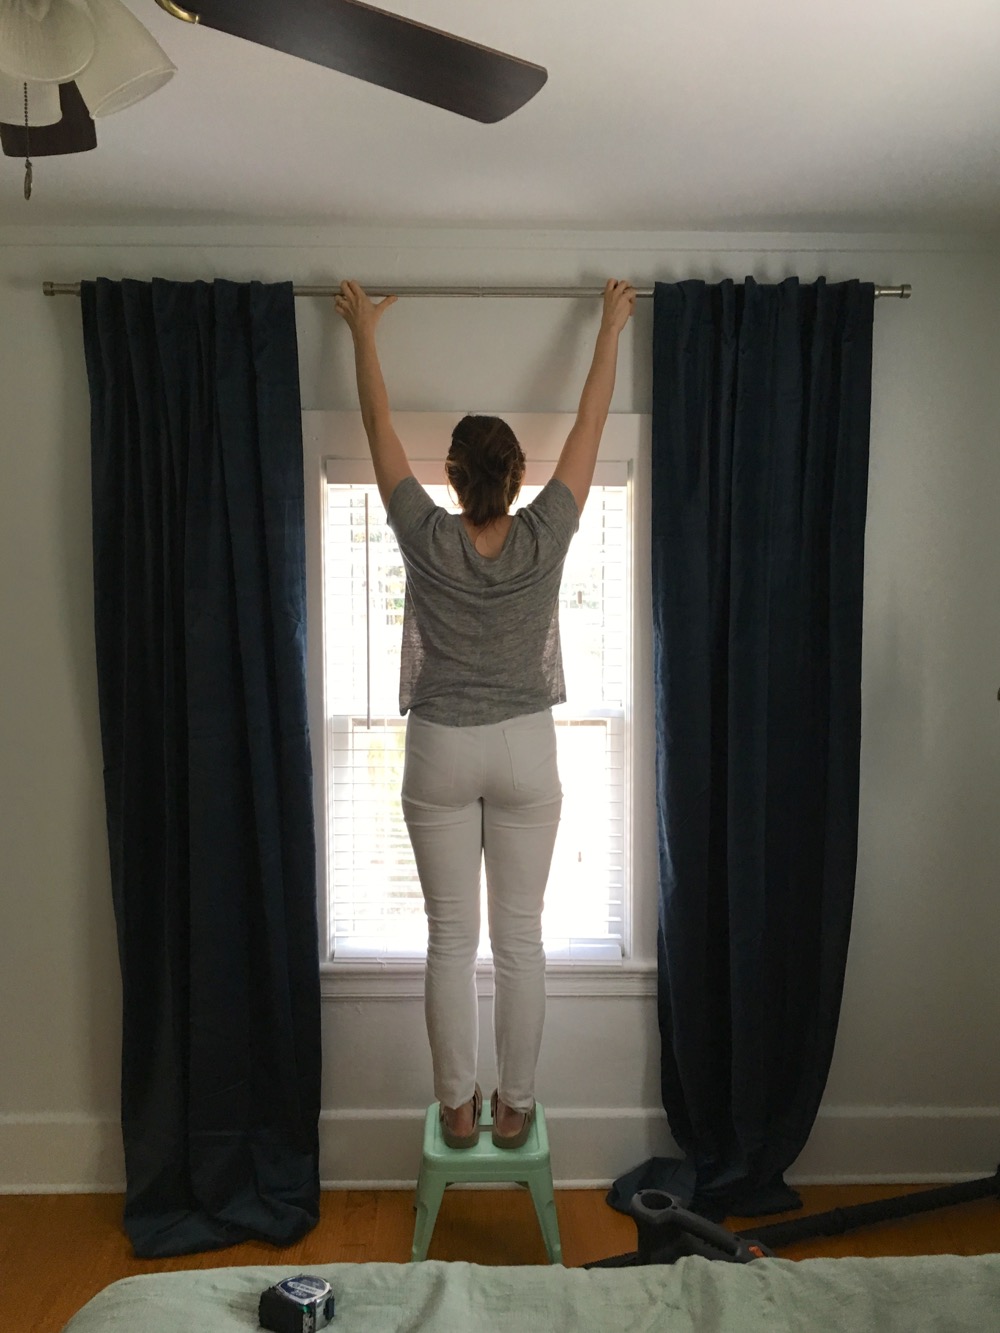
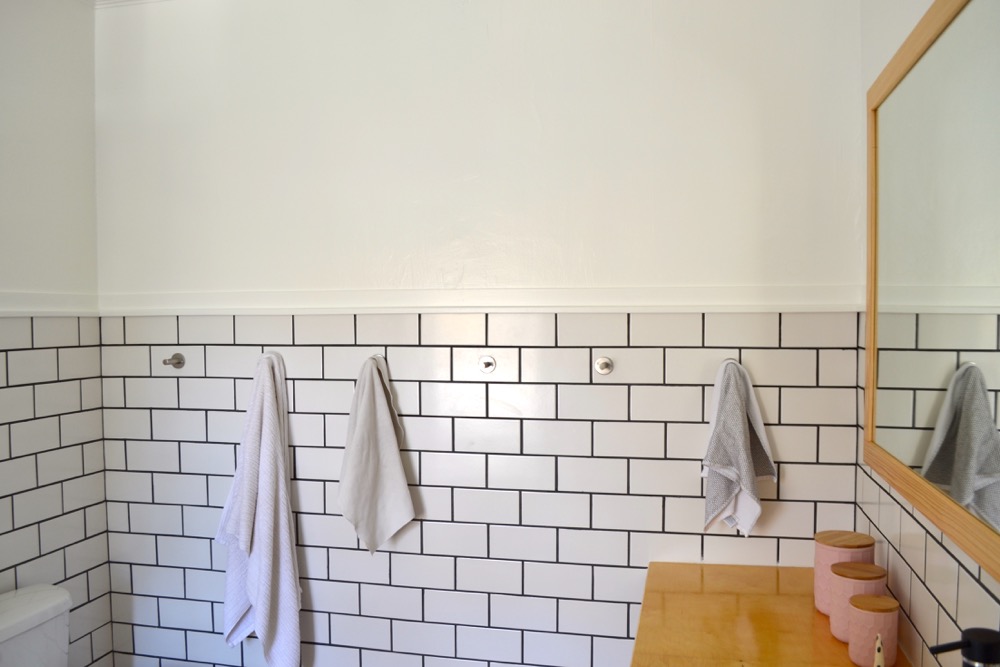
Pretty much every outlet and switch in our house has one of the elements from above. Painted over, cracked, chipped, missing an anchor screw, off color, mismatched sizes. You name and we’ve got it. So, we’re slowly replacing them all over the house. We do a few here and there as we’ve got time and it’s such a small project but one that still makes me stop and go, “wow, that made a huge difference” even months later. We’ve gotten the upstairs bathroom and the guest bedroom completely replaced and I hoping to tackle the master bedroom next.
Pin this project and save it for later!

How to replace your receptacle or light switch switch.
This is a super easy project and you only need a few tools.
1. First, flip the breakers to off for the circuits you will be working on. We plugged a hair dryer in to the receptacles we were working on, so when we flipped the breaker, we could hear it turn off.
2. Double and triple check that the receptacle or switch does not have power. You can never be too safe.
3. Remove cover plate.
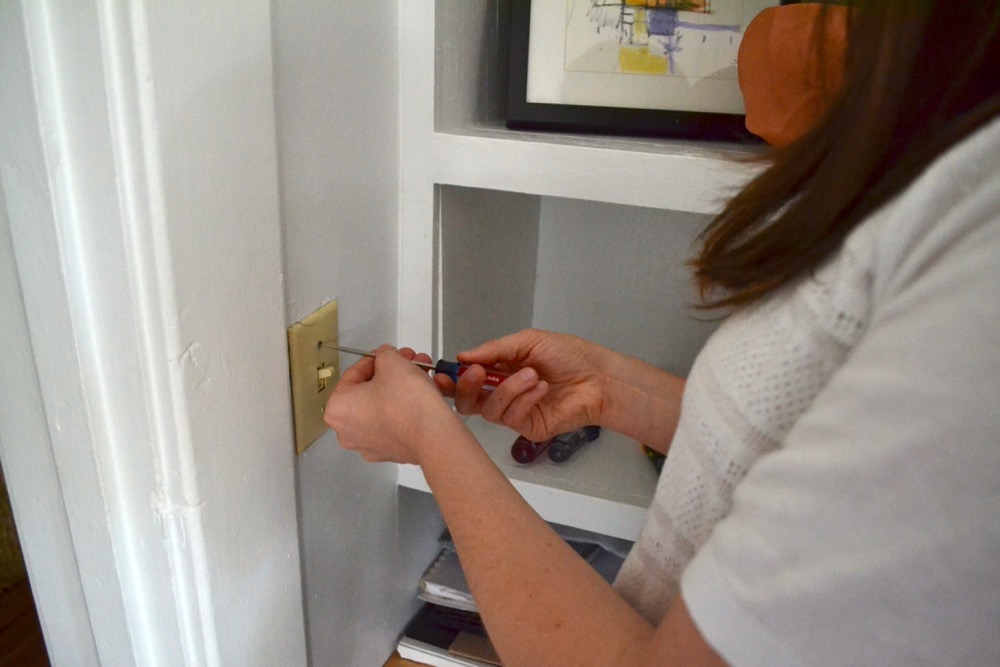
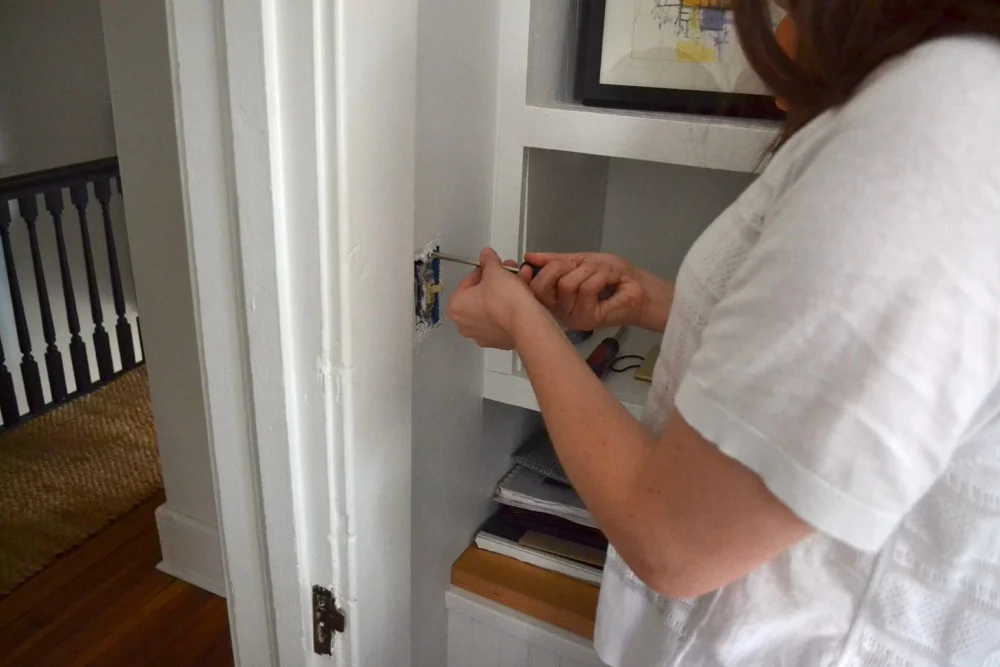
4. Remove the outlet or switch from the electrical box. Usually it is attached with two screws - one at the top and one at the bottom.
5. Unscrew the contacts (aka screws on the sides of the receptacles) to loosen the wires and slide them off. You may also need to use pliers to open the wires a little.
6. Discard old, dingy receptacle or switch.
7. Attach wires to the new receptacle or switch. Black is hot. White is neutral. Copper is ground. Match the wires to the appropriate screws (they should be noted on the receptacle). Make sure the part of the wire that goes into the wall is on top of the screw and the end is on the bottom.
8. Insert fixture back into electrical box. Fold the wires into the hole as you do so.
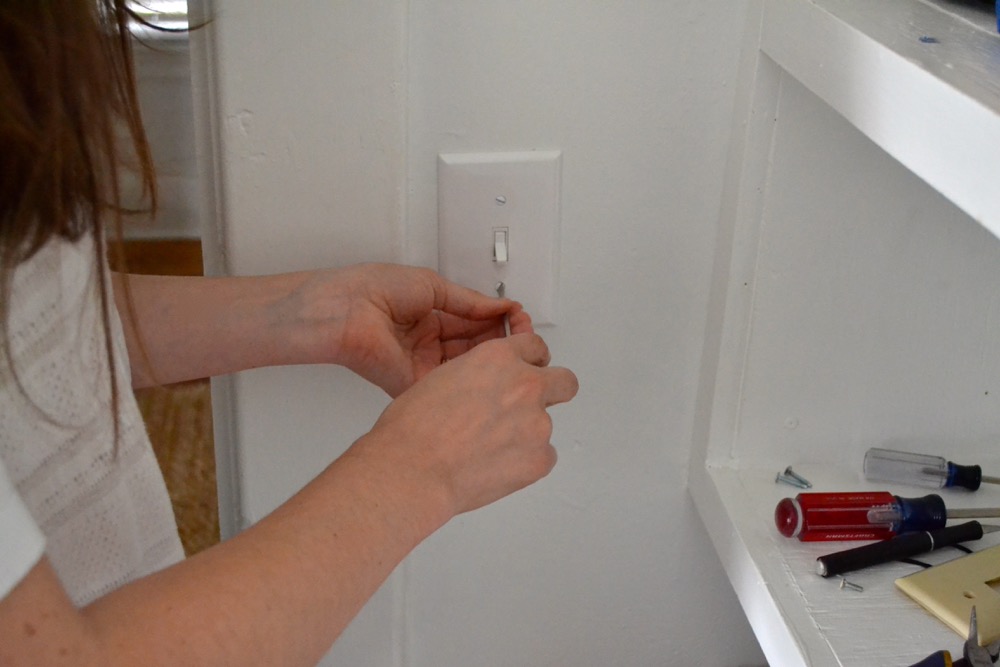
9. Reattach with screws at top and bottom
10. Attach new cover plate.
11. Turn the circuit back on at the panel once all the work is done.
I also like this tutorial for detailed photos of what I’m talking about. I didn’t get any up close shots to label like this. Fortunately she does a great job!