

Hey there! Today I wanted to talk a little about gallery walls. For as long as we’ve been married we’ve had some sort of gallery wall. This hasn’t always been an intentional decision, but just the way things ended up. Our first apartment was a tiny little studio in San Francisco’s Marina district and there really weren’t many other places to put things. It was the perfect way to make a statement in such a small space. Our second apartment, in the Cole Valley neighborhood of San Francisco was palatial by San Francisco standards (1 bedroom, 800 square feet. #blessed), and while we had a bit more wall space, the living room got a lot of great light and we spent most of our time there and for some reason I was just dying to frame those french doors in a gallery wall. Our current house had me stumped for a LONG time, I’m embarrassed to say it took almost a year to put things up. I hate hanging things and my reason for waiting was that I wanted to make sure I liked where I put them. In hindsight I was being too perfectionistic about it and wish I had put them up sooner, but by waiting I ended up with another cool, high-impact gallery wall so it’s not all bad.
Because we’ve done so many, none of which have been the same, I wanted to share all my tips for gallery walls, frames, what to use, and where/how to get things framed. So, settle in there’s lots of good information ahead.

A grainy iPhone photo of our studio apartment, for the full room.
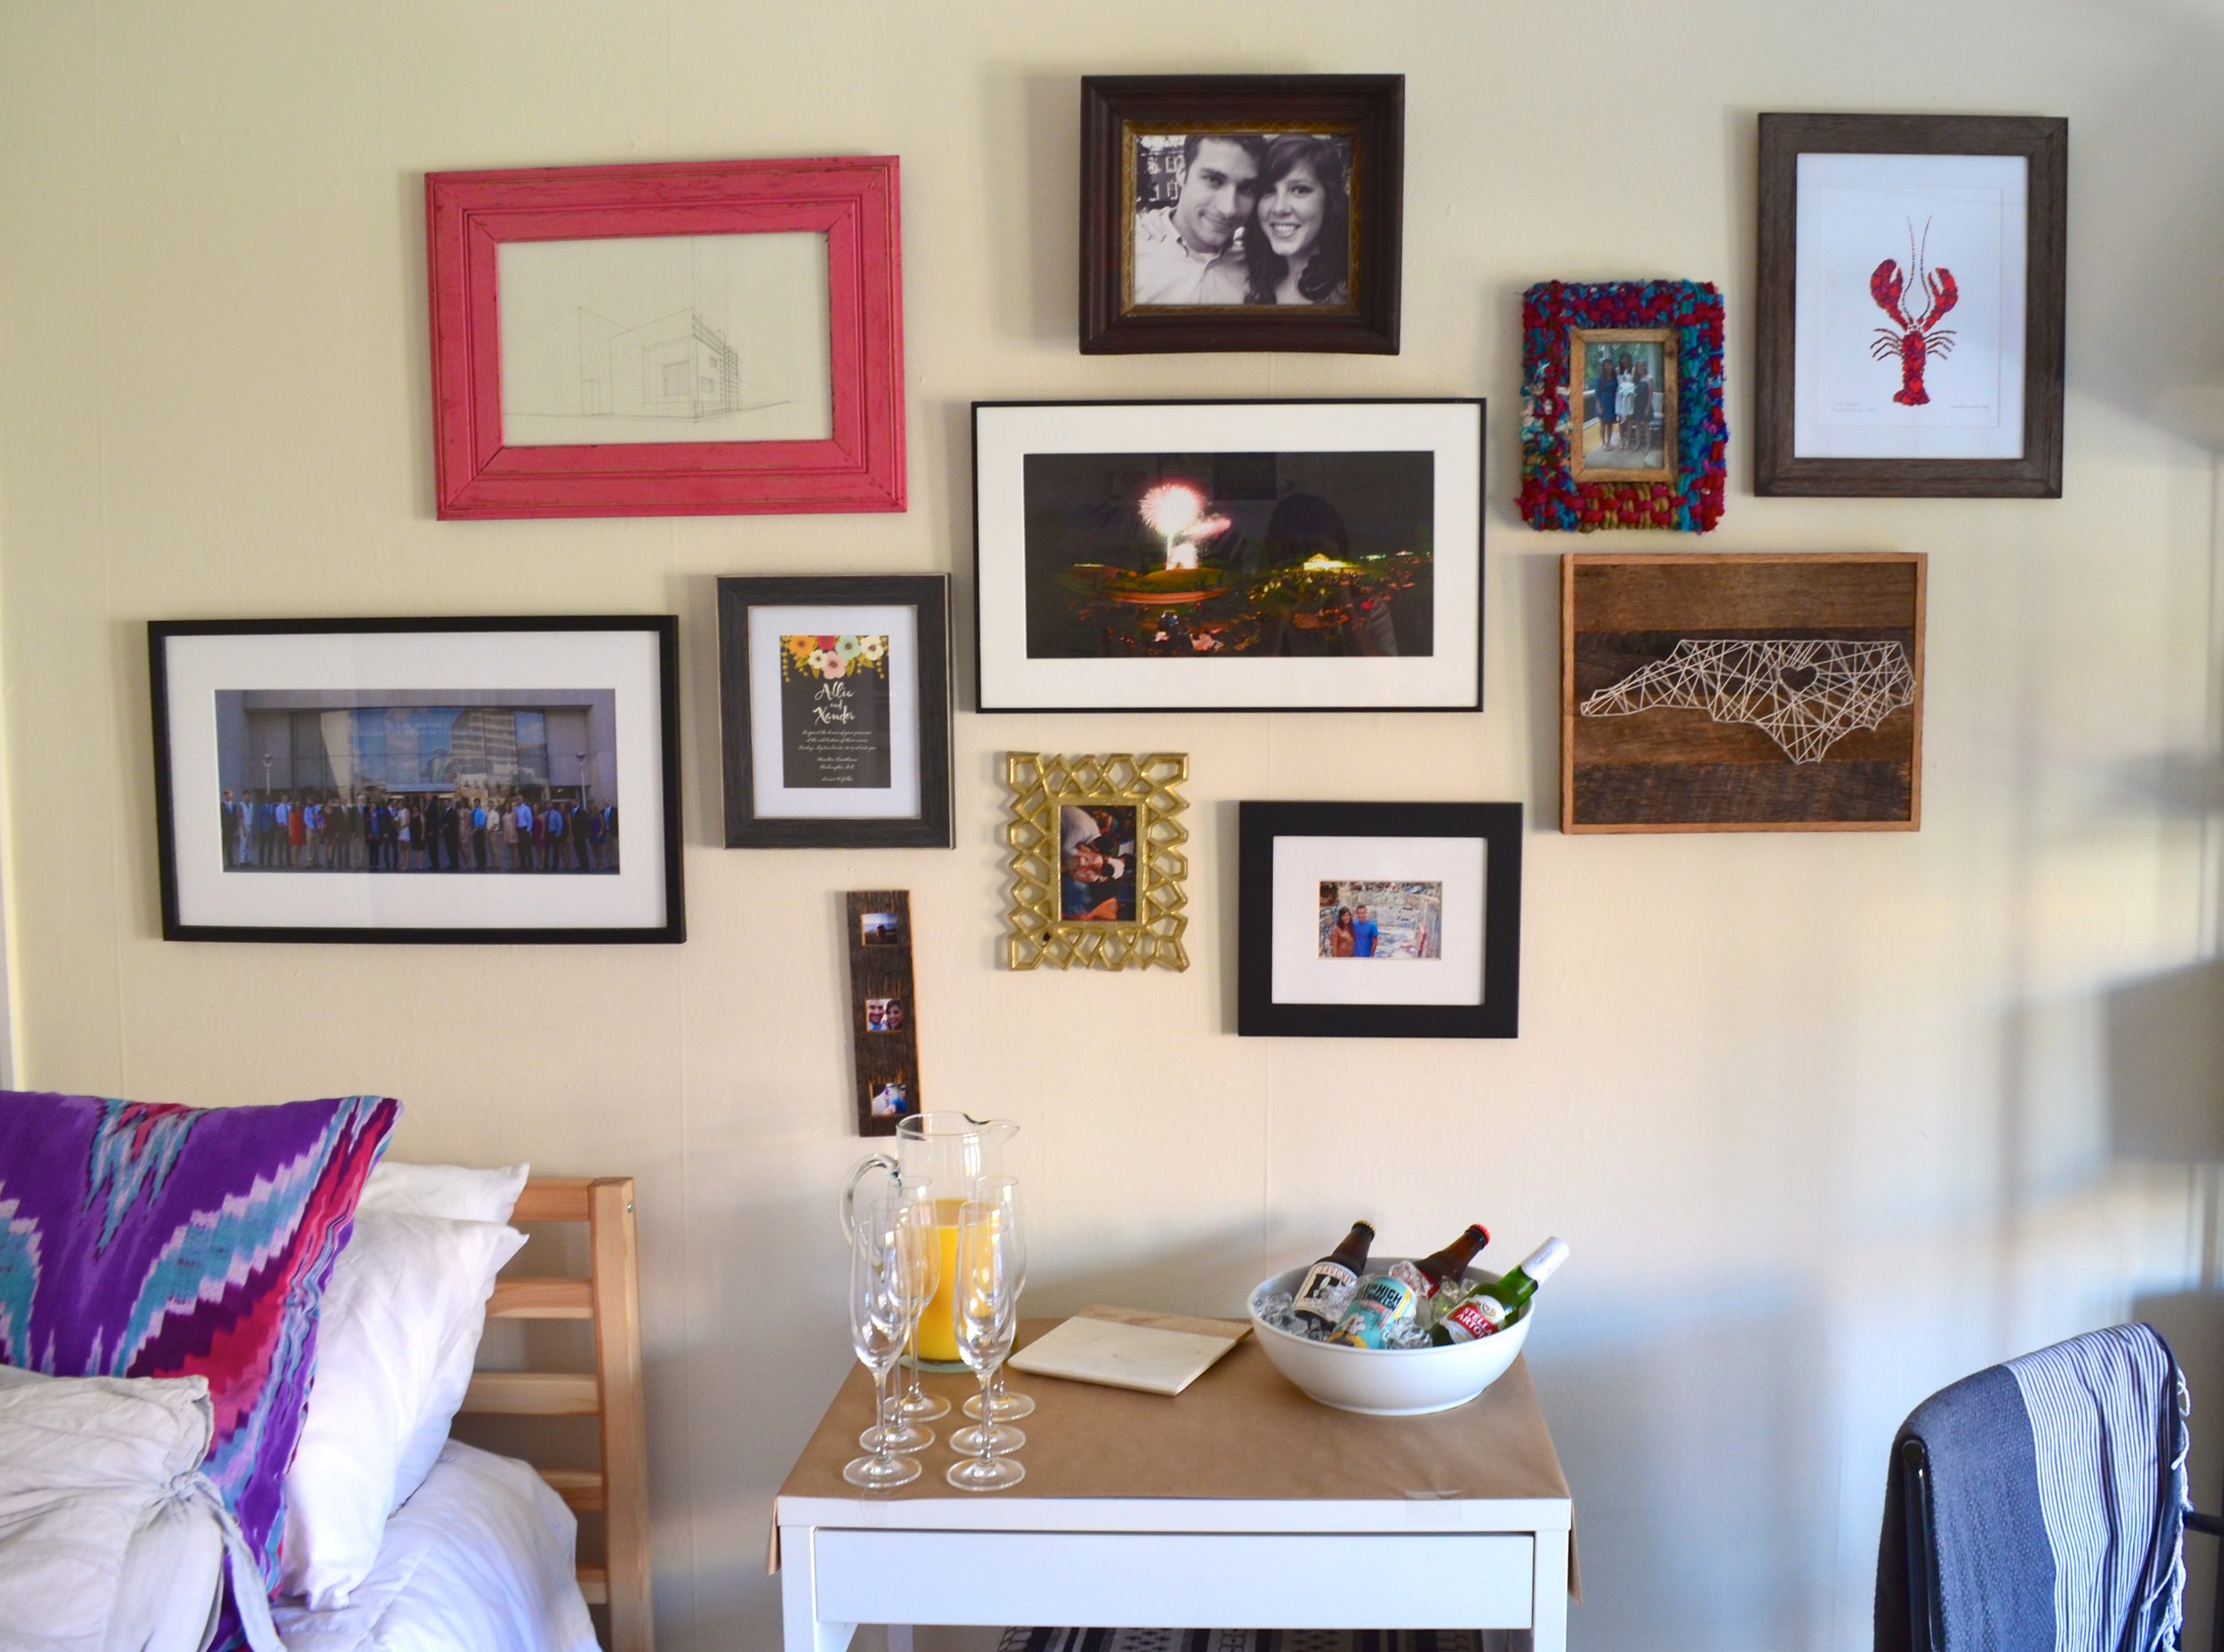
An up-close photo of (most) of that same gallery wall. The apartment was rearranged so we could fit 10 people when we hosted a wedding shower.
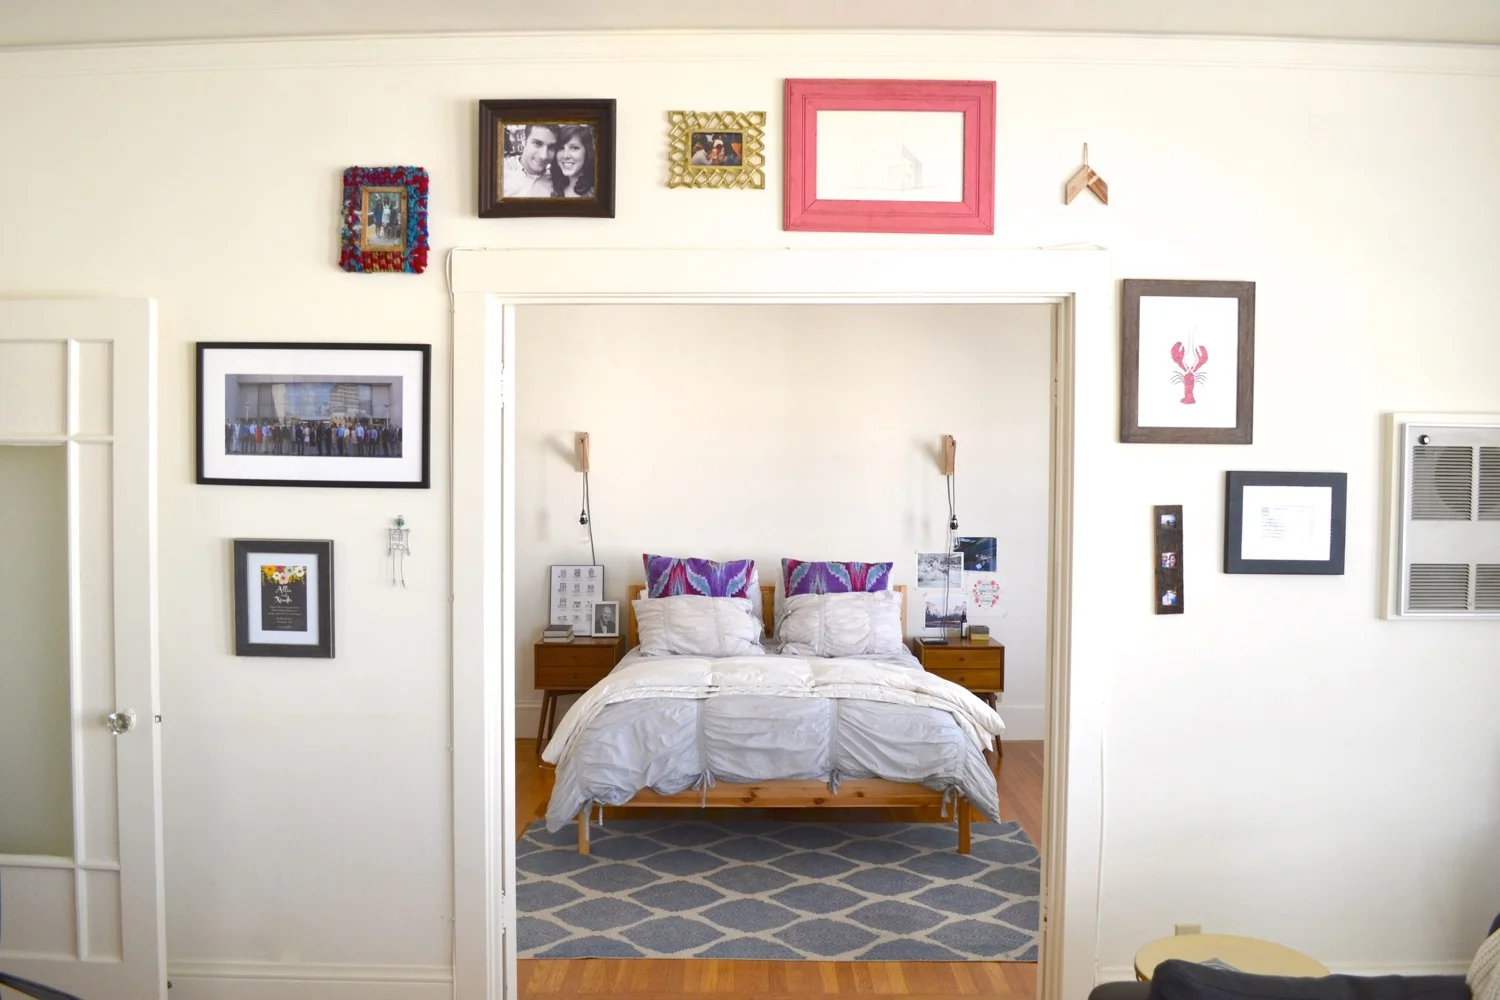
The gallery wall in our Cole Valley apartment.
What to hang on your gallery wall
Let’s start at the beginning - what you’re going to put on the walls. Personally, I really like sentimental things. And when I say “things” I mean it. I don’t just stick to pictures. In fact, that’s something I love so much about all my gallery walls - the mix of items I have hung. I mix pictures, prints/artwork, drawings, and any other thing that can be framed. That United States one is a cross stitch that my great-grandmother made and my parents found in my grandmother’s attic when they helped her move out of her house. In the large pink frame is one of Xan’s first hand sketched drawings from graduate school, and that Otomi embroidery is a piece of fabric from a trip to Mexico we took. But, see that skeleton on the wall? It’s just a trinket we picked up on our honeymoon and is one of my ALL TIME FAVORITE THINGS. We used it as a Christmas ornament for a couple years, but it didn’t stand out enough on the tree (in my opinion…) so I moved it to the wall and never looked back. When it comes to what you’re putting on the wall don’t get hung up on if it’s “supposed” to be there or if it’s technically “art.” Anything you love can go! Sentimental or not, if it brings you a little joy to see it, then try it on the wall!
What frames to use in your gallery wall
I think it’s obvious that I like an eclectic look. Very few of my frames match. It works because I have several, very obviously different frames in terms of scale, contrasting colors/textures and a complementary color palette. There are a few important things here:
You want the frames to be different enough that it’s obvious. If they’re too similar it will look like you’re trying to match them, but just didn’t quite get it right. You’ll add extra depth if you use some frames that have interest, like the gold with the triangle edges, or the fabric wrapped smaller one, or the pink carved wood one.
You’re going for a color palette that is complementary, not matchy-matchy. Try using different tones of a color (like the reds and pinks I have on the wall). The reason those work is because all the frames are very obviously different in both size, texture, and shape. You can use the color wheel trick. When looking at a color wheel, the color directly across from it is the complementary color and the colors on either side are the tertiary colors. Complementary colors are always a safe bet and the tertiary colors are other good options to mix in. Also think about how you can incorporate interesting neutrals. Perhaps an antique wood frame or something gold with a pattern or texture on it.
Fill in with standard, big box store frames. If you fill in the rest of your wall with standard frames (see more below) stick to around to ½ to ⅓ of the wall being those. And try bringing in different colors or frame widths if you can. (This is my all time favorite big box frame!)
Where to find your frames
This totally depends on what you’re getting framed. I’ve outlined my favorite sources below. The one thing you want to be sure to do though is have everything framed that you have on hand and intend to use on the gallery wall. You can always add more later, but to determine size, spacing and placing you need to have everything in a frame when you start the gallery wall. I’d recommend getting all that extra art you have lying around framed even if you don’t intend to put it on the gallery wall. It’s helpful to have extras to play around with and you might find you like the scale or look of one thing better than another. Here are my go-to places for:
Something standard sized - this is for anything that comes in a typical size of frames (ie: 4”x6”, 5”x7”, 8”x10”, 11”x17”, etc.). Remember, you can get creative about this. The print on the top right with all the houses was actually several inches longer, but there was nothing on the bottom so we trimmed it to fit in a standard (much cheaper!) frame. My favorite stores for these types of frames are Target and Ikea. Ikea is great for certain larger items. Especially if you buy posters from Europe. Just be sure to double check your measurements because they tend to align more with European standards.
Something small, but unique - when you have something relatively small that you need custom framed I like Framebridge. They have the most beautiful frames and for smaller items it’s much more affordable. The Otomoi fabric was framed in a float mount by Framebridge and I absolutely adore that bright red frame with the fabric. It makes such a statement! My favorite Framebridge frames are: Madrid, Mandalay, and Cairo. If you use this link you will get 15% off your first purchase!
Larger custom items - For larger items that are an unusual size and thus need a custom frame I really like Frame it Easy. I discovered them recently and have been so happy with their options. You can get custom frame sizes with custom mats for a really reasonable price. You just have to put your artwork in the frame yourself which is really quite simple. We framed the United States cross stitch and the 2 seasonal produce prints through them and it was SO much more affordable than any other alternative. I really recommend trying them. If you try it use my referral link for 10% off frameiteasy.com/referral/dMJh
Interesting Frames - I’m on the lookout for unique frames all the time. I pulled together some of my current favorites. But, also check out antique malls, your grandmother's attic, and boutique shops.
Where your gallery wall should go
The final thing to do before you get hanging is to decide on the wall you want to use. As you can tell I really like things that are non-traditional. Wrapping around a door frame, using the entire wall (even if it’s asymmetrical). So, think outside the box. I like to consider where I’ll get the most impact, what area needs something on a large scale, and what else I have in the rest of the room.
How to lay out a gallery wall
There are so many tutorials about this on Pinterest and people swear by all kinds of methods (laying it out on the ground first, cutting out traces of all your frames and taping them on the wall, drawing your frames on a large piece of paper). But, after 3 gallery walls and trying many of the “traditional” methods the only way I’ve ever done it successfully is by trial and error. The beauty of this way of hanging the gallery wall is that it’s extremely forgiving and leaves room for additions in the future. It doesn’t have to be precise and can take a lot of the pressure off.
It will be really helpful to invite a friend over to do this. An extra set of hands to hold things up while you step back and visualize and an extra opinion can help the process go along much more smoothly. If you’re doing it with your spouse the third person can help you avoid some snarky comments that you might regret later (not that I know 😉)
Decide on the wall I want to use - ideally something that’s high impact. This house is the first two story house we have lived in together and I didn’t realize that nobody goes upstairs! From living in San Francisco I’m so used to people being in your entire house (that was especially true in our studio) that I was surprised and a little bummed to find out that’s just how it works with two stories. As much as I wish people would go upstairs, the reality is they don’t, so I knew I the gallery wall needed to be downstairs. Because it makes such a statement I wanted it to be in a place that would be seen by most people coming over, instead of just us and the occasional overnight guest. What I love about where we ended up putting it is that you can see it from the front door when you walk in and we spend a lot of time in the kitchen and dining room.
Make sure everything you have and plan on using is already framed. This is not to say that you can’t add more later, but make sure you’re starting with the full size of each item you have on hand.
Assess everything you have. Lay it out on the ground, lean it against the wall, move it all around. Do whatever you need to get an idea of what everything looks like together. From there decide what your focal point will be. It’s helpful to decide on that by looking at what you like the most, what is the most eye catching, and what is the largest. I don’t always go with the largest frame, but often that makes the most sense. In the case of my current gallery wall I started with the 2 matching seasonal produce prints on the bottom in the middle and treated them as one.
From there build around and slowly start adding pieces. Being mindful of not accumulating too many frames of the same size, color, or art in one place. Also be sure to consider how heavy a piece looks and try not to have everything heavy in one spot. Large scale, thick frames, bold/dark art can all contribute to the heaviness of a piece.
I generally decide on 2-3 pieces at a time by holding them up and imagining the placement. Once I have a couple decided I hang those and then look at another 2-3 pieces and keep doing the same thing. Think of it like a puzzle, you hold up a couple pieces to see what fits and then try some others and decide what you like best. And then keep doing that until you get through your wall!
Good luck! And be sure to share if you discover any tips as you work on your gallery wall!

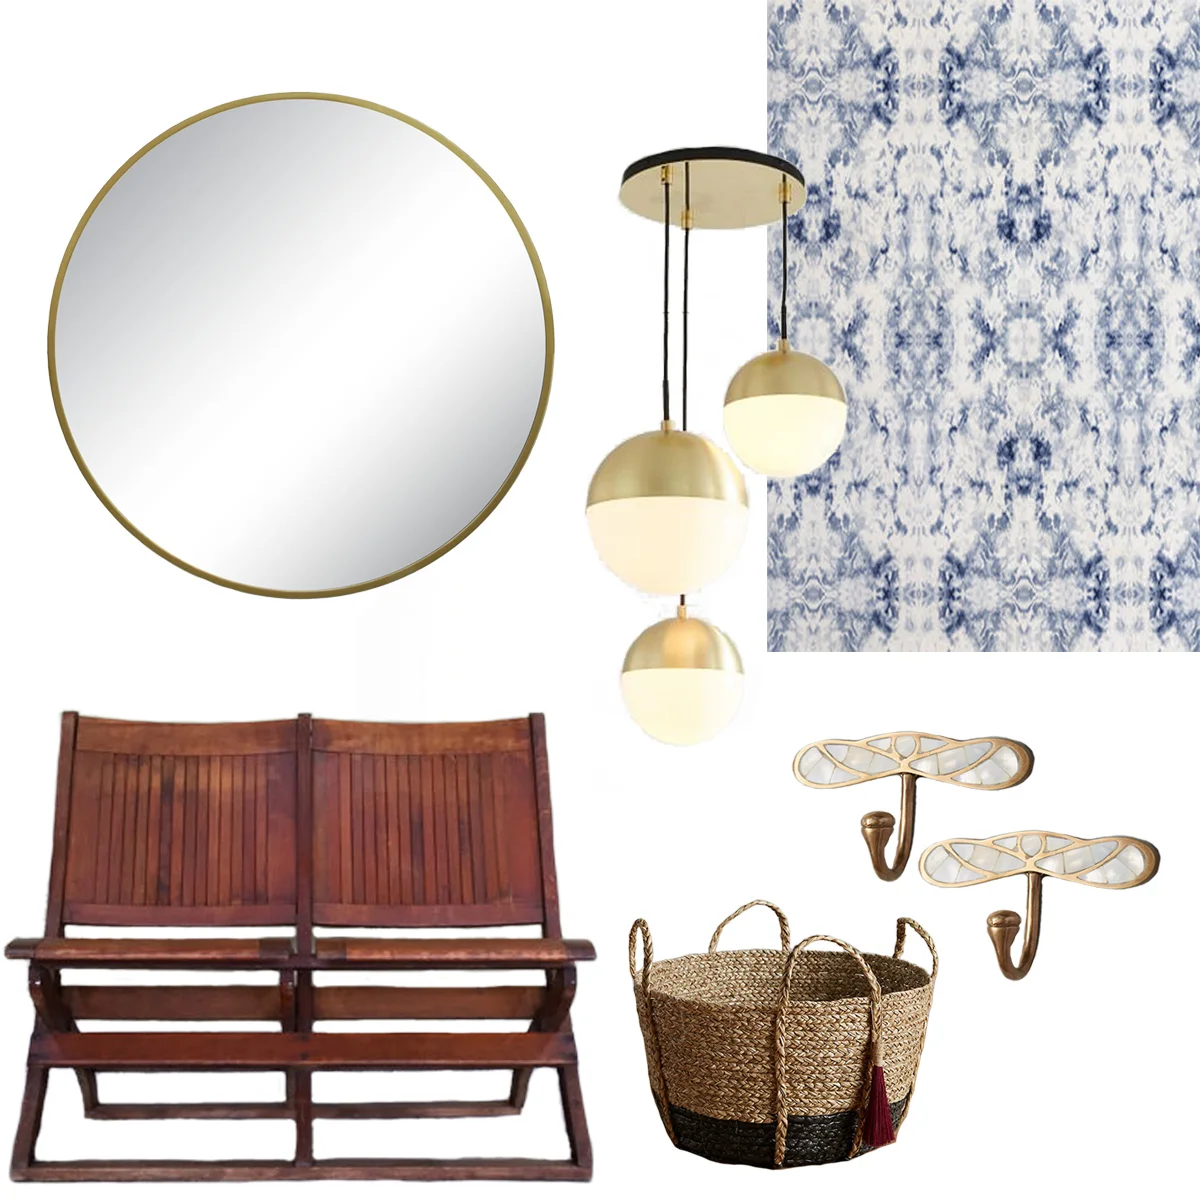


At the beginning of the year I made a list of all the projects I want to get done in 2018. Then, I organized them by the quarter I thought I would get them done. Because the biggest project of the year will be the kitchen, which we’ll hopefully be starting on shortly the only other thing I put on the list for the first few months of the year was the foyer. It’s the smallest project on the 2018 list so it made sense to do that at the same time as our largest project of the year. Plus, I think it will be good for mental breaks from the kitchen when we really need them.