
So, Xan’s had this table for a while that his dad bought long long ago that he loves. It’s a beautiful mid-century teak dining table that fits 4 and can expand to seat up to 8. We didn’t take it to San Francisco with us (#didntfitinthecar). And all that time he kept wishing we had. Wellll, now we’re back and I think you know what that means! Xan’s parents actually brought it over the day our shipping container was delivered! While our steel table has a very special place in our hearts, it’s not very comfortable and can be awkward for dining (even though it’s been our only table for years). Needless to say it’s quite exciting to have a regular dining room table.
And, it just so happens that my parents had an old set of 6 dining chairs just hanging out in their attic. They belonged to my grandmother and when she passed away and my grandfather moved out of their house my mom snagged them along with the matching table because she grew up with the set and they were special to her. Luckily for us though they aren’t really my parent’s style, my mom just couldn’t stand the thought of them going somewhere else. Fast forward a few years and now they’re in our dining room! And they pair so well with the table. Even though it’s a bit darker than the chairs, the chairs have some really nice wood graining, which is darker, and ties into the table beautifully. Plus, they’re really good quality and they have the pretty detailing on the back.
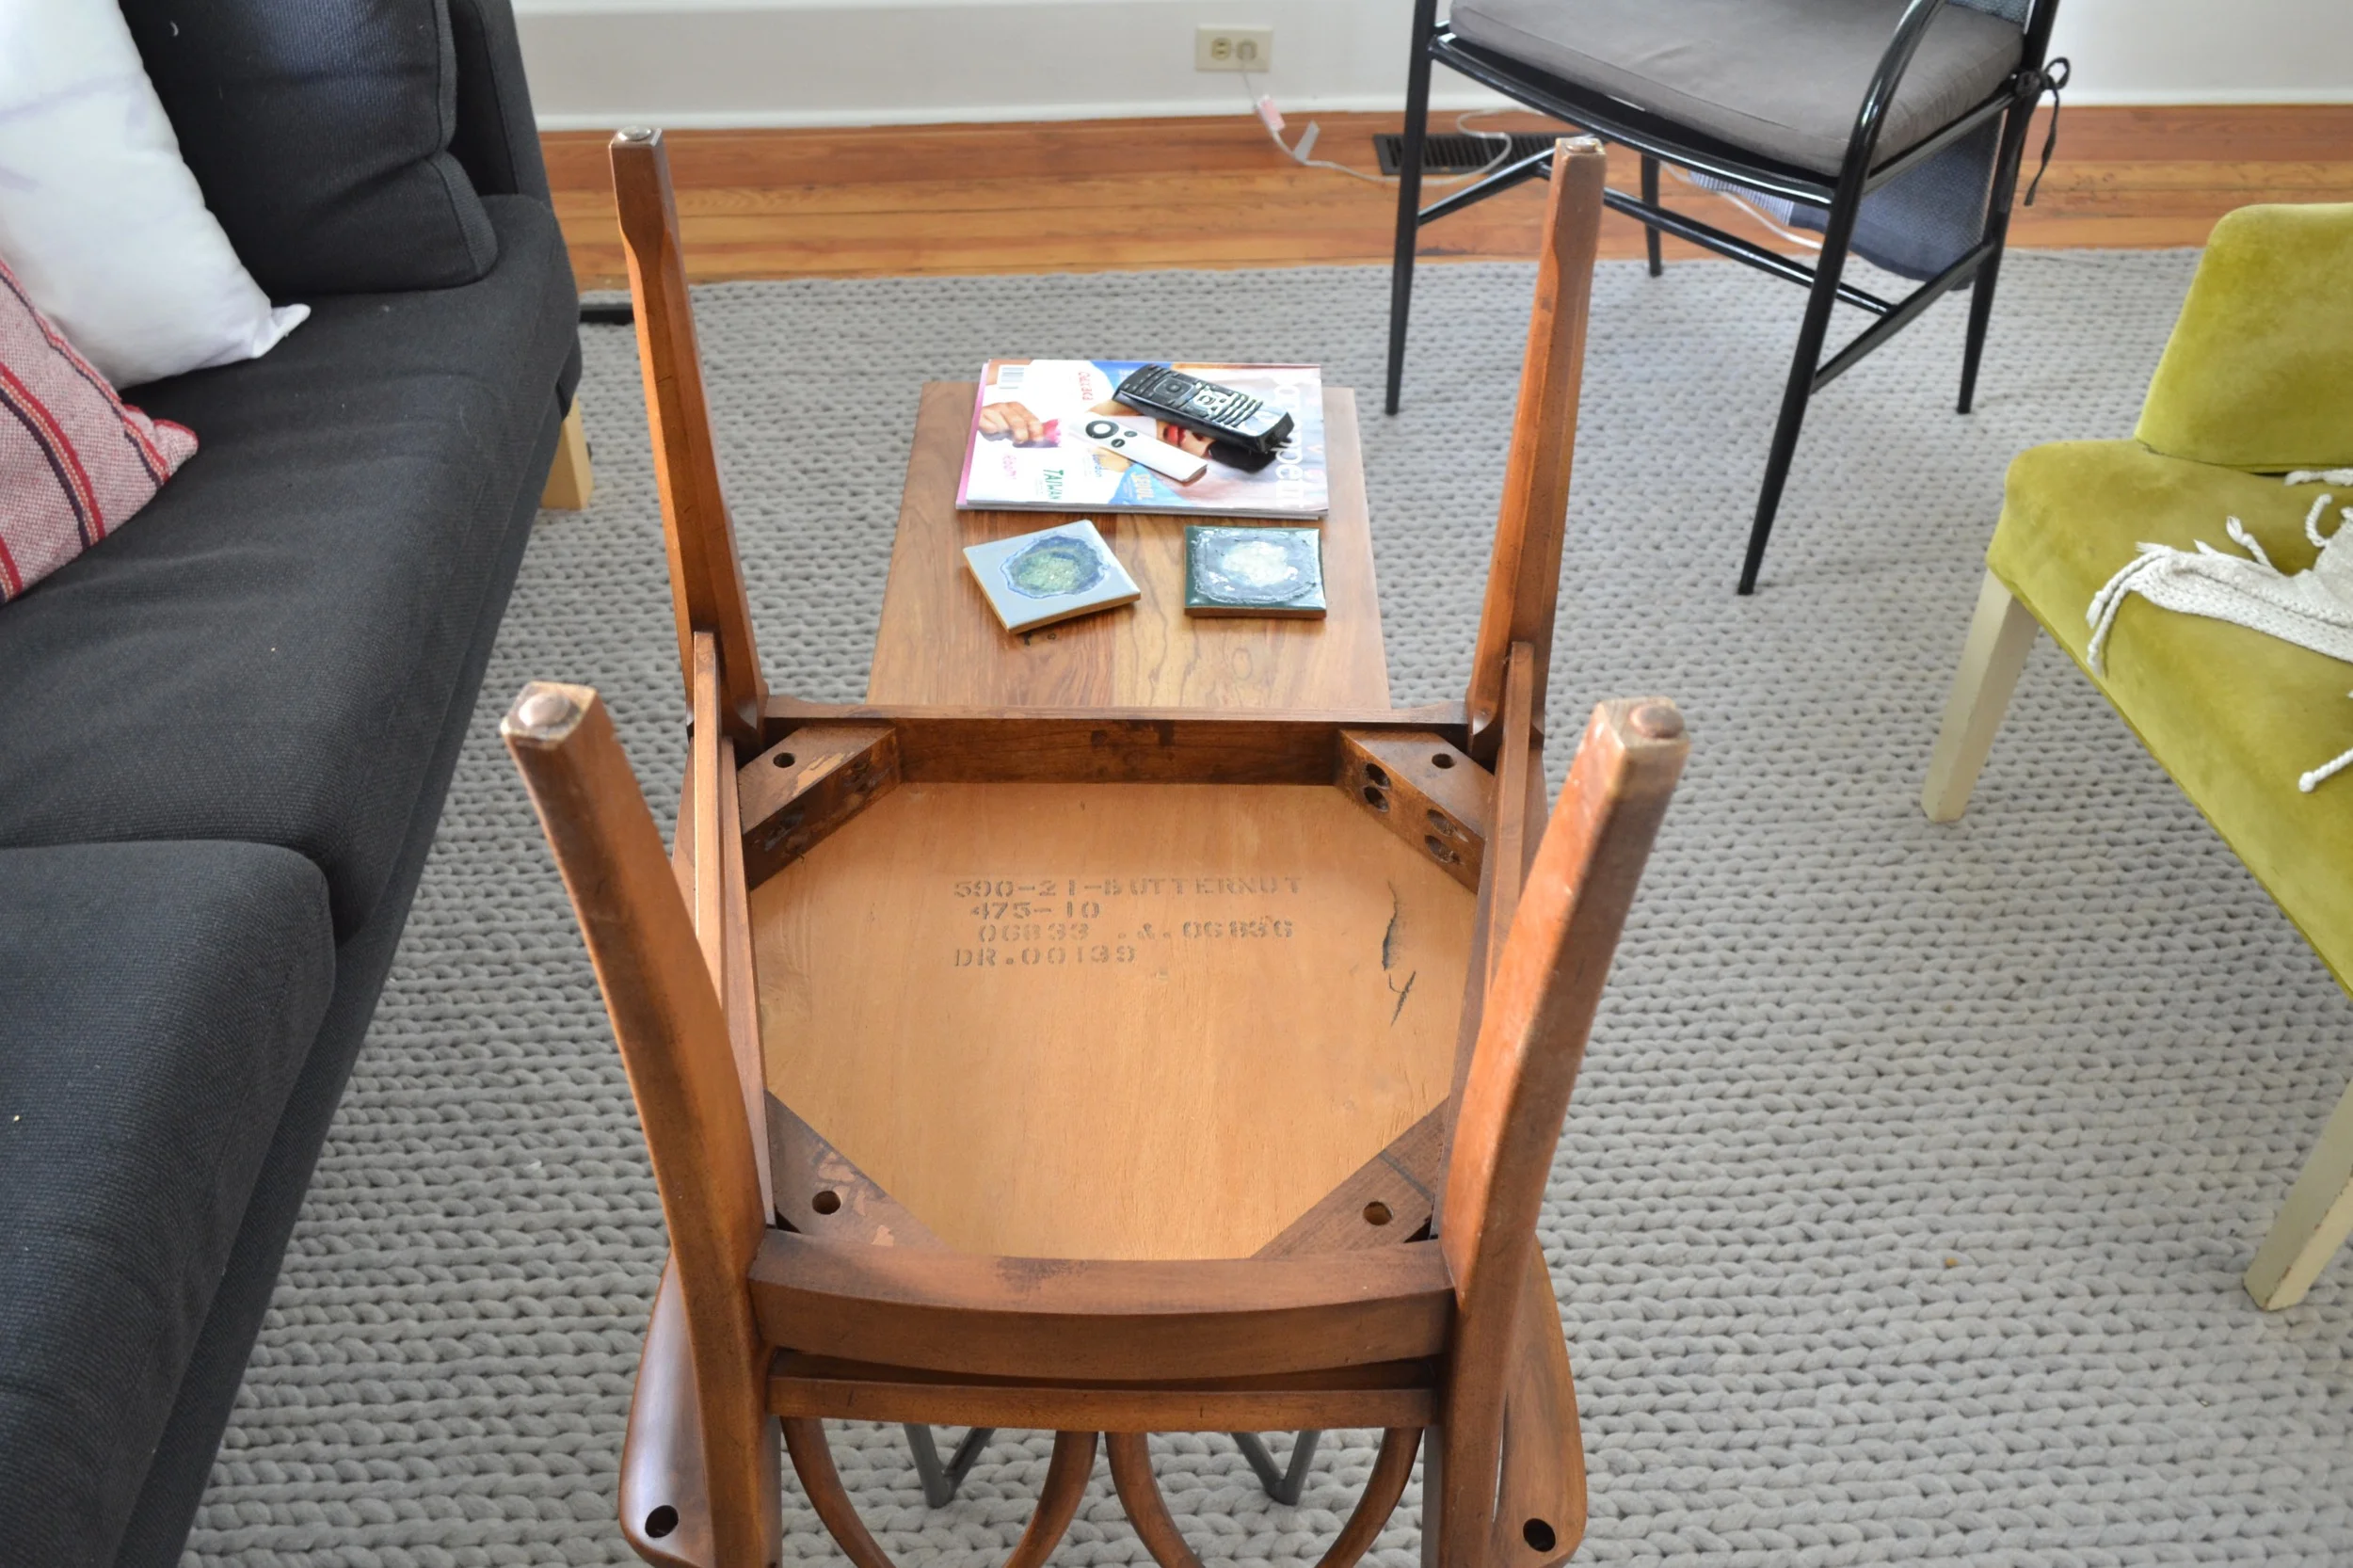
They’re actually in great condition – there are almost no scuffs or marks in the wood. And even the fabric is in remarkably good condition given how old the chairs are. But, it’s from the 60s, it’s clearly been worn, and overall just needs a facelift. So, I’ve decided to recover them. I’ve done a bit of research and discovered it’s really not that hard to do.
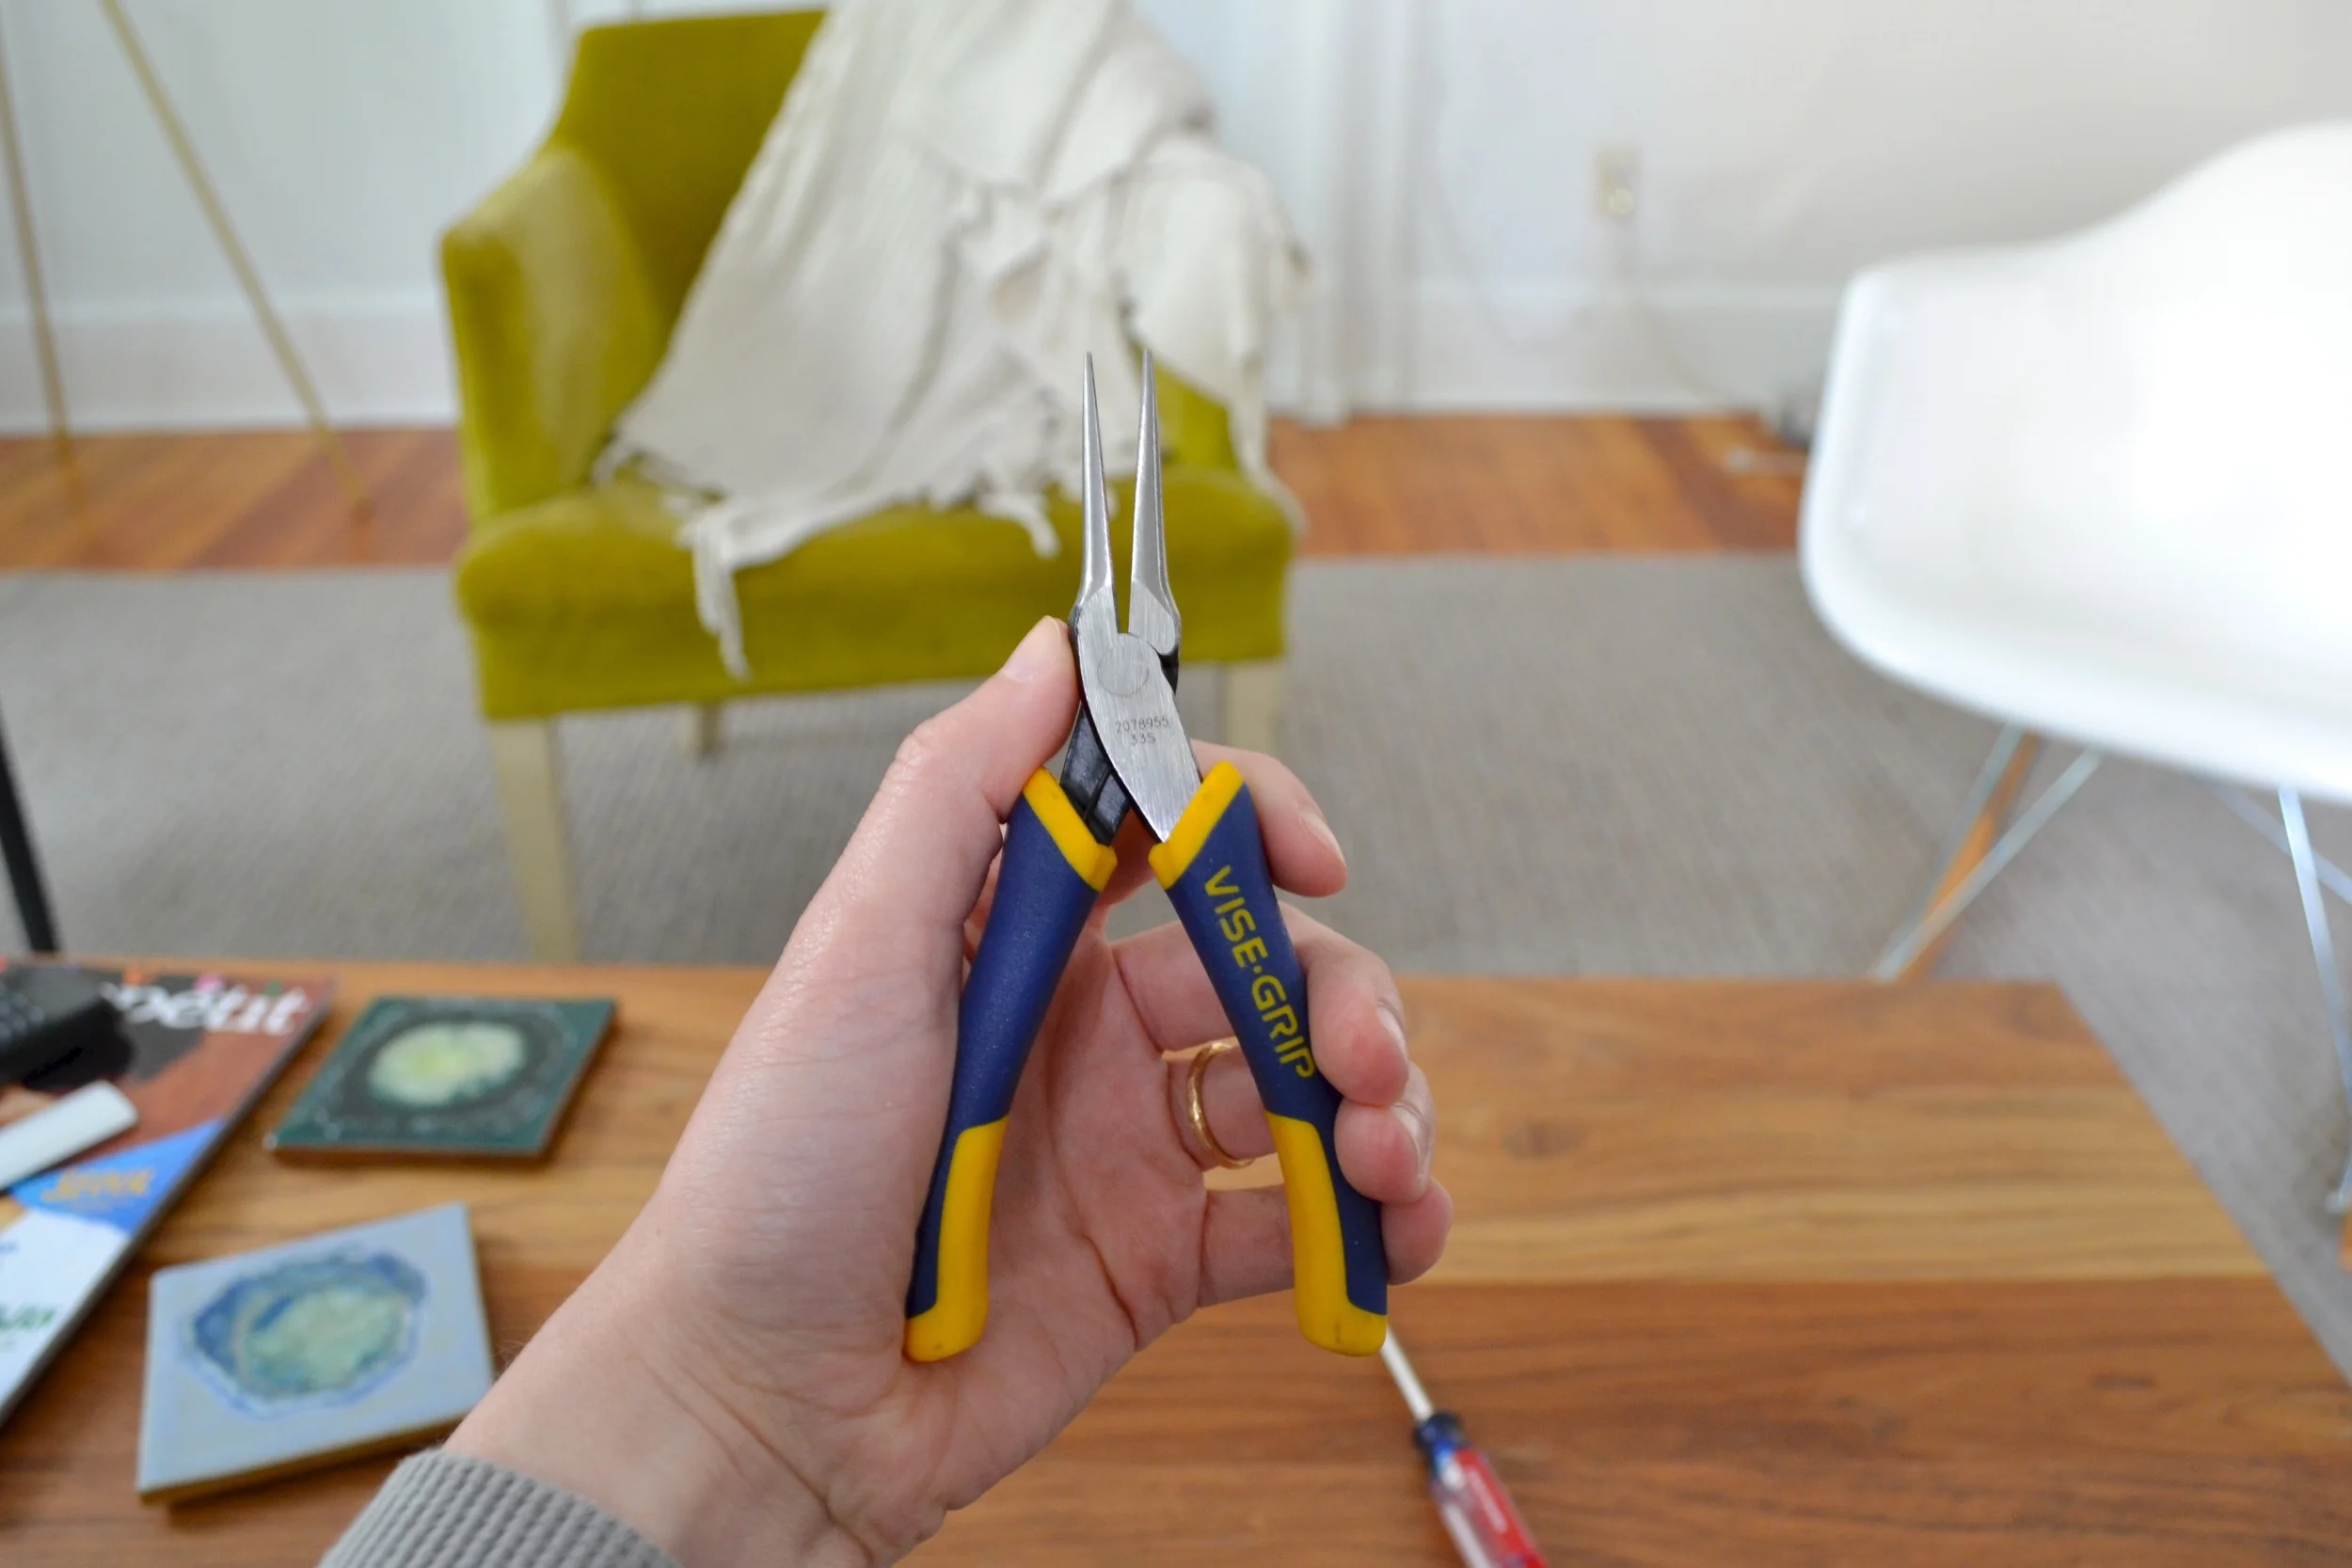
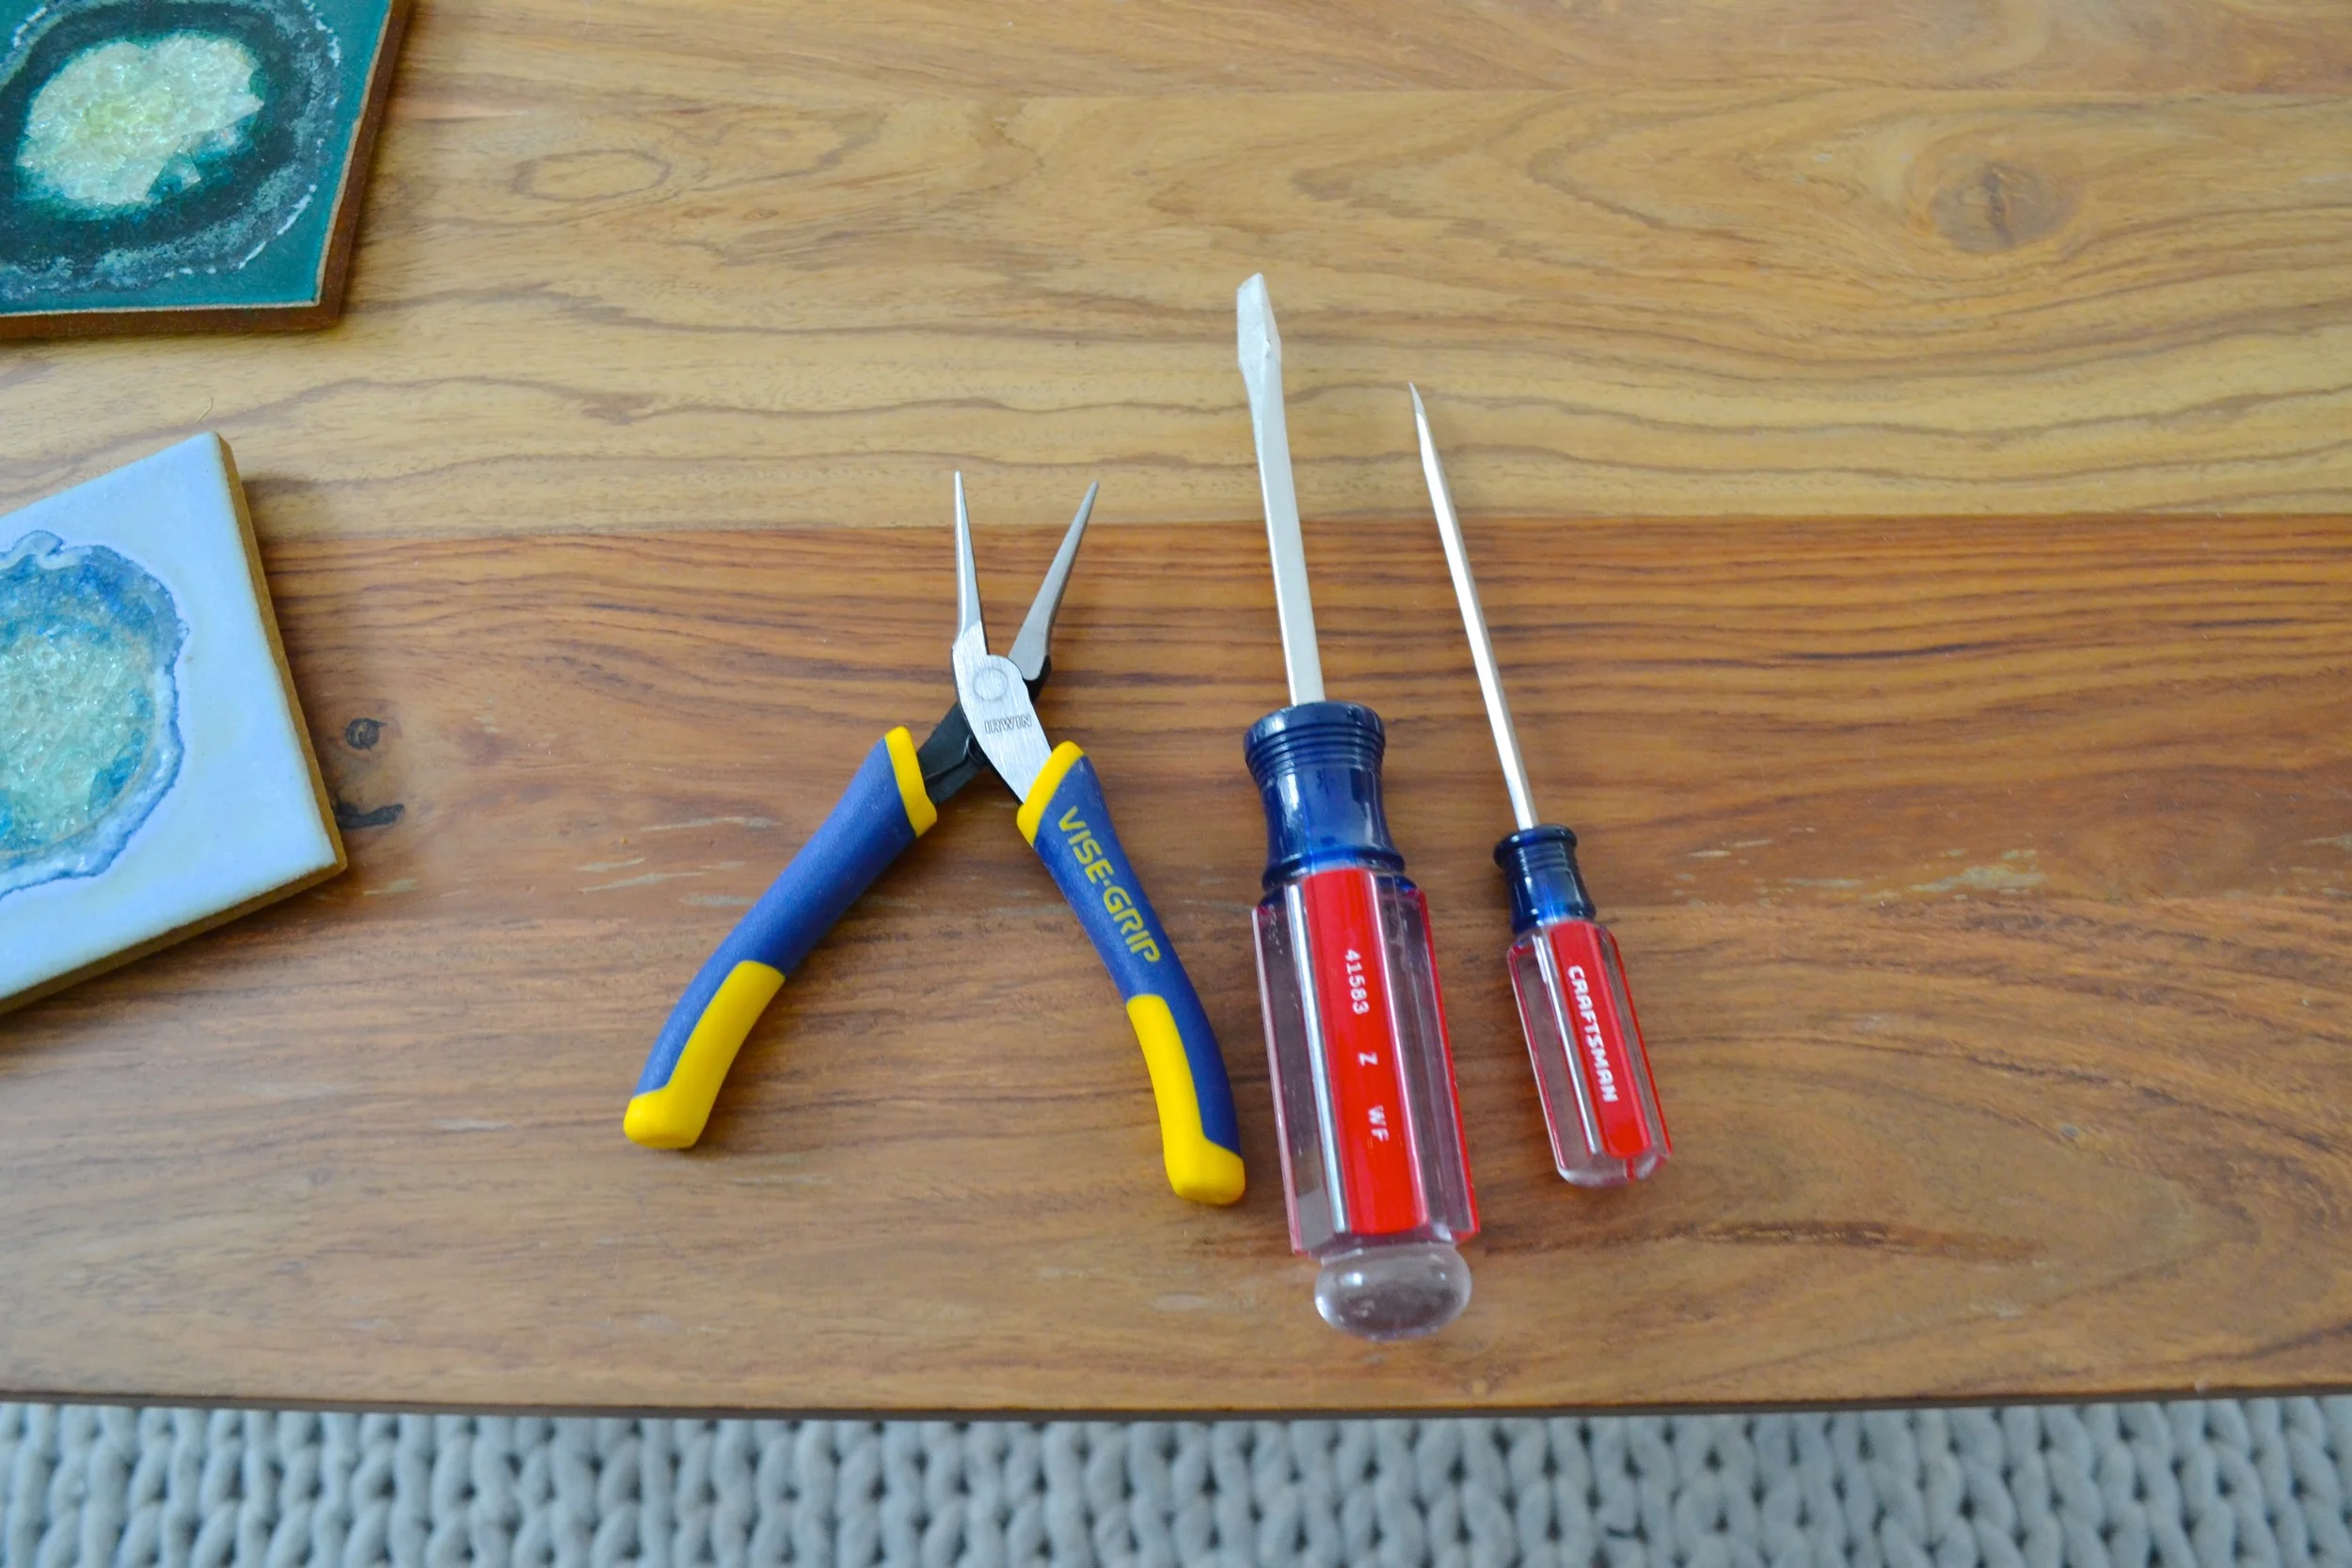
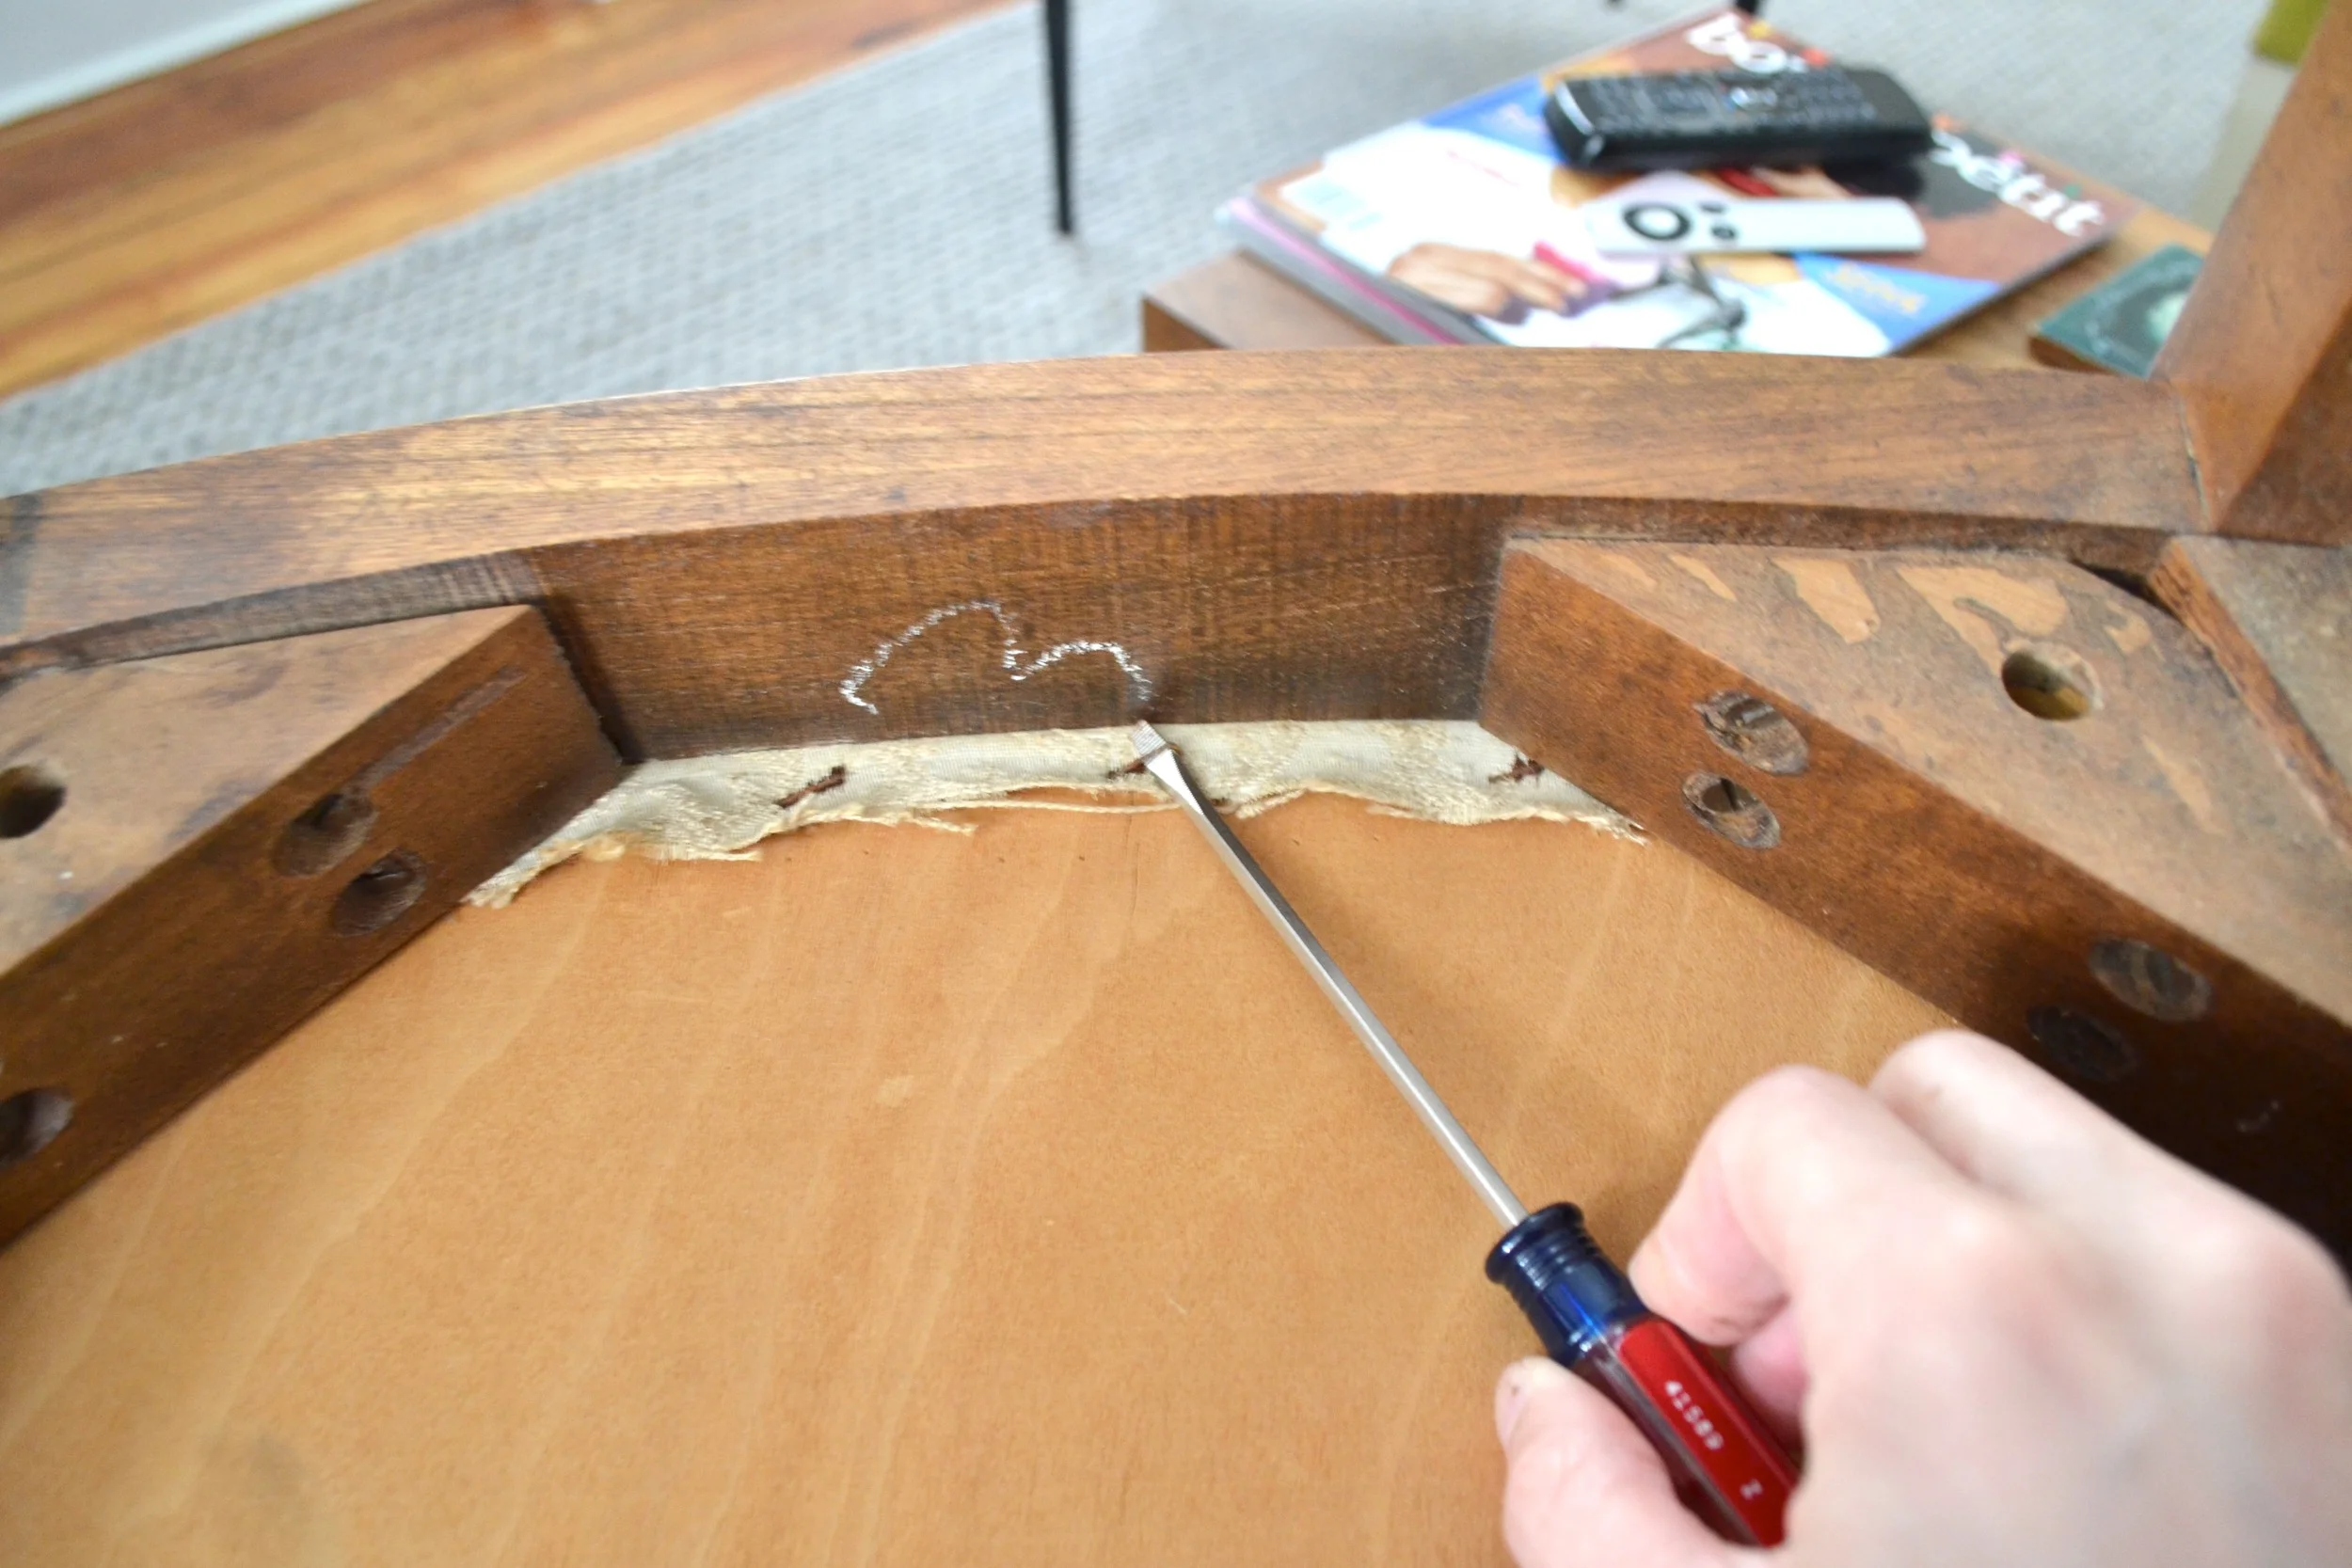
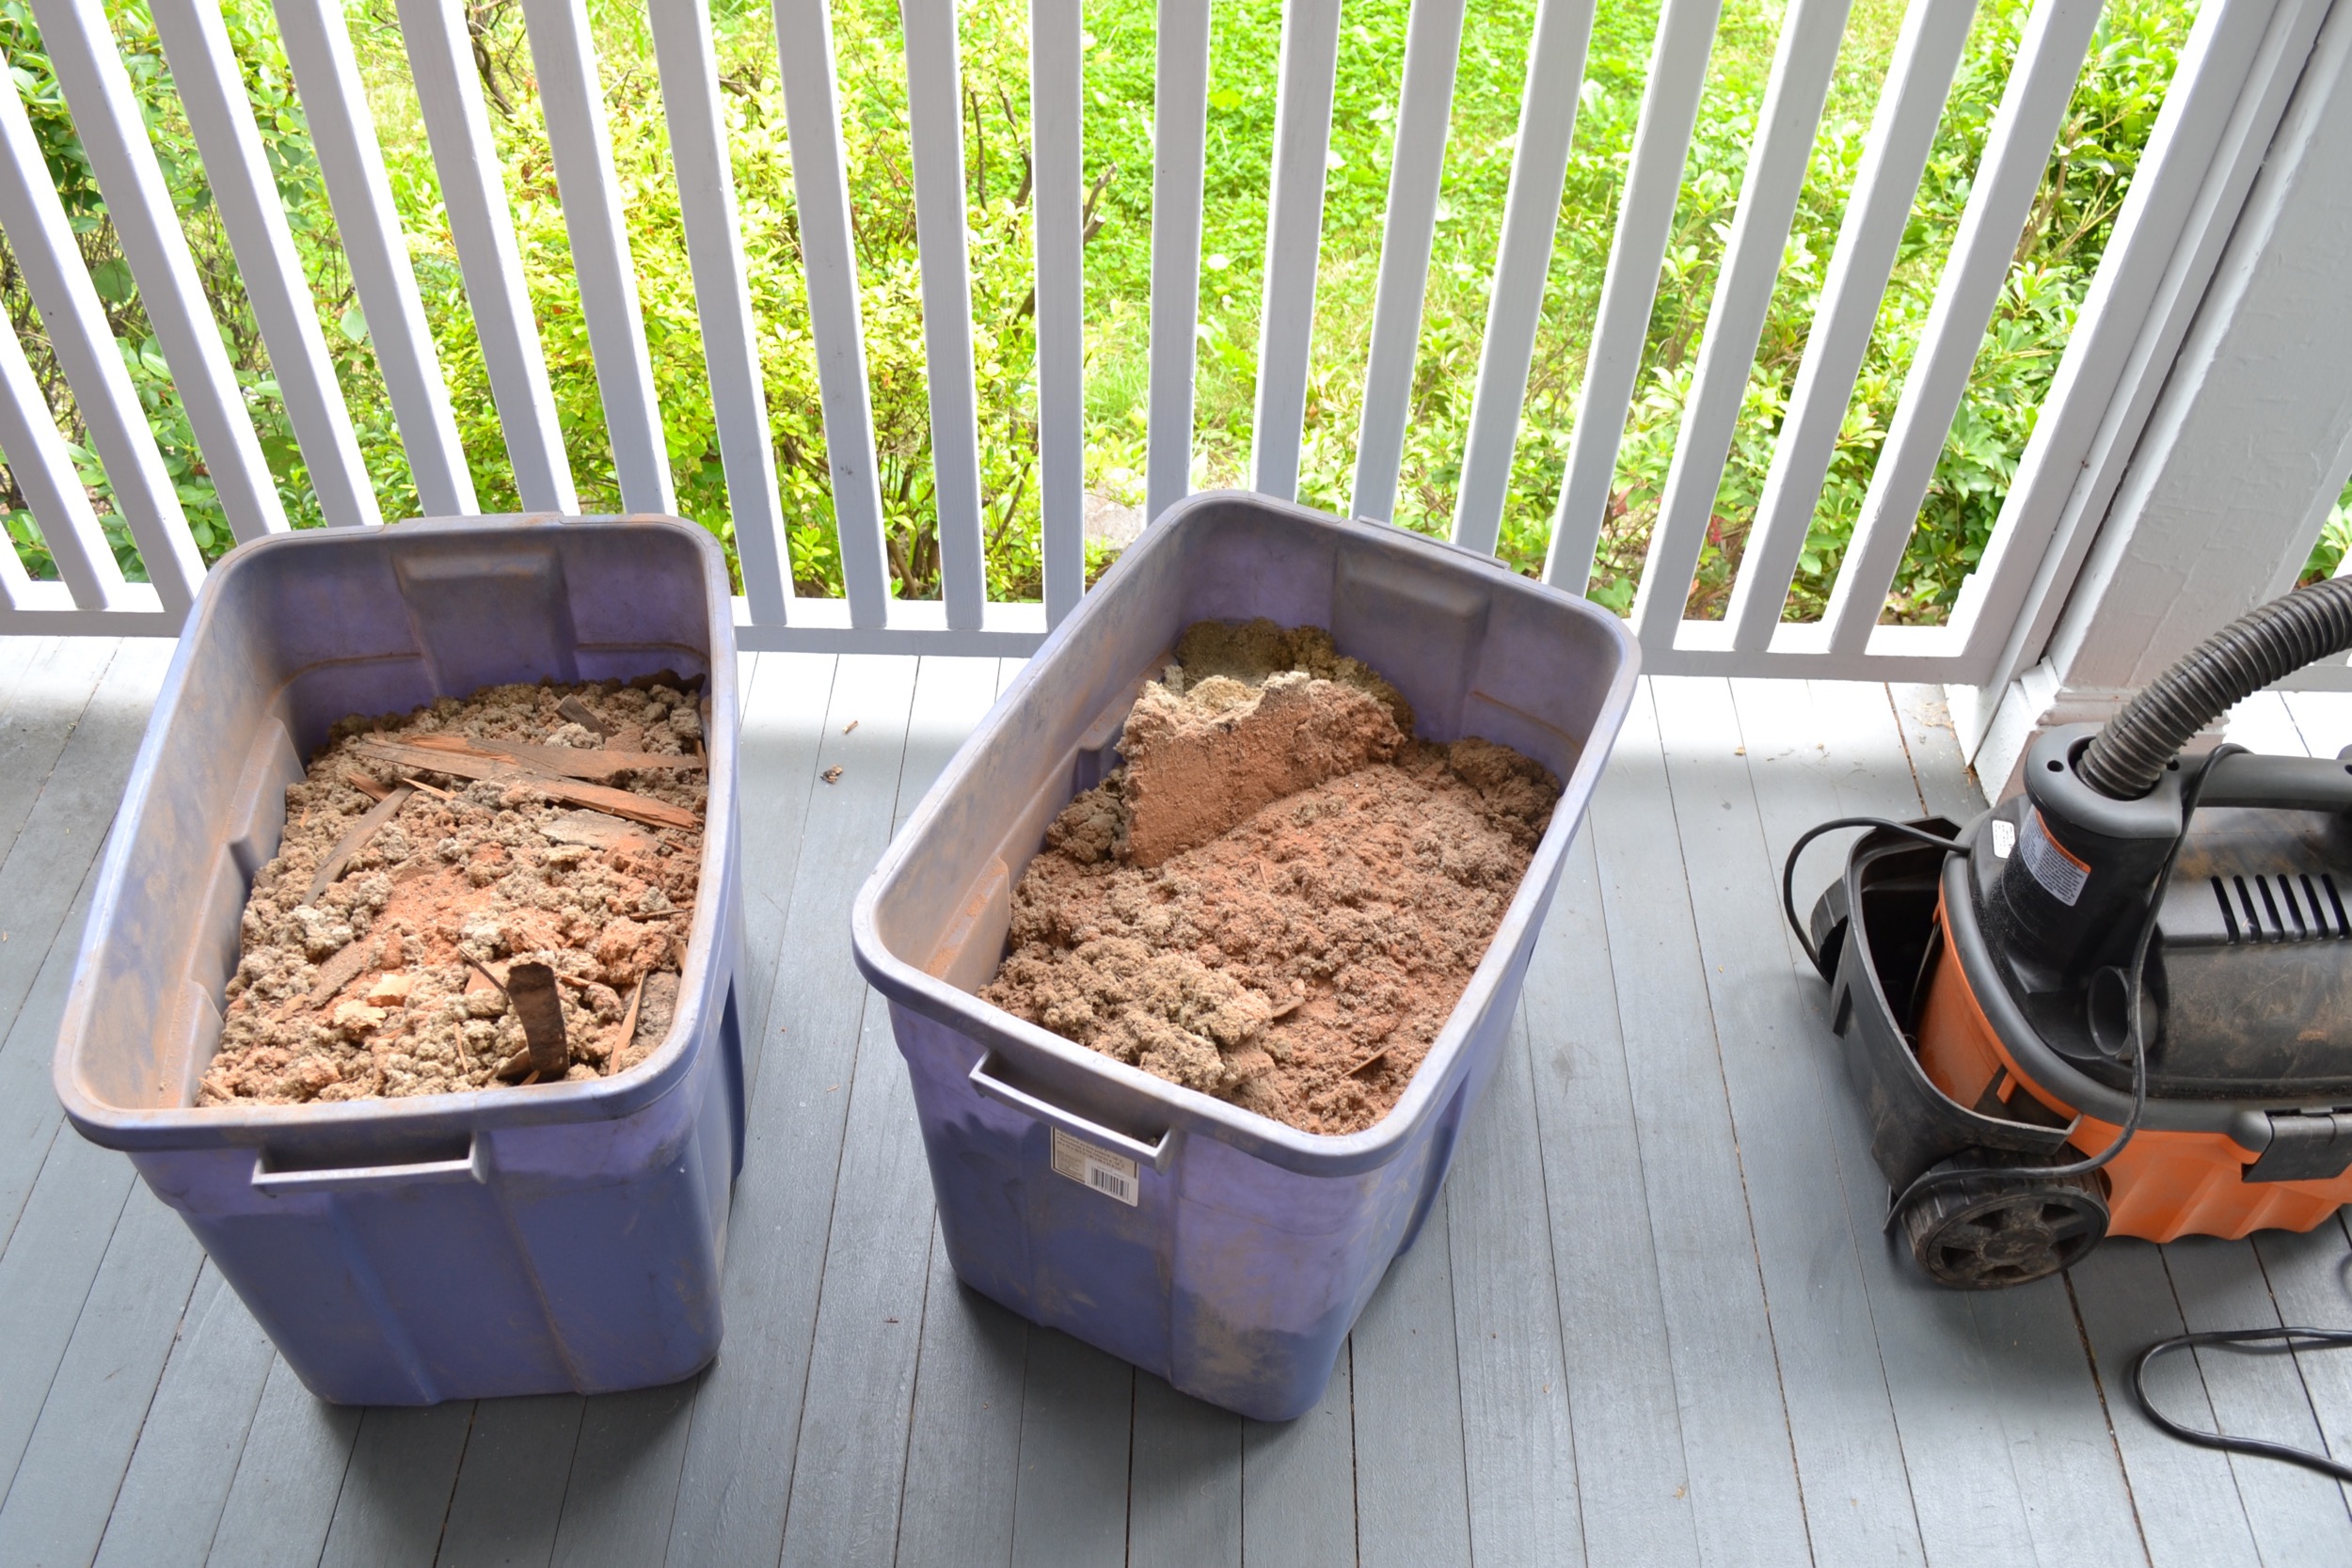
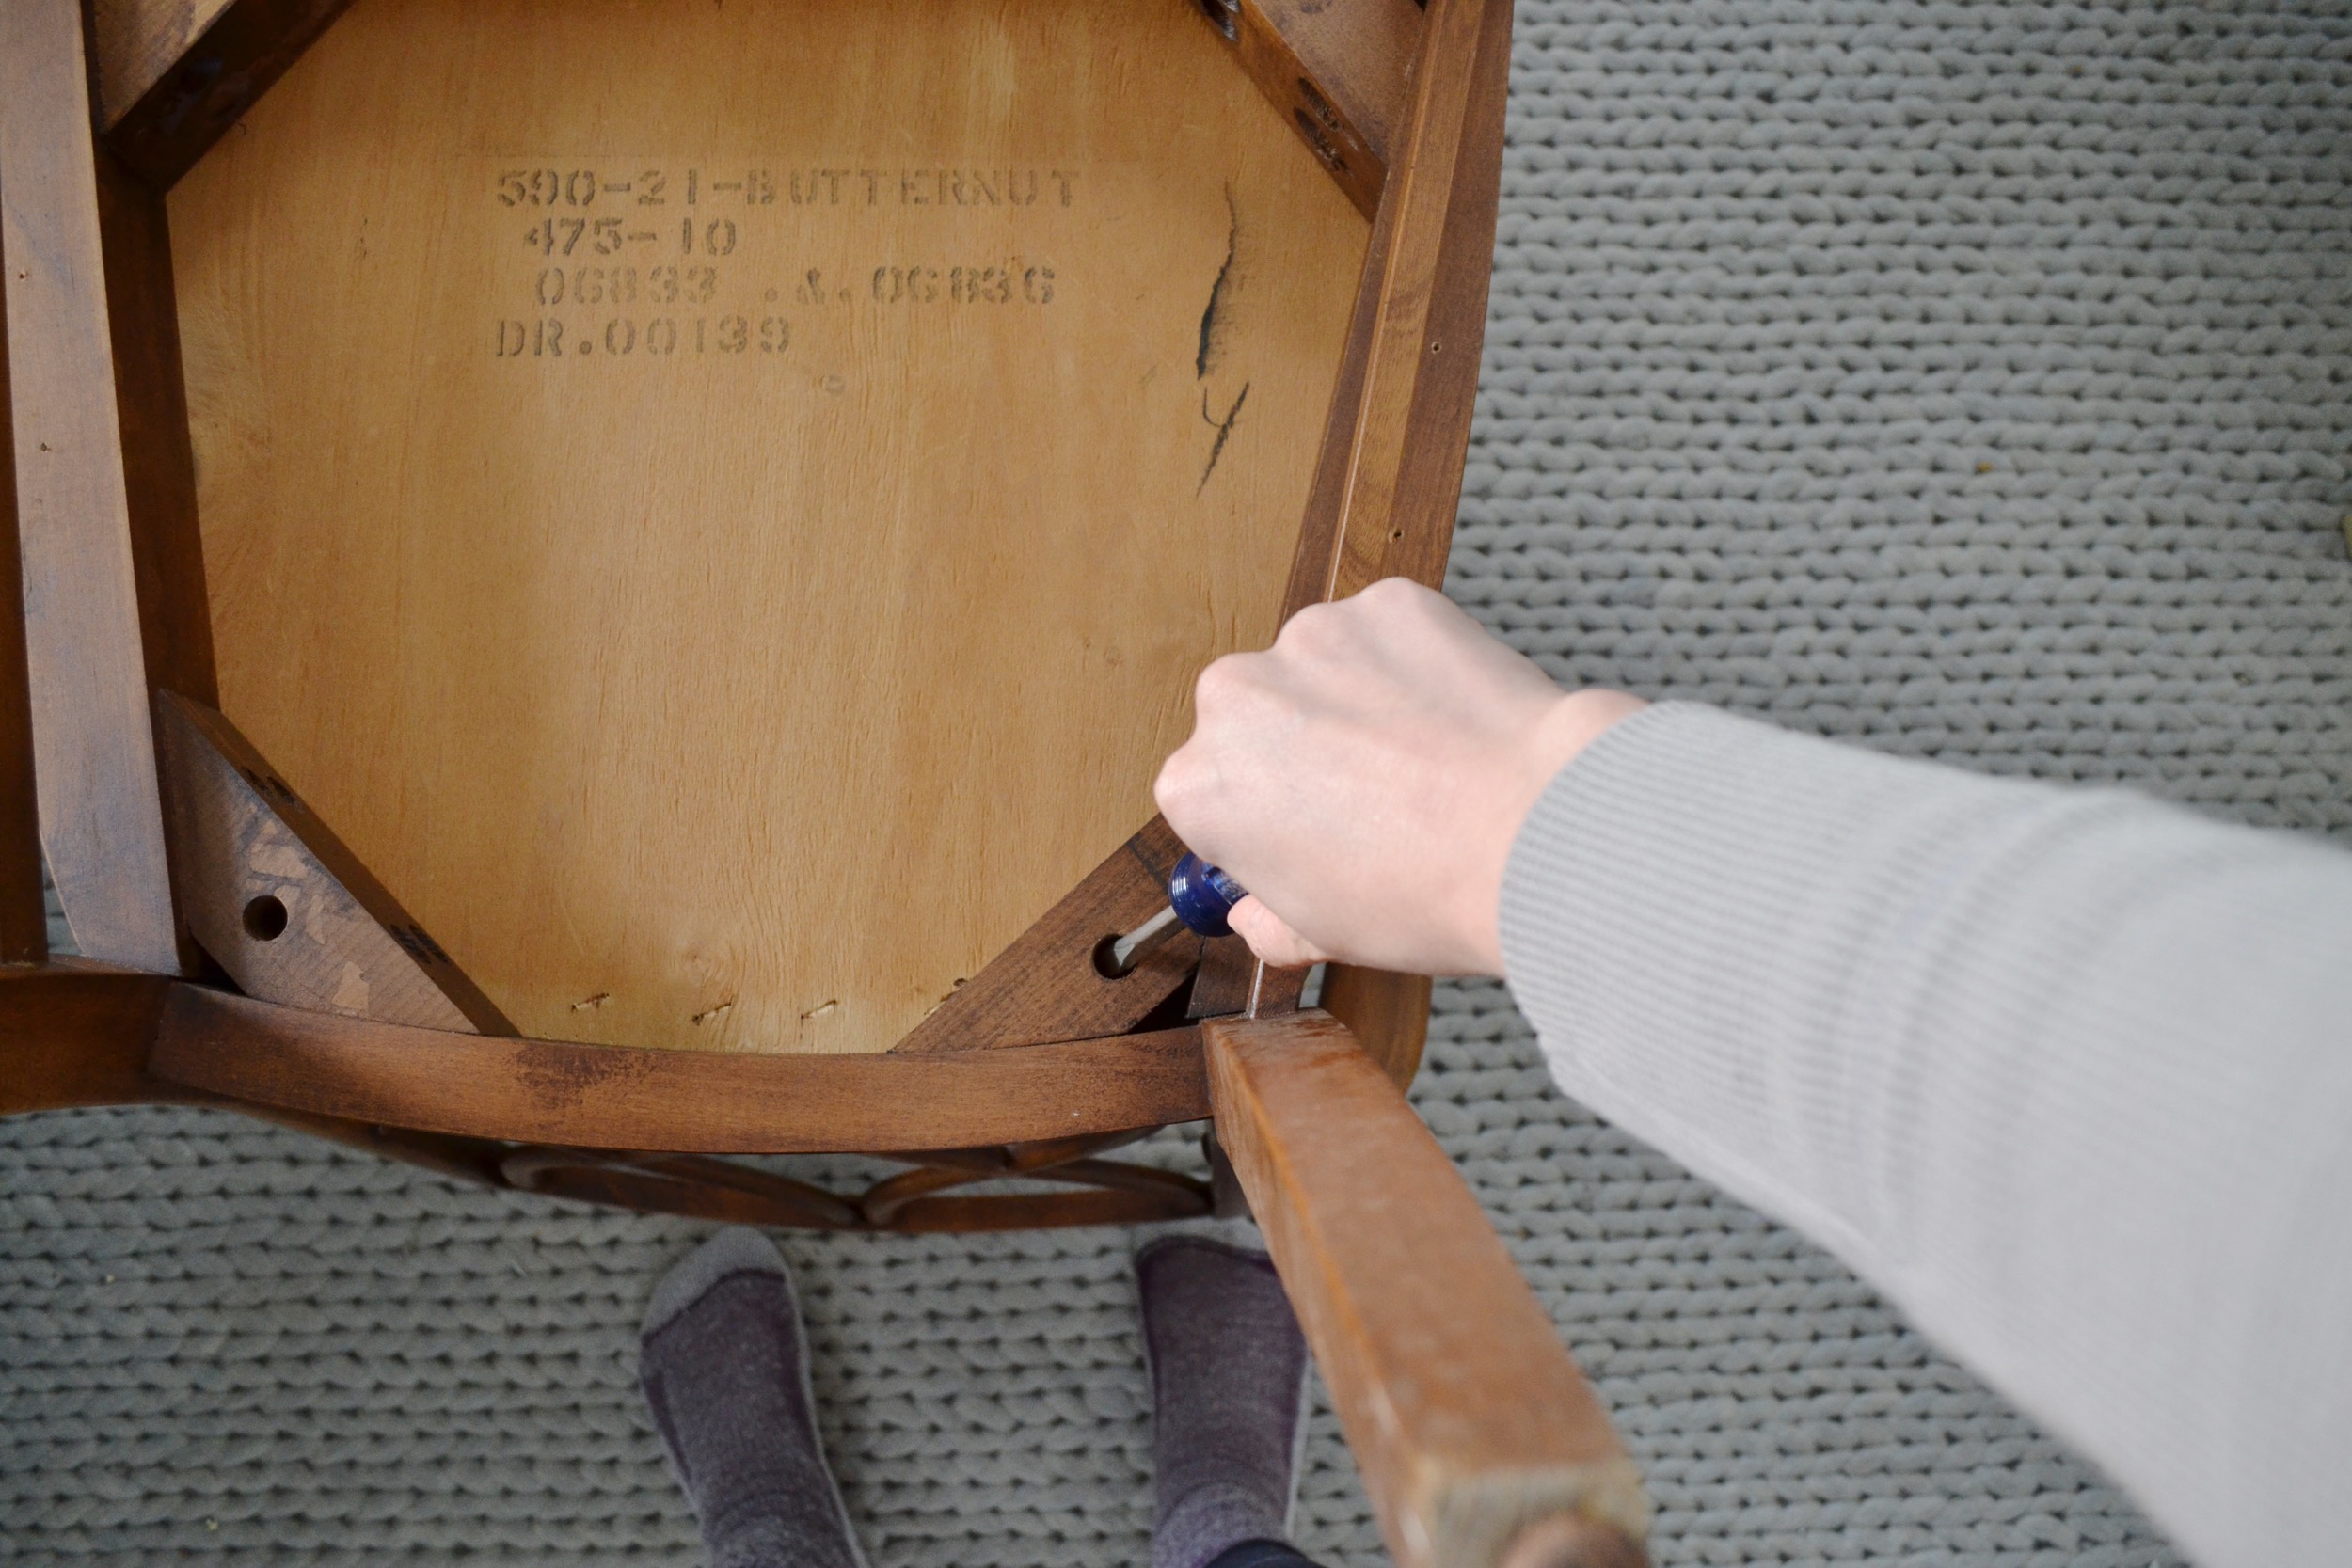
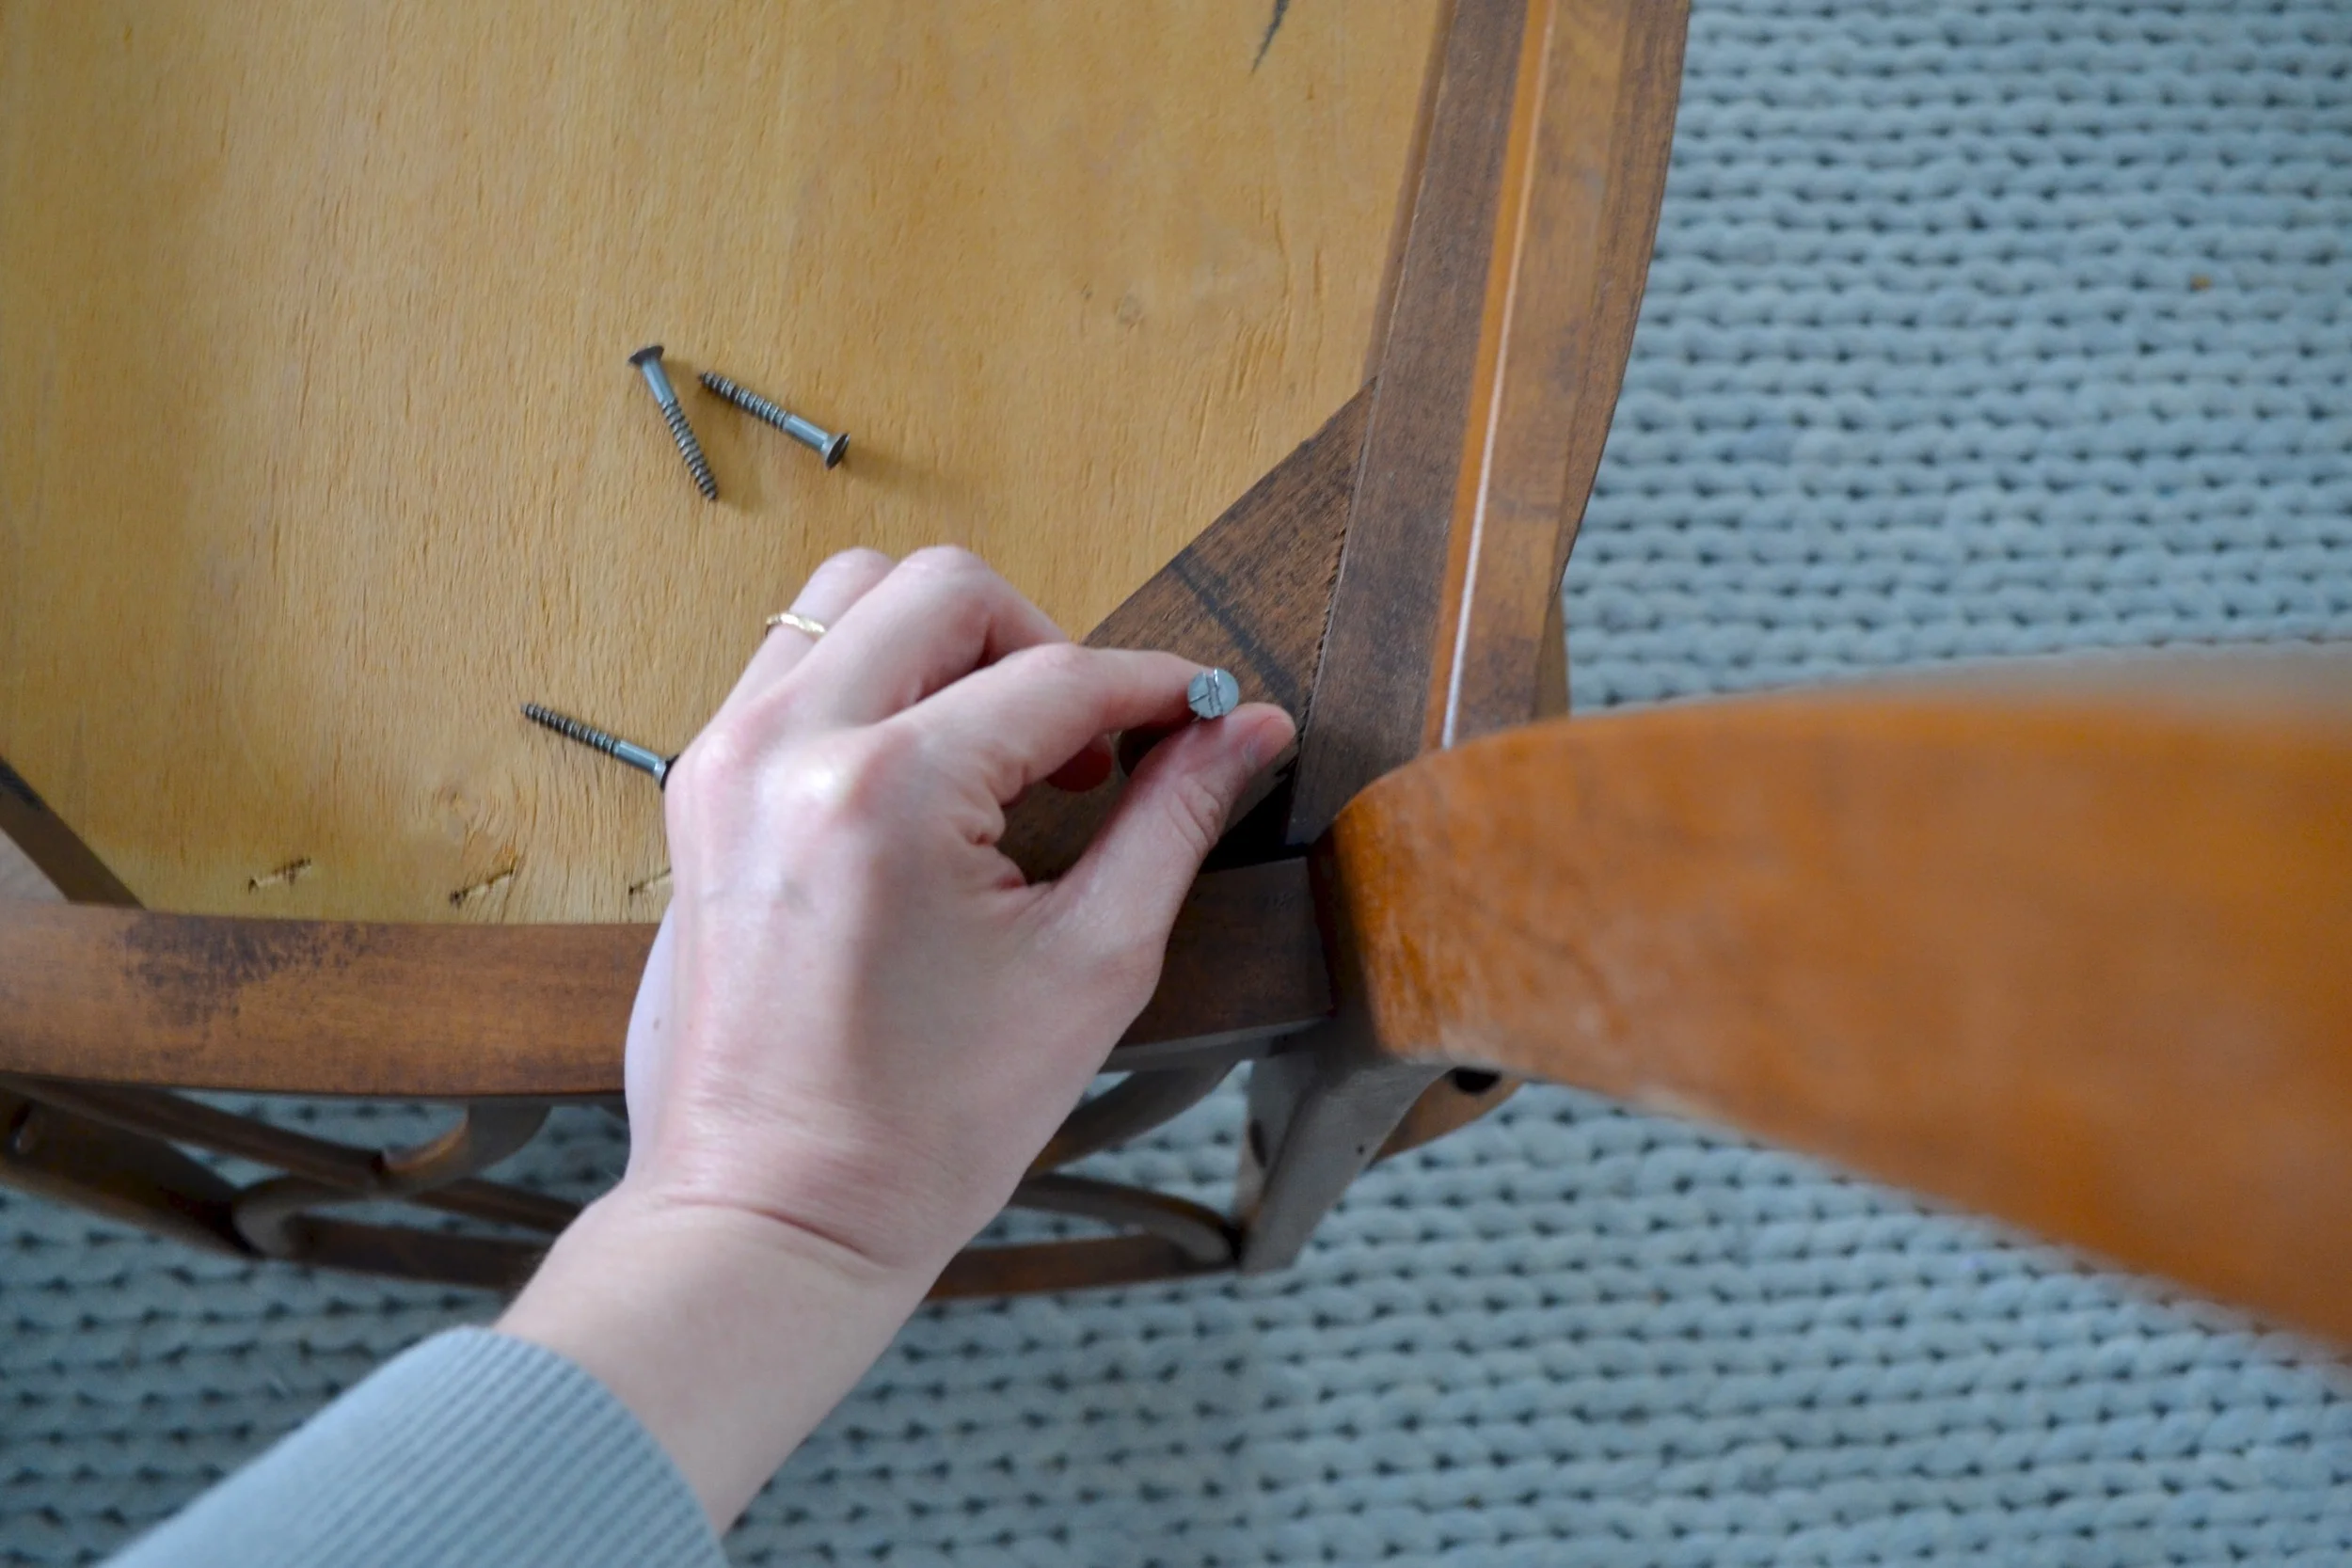
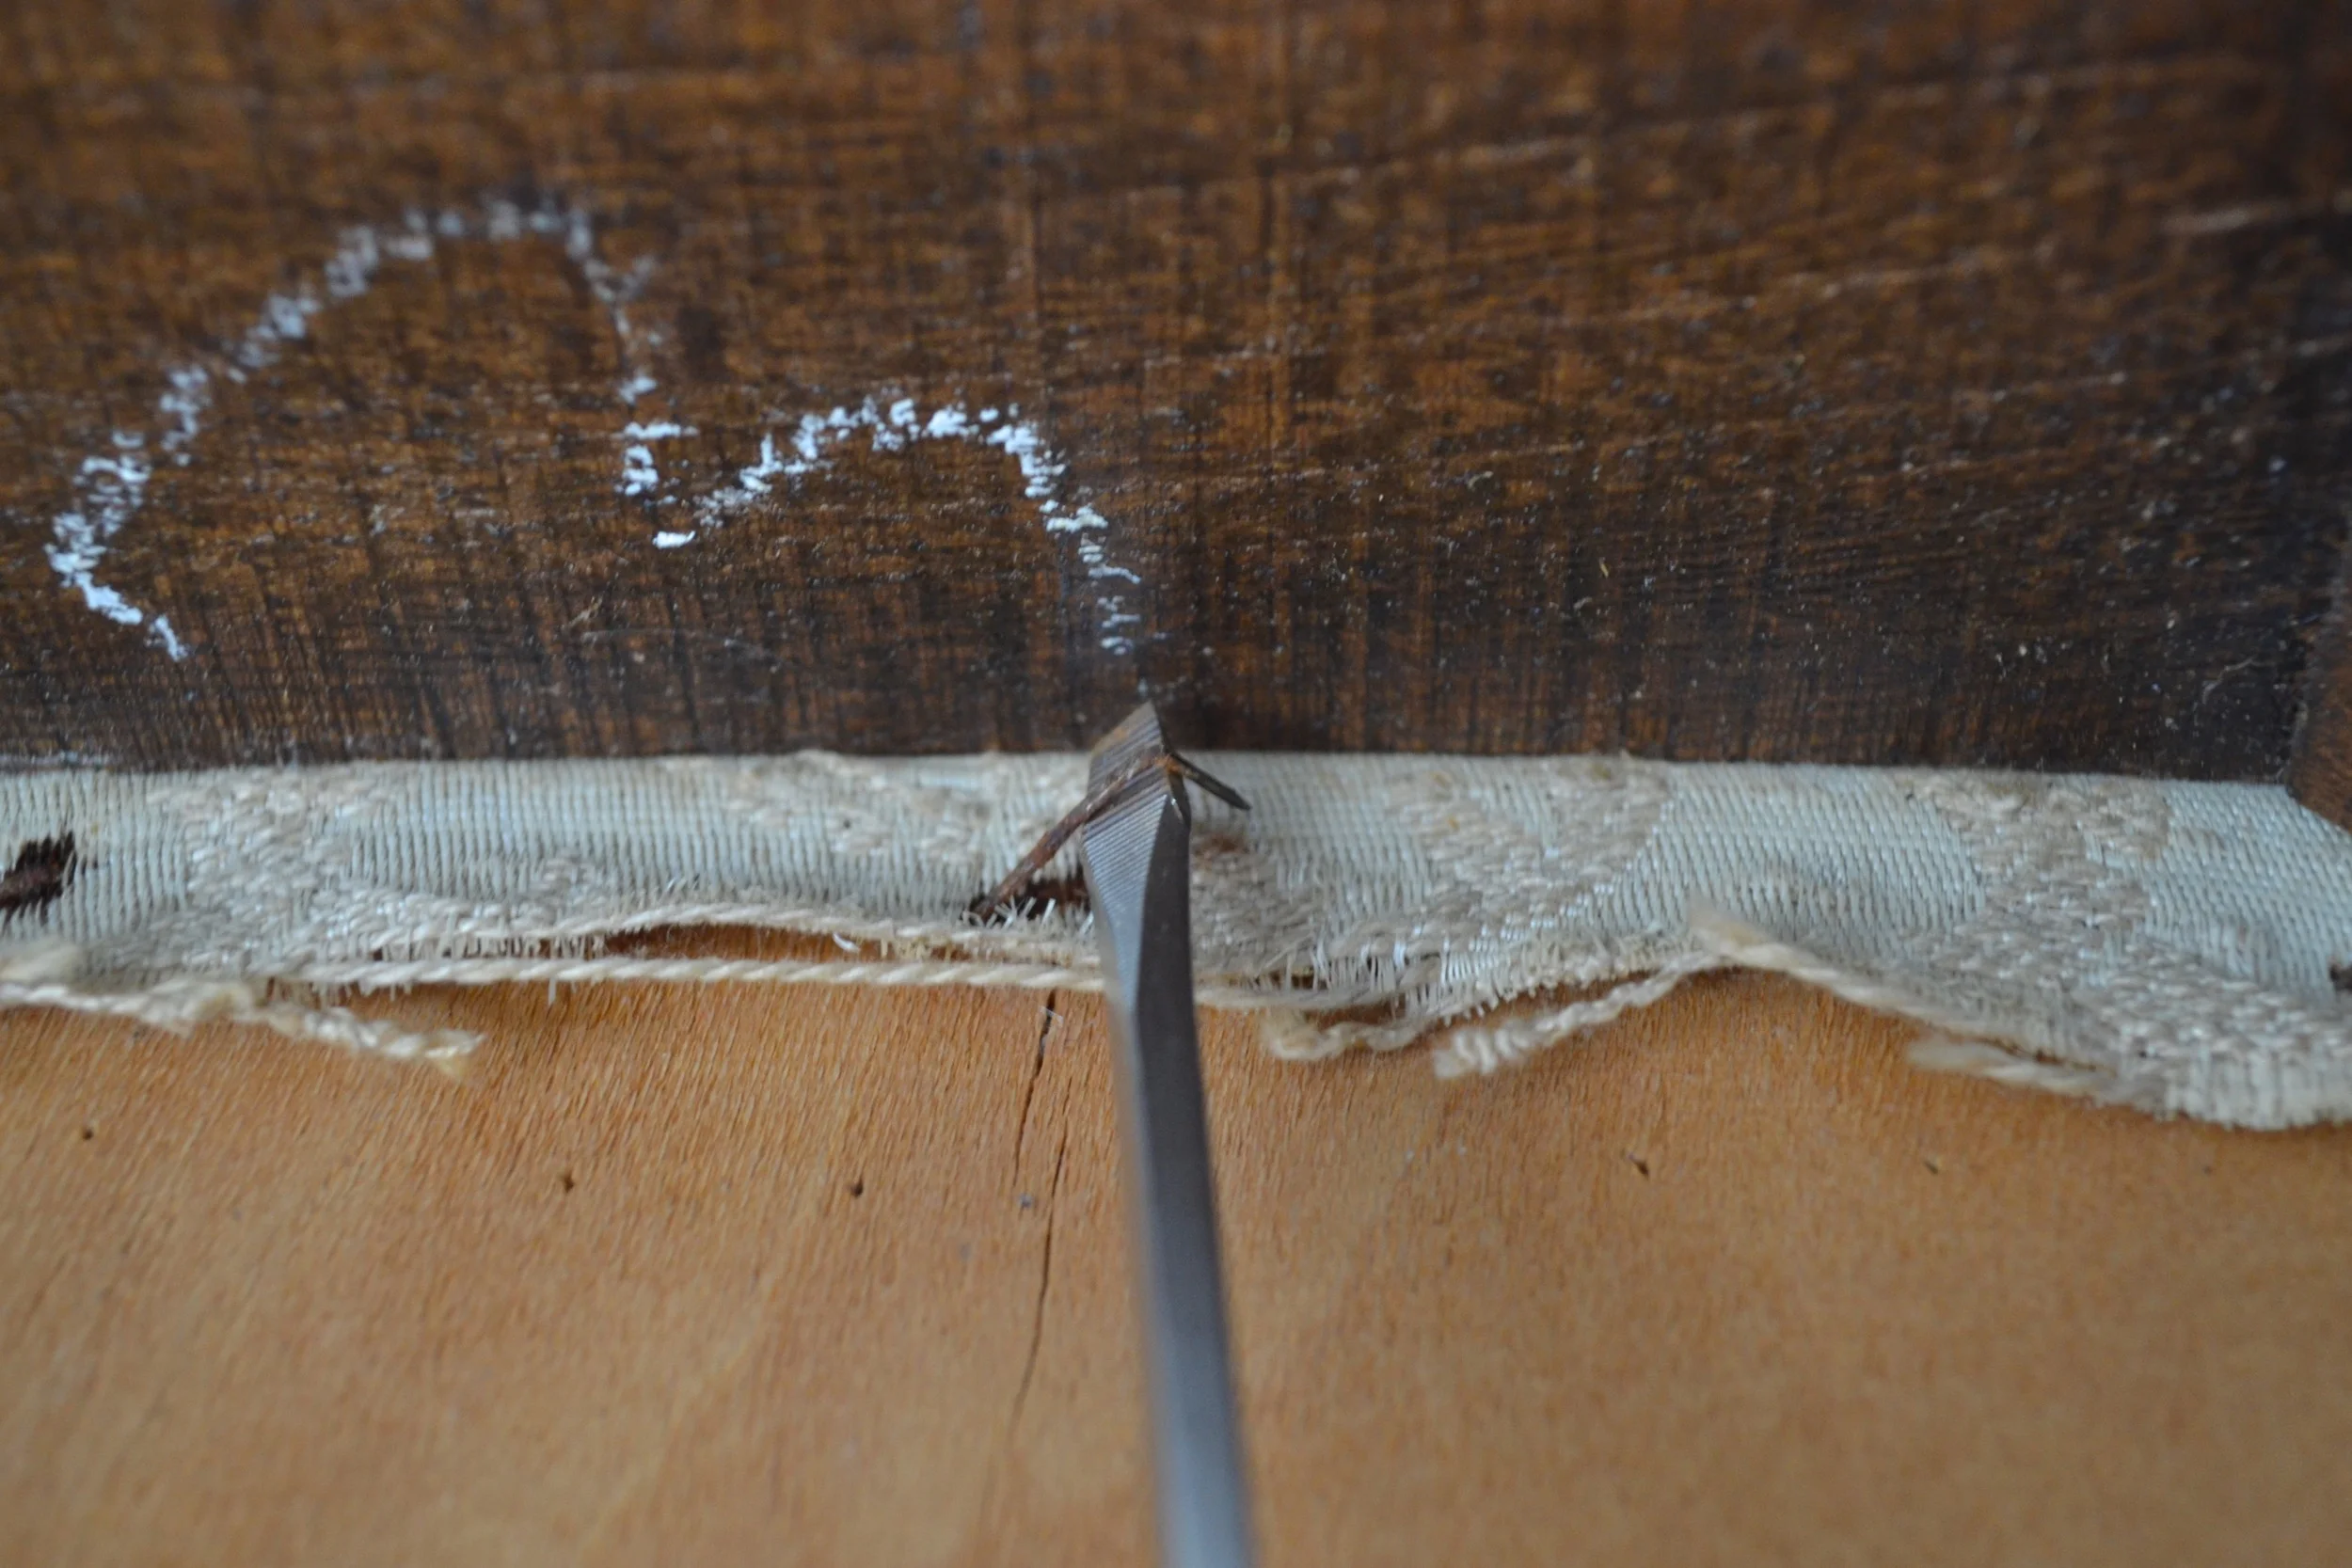
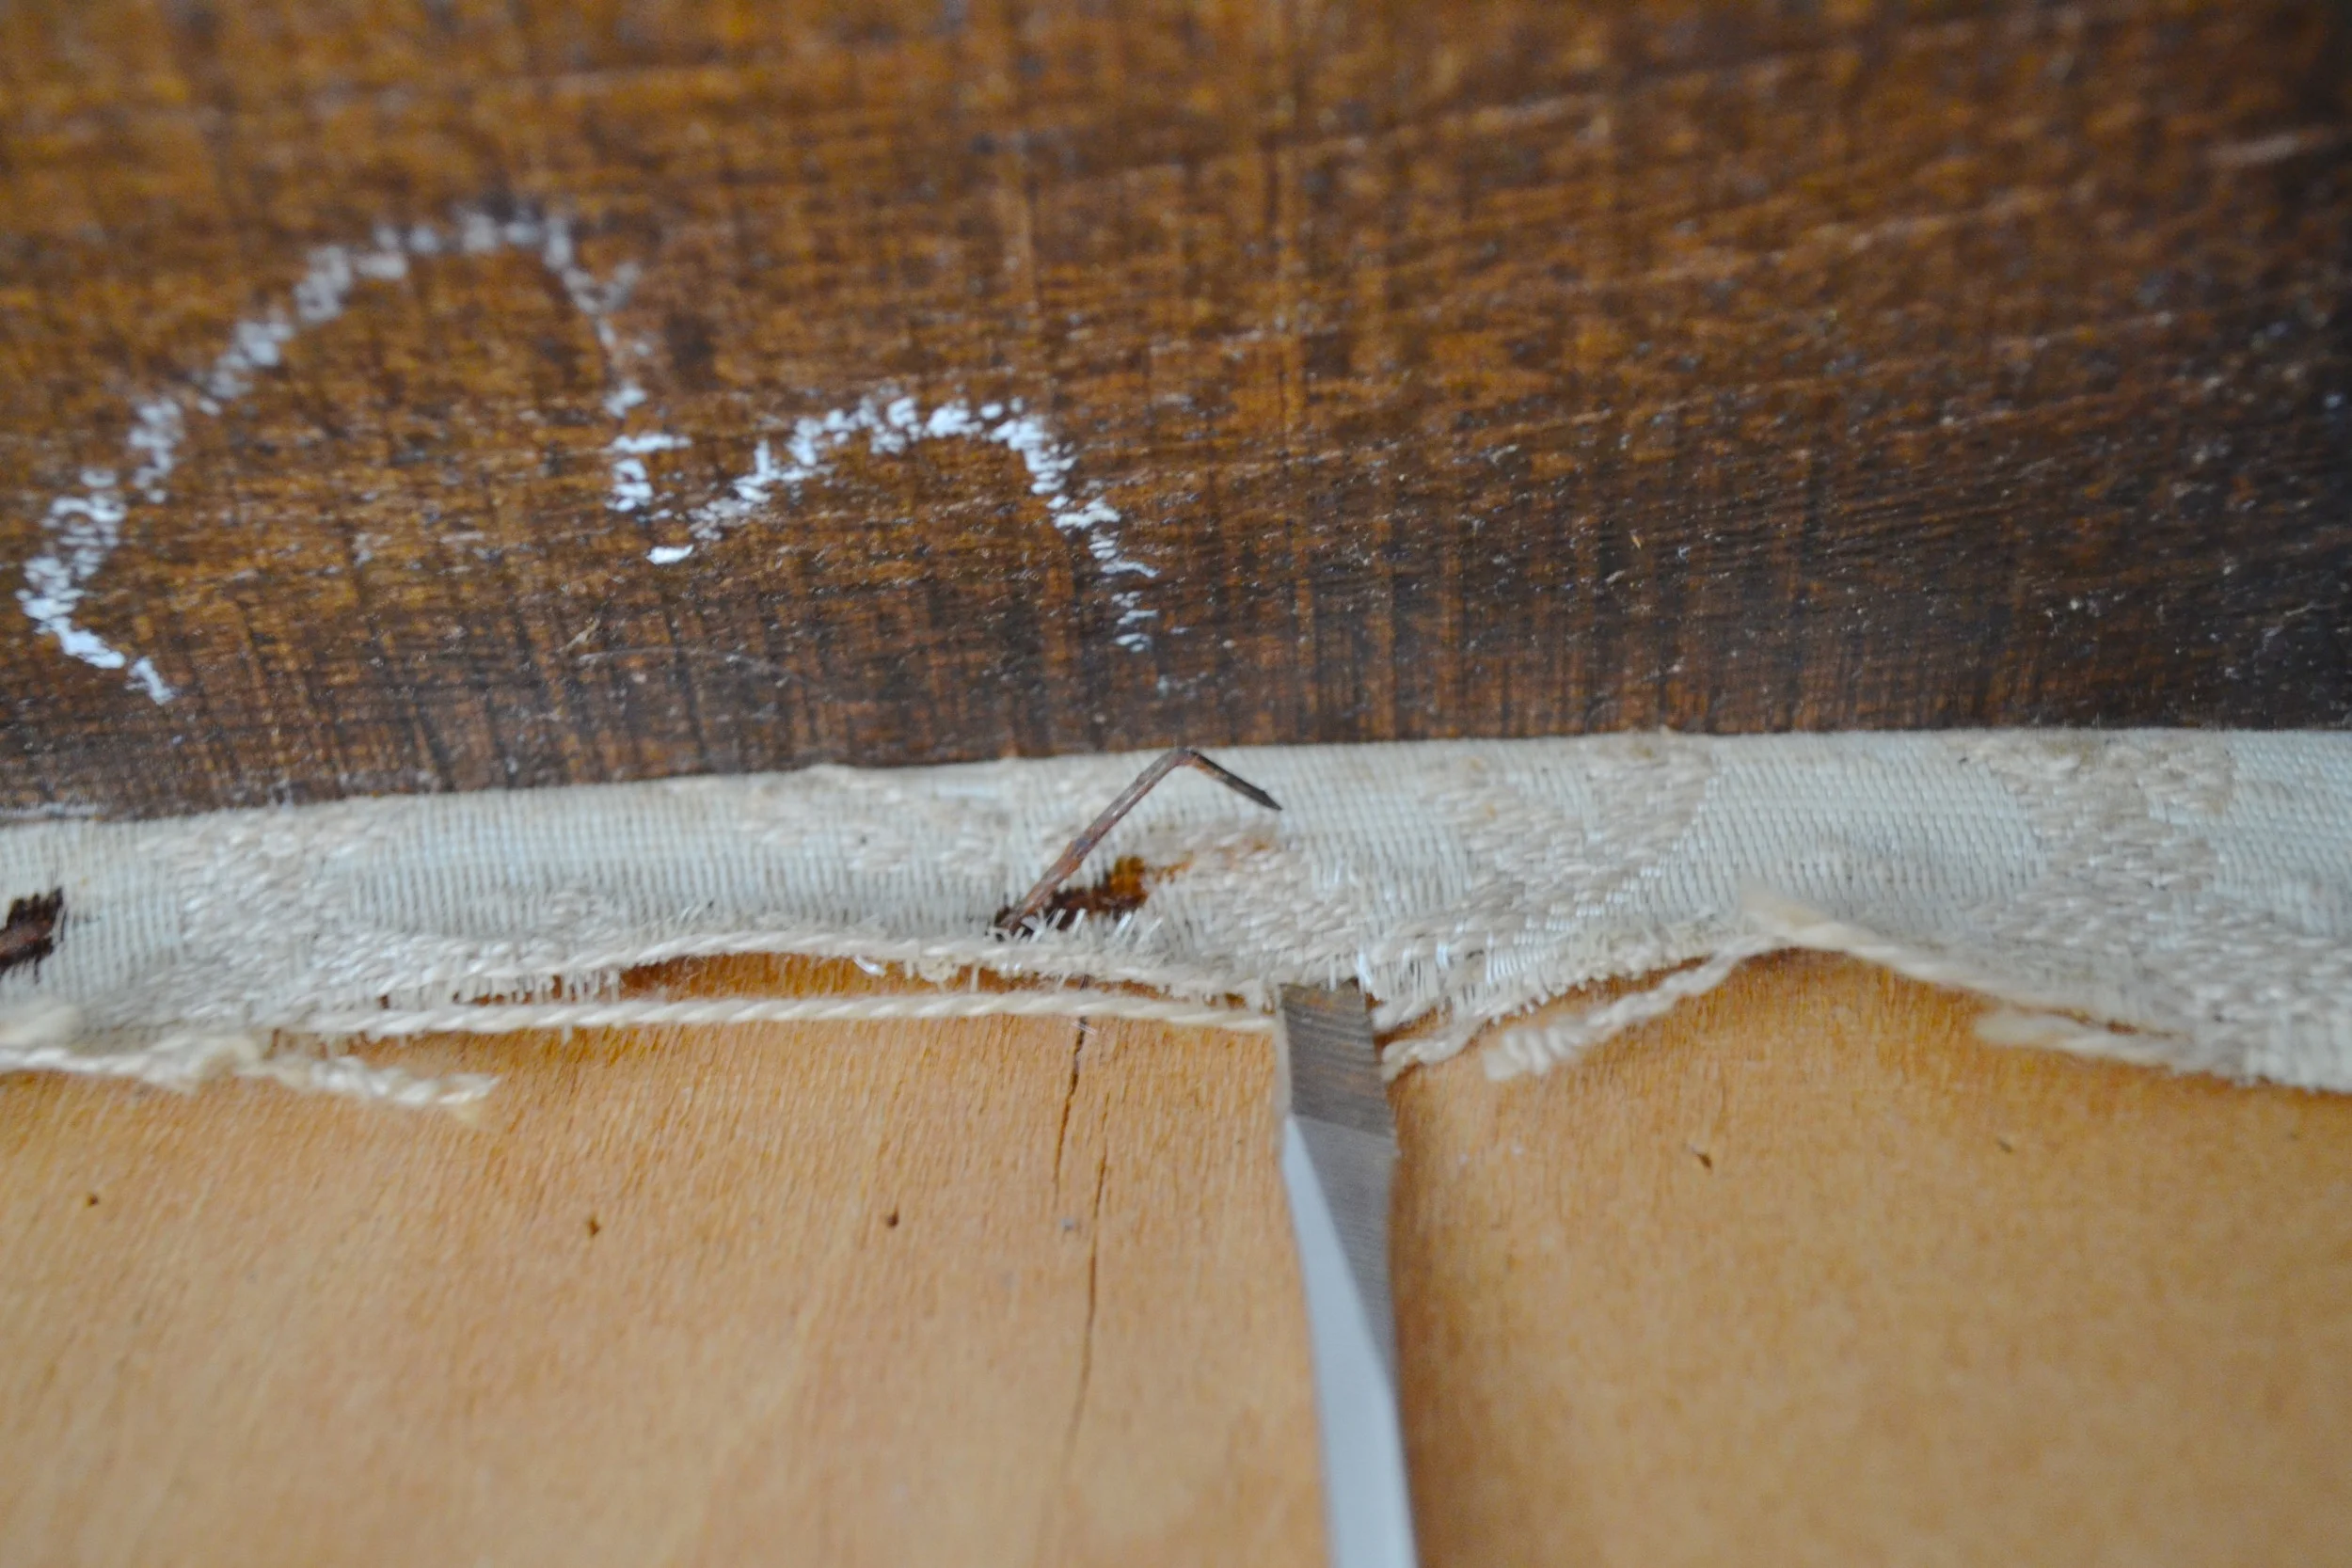
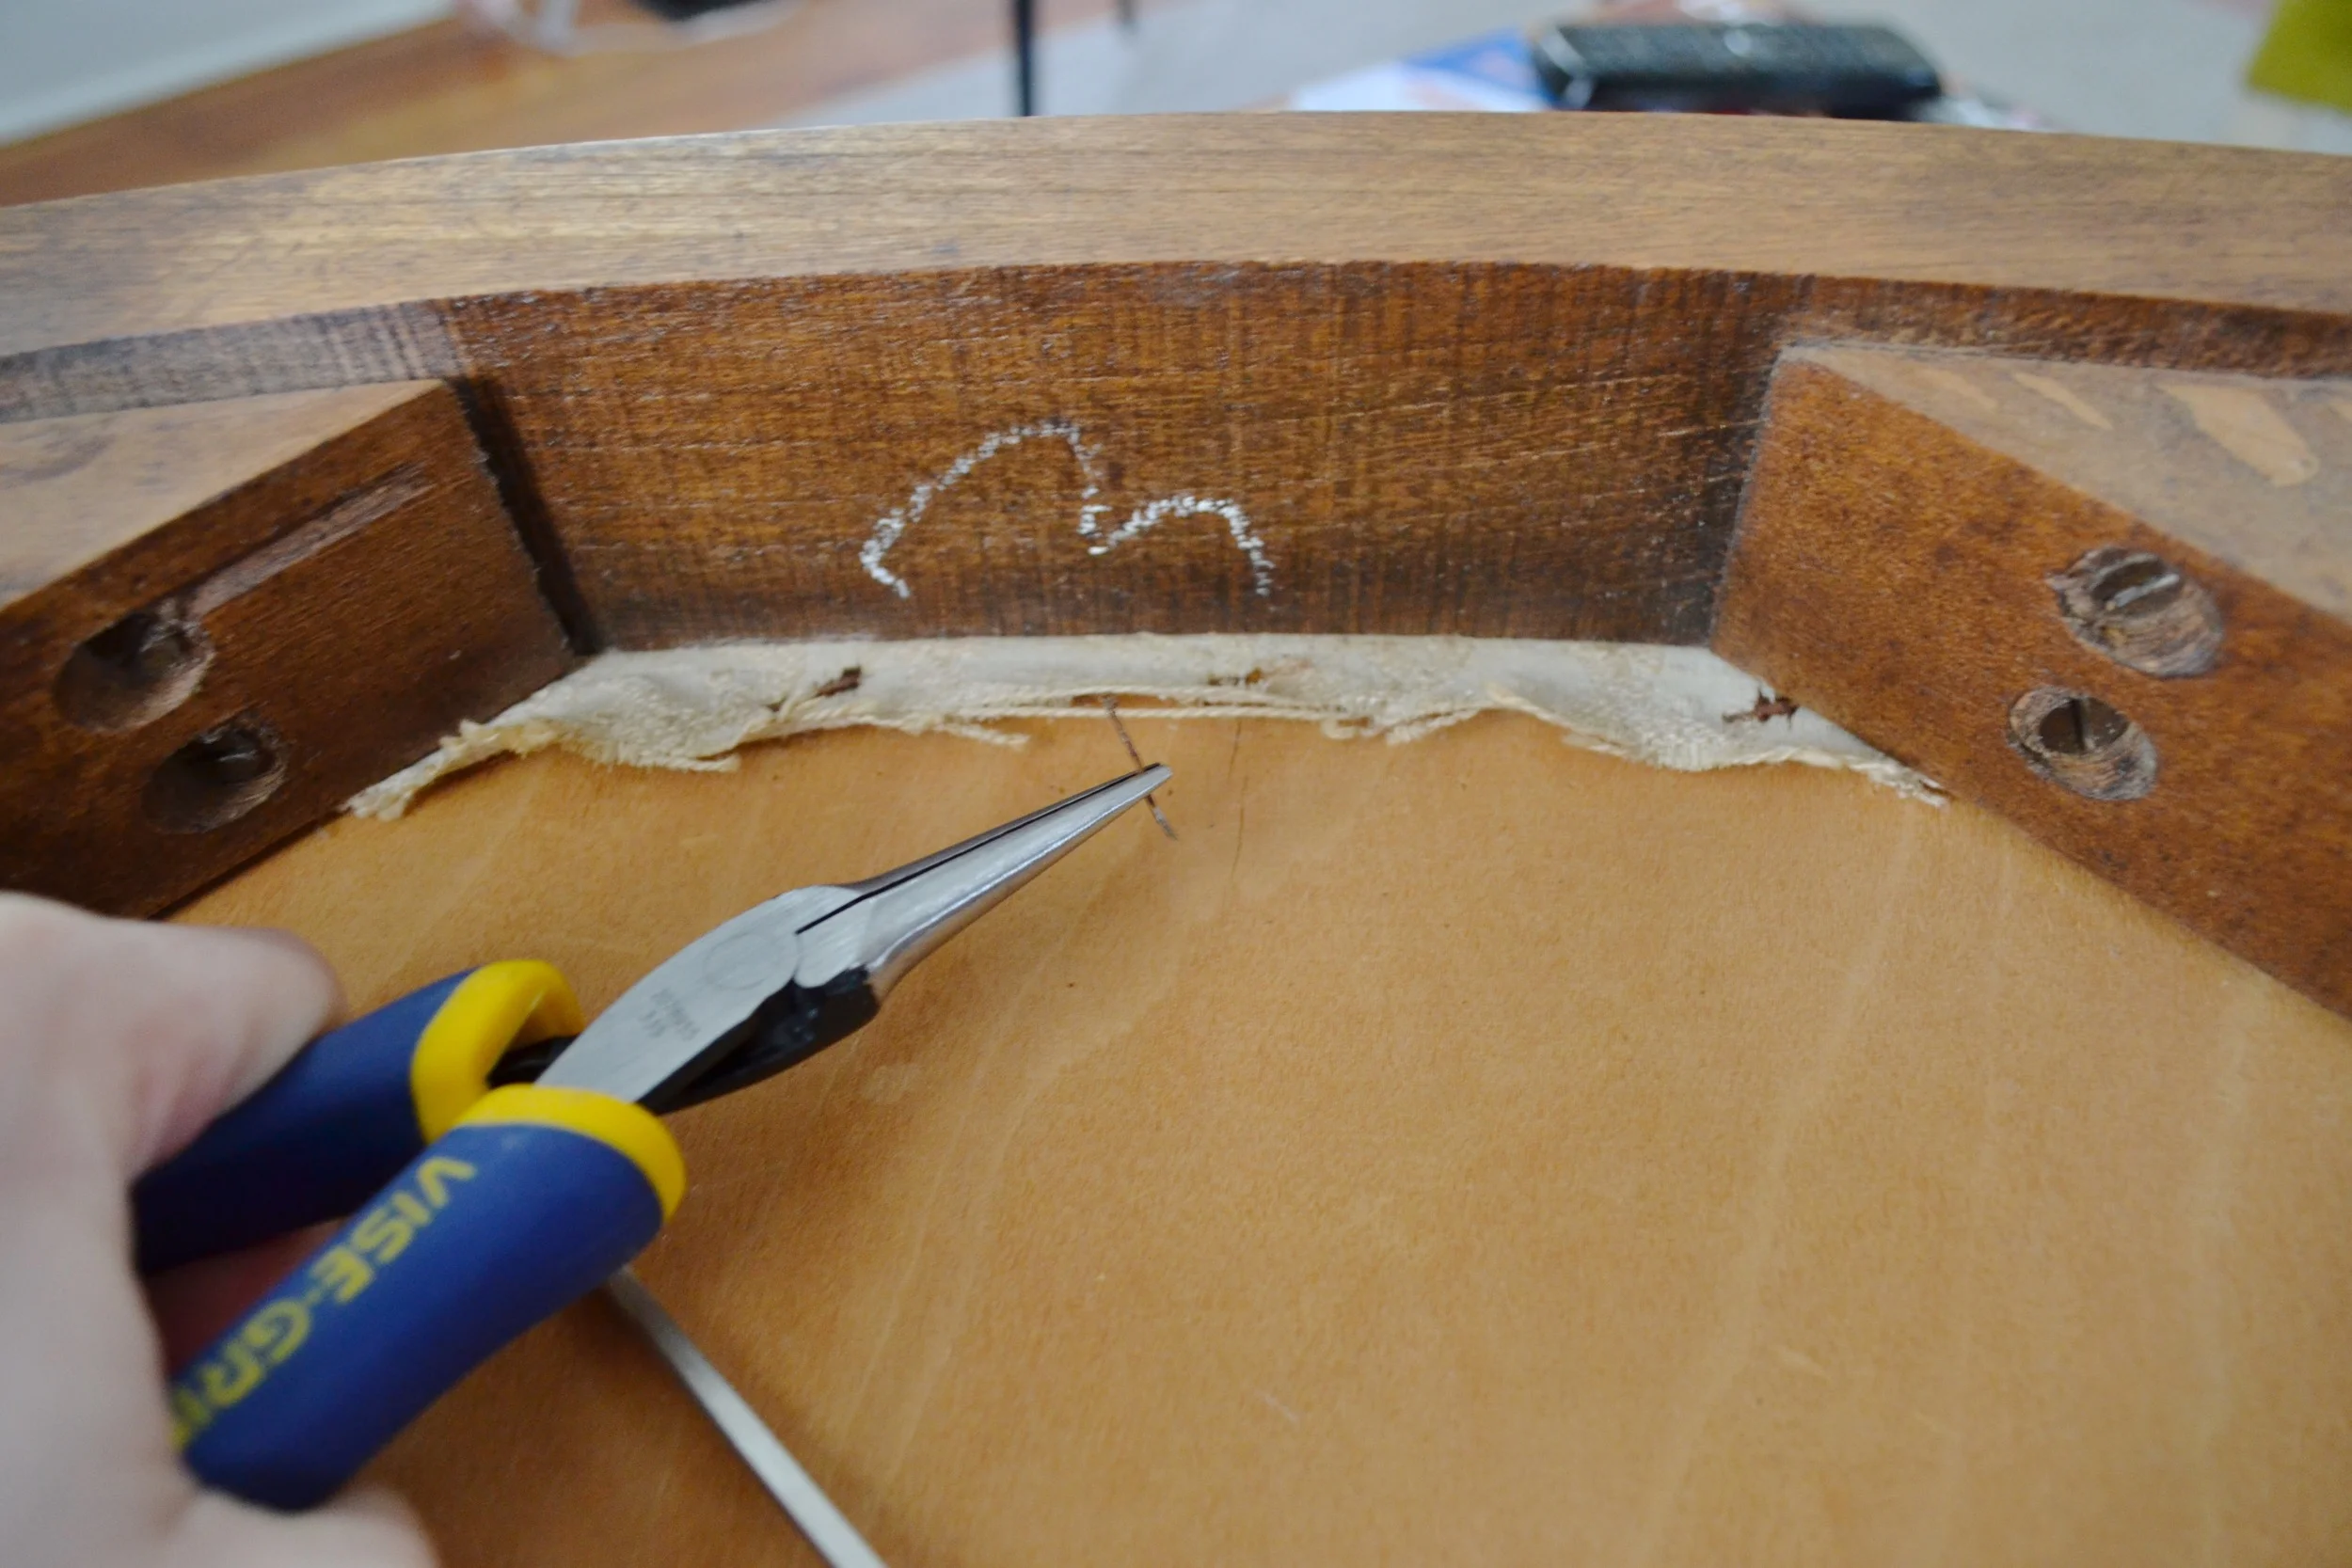
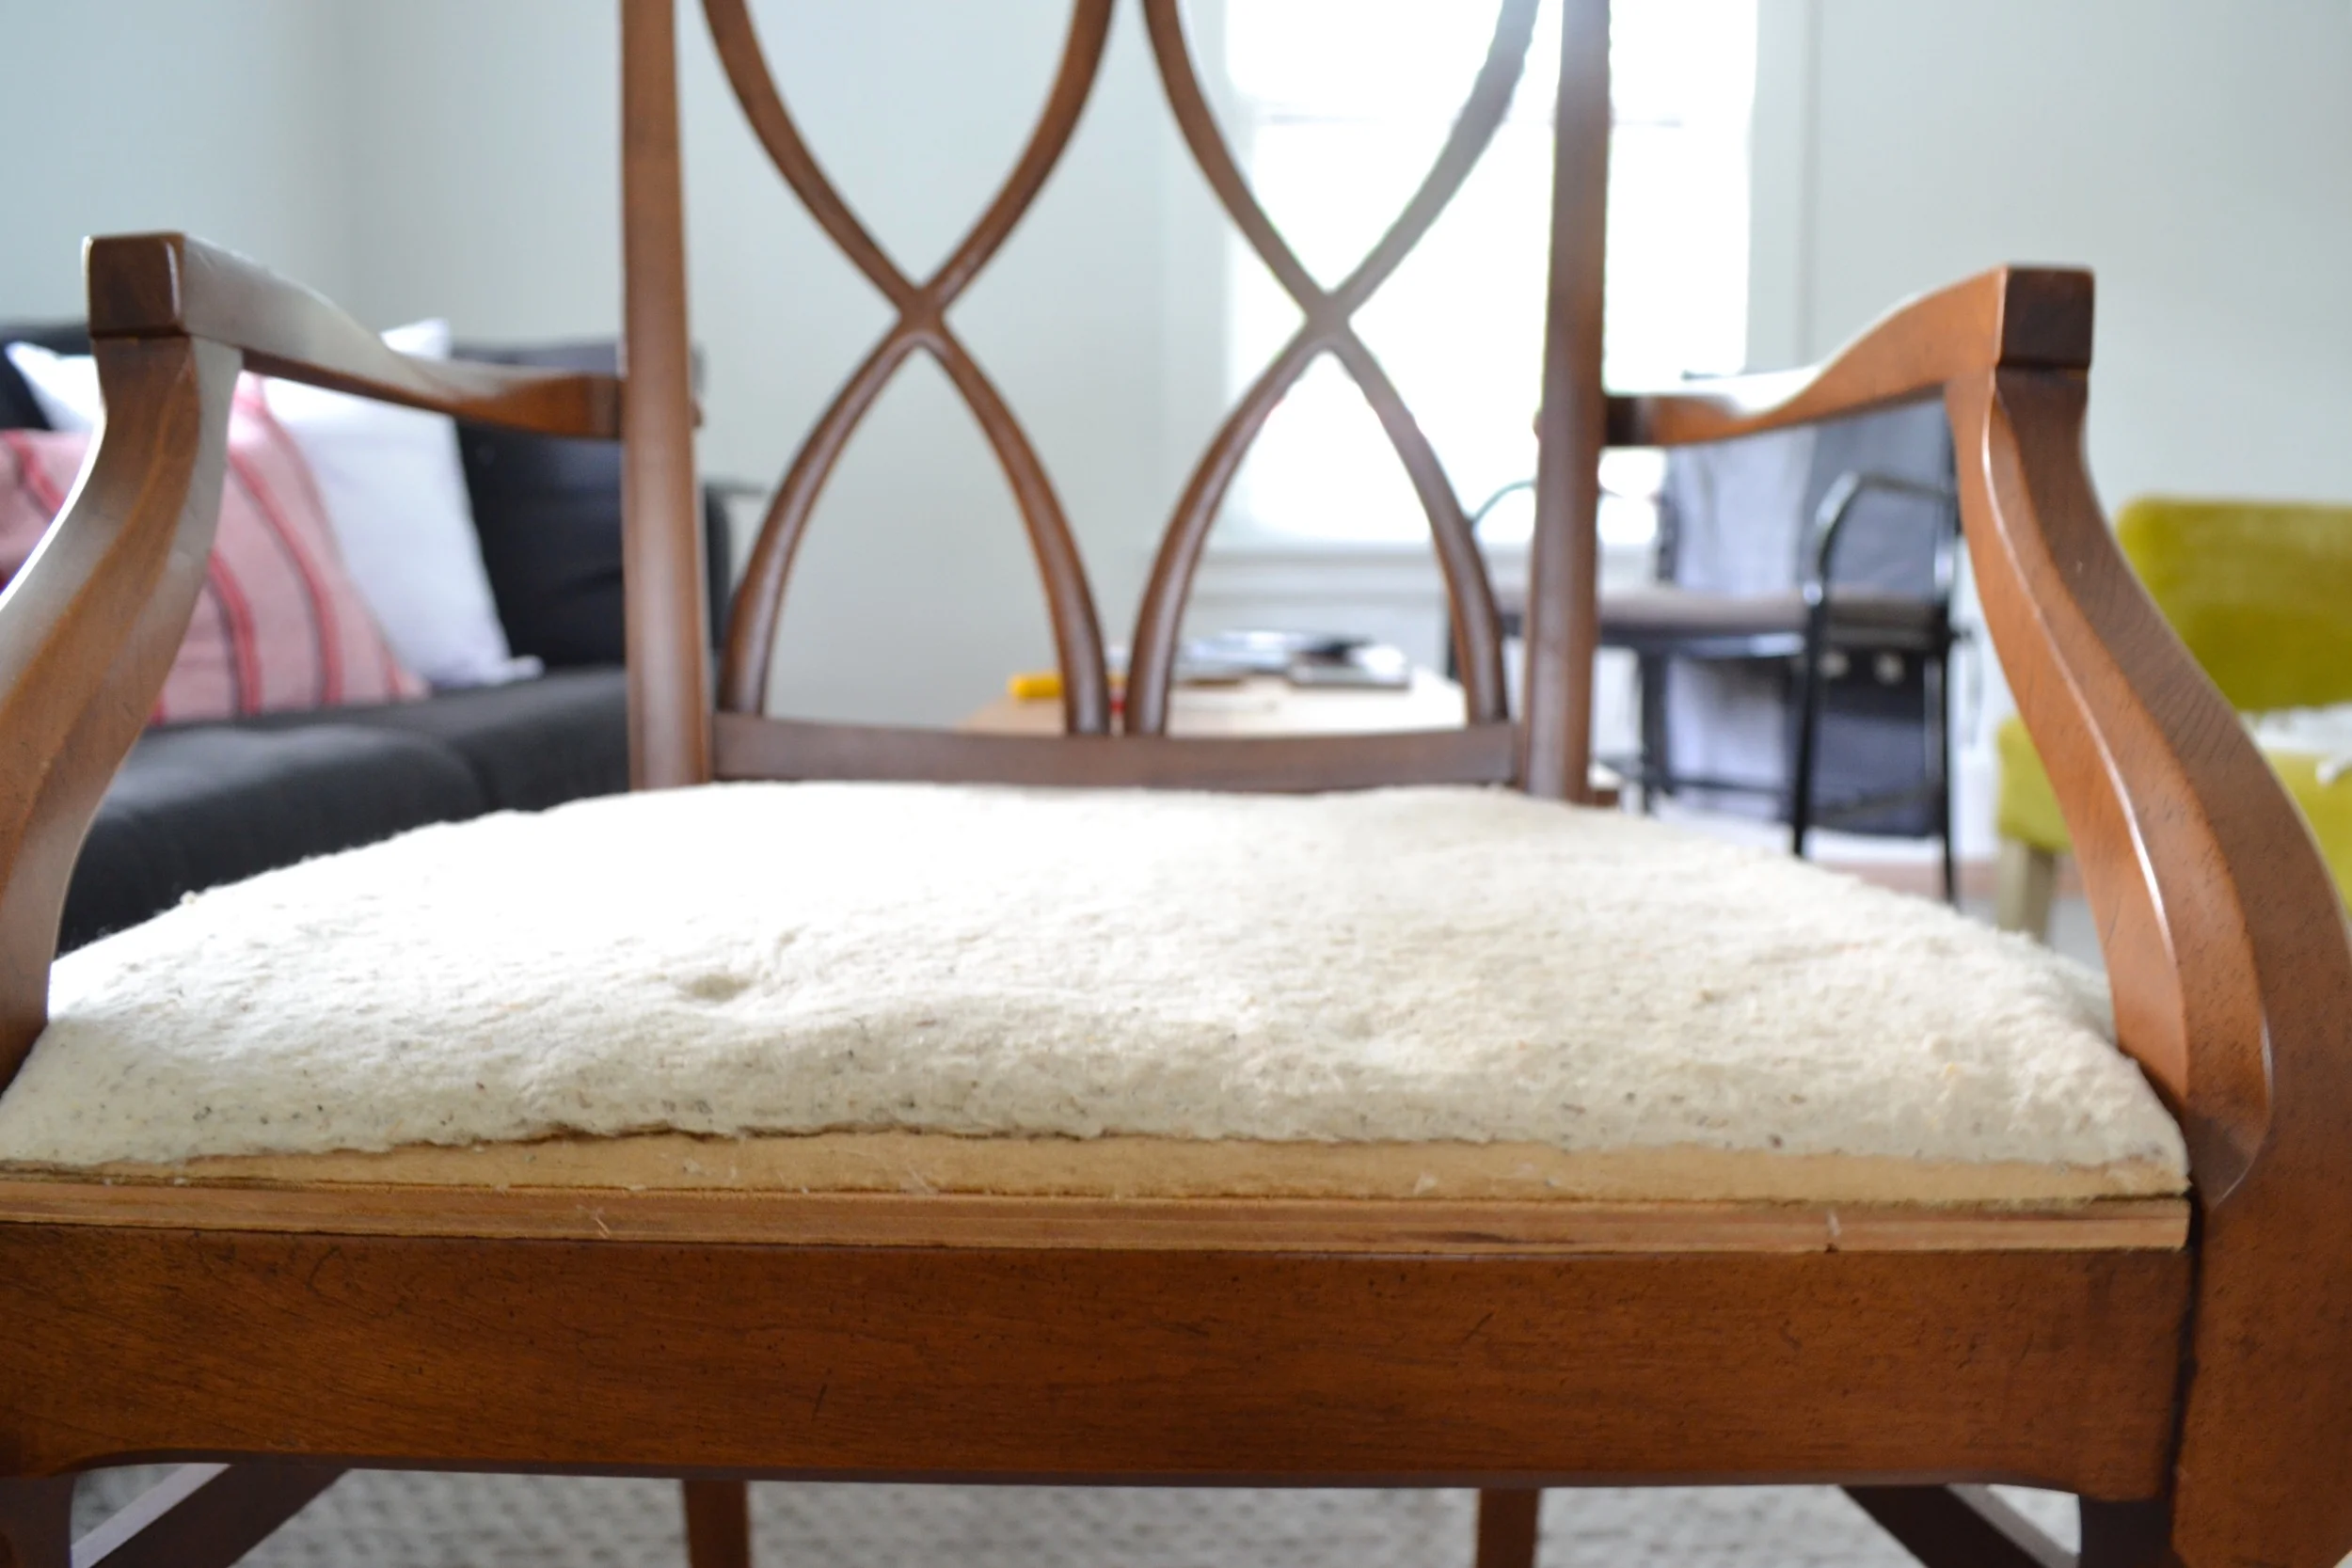
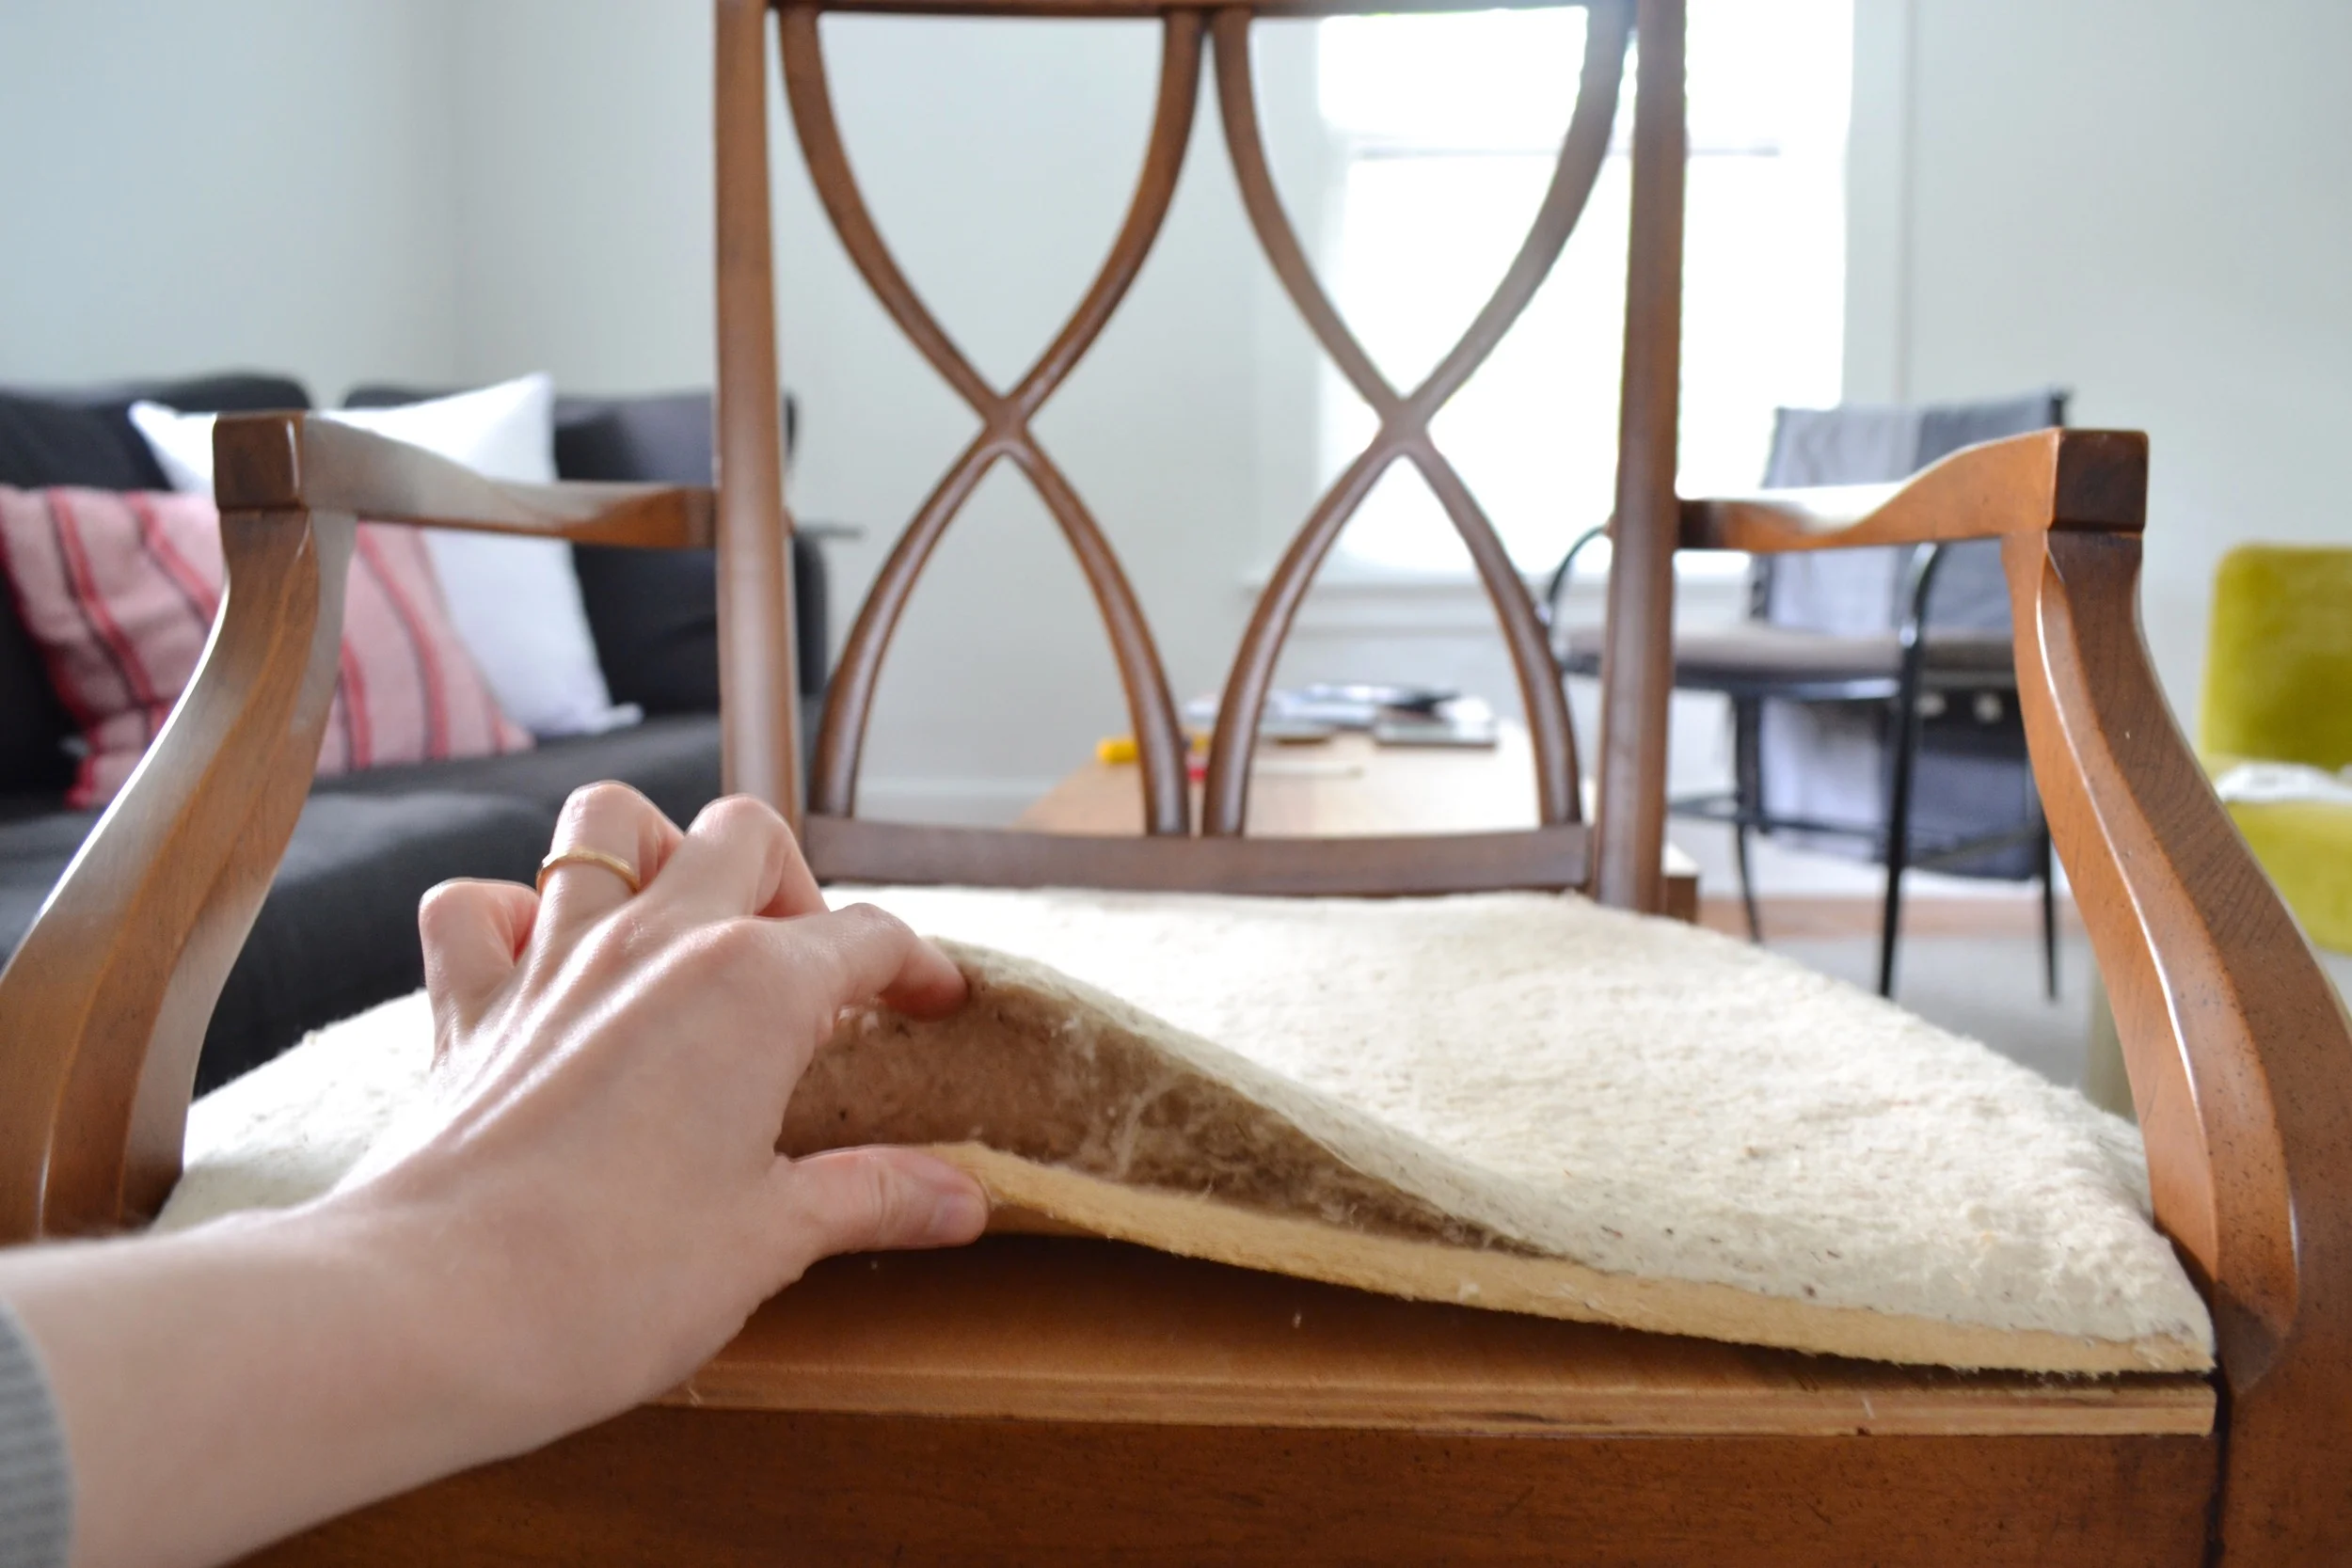
This first part, that I’m calling phase 1 has mostly included investigating. I wanted to see how the fabric was put on originally and what kind of shape the foam was in. So, I started with just one chair as a test. I unscrewed all 4 screws that attached the seat to the rest of the chair. The screws are actually set really deep so after unscrewing I had to do some shaking to get them to come out. From there I pulled the seat off and found that the fabric had just been stapled on. Perfect because that’s what I’m planning on doing! They used a ton of staples, which are really rusty by now so I went through and removed all of them. I used a tiny flat head screwdriver to pry them up a bit and then some pliers to pull them out of the wood. I was trying really hard to get the whole staple out – I’m afraid if any little pieces are left in the wood that they’ll interfere with the new staples. So, I tried my best not to break them, it’s not too hard, you just have to be a extra careful because they’re more fragile when they’re rusty. After I pulled all the staples out I lifted off the fabric to inspect the foam. I think the foam is actually in pretty good condition, but since I’m already going to be removing the fabric I’ve decided I might as well update the foam while I’m at it. Who knows when I’ll recover them again.
So, the next step is to find the right foam and fabric and get to recovering. But, the fabric is proving more difficult than I’d expected. We live in a relatively small town with very few fabric stores. [Cue all the wishing that I was back San Francisco right about now.] I’ve been looking online and I’m sure I’ll find something. It’s just more of a process when you can’t see the fabric in person and get a feel for the colors, texture, and weight. So, wish me luck and stay tuned for more details as the project unfolds!