***UPDATE: I've updated this project and posted about it here! ***
A few weeks ago I posted a compilation of research I’d done about effectively use your clawfoot tub shower. This particular subject happens to be the thorn in my side. It’s been hanging over my head for months now and every time I think I’m almost finished something else comes up that causes it all to come to a screeching halt. I’m so ready to get this shower finished! The good news is I’m getting close!
Clawfoot Tub Shower Curtain Liner: Background
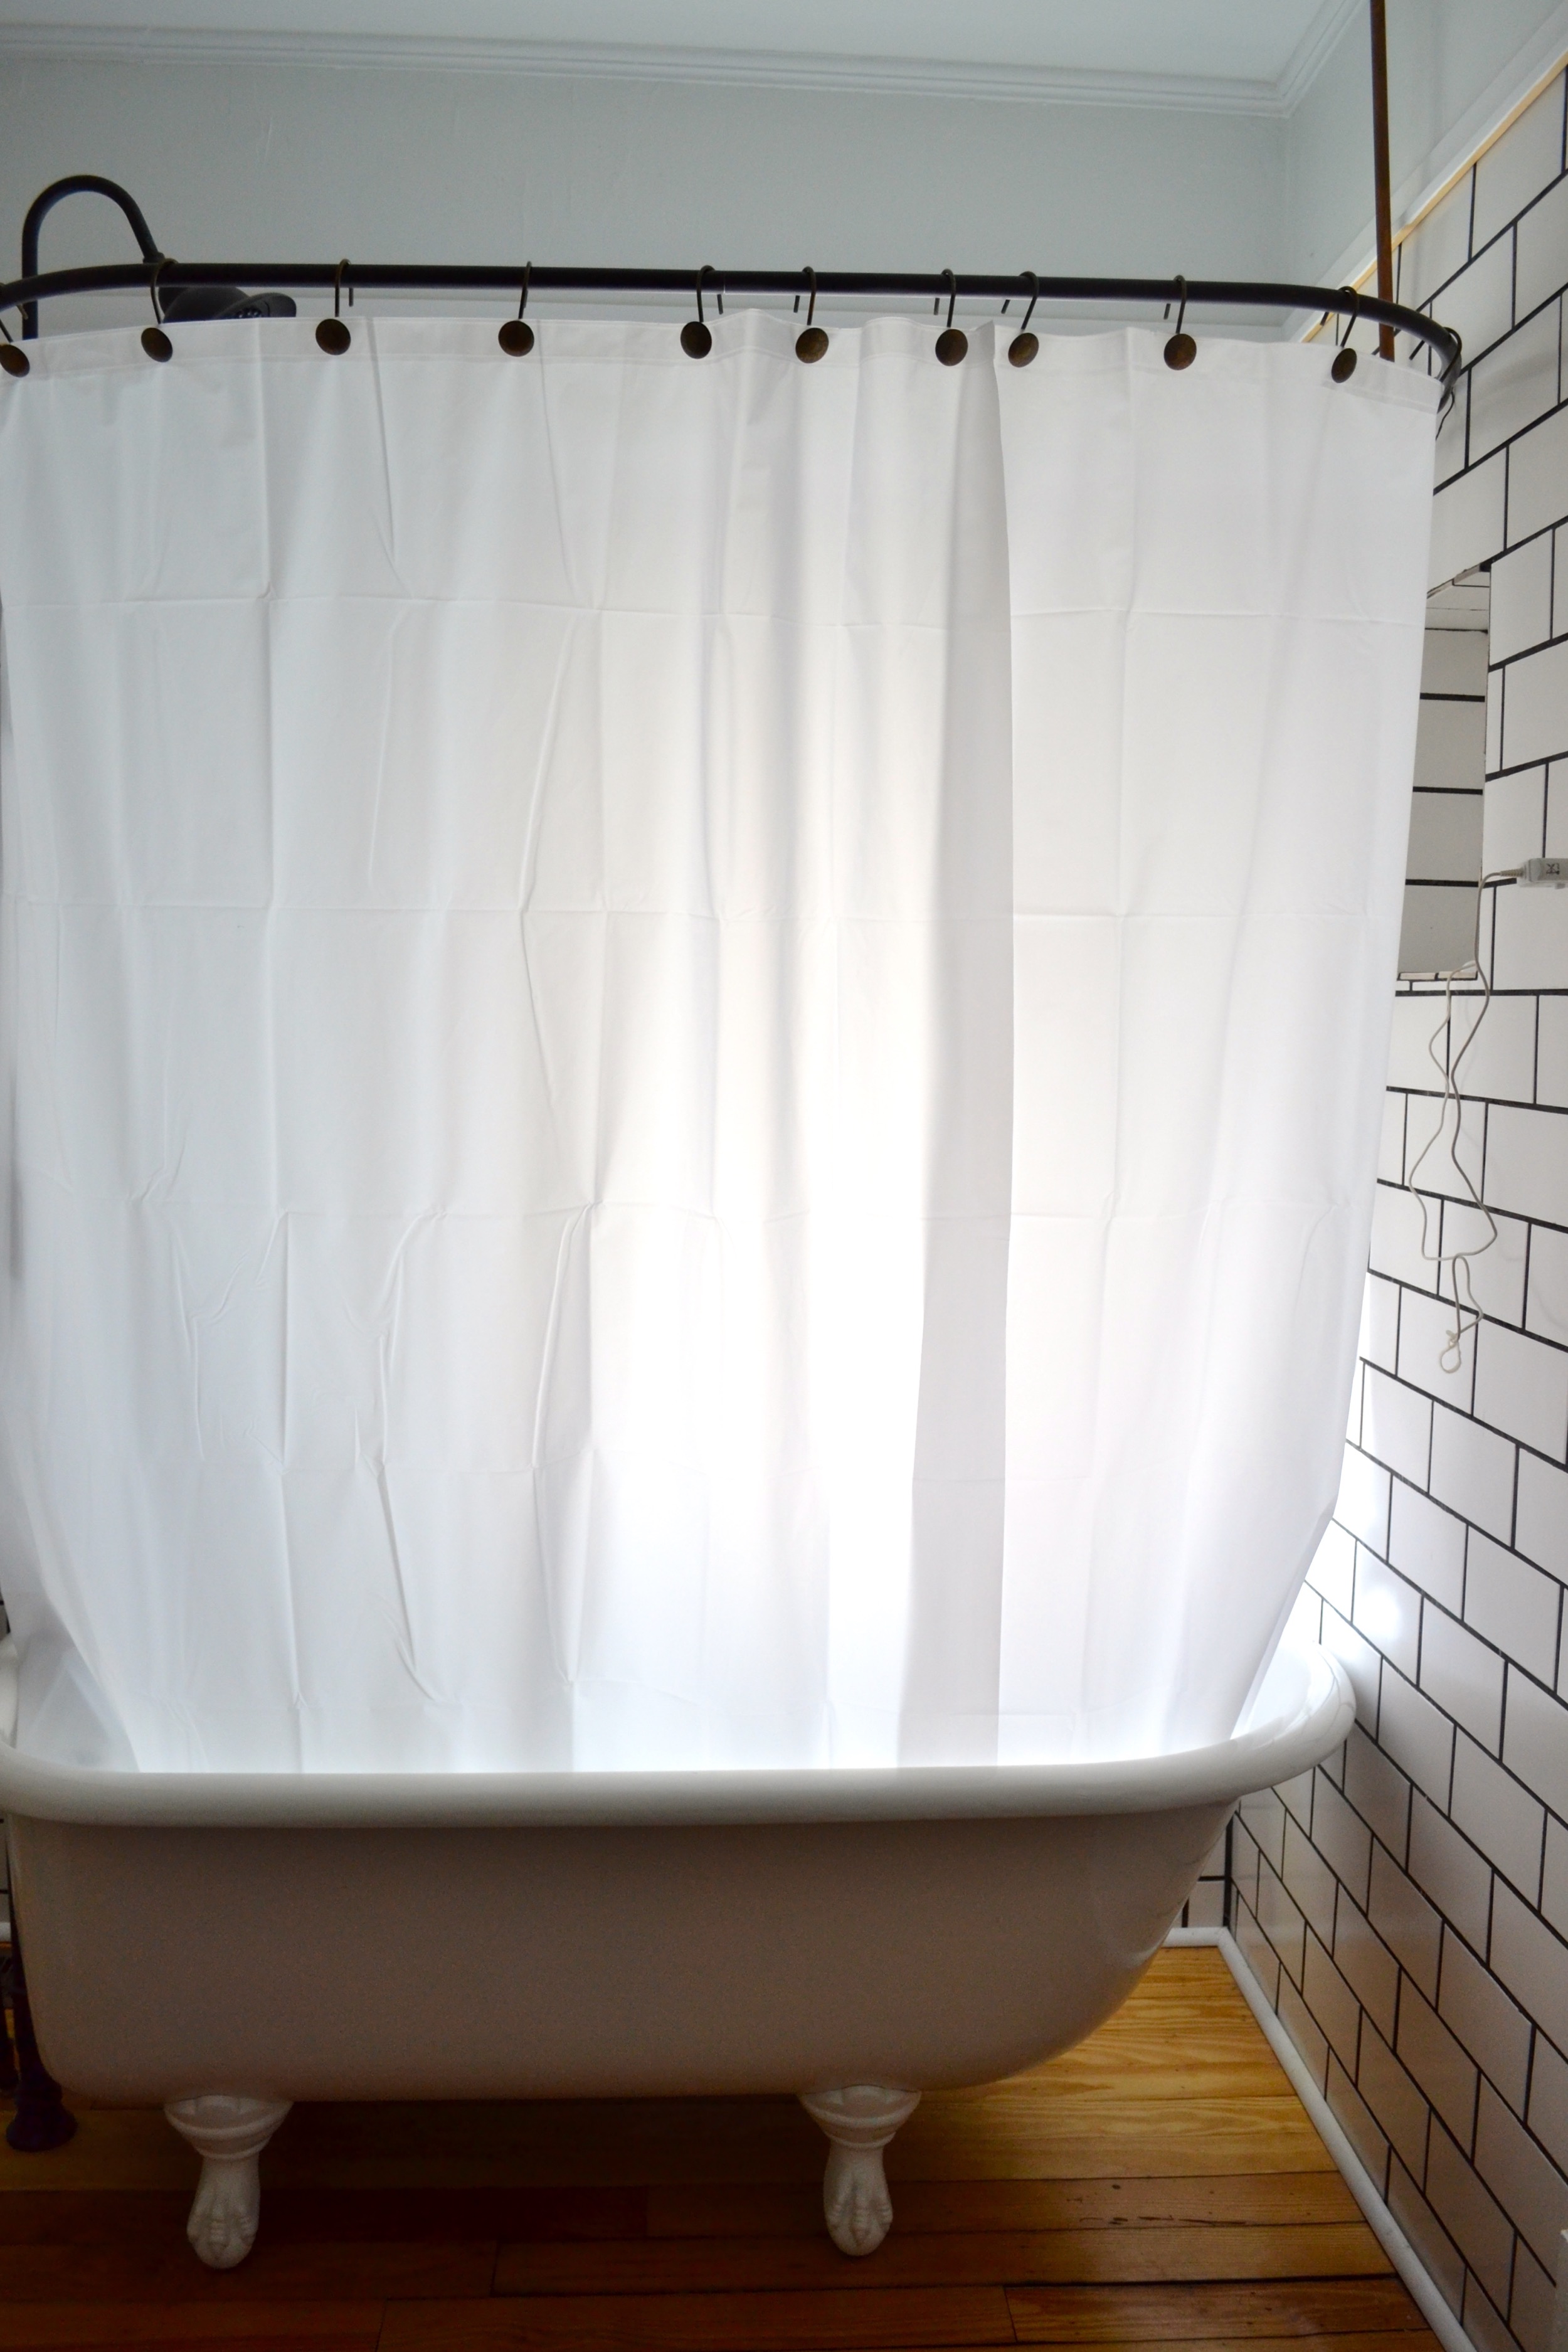
It took so much research and planning, but we finally have a usable clawfoot tub shower curtain liner in there and I wanted to give you an update. We have a big window right next to our tub that we decided against putting blinds on because once both the curtain and liner are up I think they’ll block a lot of the light and I don’t want anything else obstructing it. Plus, it’ll be a little hard to get to the window and we didn’t want to deal with any mold or mildew that might grow there because of being so close to the shower. Because we don’t have blinds on that window I wanted to go with a white liner so we would have enough privacy to start showering in there with just the liner while figuring out the curtain, but that proved very tricky. I was also looking for vinyl because I feel like fabric curtains billow more and I’d read that billowing shower curtains are a problem with clawfoot tubs because it’s coming at you from all angles. As I mentioned in my previous post it seems that many of the circular shower converter kits that go with clawfoot tubs are different sizes and I could not for the life of me find a white vinyl shower curtain that worked with our measurements. So, we ended up buying three that we DIYed into one useable solution. We got one regular and two stall sized curtains.
How to Make a Clawfoot Tub Shower Curtain Liner
To start, they were all way too long. So, we cut eight inches off the regular liner and 14 off the stall liners. Because you have to cut from the bottom we took the magnets off with it. Honestly I was okay with that because I don’t find those to be very useful. It seems like they’re never heavy enough to do their job. Instead we went to Lowes and picked up some large, heavy washers and Gorilla Glue. I used the scraps of the shower curtain liner to cut out patches and glued them to the remaining liner with the washers in between. And so far it’s working pretty well. I was a little conservative with how many I used and I may go back and add even more, but otherwise it’s great! Be sure to read the instructions on the glue you get, the one I used needed 24 hours to cure and required clamping pressure to create the bond. I used sandwich bags filled with tepid water to create the “clamp.” We knew it wouldn’t need too much pressure, but the water formed to the shape of the washers which was super important because until the glue starts to cure it doesn’t really stick to the liner.
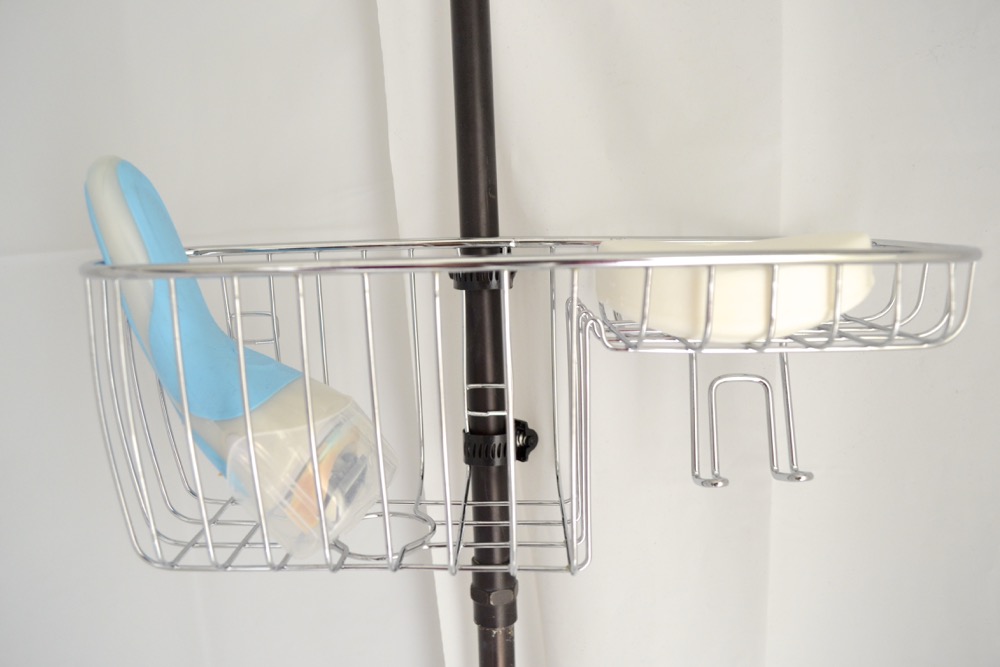
The other thing we did to make the shower more usable was make these baskets for our toiletries. I scoured the internet for storage options that would work for us and just wasn’t coming up with anything. Our clawfoot tub is fairly small so the standard across the tub caddy that I linked in the previous post felt like it was going to take up too much space. And the converter kit is not very solid so the things that hung from the shower curtain rod weren’t a good option. And everything else that I found seemed to hook over the edge of the tub which wouldn’t work because the liner is on the inside to minimize splashing as much as possible since we have hardwoods in the bathroom (weird, I know!). So, we ended up making our own. We looked at a few stores for shower caddies that were the right size and shape. These were good because they’re pretty small, but deep and can fit several things in each one. We used hose clamps to mount them that I spray painted black so they would match the rest of the hardware. It was surprisingly easy. We also added a stabilizer in pretty much the only spot we had for one to help sturdy up the shower curtain rod. And now we’re in much better shape! We’re showering upstairs where all the rest of our stuff is which is so awesome. The next step for the shower is to figure out what to do about the curtain itself. I have a few DIYs I’ve been mulling over, I’ll let you know what we go with!


