
One reason I love Christmas time (among so many others) is the chance to wrap presents. I love spending time making gifts look beautiful. It’s a true labor of love and it’s a way I like to show mine during the holidays. I believe it feels really special to receive a gift that clearly took time and effort to wrap and I really enjoy spreading that feeling.
I’ve included some details about how to wrap a gorgeous gift in this post because I get a lot of compliments on mine and want to share my secrets!
1. Make sure you have the right supplies: I like to make sure I have supplies of tape, scissors, pencils, and pens on hand. If you’re shipping your gifts like me you’ll want to make sure you have shipping boxes, packing tape, air pockets/bubble wrap, and the addresses of everyone you’re sending a gift to. Make a list of anything you don’t have enough of. Remember, it’s so much better to have too much of these than find out the hard way you didn’t get enough.
2. Take stock of what you already have: Go through your wrap, bows, ribbon, tissue, gift bags, and gift tags from last year to see how much you have. Then look at how many gifts you have to wrap. This way you can figure out what you still need to buy.
3. Pick-up supplies: Now were getting to the good stuff! Go to your favorite paper or wrapping supply store and pick out what you need to complete your stock. Make sure the papers you pick go together and go with what you already have. This will give you options when it comes time to wrap.
4. Get your space ready: Find a large, flat, solid surface. If you choose the floor, I recommend putting something hard down. You won’t be able to get crisp corners and edges without a hard surface. You could get creative and use the lid of storage container or flattened cardboard box. Now is a good time to take another look at your gifts and how big they are. This will dictate how much space you need. Also, make sure you have your wrapping supplies, pen, pencil, tape, and scissors nearby.
5. Now you’re ready to start wrapping: Get going!
A couple of tips:
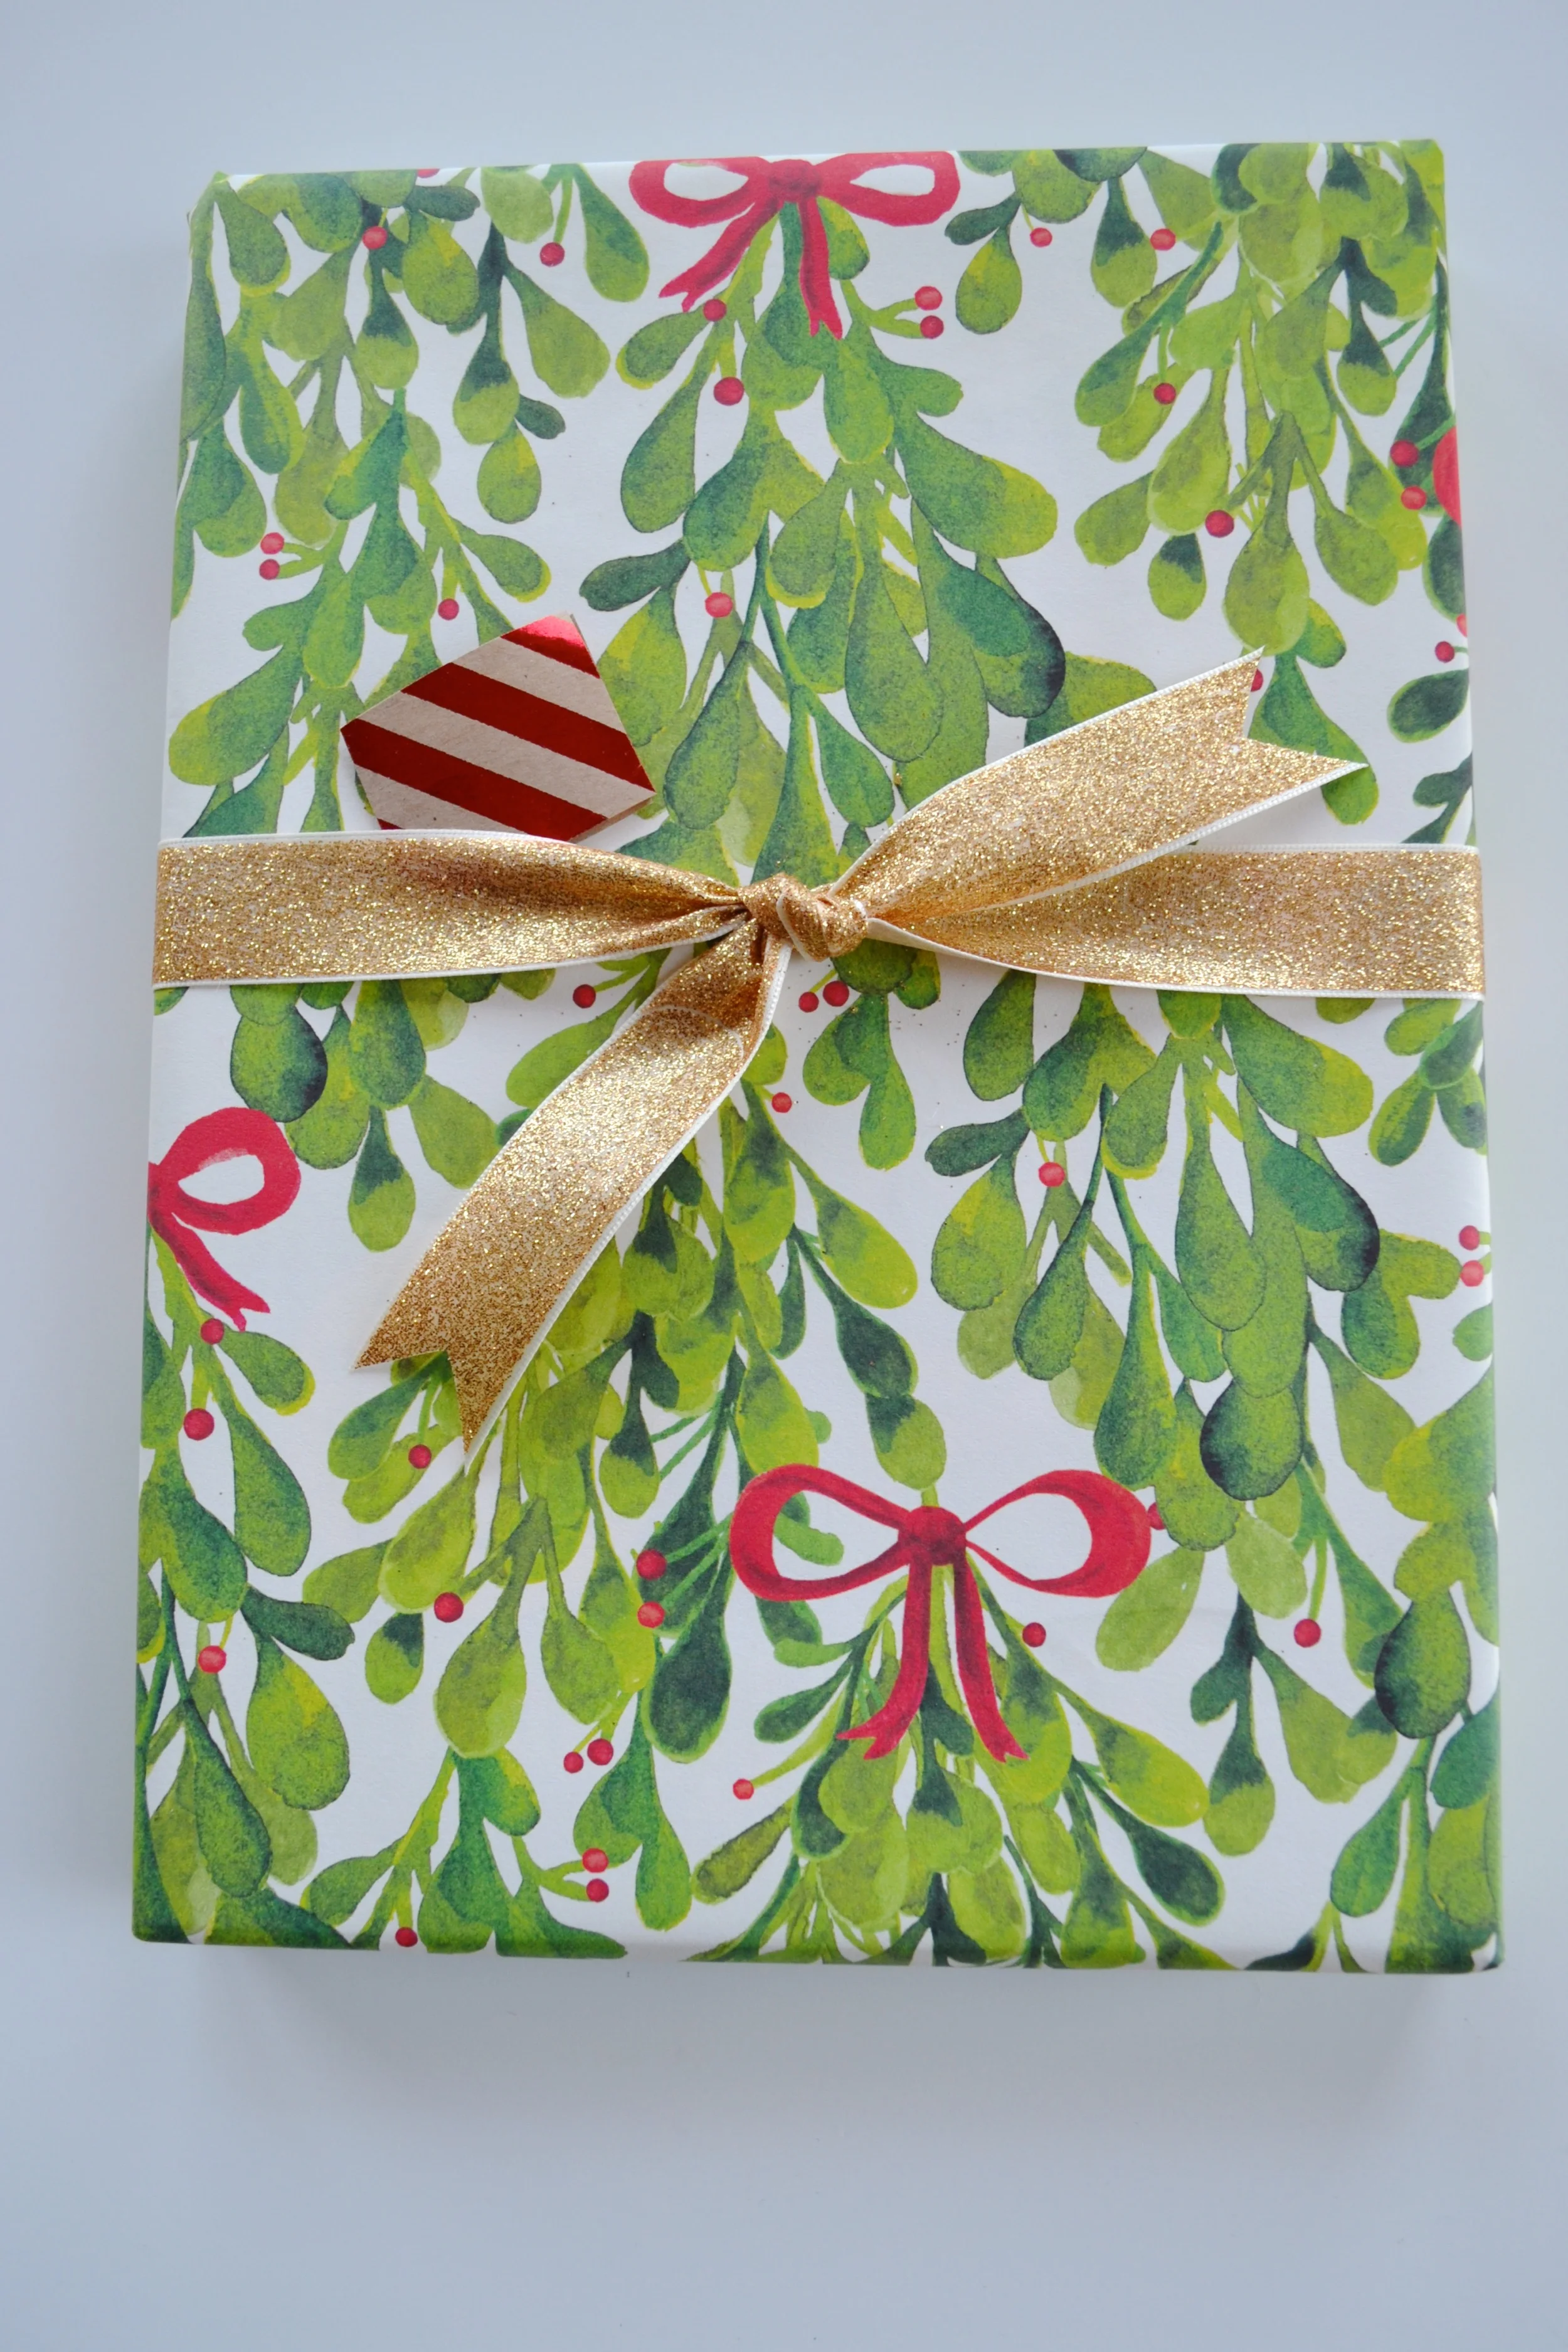
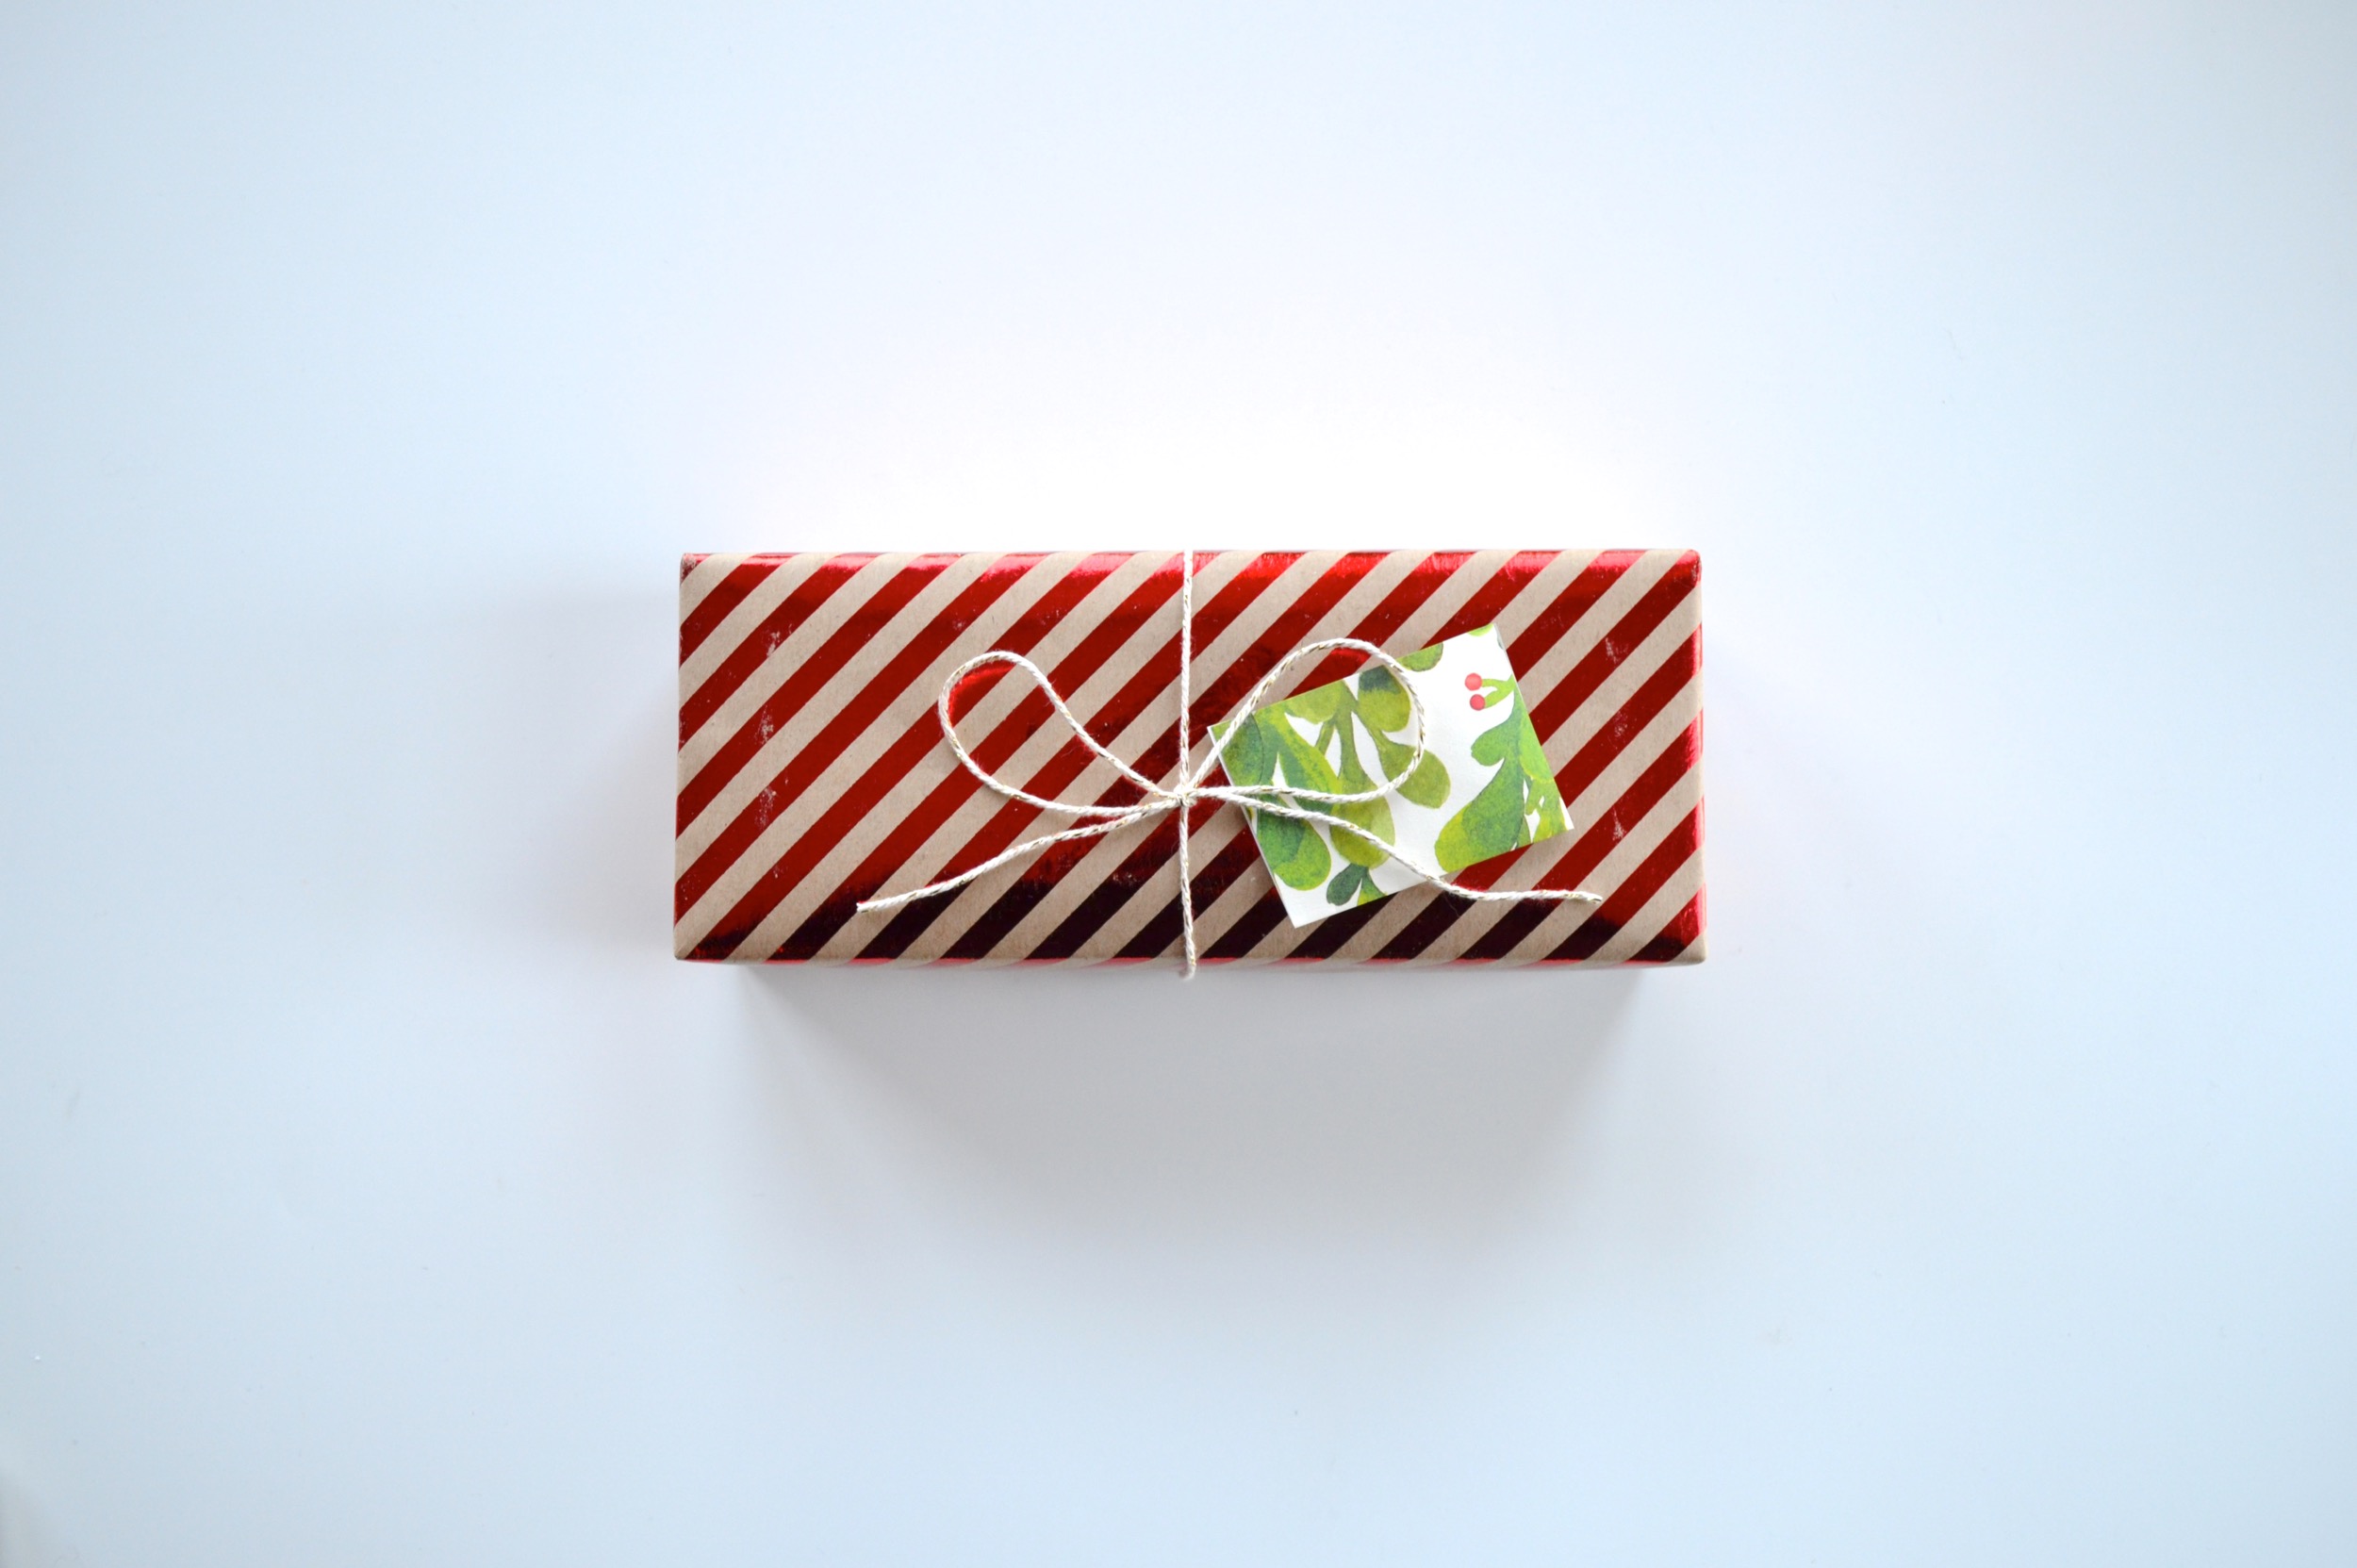
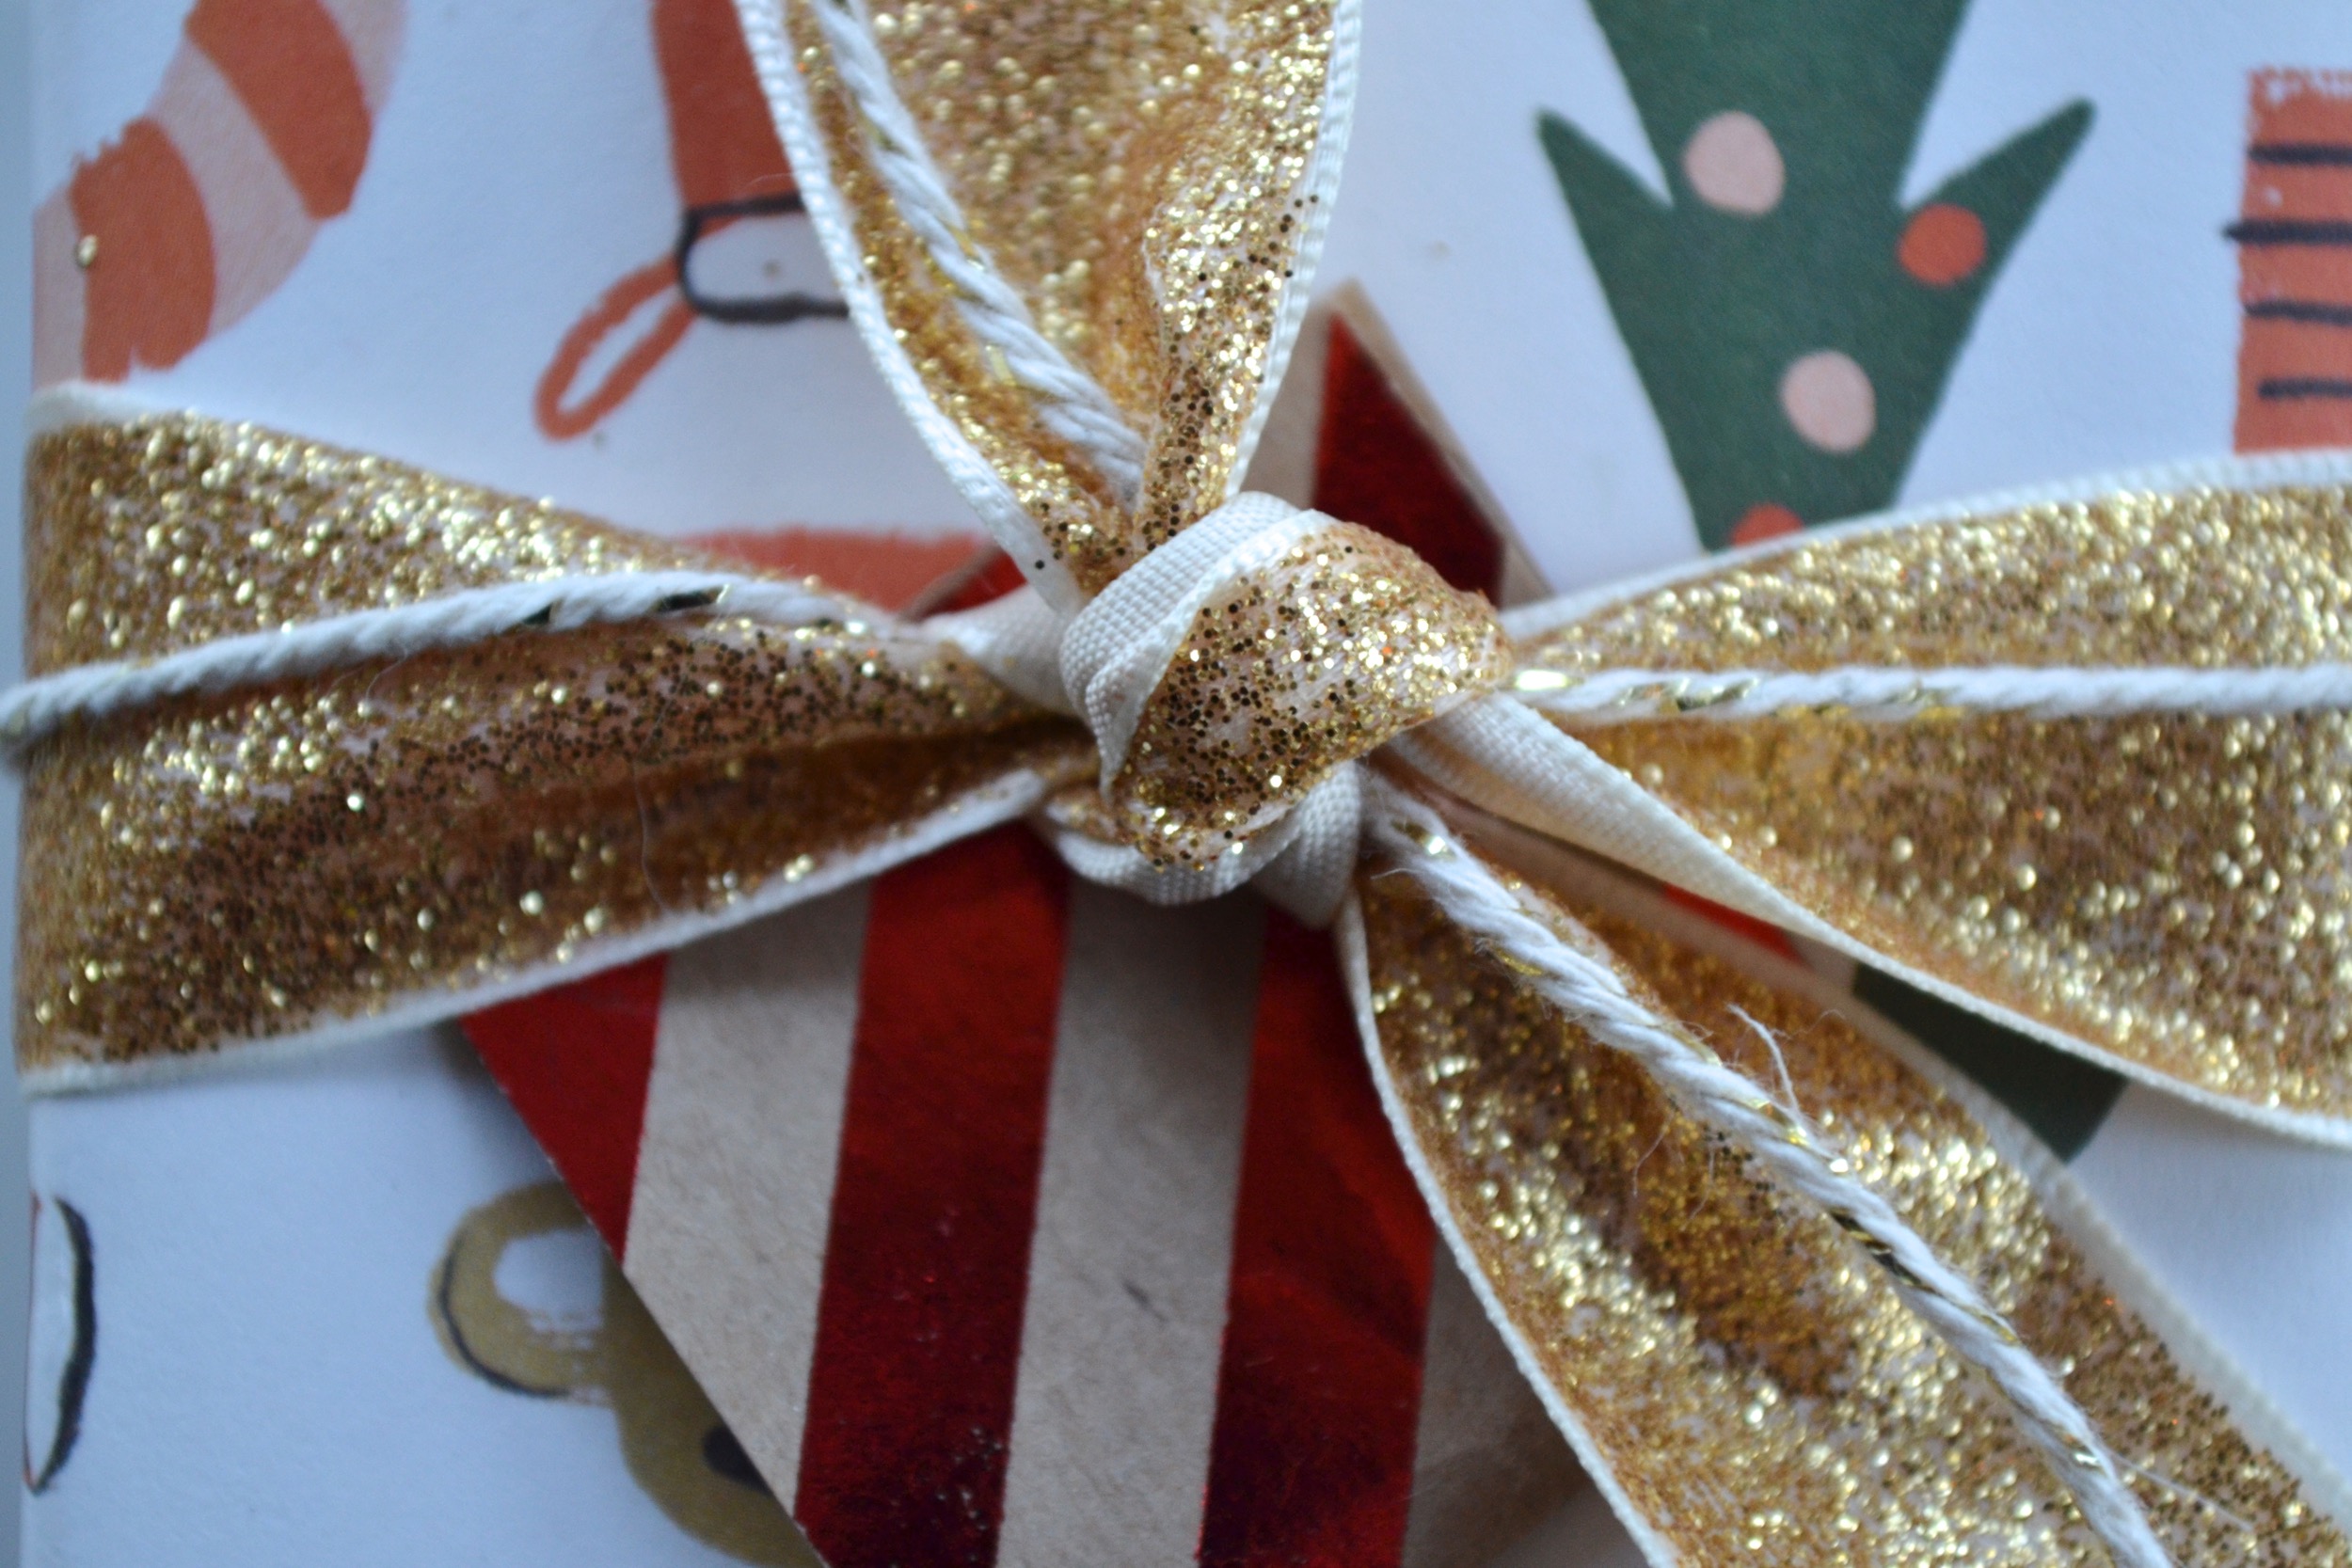
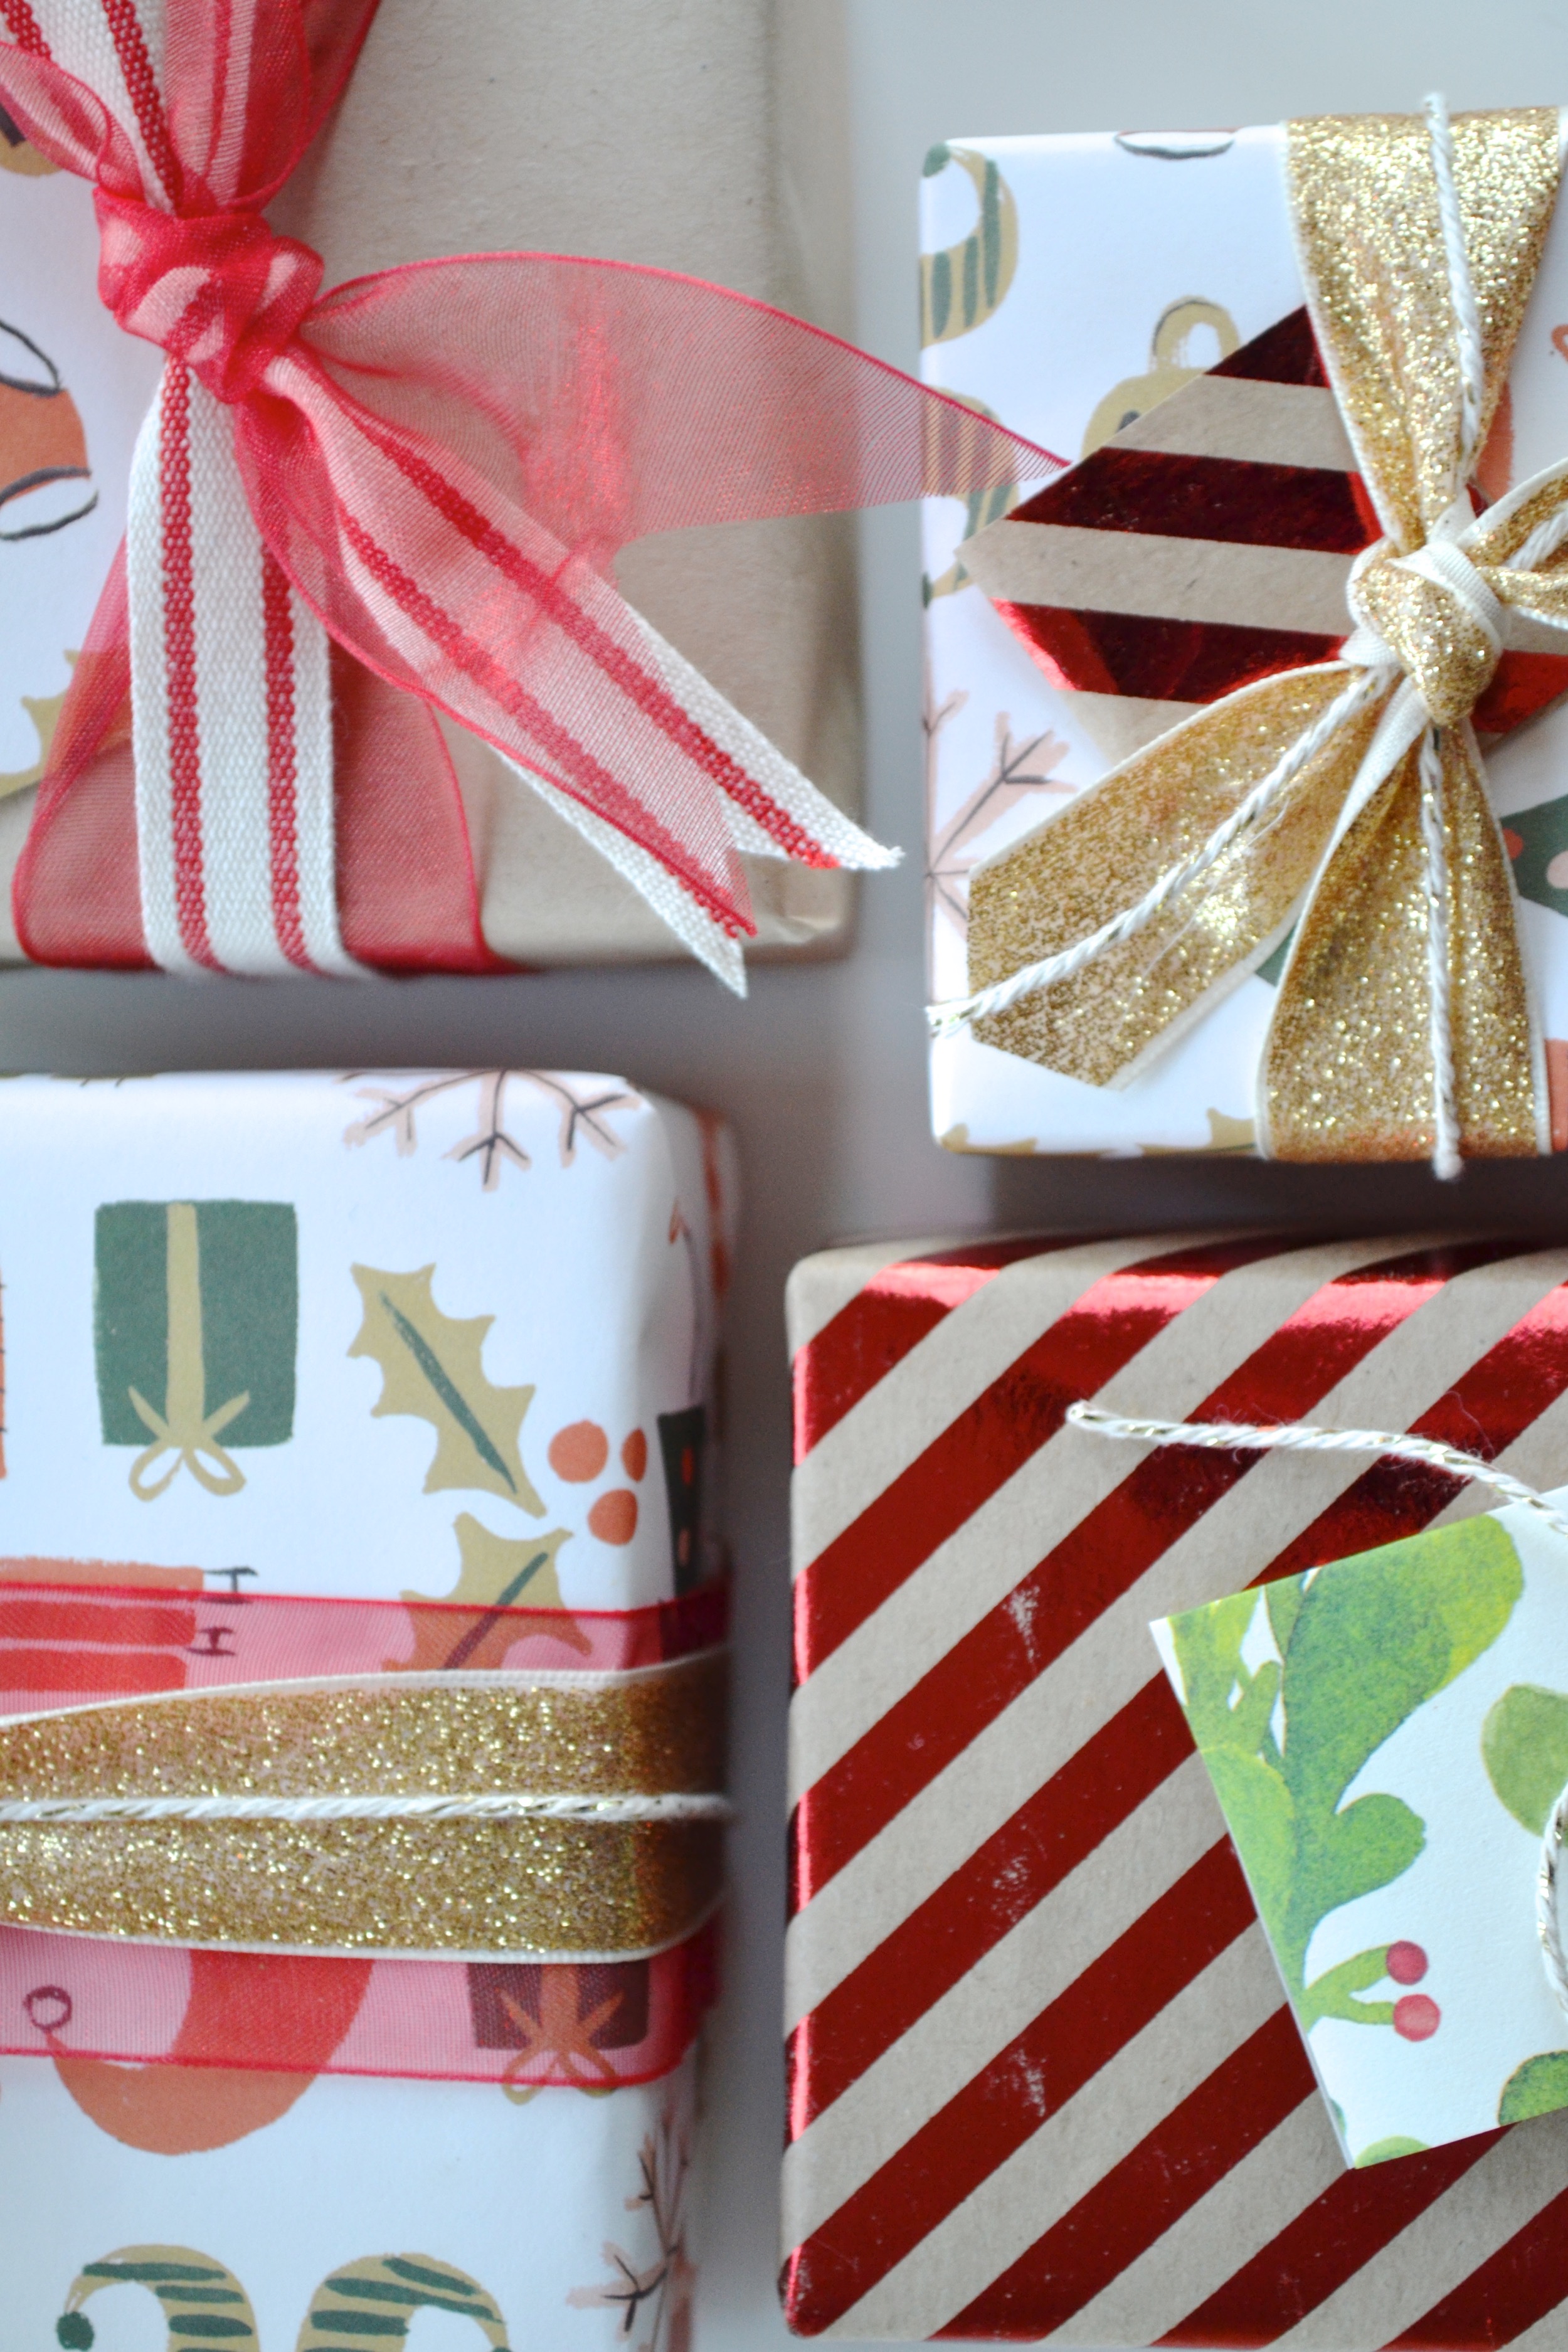
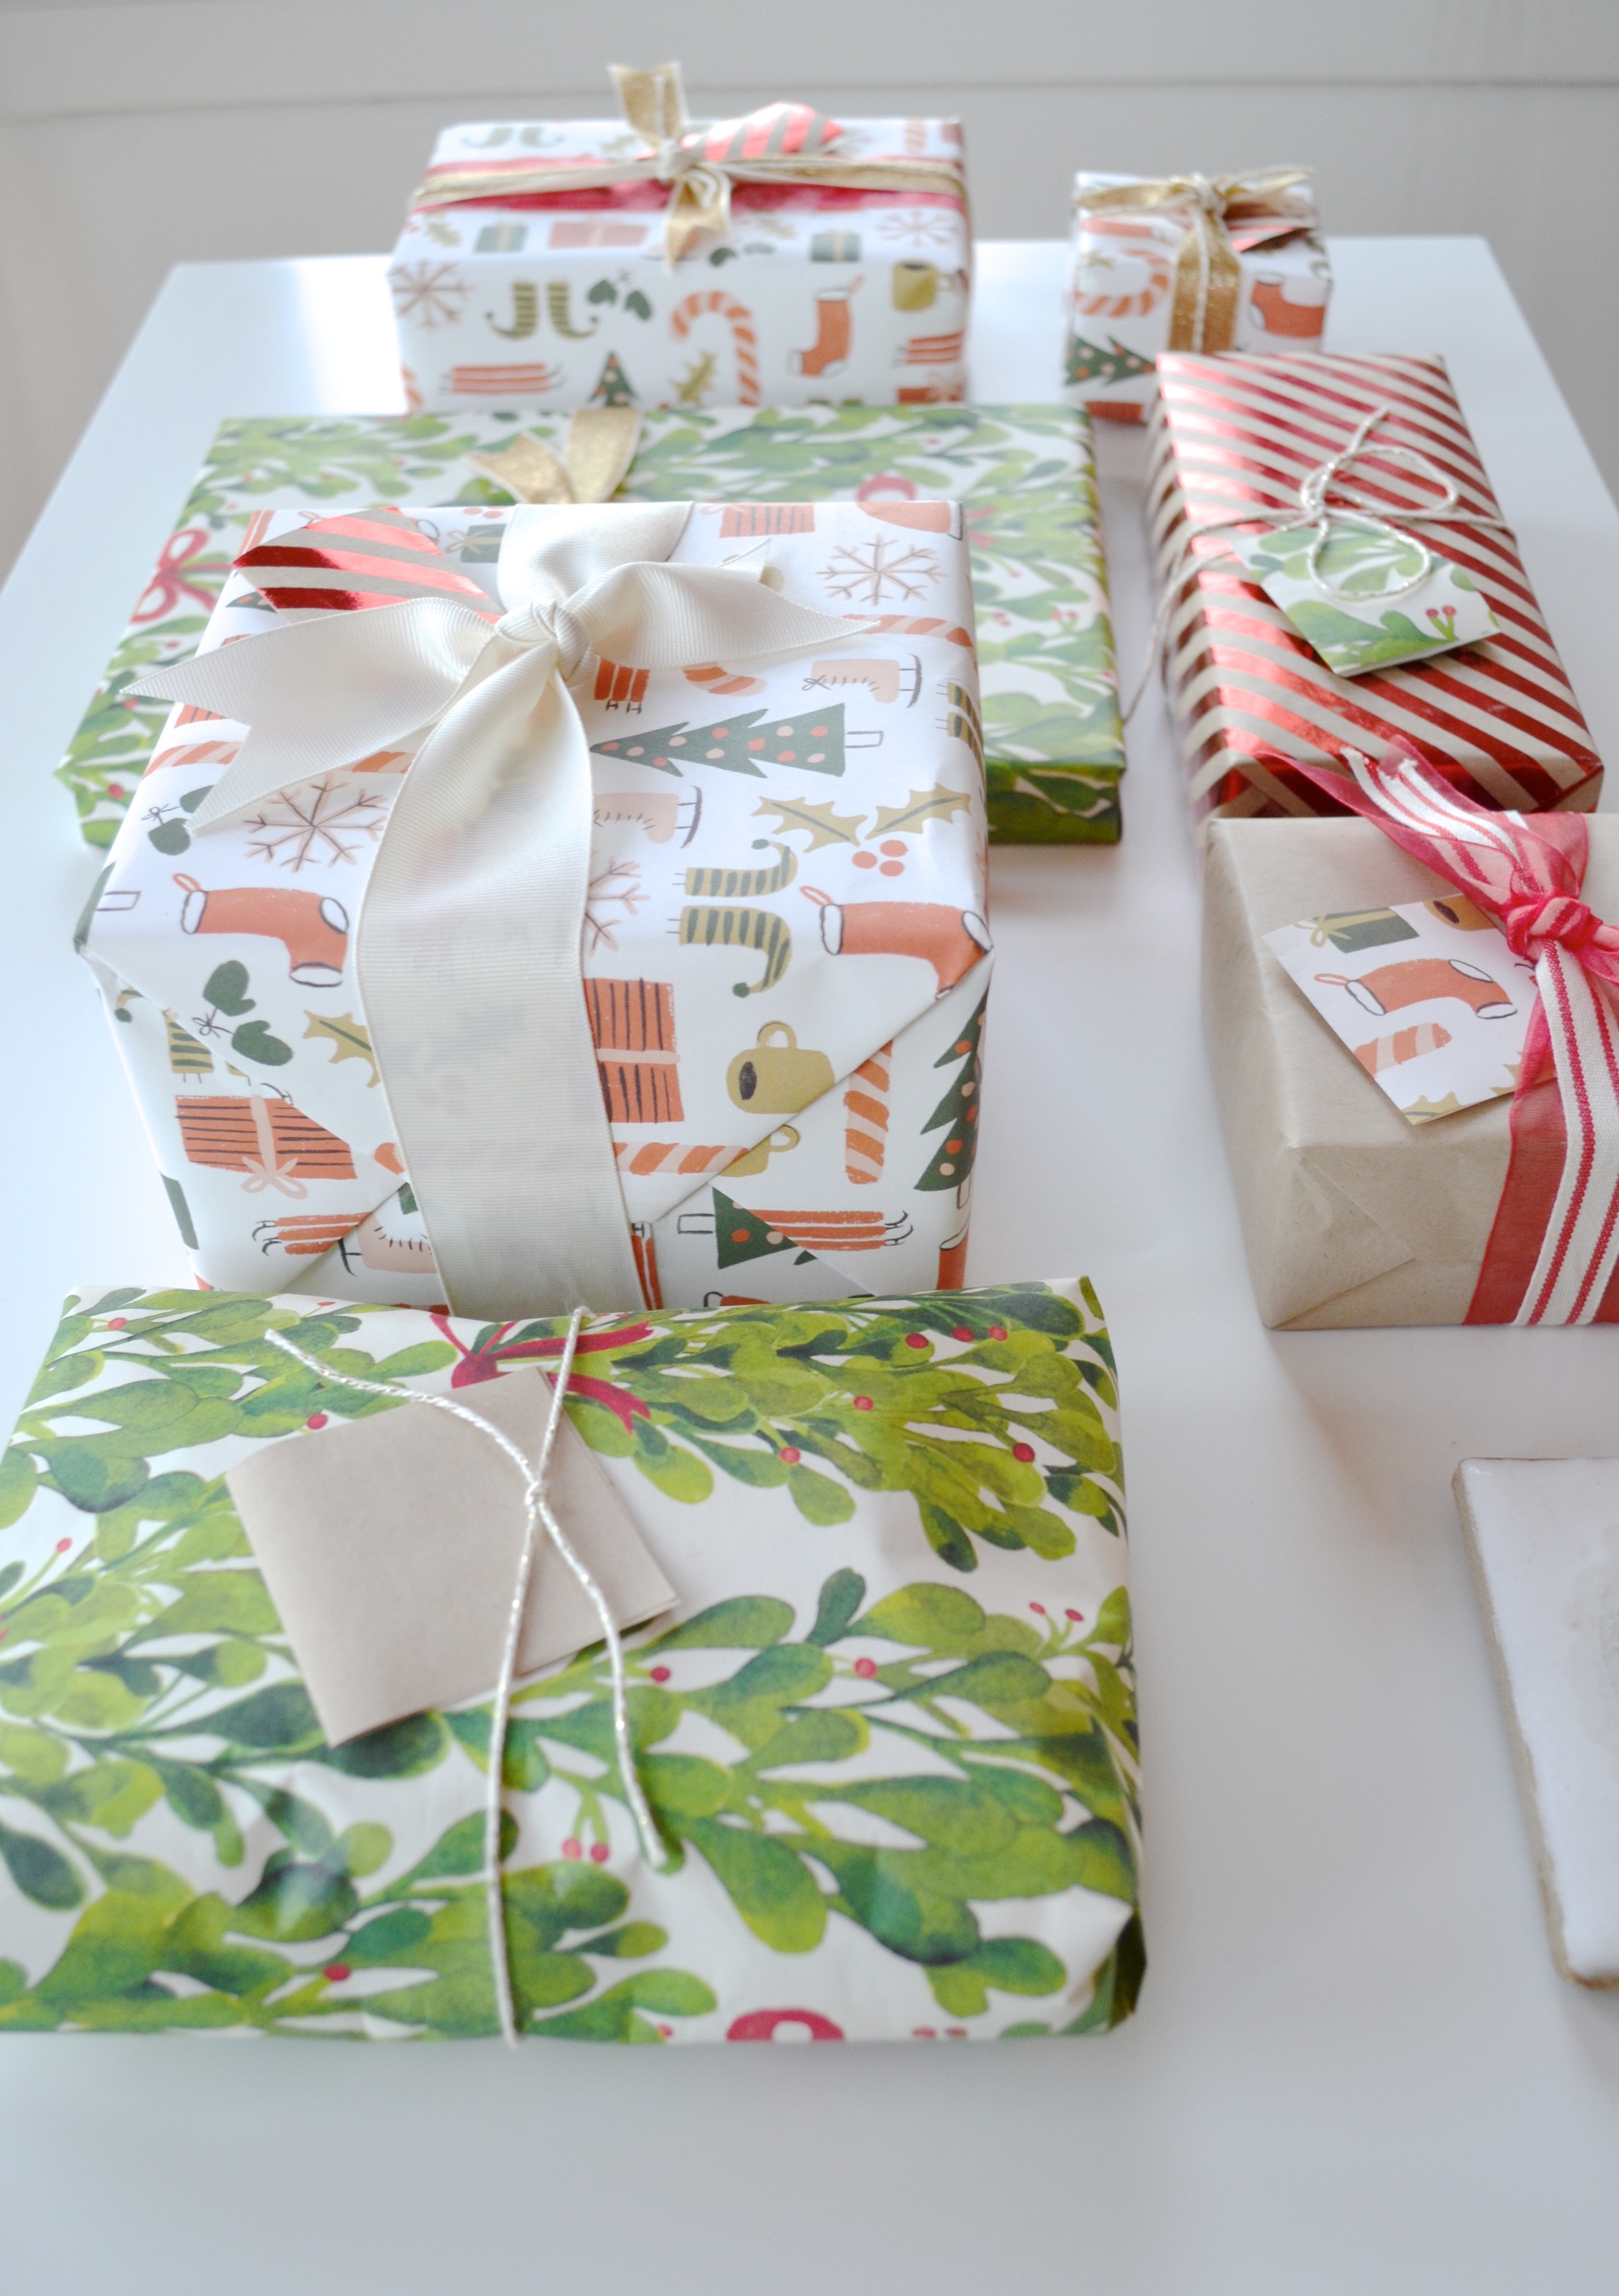
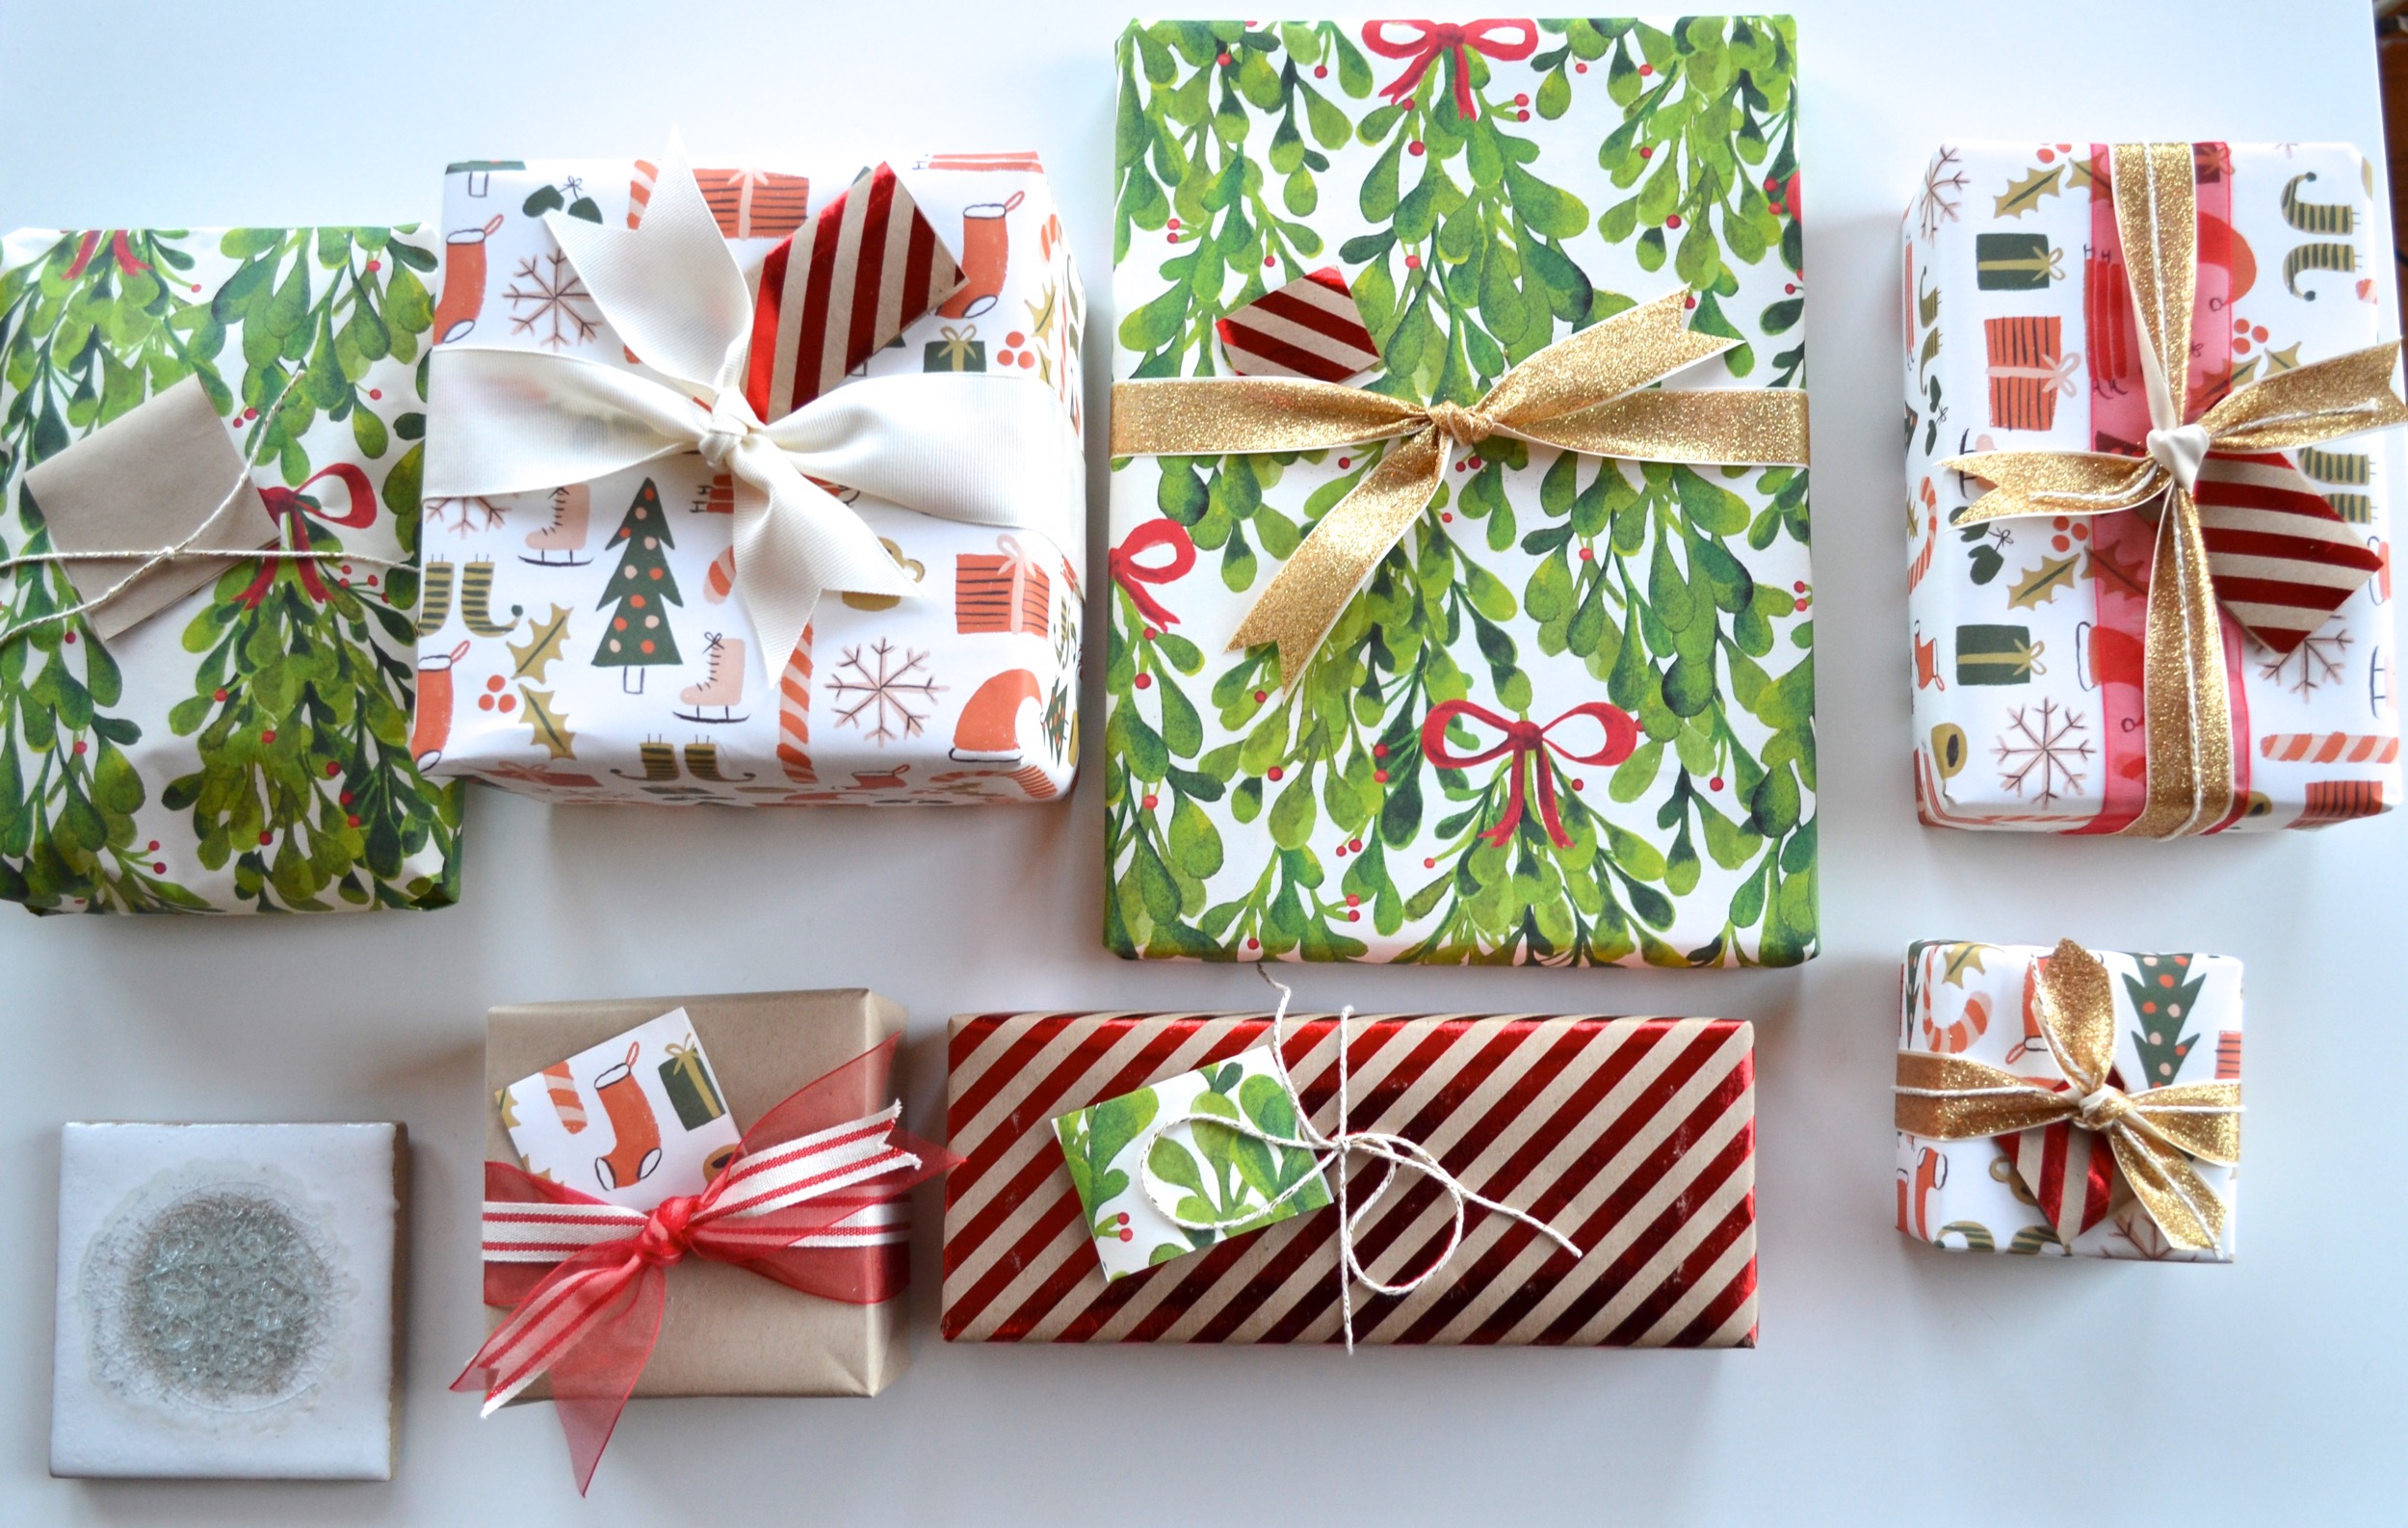
· I like to use little pieces of folded wrapping paper of a differing pattern as gift tags. It adds another layer to the gifts.
· I also like when gifts going to the same place look nice together, but not exactly the same. So, before I wrap each one I look at it with several different papers next to the gifts that are already wrapped to decide what I should use more of and what I’ve already used a lot.
· Wrap several gifts going to the same place first and then go back and add the ribbon. Doing the same thing I mention above, testing out different ribbon/bow combinations for each present.
· Add the gift tags last (unless you’re using one that is threaded through ribbon. If you’re using one of those go ahead and do it when adding the ribbon.). I use a pencil to lightly write the initials of the gift recipient on the bottom so I can remember who it will be going to.
· Don’t be afraid to experiment. Mix patterns, textures, and colors! This will only add more visual interest to your gifts and you may find some combinations that you love but traditionally wouldn’t have put together.
Happy wrapping!